
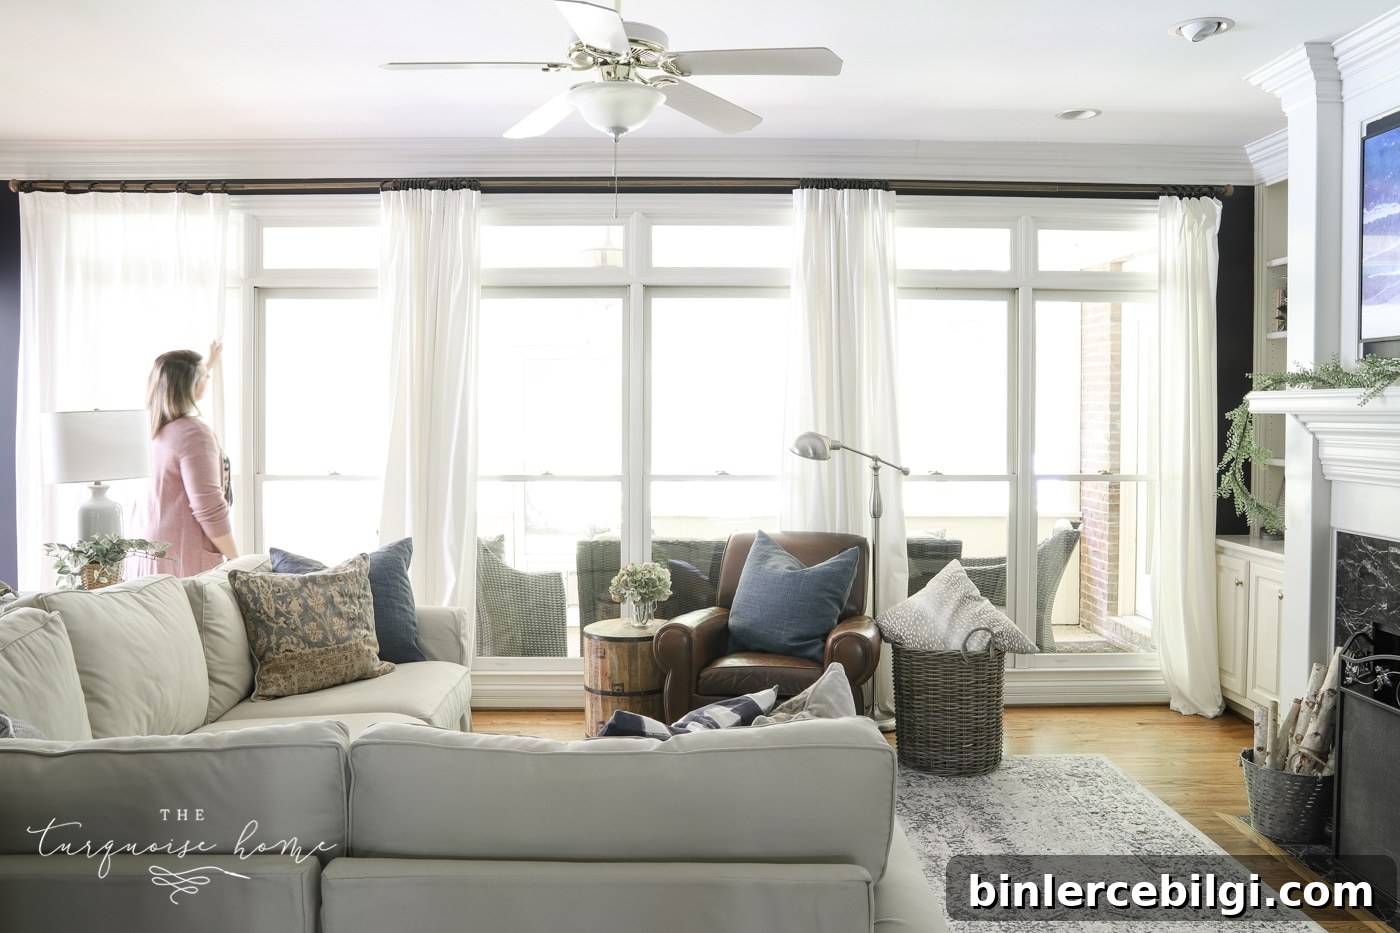
Do you have a long wall of windows and need an affordable curtain rod solution? Here’s how I made an extra-long curtain rod for under $200.
As I planned my living room makeover, I struggled to find inexpensive window treatments for a single wall that measures 222 inches across. That one wall is almost entirely windows, and I wanted a solution that would open the room and bring in more light while adding texture and softness.
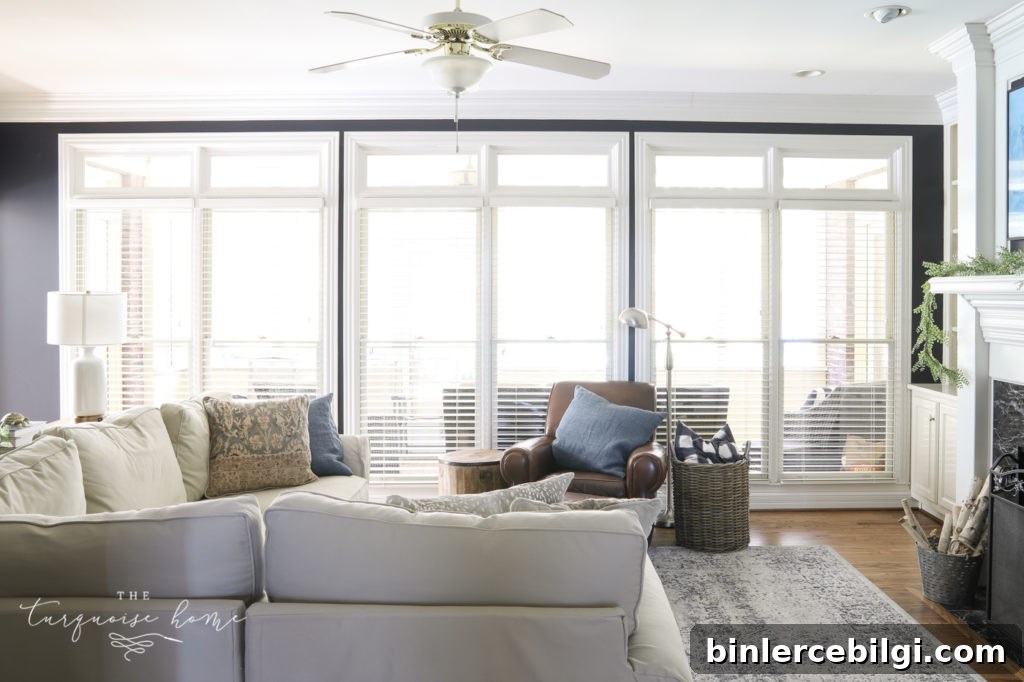
I removed the wood blinds because even when open they still limited the brightness coming in from the screened porch outside. I wanted the windows as open as possible and loved the warmth that curtains would add. With the walls painted Hale Navy, solid white curtain panels felt like the perfect classic contrast.
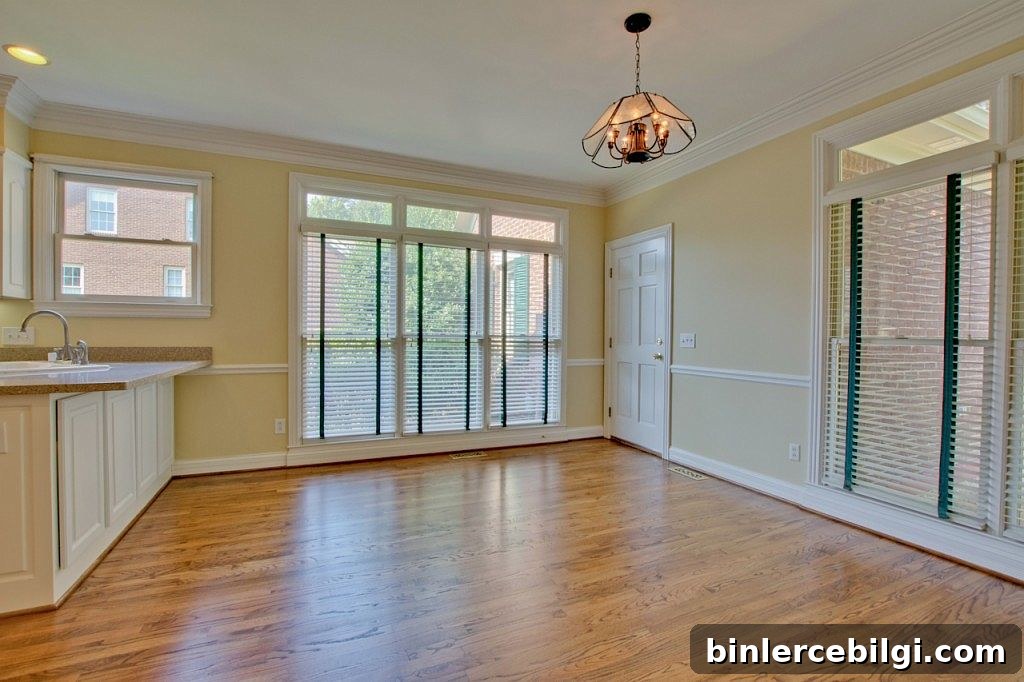
On the same property, the blinds in the kitchen fit perfectly but had hunter green cloth tape on the slats, which didn’t match my plans—another reason I was eager to replace the living room blinds with a simple curtain solution.
I searched for weeks for extra-long curtain rods and extenders, but commercial solutions that would span the full wall were outside my budget. I considered using electrical conduit, galvanized pipe, wooden dowels, or tension rods, but ultimately wanted a substantial-looking wooden rod with decorative finials and no painting required.
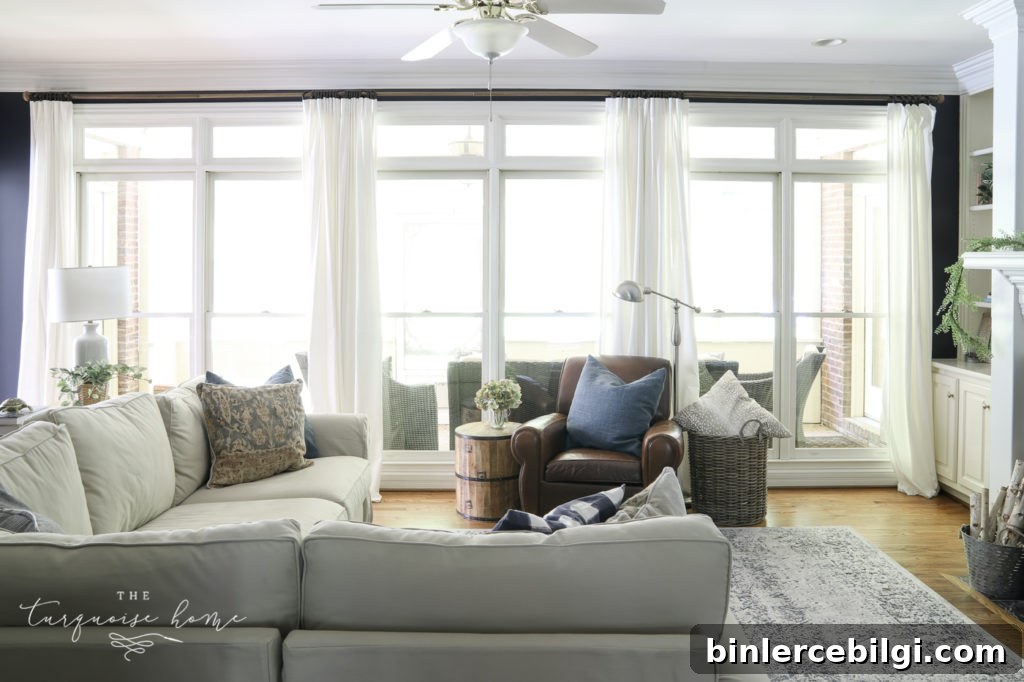
My solution was to use three standard extendable curtain rod sets (each 66″–120″) and join them to create one continuous rod across the full span. The wall contains three groups of two windows, and each group measures 73″ wide—perfect for a 66″–120″ extendable rod over each section. Because the space between each window group is only 1.5 inches, the challenge was connecting the rods so the curtains would glide and the rod would look seamless.
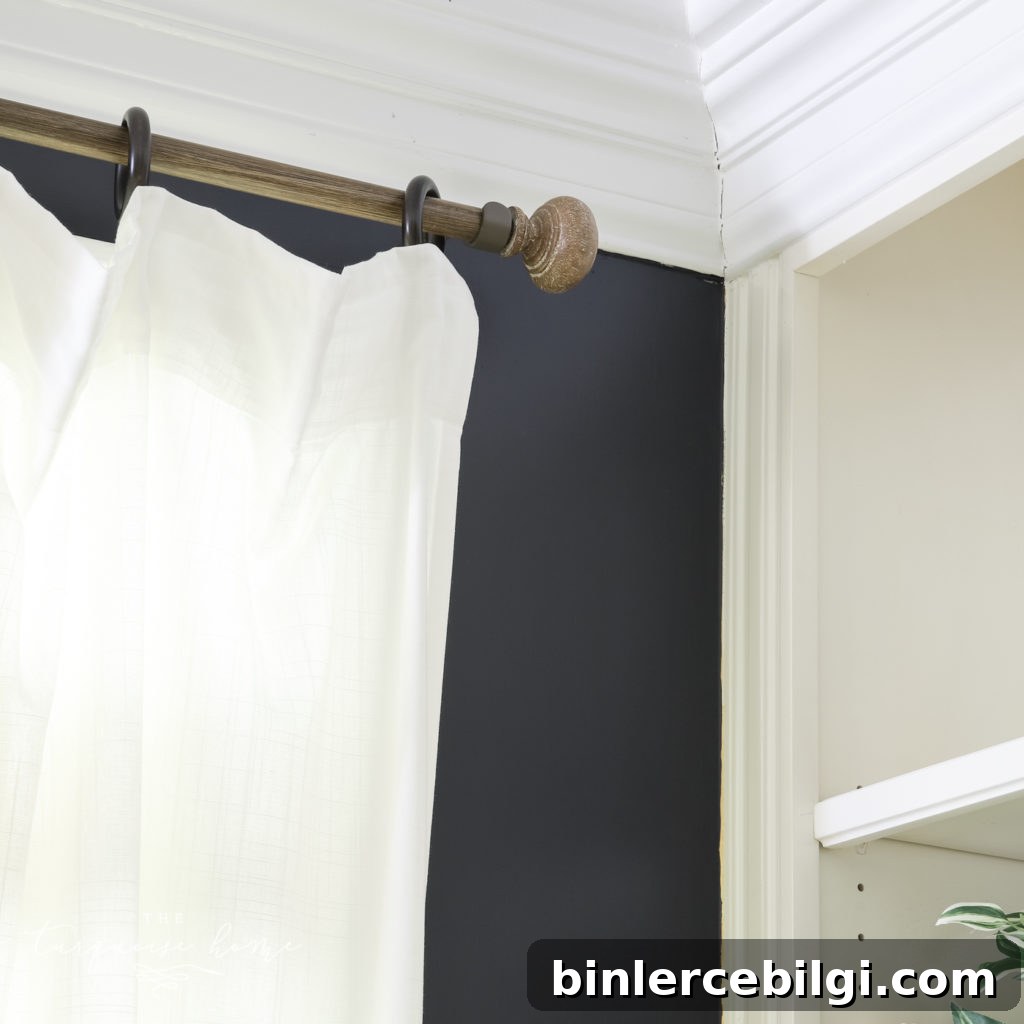
Solution for Making an Extra-Long Curtain Rod
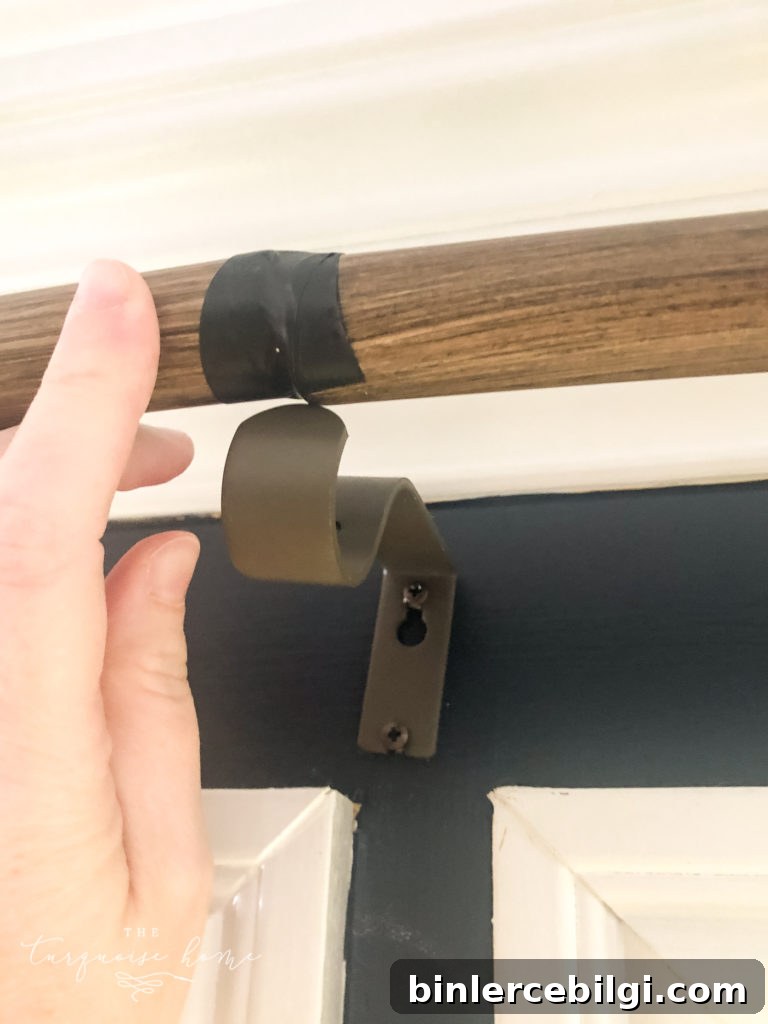
I mounted brackets over the narrow spaces between the window groups so each bracket would support two rods where they met. To join the rods, I overlapped the ends and secured them with electrical tape, then set the taped joint into the bracket. The brackets and the curtains themselves conceal the taped connections, so the result looks tidy and stable.
Cost breakdown for this semi-DIY approach was budget-friendly: I bought three extendable wooden rods (on sale for approximately $100 total), three sets of white drapery panels from IKEA (the Ritva panel set is about $30 for two panels, so three sets kept the curtain cost under $100), and a set of quality curtain rings that I preferred added around $60. There are certainly cheaper combinations—galvanized pipe, electrical conduit, or plain tension rods—but I wanted the finished look of wooden rods and decorative finials without extra painting or finishing work.
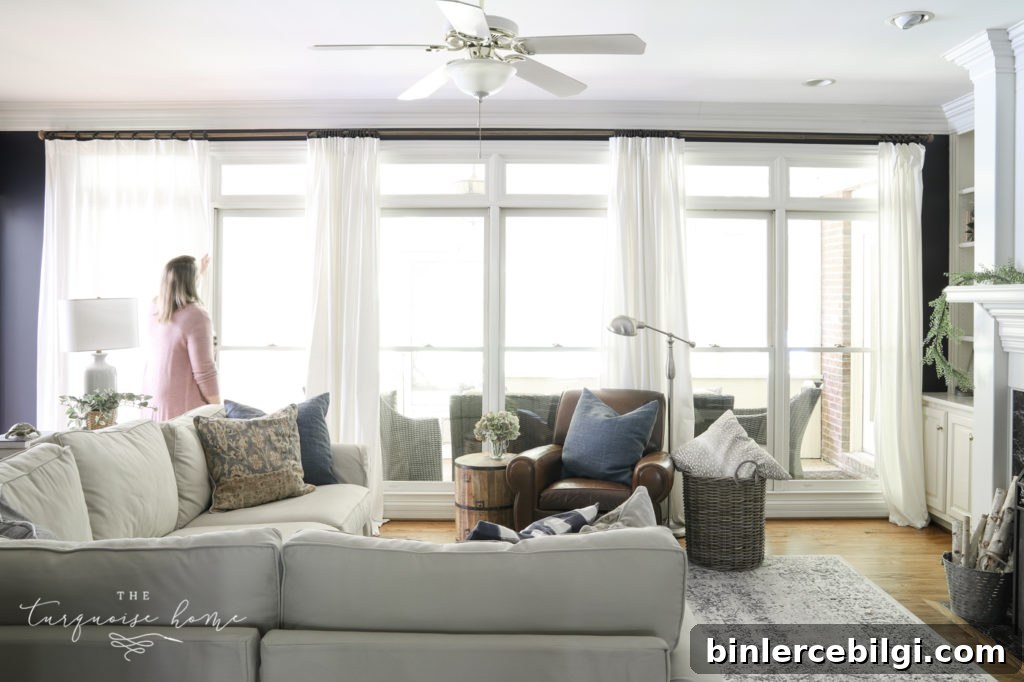
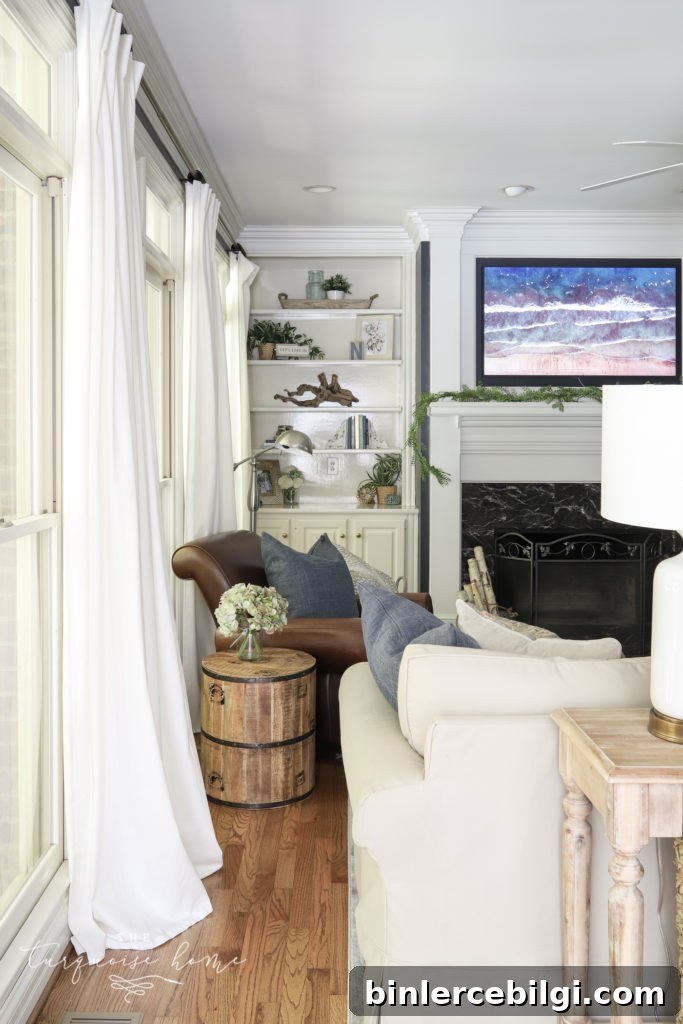
The final result brought immediate warmth and texture to the room while maximizing the natural light. Hanging the curtains on rings allows them to stack neatly between each window and glide smoothly along the extended rod. Because my brackets are positioned over the joins, the taped connections are invisible and the overall effect looks intentional and polished.
If you have a wide wall of windows and limited budget, this is a practical, affordable way to achieve the look of a continuous rod without custom hardware. Use three extendable rods, place brackets strategically where rods meet, and secure overlapping sections with strong tape or a similar fastener before seating them in the bracket.
Are you more of a blinds or curtains person? Or do you like a mix of both in different rooms?
More posts you might enjoy
- How To Hang Curtains: Easy Steps and Tips
- Cozy Navy Living Room Reveal
- The Best Living Room Paint Colors
- How to Decorate a Coffee Table