
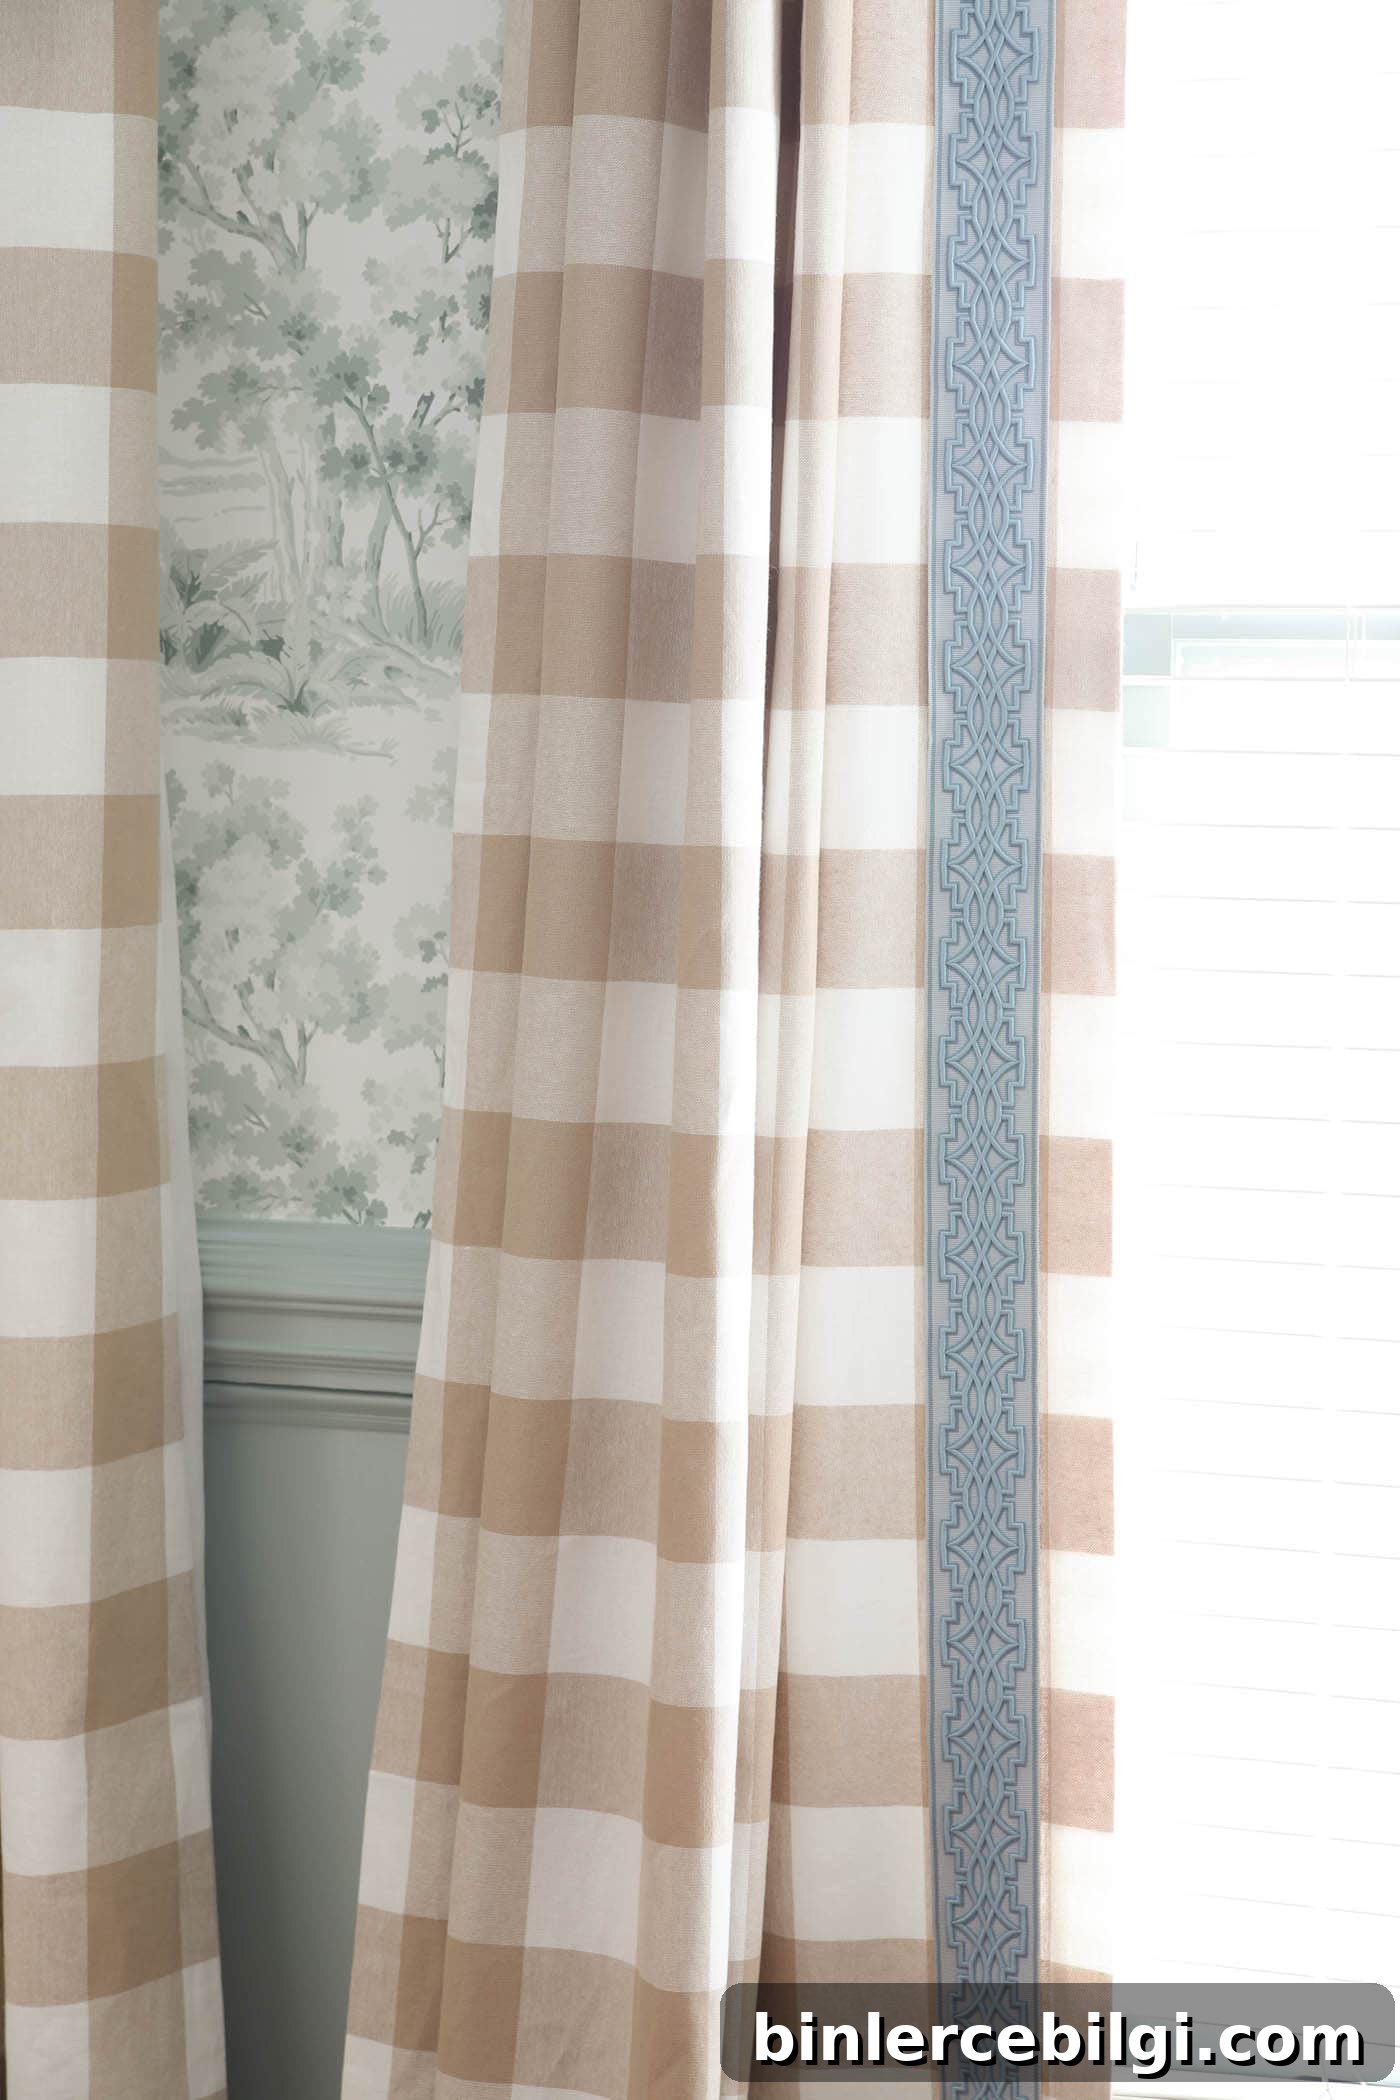
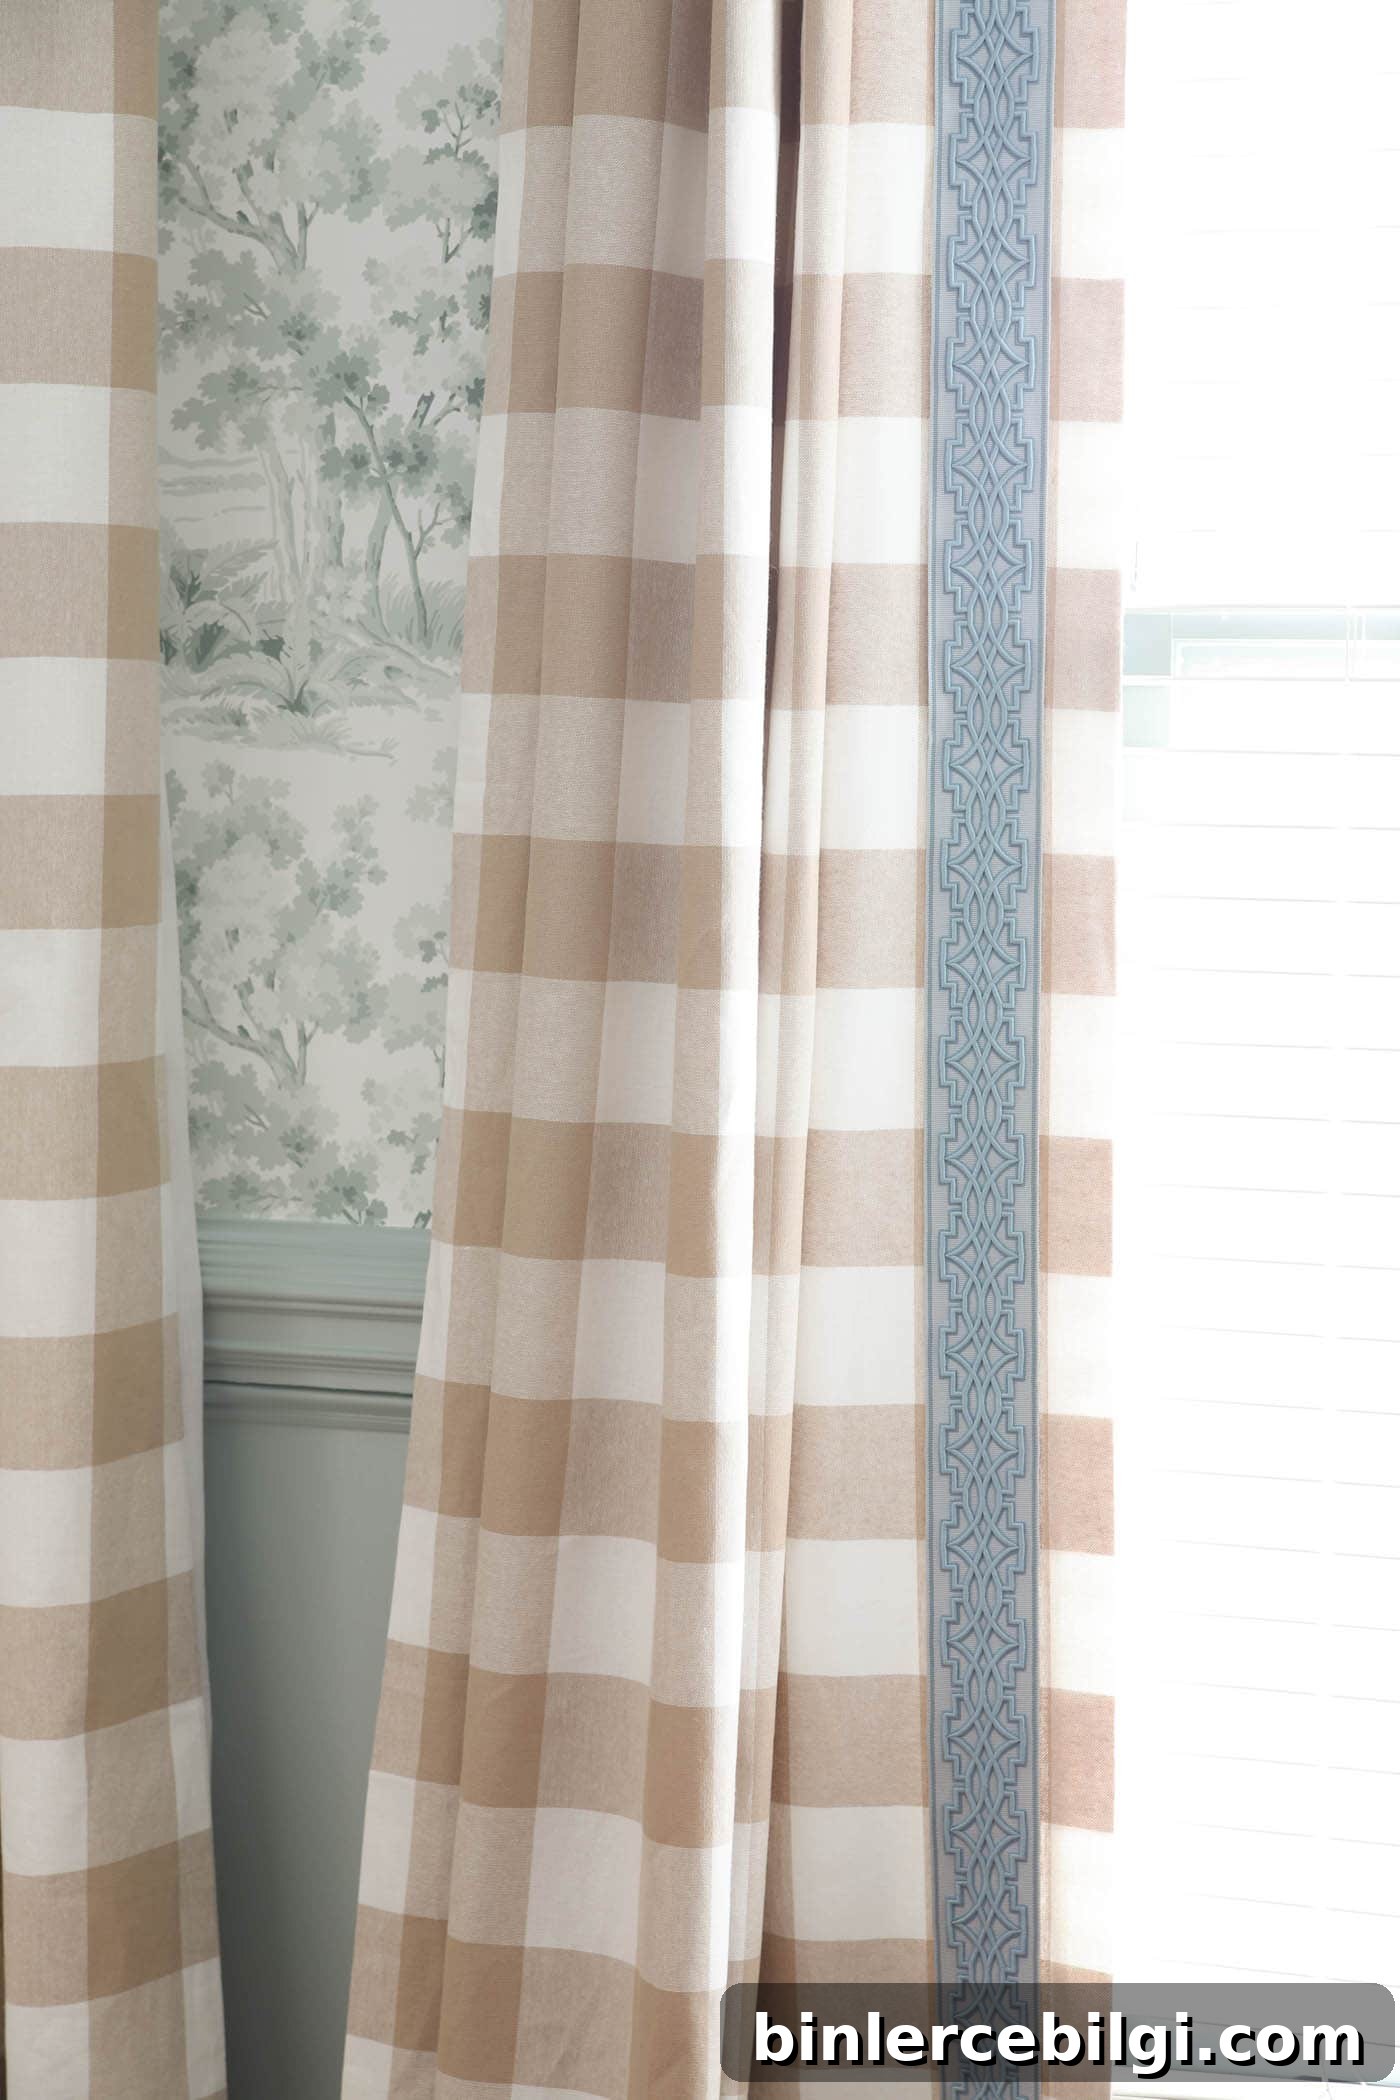
Adding curtain trim tape gives plain panels a custom, tailored look. Learn how to add trim to curtains in six simple steps—no sewing required.
I believe a room isn’t truly finished without window treatments, and curtains are often the easiest way to add texture, color, and personality. But store-bought panels don’t have to stay as-is. A strip of decorative trim tape can transform basic curtains into a custom-looking treatment that coordinates with your decor.
Trim tape works beautifully on plain or patterned panels and even on roman shades. With so many styles, colors, and widths available, you can create countless combinations that suit any room.
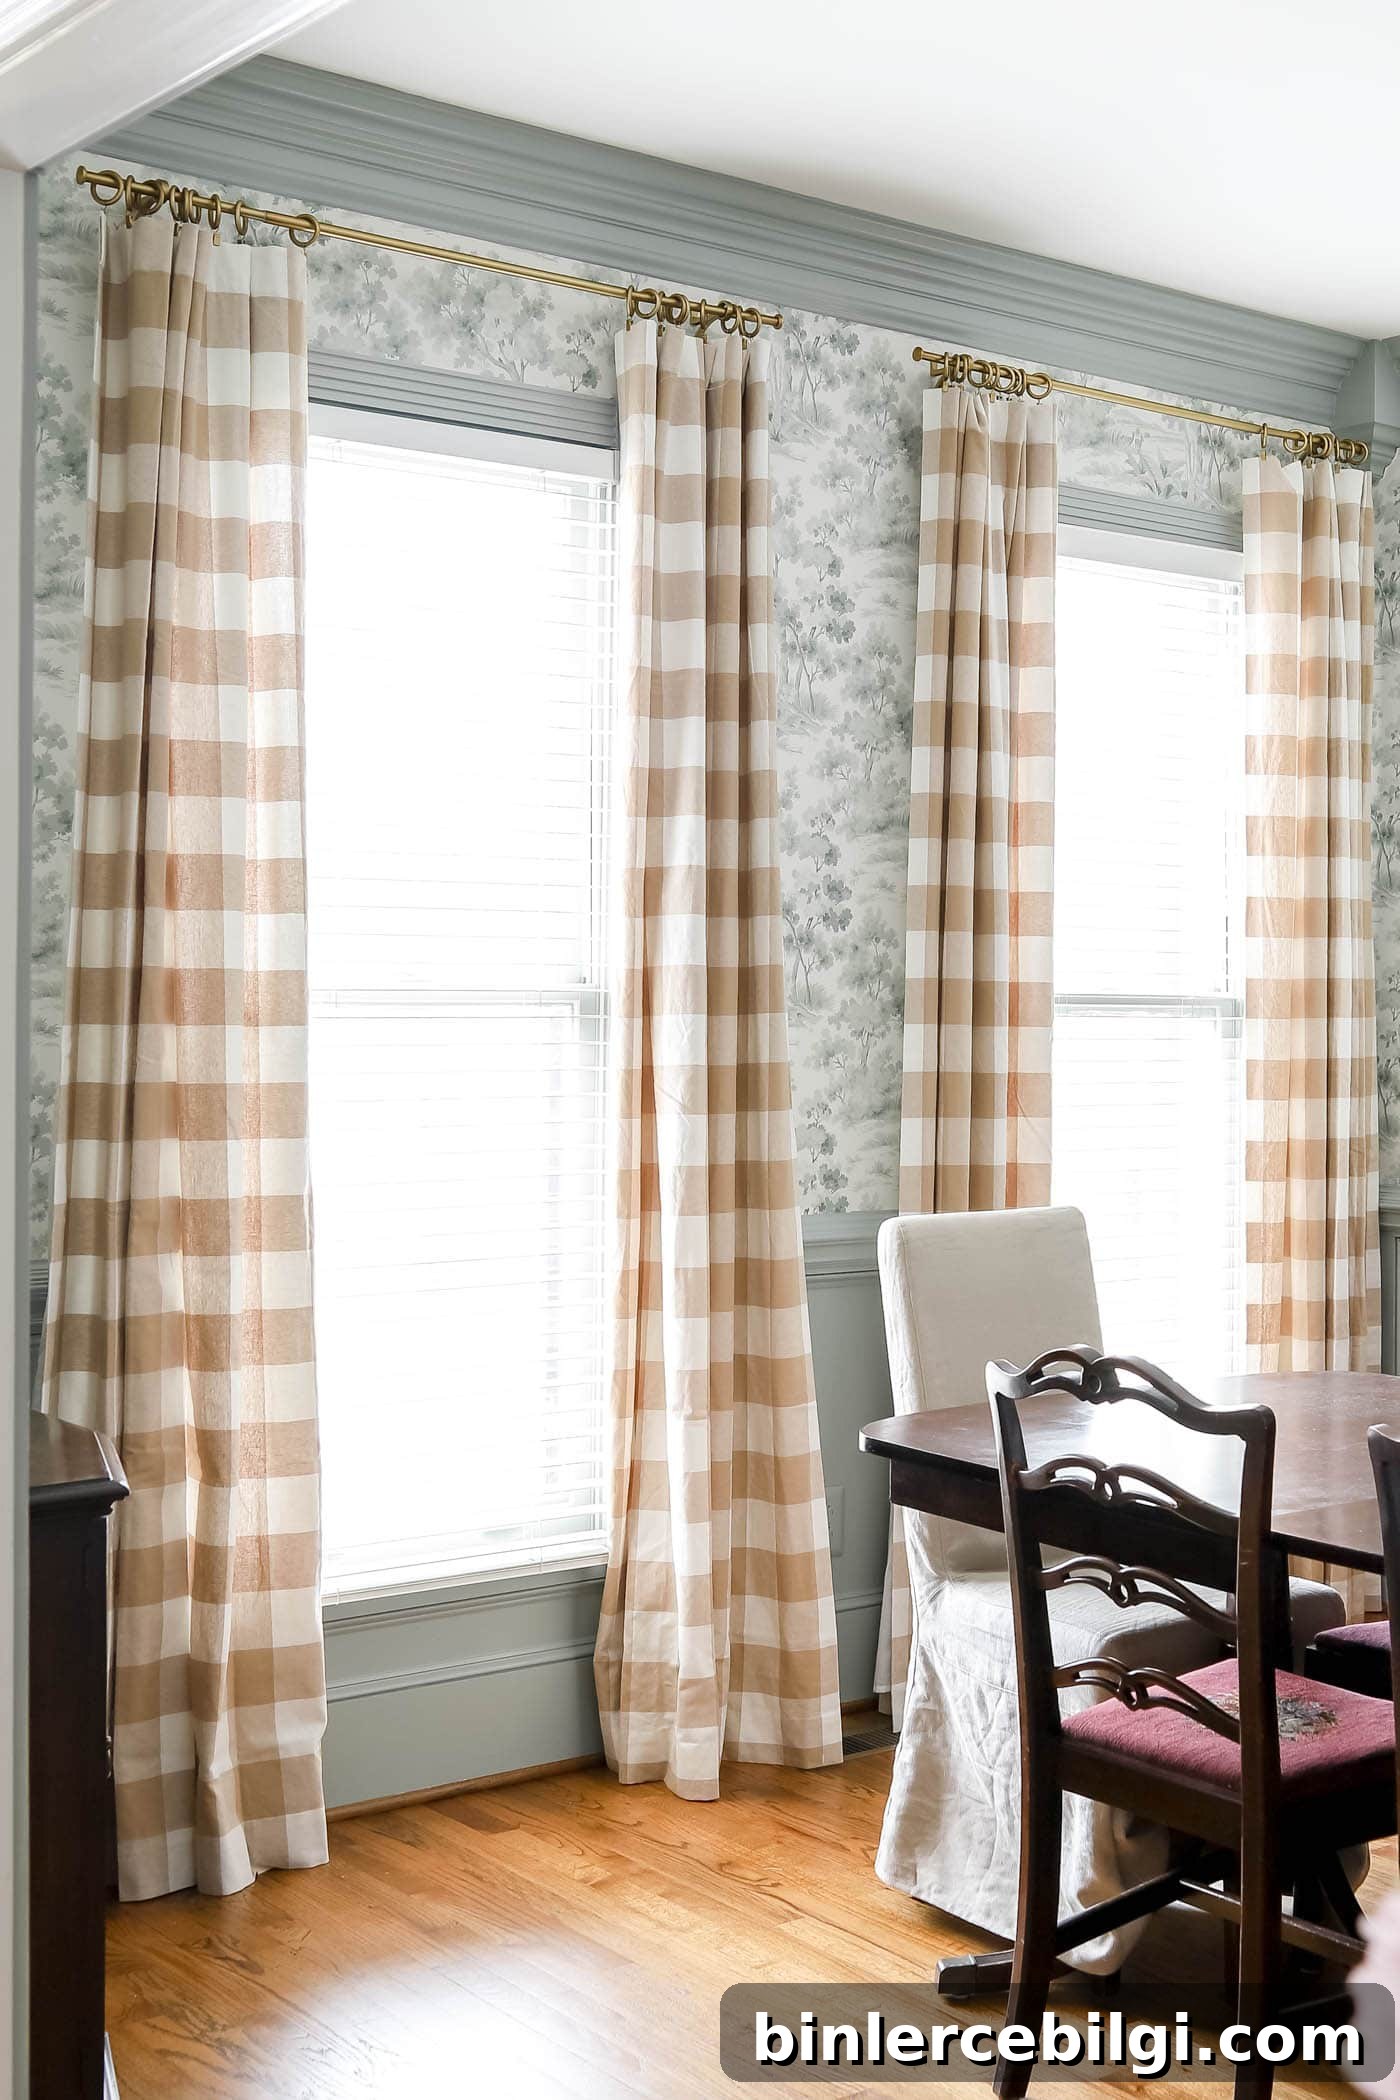
For my dining room update, I wanted to introduce more blue into the palette. Adding navy-blue trim to neutral gingham curtains tied them to the chair fabric and the nearby blue cabinetry, giving the whole space a cohesive, intentional look.
This post includes affiliate links for convenience. See the original site’s disclosure for details.
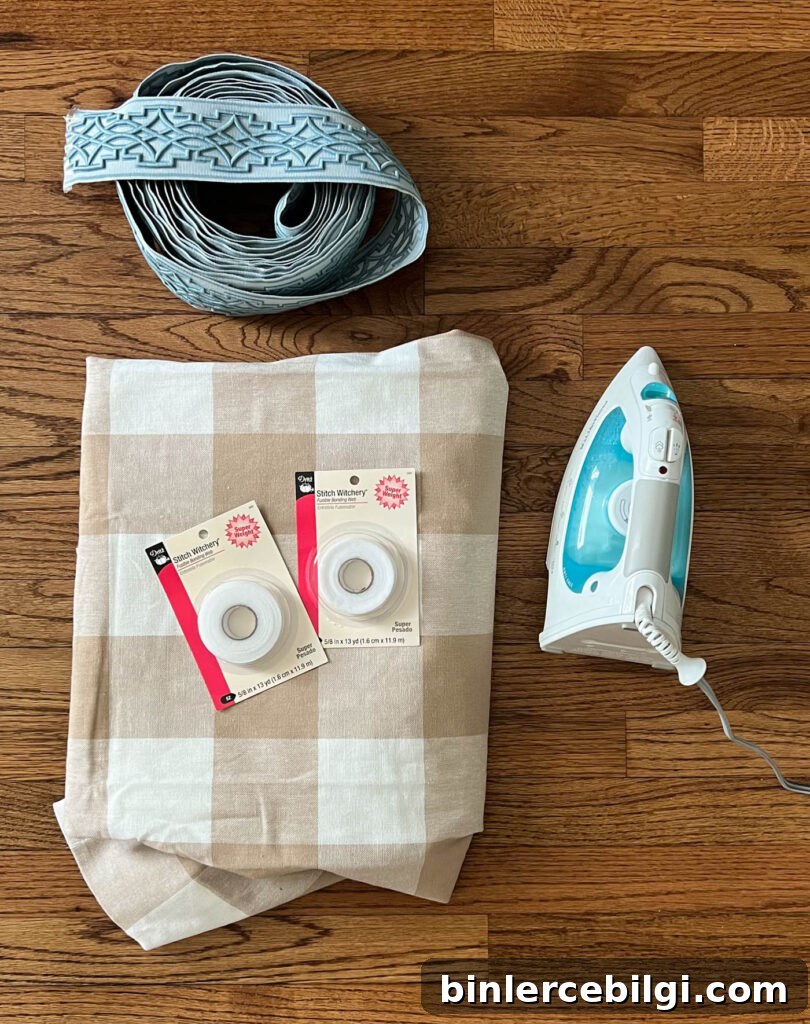
Supplies You Need for Adding Curtain Trim
- Curtains — hang them high and wide for the best visual impact.
- Trim tape — plan on 6–8 yards depending on curtain height and how many panels you’re updating.
- Fusible web (Stitch Witchery or similar) — choose a heavier-weight fusible web for bulky trim.
- An iron (with steam) and an ironing surface.
How to Add Curtain Trim Tape
1. Iron the Curtains
Start with wrinkle-free fabric so the trim lays flat and adheres evenly. Use your iron to remove creases before marking or placing trim.
2. Mark the Trim Placement (about 1–2 inches from the edge)
Measure and mark a straight guideline where you want the trim to sit. If your fabric has a repeat or pattern, you can align the trim to that pattern. Otherwise, draw a light guiding line roughly 1–1.5 inches from the panel edge or use a cardboard guide to keep placement consistent as you work.
3. Fold 2–3 Inches of Trim Over the Top Edge
Fold a small length of trim tape over the curtain’s top edge to create a neat finish and secure it with fusible web. Place several small pieces of fusible web under the folded trim, then press with a hot, steamy iron for 10–15 seconds (or according to the fusible web manufacturer’s directions). Allow it to cool and check adhesion—if needed, press again briefly.
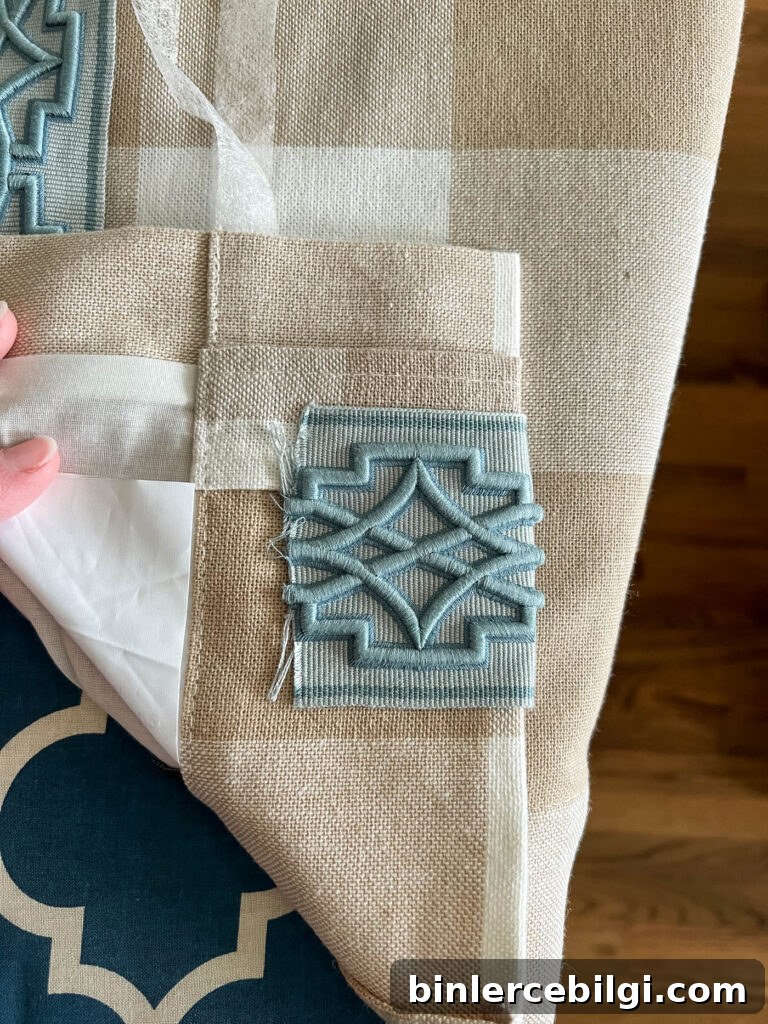
4. Lay Down Fusible Web Along the Trim Line
Apply one or two rows of fusible web where the trim will attach. Make sure the web covers the area beneath the trim tape but avoid excess that could squeeze out the sides. Position the trim over the fusible web before pressing.
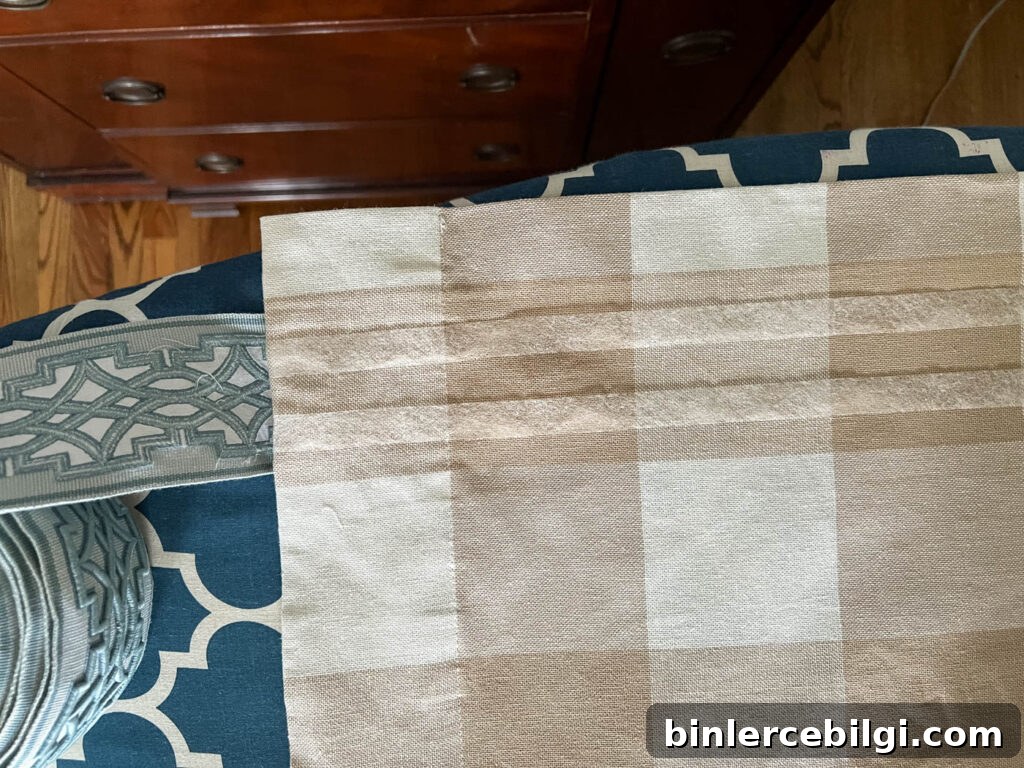
5. Press the Trim Tape in Place
Work in short sections: set the iron on one length of trim for 10–12 seconds, then move to the next section. Continue until the full length of trim is attached. If the trim is thick, flip the curtain and press from the back as well to ensure secure bonding. Finish the bottom edge the same way as the top—fold the end, add fusible web, and press.
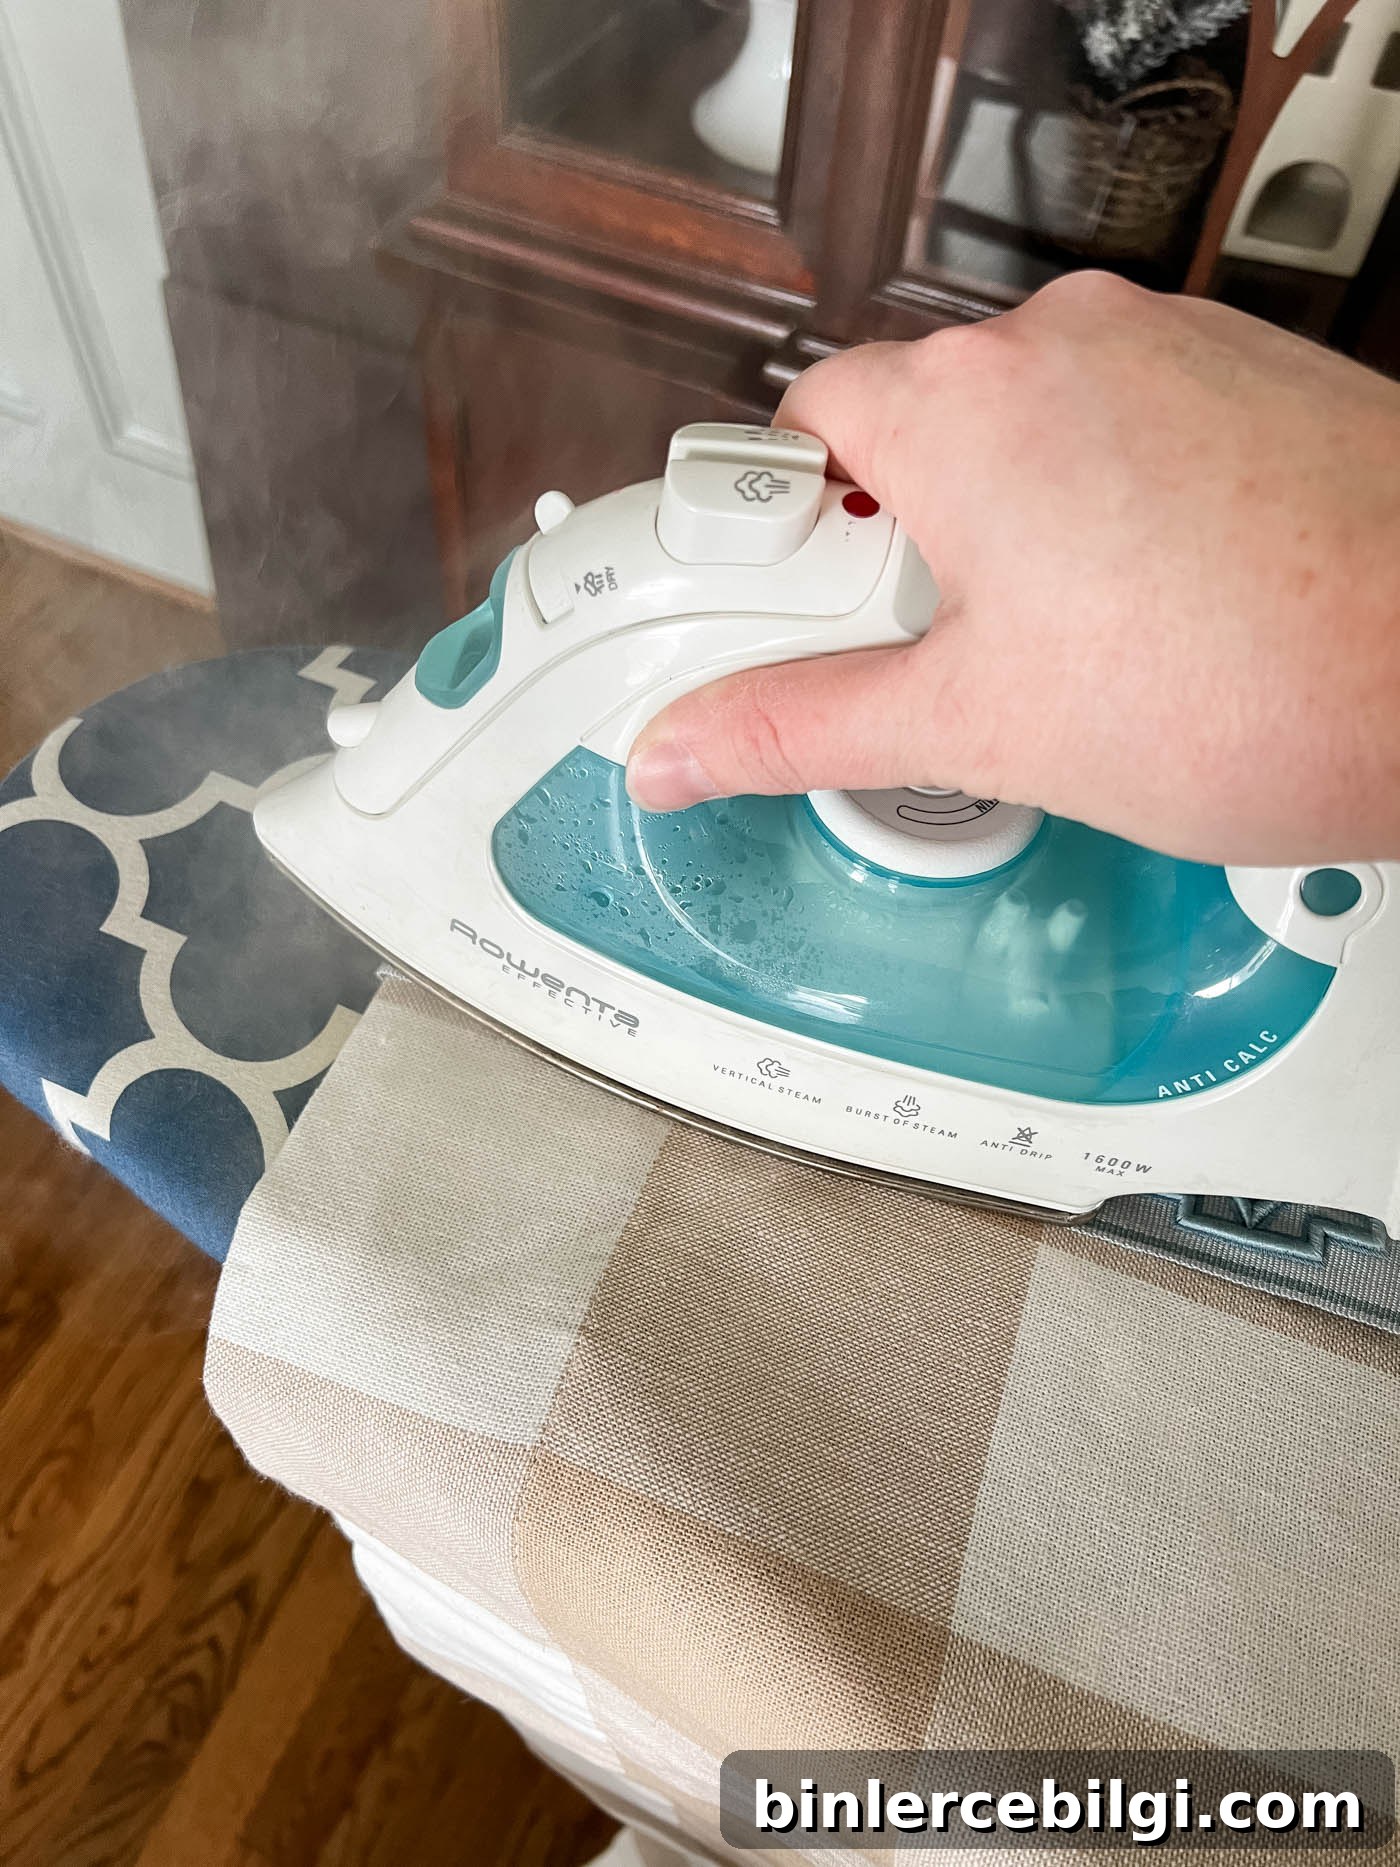
Final Thoughts
This is a quick, low-cost way to customize curtains without sewing. With just an iron and fusible web, you can give ready-made panels a high-end, tailored appearance that coordinates with your room’s colors and finishes. The result feels intentional and refined, and the project is easily reversible if you decide to change trims later.
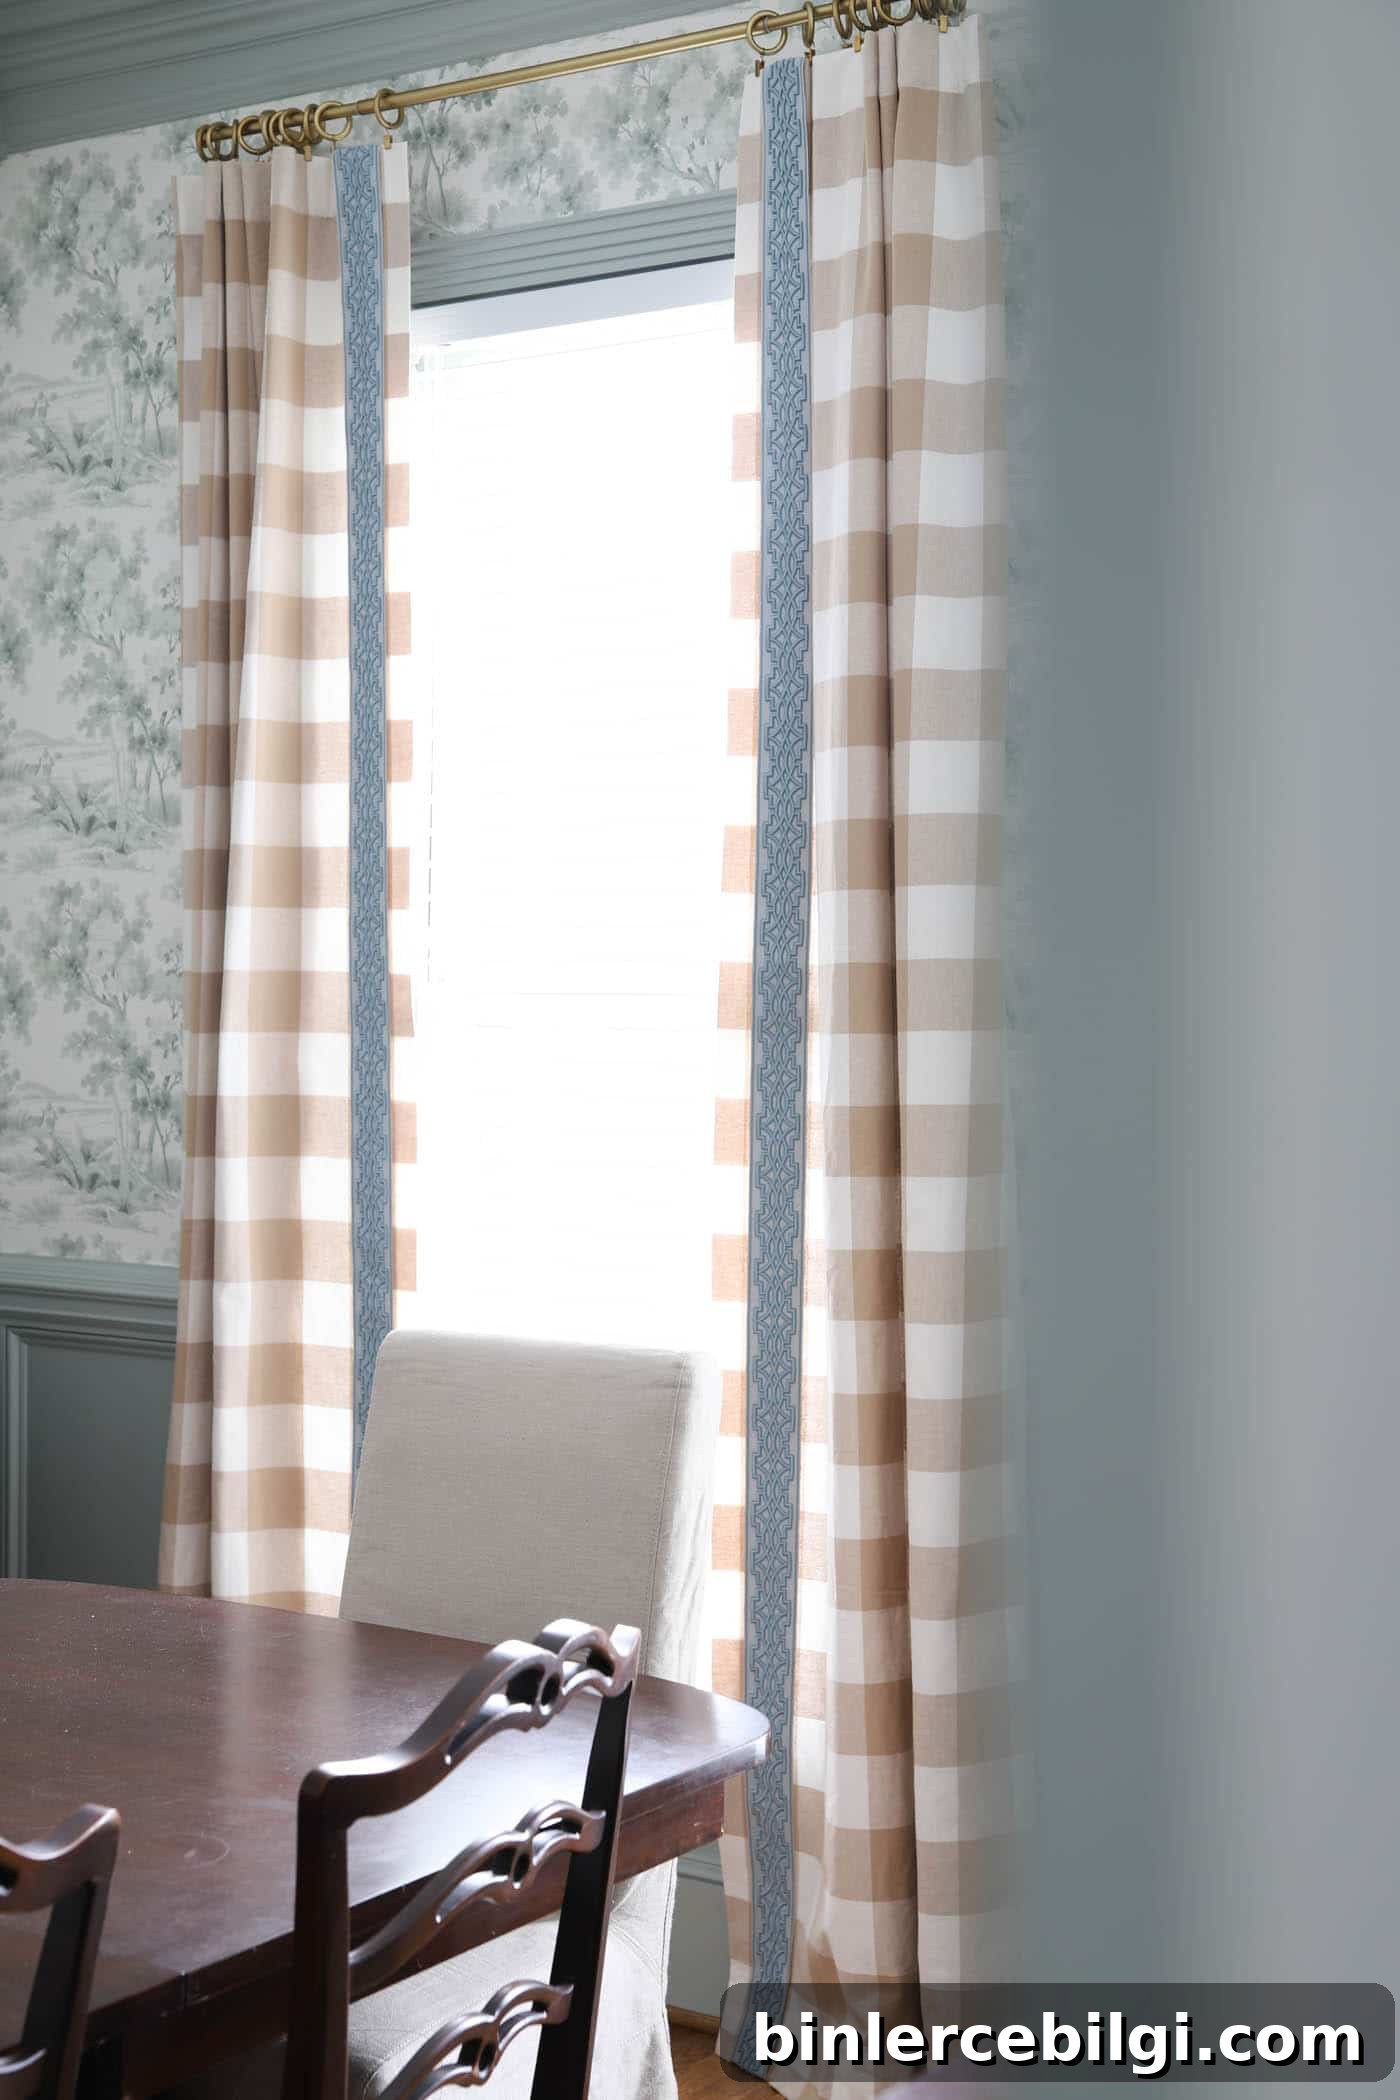
I’m sharing a sneak peek of the finished panels while I finish the full dining room reveal. Once the room is complete I’ll photograph the whole space so you can see how the trimmed curtains tie the look together.
Sources for Curtain Tapes and Trims
- Decorator’s Best
- Etsy
- Amazon
- eBay
- Calico Corners
- Online Fabric Store
- MJ Trimming

How to Hang Curtains to Make Your Room Look Larger
Hanging curtains the right way enhances the effect of your new trim. The “high and wide” approach makes windows and rooms feel larger: mount the rod 4–6 inches above the window frame and extend it 3–6 inches beyond each side. This lets more light in and creates the illusion of taller, wider windows.
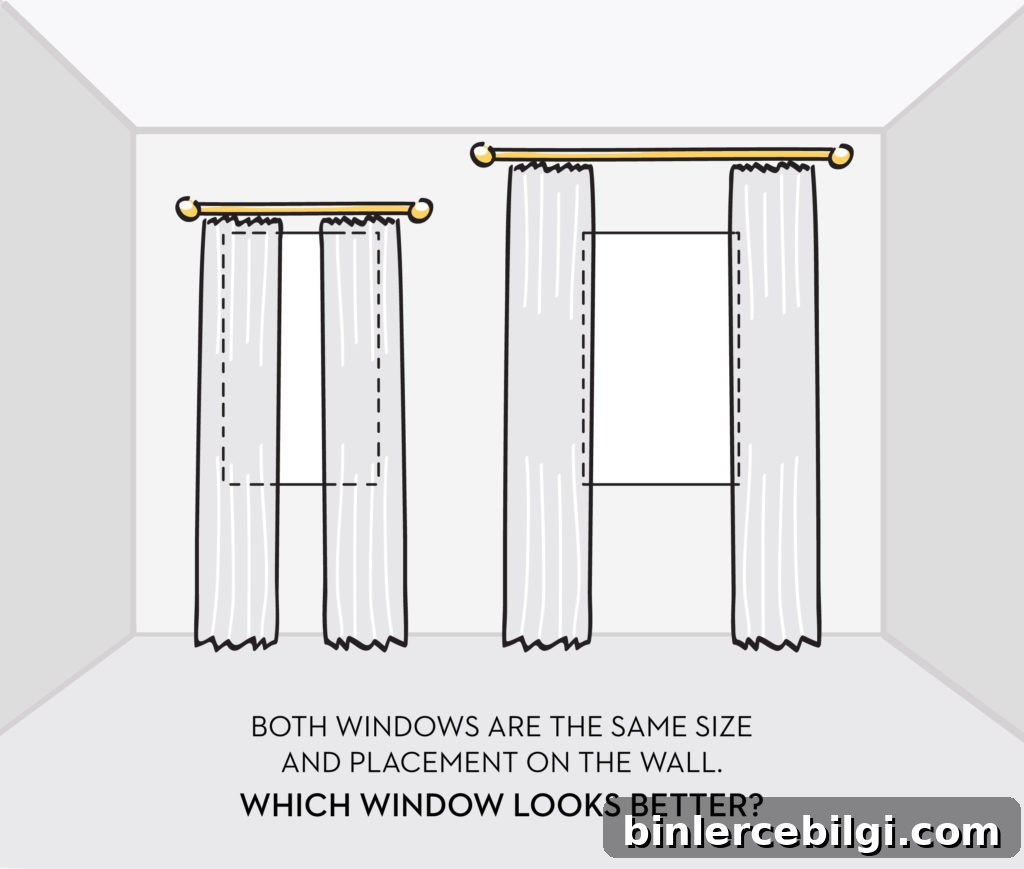
Consider curtain length based on use: if you open and close them frequently, leave a small gap (about 1/4–1/2 inch) above the floor. For a more luxurious, formal look, allow the fabric to puddle 6–8 inches on the floor.
Other posts you might enjoy:
- Benjamin Moore Van Deusen Blue
- How to Decorate the Dining Room for Christmas
- Traditional Dining Room Reveal
- How to Choose Living Room Curtains
- The Best Window Treatment Options for Every Room