
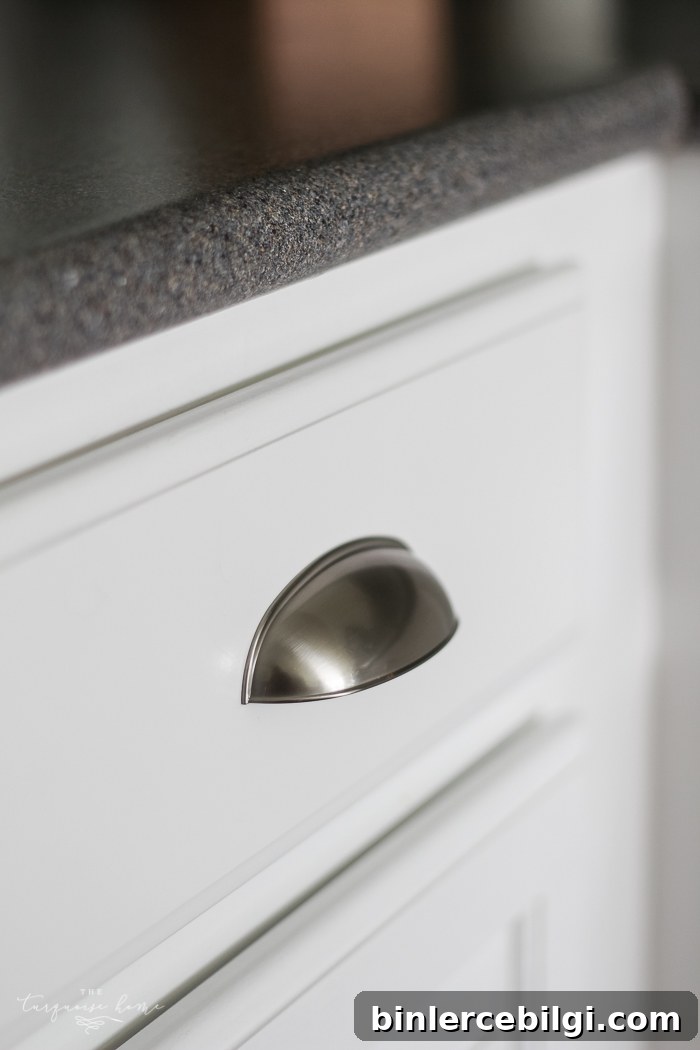
Installing cabinet hardware can seem intimidating, but it doesn’t have to be — this simple trick makes installing new cabinet pulls precise and easy.
If you’ve followed along, you know I’ve been slowly updating my kitchen. Since moving into this house more than four years ago, the kitchen has been a project I return to again and again, tweaking paint, hardware and finishes to get the look I want.
Last winter I finally painted the cabinets white. It felt great to see such a dramatic change. But for eight months those drawers sat without pulls while I hesitated to tackle the installation. I had the hardware and the tools, but I worried I’d make mistakes and end up with crooked or uneven pulls.
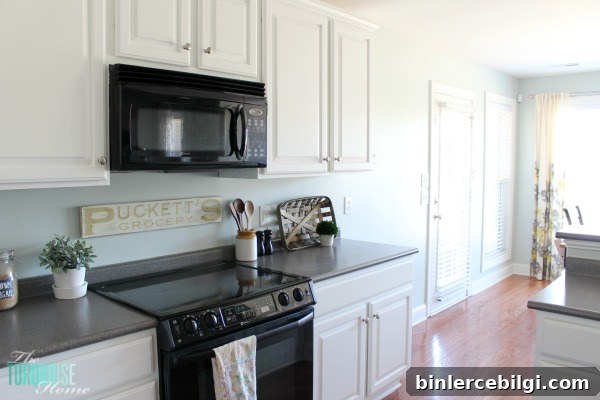
Along the way I did several DIY projects — built farmhouse shelves, added reclaimed wood to the bar, and painted the walls in a soft Sea Salt. There are still future updates planned, like replacing the sink and countertops, but those will wait until the budget allows.
In the meantime, I finally decided to finish the cabinets. I kept the original knobs on the doors, since I liked them and there was no need to replace them. But I’ve always loved cup pulls on drawers, so I ordered 3″ cup pulls and patch-filled the old holes when I painted, knowing I would change them eventually.
How to Install New Cabinet Pulls
Here’s a simple, foolproof method to install cabinet pulls so they line up perfectly on every drawer. This approach acts like a reusable template and is especially handy when you have multiple drawers to update.
What you’ll need:
- Thin piece of wood, cardboard, or stiff paper to create a template
- Cabinet hardware (cup pulls or bar pulls depending on your preference)
- A level
- A sharp pointed tool such as an awl, pointed pen, or sharp pencil to mark holes
- A drill and the correct size drill bit for your screws
I used a piece of cardboard from a large delivery box, cutting it to match the height of my drawer fronts and the width of the smallest drawer I planned to outfit. I marked the center of the cardboard so I could align it consistently on wider drawers.
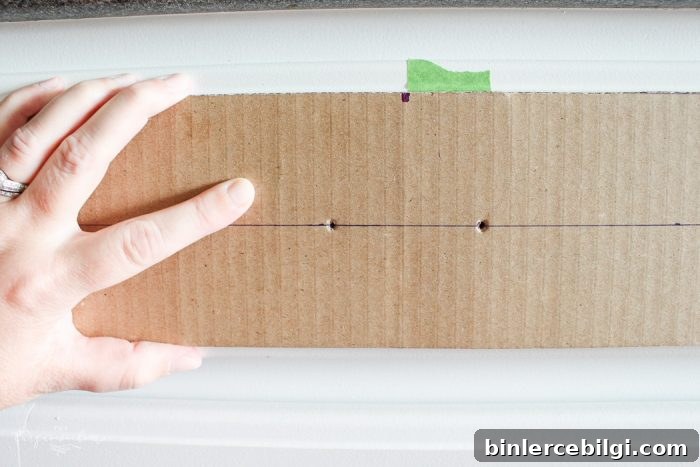
Next, measure and determine the placement of the pulls on the drawer. Mark the screw locations on the cardboard where the hardware’s mounting holes sit. Using the cardboard template, line it up on each drawer and press a sharp object through the template holes to leave a precise mark on the drawer face. Using painter’s tape to mark drawer centers on the face of each drawer helps ensure consistent alignment.
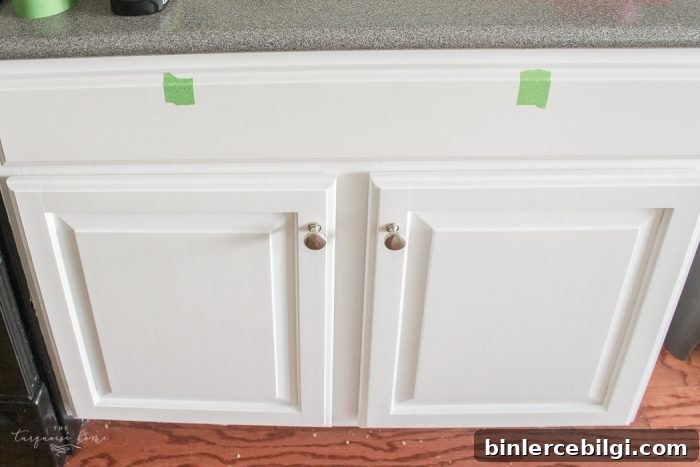
Before drilling, I taped one pull in place on a single drawer to double-check spacing and visual balance. The pulls in my layout are centered on the drawer fronts rather than aligned with the doors underneath — a stylistic choice that looks balanced to my eye.
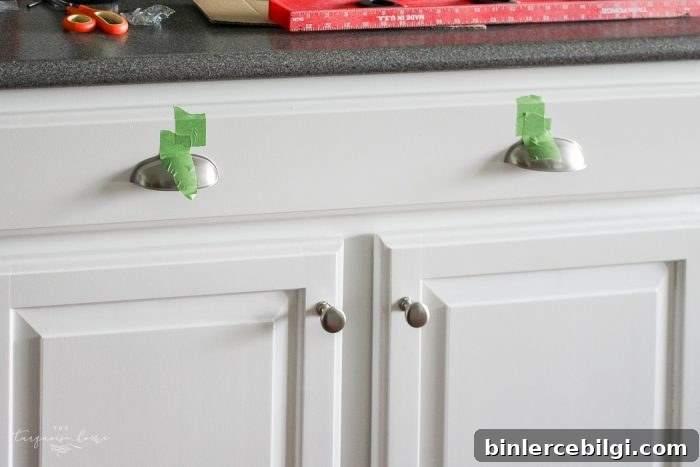
When you’re ready to drill, choose a drill bit that creates holes slightly larger than the screws for easier installation. Drill carefully through the marked spots. Measure twice, drill once — take your time to avoid mistakes. A steady hand and patience are the best tools here.
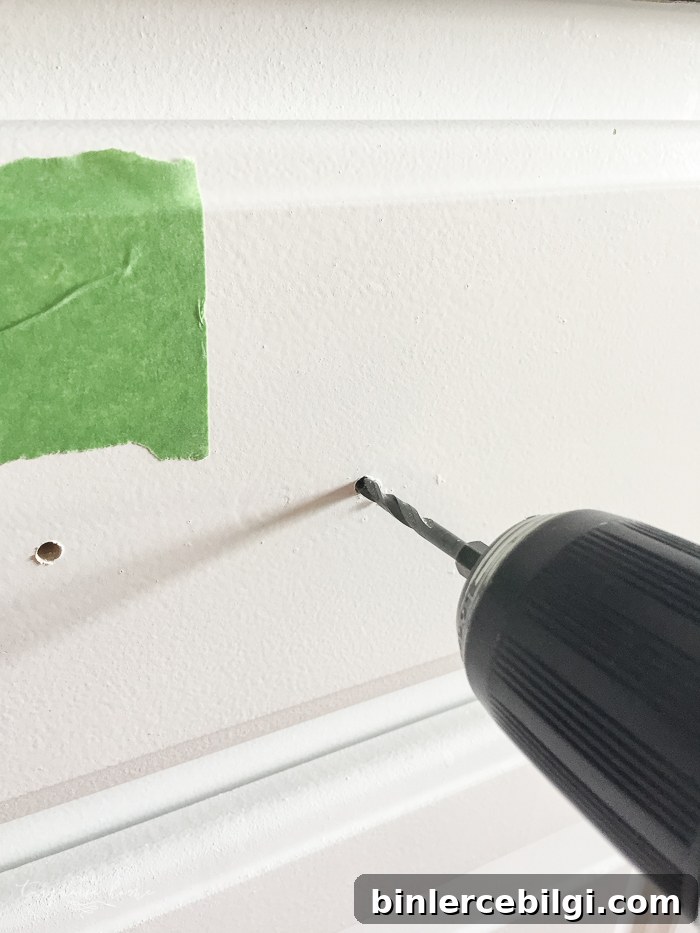
Once all holes are drilled, attach the pulls with the provided screws. Because the holes were slightly oversized, positioning the pulls was quick and easy. After tightening, check that every pull is level and sits flush against the drawer face.
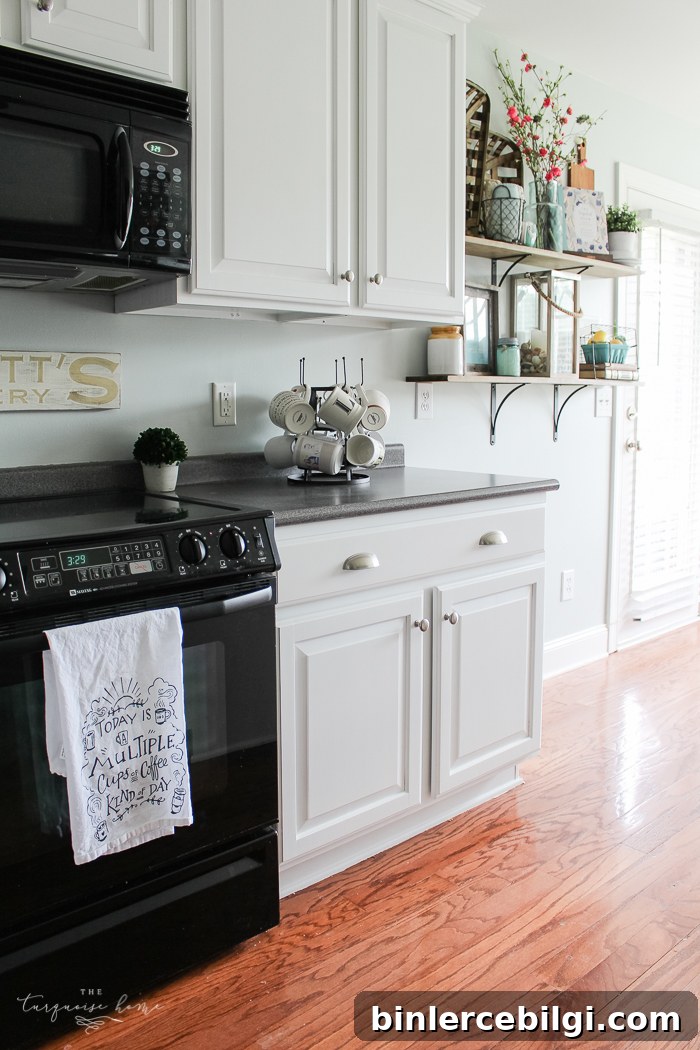
Now the drawers open smoothly and the new hardware completes the fresh white cabinet look. I also appreciate not having to reach under the drawer tops and risk chipping the paint.
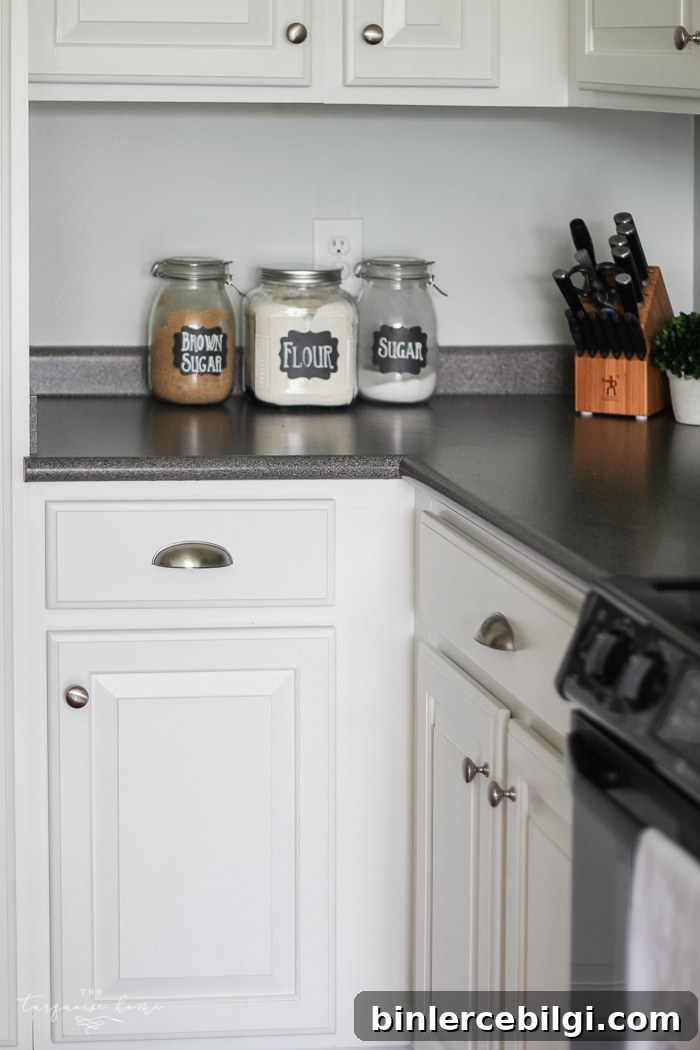
A few final tips for cabinet hardware installation and pull placement:
- Use a single template for drawers of the same size to guarantee consistent placement.
- Label the template if you have multiple sizes so you don’t mix them up.
- When in doubt, mock up with painter’s tape first to confirm the visual before drilling.
- Take photos as you go — they’re helpful if you need to replicate the layout later.
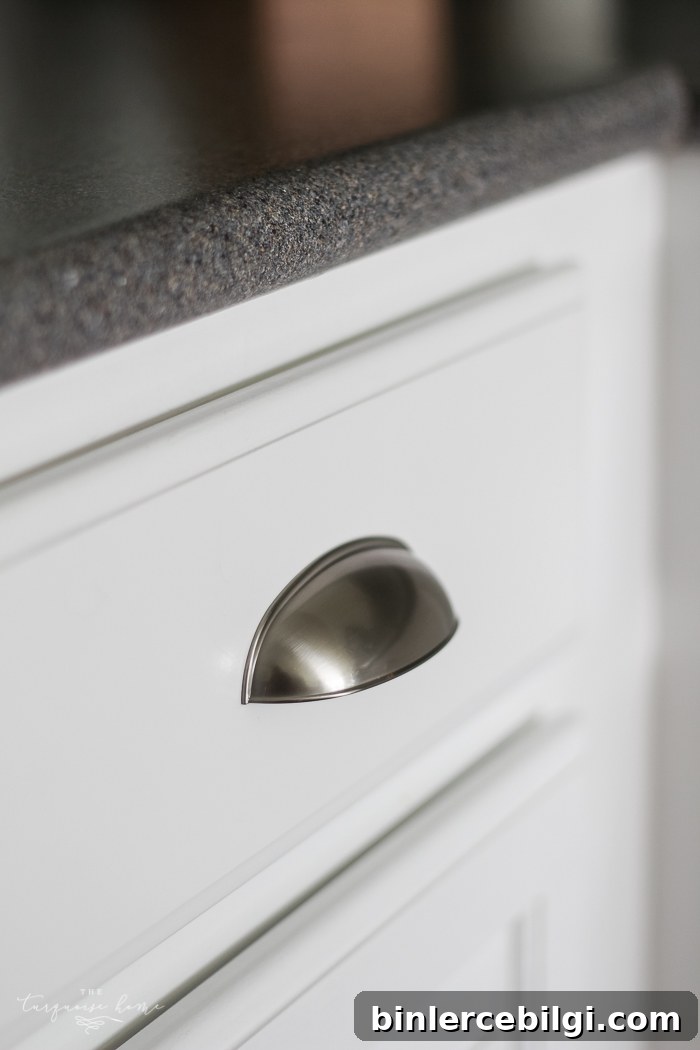
I still have two cup pulls left and I’m deciding whether to attach them to the faux drawer in front of the sink. Since I plan to install a farmhouse sink someday, that piece may change, so I’m weighing whether to add hardware now or wait.
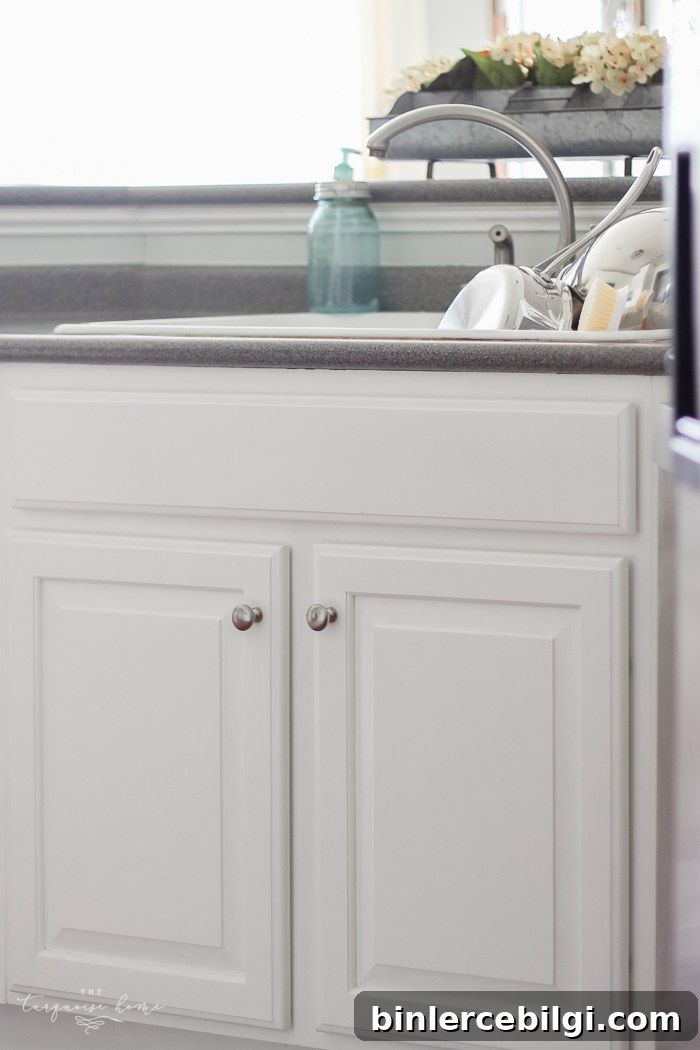
What do you think — add the pulls to the faux drawer now, or wait until the sink is replaced? Share your thoughts in the comments.
More posts you might enjoy:
- How to Display Kitchen Cabinet Wreaths
- Painted Kitchen Cabinets: Two Years Later
- Ideal Cabinet Knob Placement — Tips and Tricks