
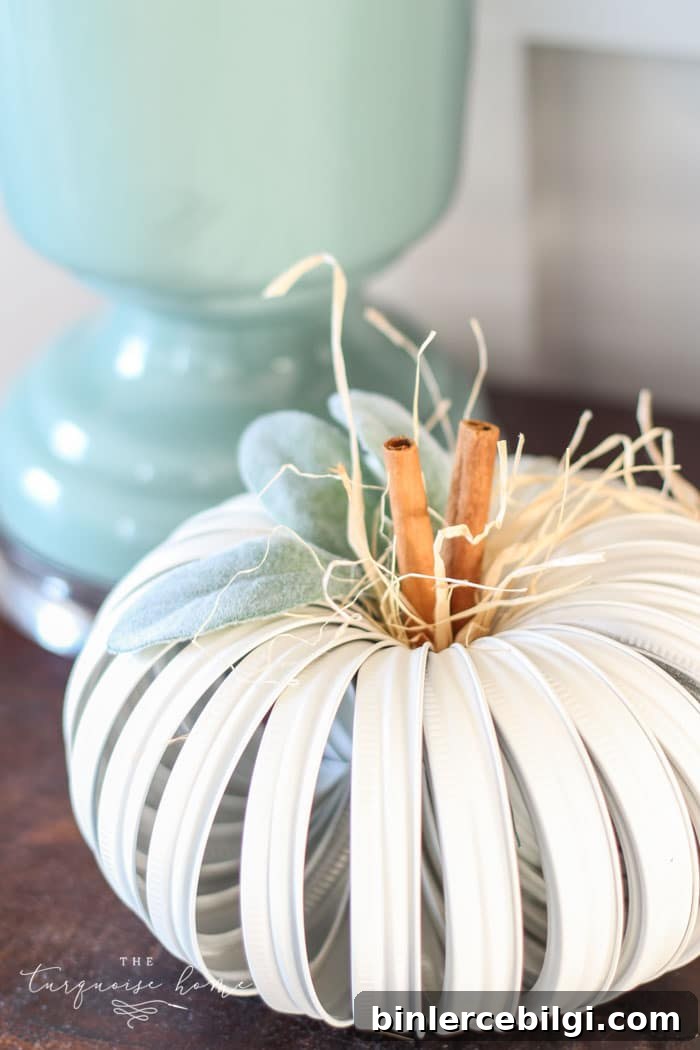
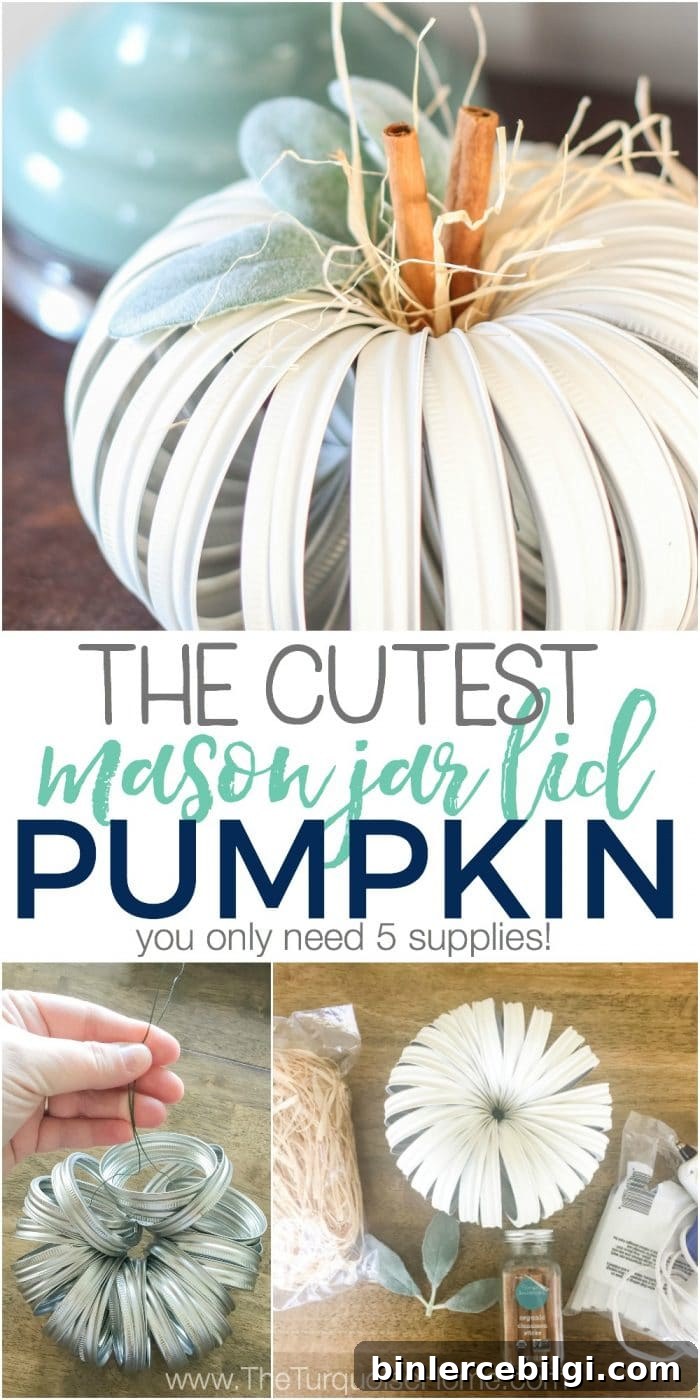
This Mason Jar Lid Pumpkin is an adorable and simple craft you can make in about 30 minutes using just a handful of basic supplies. It’s perfect for fall décor, gift-giving, or crafting with friends.
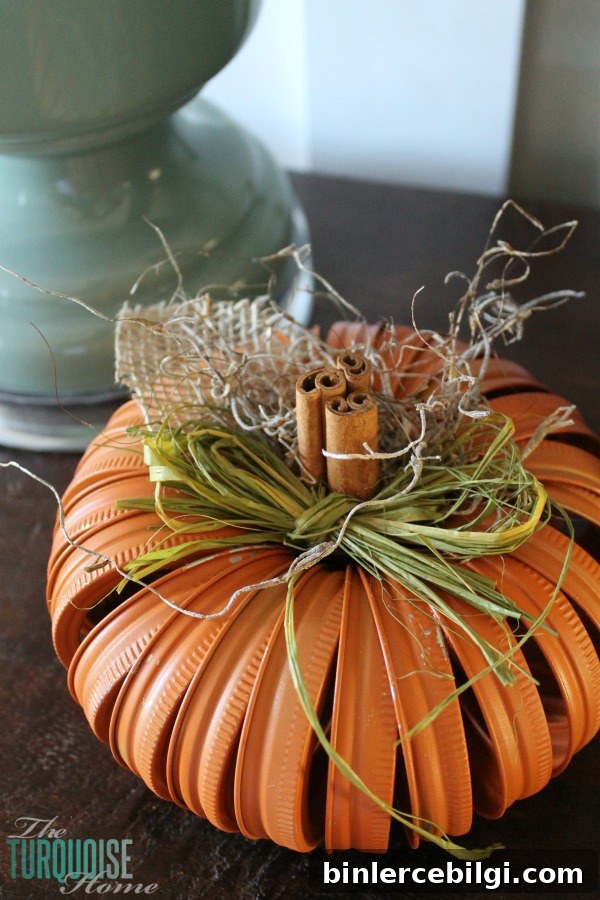
I first made a mason jar lid pumpkin back in 2012 when these little cuties began showing up all over the fall craft world. We made them at a women’s retreat, and I loved mine so much I brought it home and displayed it on the media cabinet all season. The photo I took that year got a lot of attention on Pinterest, and I’ve wanted to share a proper how-to for years.
A few seasons later I realized my original pumpkin was gone—likely donated—and I decided to recreate it. The process is so straightforward that calling this a tutorial feels almost silly, but I hope these steps inspire you to pick up the supplies and make one (or a few!).
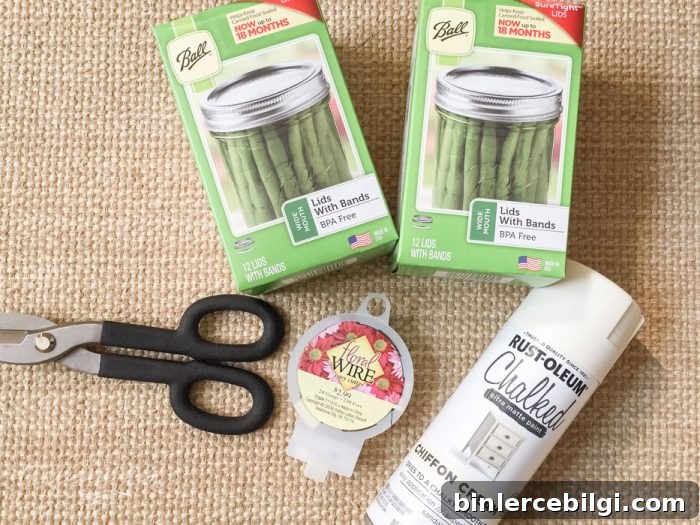
Supplies Needed for a Mason Jar Lid Pumpkin
- Wide-mouth mason jar lid bands – you only need the metal bands; the flat canning lids aren’t required. Count on about 24 bands per pumpkin.
- Floral wire and wire cutters – floral wire that’s sturdy but bendable works best.
- Spray paint – choose a color that fits your decor. Matte or chalk-style spray paint works well for a farmhouse look.
- Cinnamon sticks – these make a perfect rustic “stem.”
- Hot glue gun and glue sticks – for securing the stem and any embellishments.
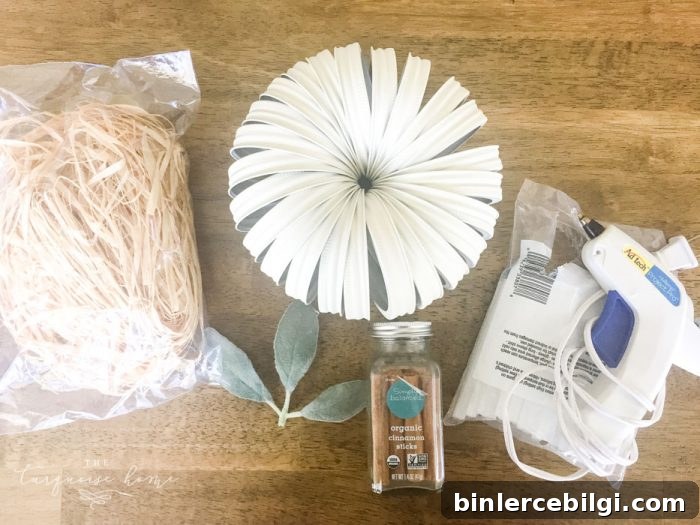
- Decorative embellishments (optional) – ideas: leaves (fabric or faux greenery), raffia, moss, small pearls or jewels, burlap scraps, or small ribbon bows.
How to Make a Mason Jar Lid Pumpkin
1. Cut a piece of floral wire
Measure the wire long enough to string all 24 lid bands, leaving a few extra inches on each end for twisting and tying. A little extra length makes securing the pumpkin and finishing the stem area easier.
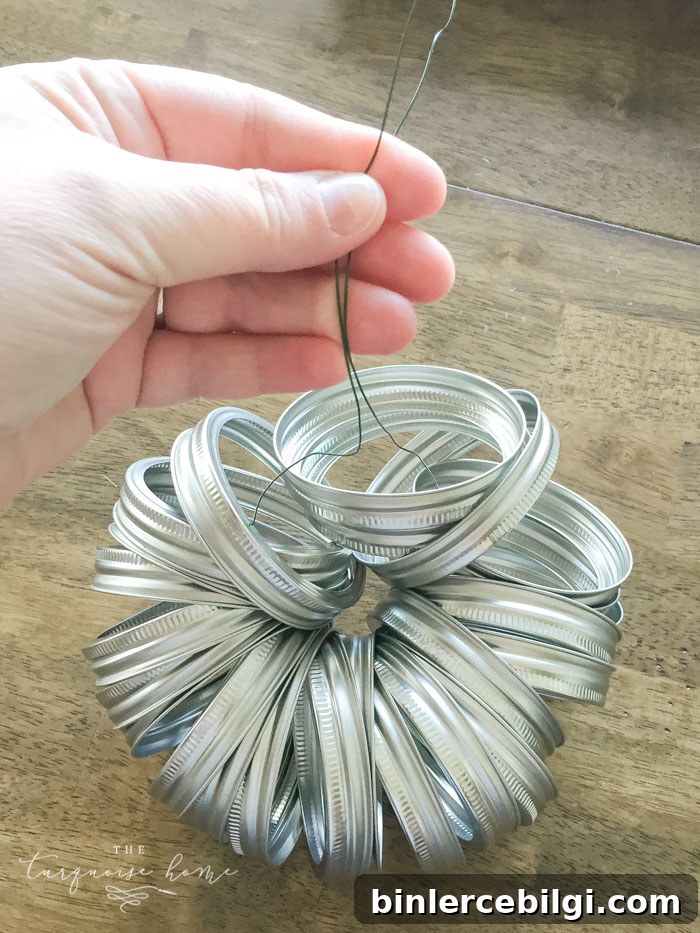
2. String the jar rings onto the wire, all facing the same direction
Slide each metal ring onto the wire so they all face the same way. Keeping them uniformly oriented gives the finished pumpkin a consistent, rounded look. If you want a slightly larger or smaller pumpkin, adjust the number of rings accordingly.
3. Tighten the wire in the middle of the bands
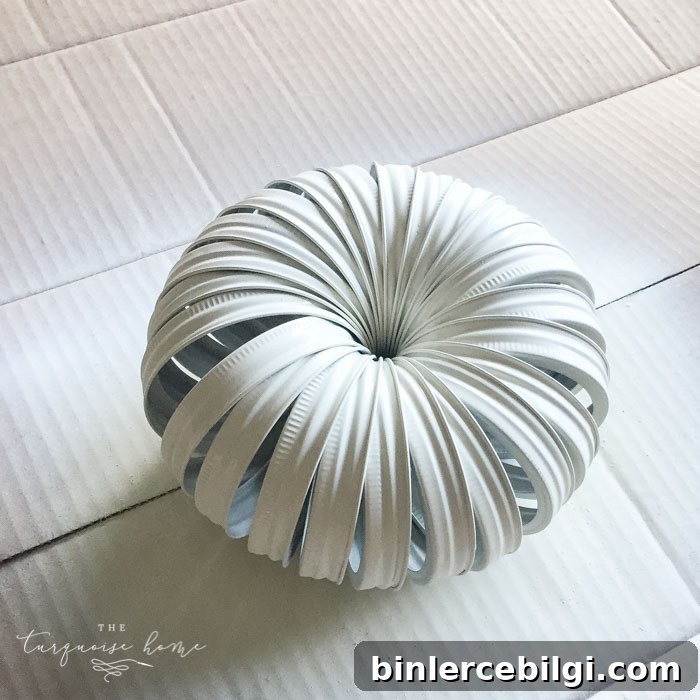
Center the group of rings on the wire and pull the wire tight at the midpoint. This step takes a little arm strength: you want the rings snug so they form a pumpkin shape rather than hanging loose like a necklace. At the same time leave a small central cavity where you’ll insert the cinnamon stick stem.
4. Spray paint the lid bands
Lay the tightened rings out on a protected surface and spray them in a well-ventilated area. Two light coats are better than one heavy coat—this helps avoid drips and gives an even finish. Chalk-style or matte spray paints give a lovely, farmhouse look and can be distressed lightly with sandpaper once dry if you want a vintage finish. Drying times vary by paint, but many chalk-style sprays are touch-dry in under 30 minutes.
5. Add the stem and embellishments
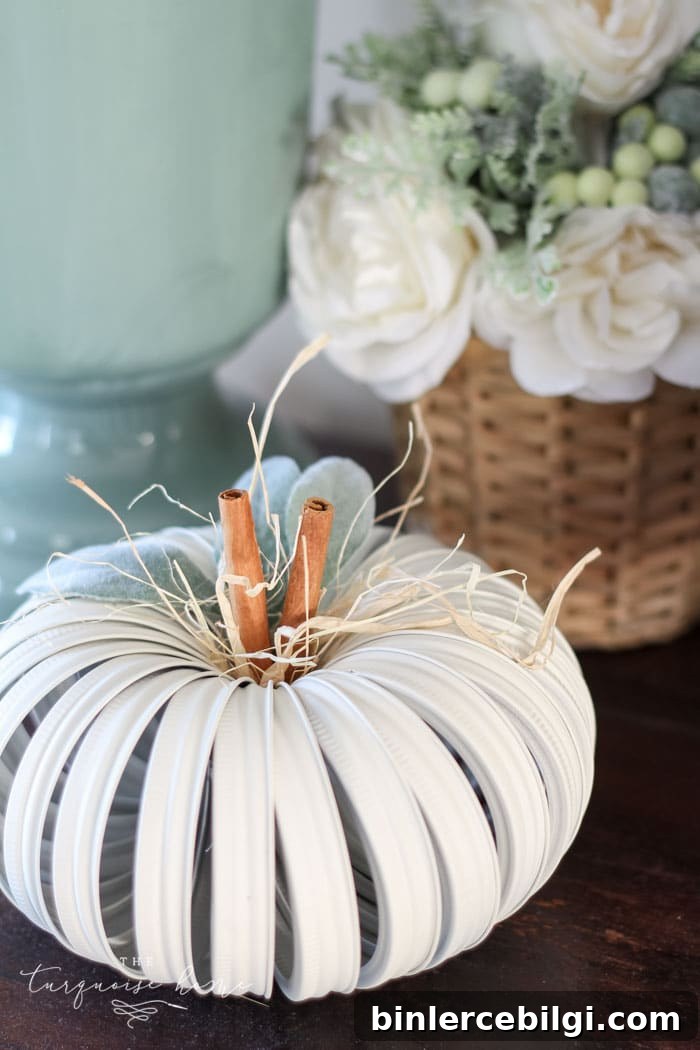
Place one or two cinnamon sticks into the center hole and secure them with hot glue. If the center is small, you can glue the sticks together first, then attach them. Now is the time to add decorative touches—tuck a small cluster of faux leaves, moss, or lamb’s ear around the stem, or tie a raffia bow for a rustic accent. Small pearls, beads, or a tiny burlap leaf also look charming. Use hot glue sparingly to keep the design clean.
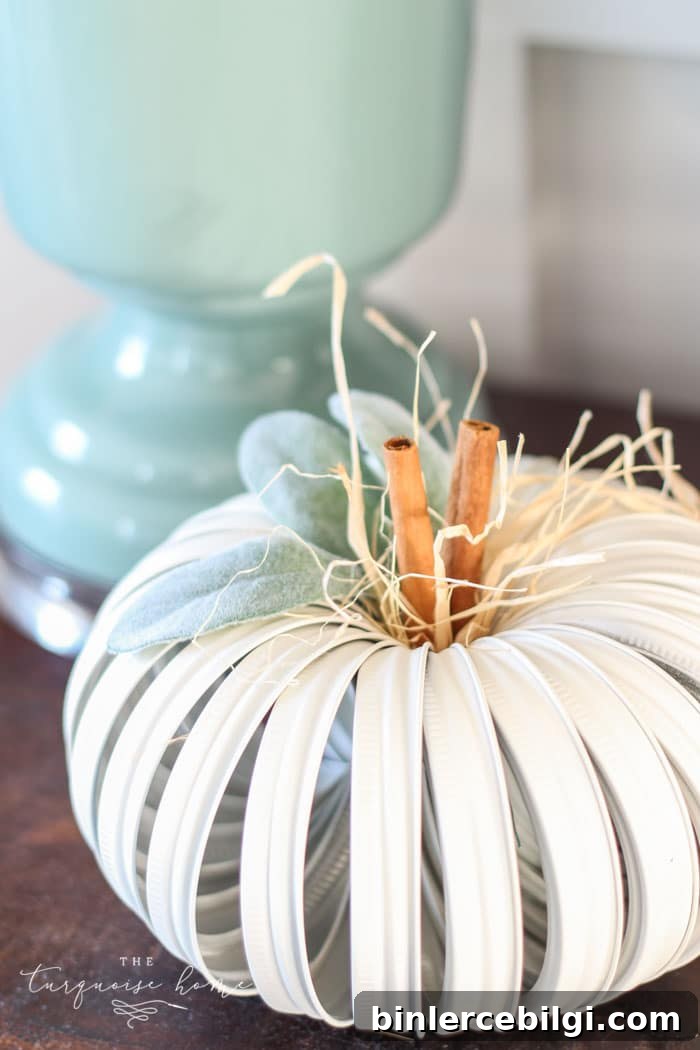
For a softer, more neutral look, choose muted paints like cream, gray, or pale sage and combine with lamb’s ear leaves and thin raffia. For a classic autumn vibe, go orange with burlap and raffia. The pumpkin is small and flexible—experiment with color and texture until it matches your decor.
Final Thoughts
This tiny mason jar lid pumpkin is quick, inexpensive, and adorable—perfect for mantels, grouped in a centerpiece, or tied to a gift as a handmade ornament. It’s a great way to use simple materials to create an eye-catching fall accent. If you prefer neutral farmhouse decor, choose soft paints and natural embellishments; if you want a traditional look, go with orange and burlap. Either way, they’re easy to personalize and make lovely little gifts for friends.
If you don’t have time to craft one right now, save or bookmark this page and come back when you’re ready. I’d love to see the variations you create—try different paint colors, stems, and trims to make each pumpkin unique.
Go ahead—gather your lid bands and wire, and get creative. Happy crafting!
More posts you may enjoy:
- 25 Amazing DIY Fall Wreaths
- Fall Centerpieces for a Cozy Home
- 25+ Free Fall Printables to Decorate Your Home
- Dough Bowl Centerpiece for Fall
- 11 Ways to Add Fall to Your Home