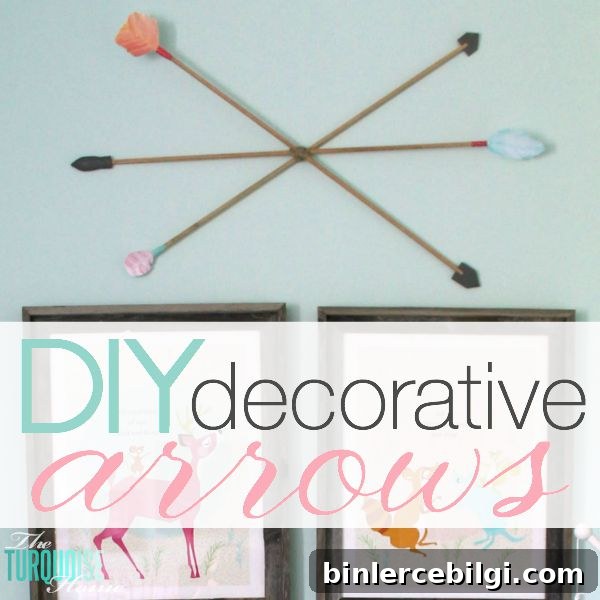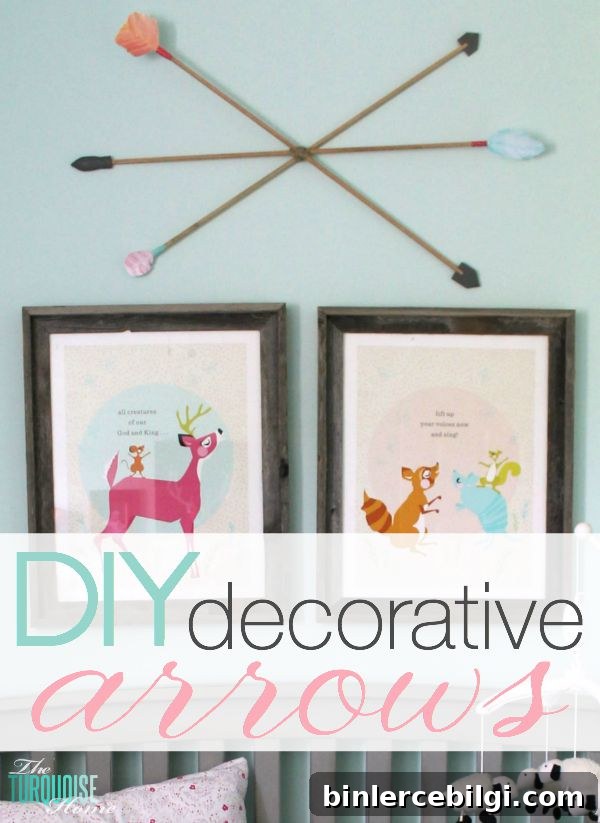
Create these simple, budget-friendly DIY decorative arrows using items you likely already have—perfect for nursery decor and woodland-themed rooms.
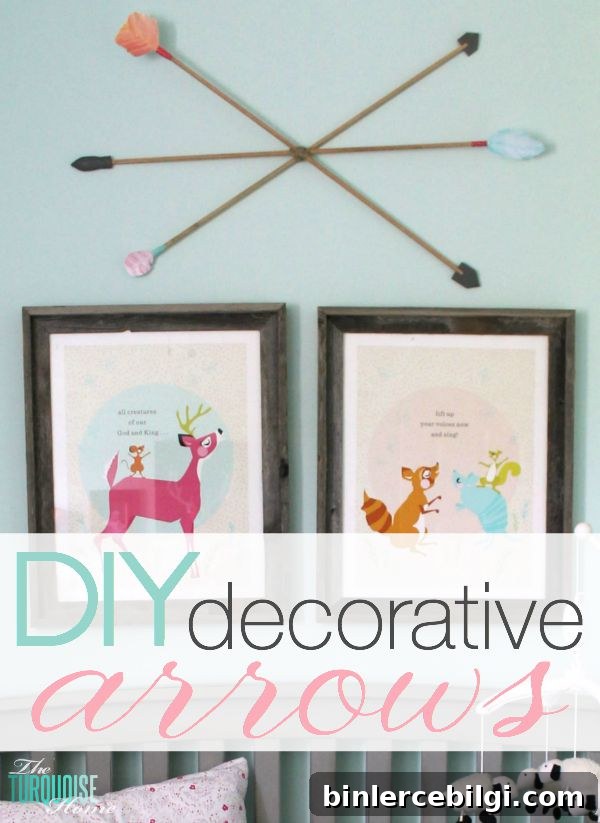
The final project from my Girl’s Woodland Nursery is a set of handmade decorative arrows that I absolutely adore. I originally planned to buy similar arrows, but when I found the ones I liked were sold out, I discovered printable watercolor feathers and a tutorial that inspired me to make my own. With just a few inexpensive supplies and a little time, these arrows became the finishing touch that pulled the whole nursery together.
What you’ll need:
1. Dowel rods (I used 5/16″ rods cut to 24″)
2. Paint stirrer sticks (wooden)
3. X‑Acto knife or sharp craft knife
4. Gray craft paint (or any color you prefer)
5. White card stock and a color printer for feather printables
6. Washi tape or decorative tape
7. Wood glue or strong craft glue
8. Wood putty (optional, for filling seams)
9. Jute or twine for hanging
Instructions:
1. Prep the dowel rods: Cut your dowel rods to the desired length. I trimmed mine to 24 inches to fit above the crib. Sand the ends lightly if needed so they’re smooth and splinter-free.
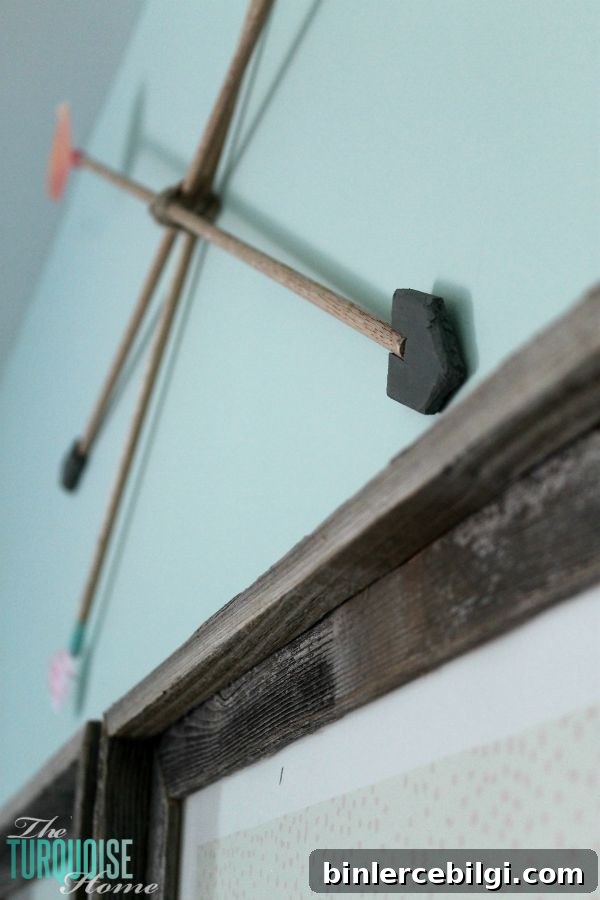
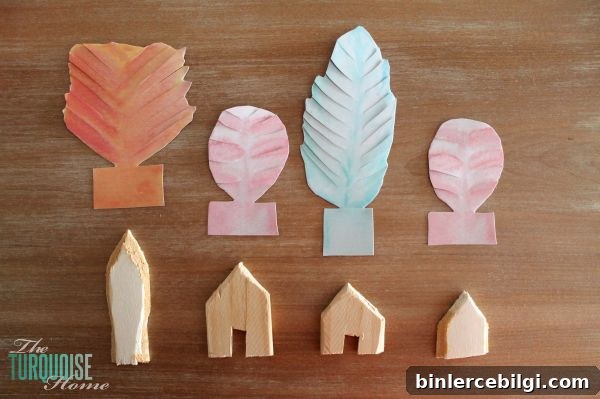
2. Shape the arrowheads: I carved arrowheads from leftover wooden paint stirrer sticks using an X‑Acto knife. If you have thicker stirrers, they can be carved as single pieces; thinner stirrers work well if you glue two together to achieve the right thickness. After gluing, use wood putty to fill any seams and sand smooth once dry so the pieces look like one solid arrowhead.
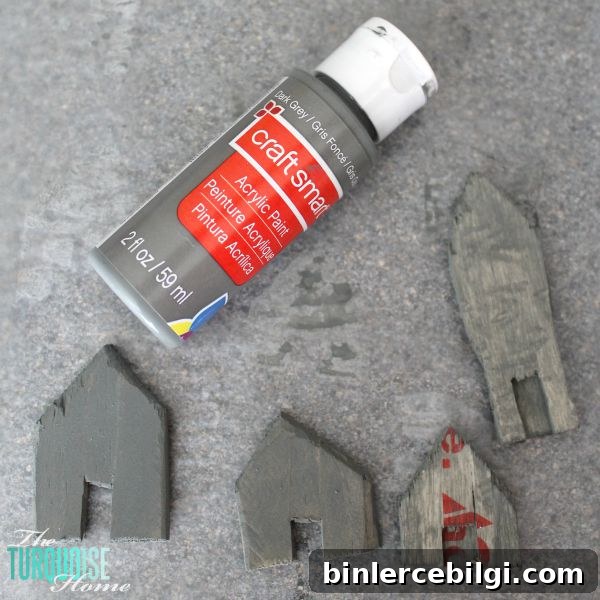
3. Paint the heads: Paint the carved arrowheads with gray craft paint for a neutral, natural look. Let the paint dry completely before attaching them to the dowels. You can distress the paint lightly with sandpaper for a vintage finish, or pick a color that matches your nursery palette.
4. Attach arrowheads: Use strong wood glue to attach the painted heads to the ends of the dowel rods. Hold them in place until they are secure, and allow the adhesive to cure according to the glue manufacturer’s instructions.
5. Print and cut feathers: Print watercolor feather printables onto white card stock. Cut each feather carefully, then make small slits along the feather edges and gently fan them out for a more realistic, three‑dimensional effect. Be deliberate with the cuts so the paper doesn’t tear—small, controlled snips produce the best results.
6. Attach feathers: Position the paper feathers near the arrow tails and secure them with narrow strips of washi tape. Washi tape is decorative and gentle on paper, but if you want a stronger hold, apply a bit of glue under the tape. Arrange the feathers in layers for depth, and trim any excess card stock where needed.
7. Final touches: Check each arrow for loose pieces and reinforce with glue or additional tape as necessary. You can add small accents—like a dab of metallic paint, twine wraps, or tiny beads—if you want extra detail that complements your nursery’s woodland aesthetic.
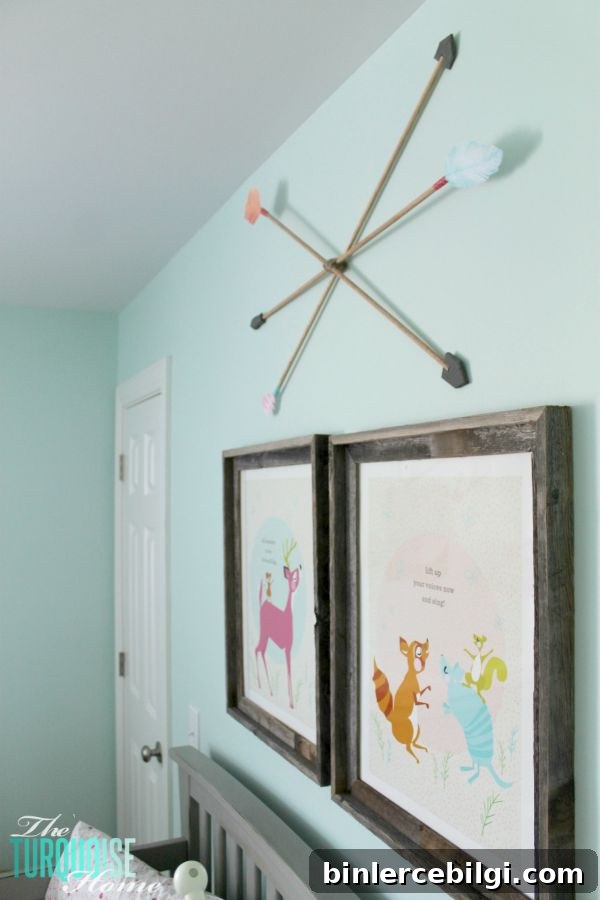
8. Hang safely: I tied three arrows together with jute and hung them above the crib. To be safe, I secured the jute to a nail so the arrows won’t fall. When hanging any decor above a sleeping area, always anchor it firmly and consider mounting it out of direct reach to prevent accidents.
These DIY decorative arrows were a low‑cost craft—aside from the small expense for dowel rods, most materials were things I already had on hand. The result is charming, custom wall decor perfect for a girl’s woodland nursery, and the project is easy to adapt to different styles or color schemes. Whether you’re making a single statement piece or several arrows grouped together, this is a simple way to add handmade personality to a nursery or any room that needs a rustic, whimsical touch.