

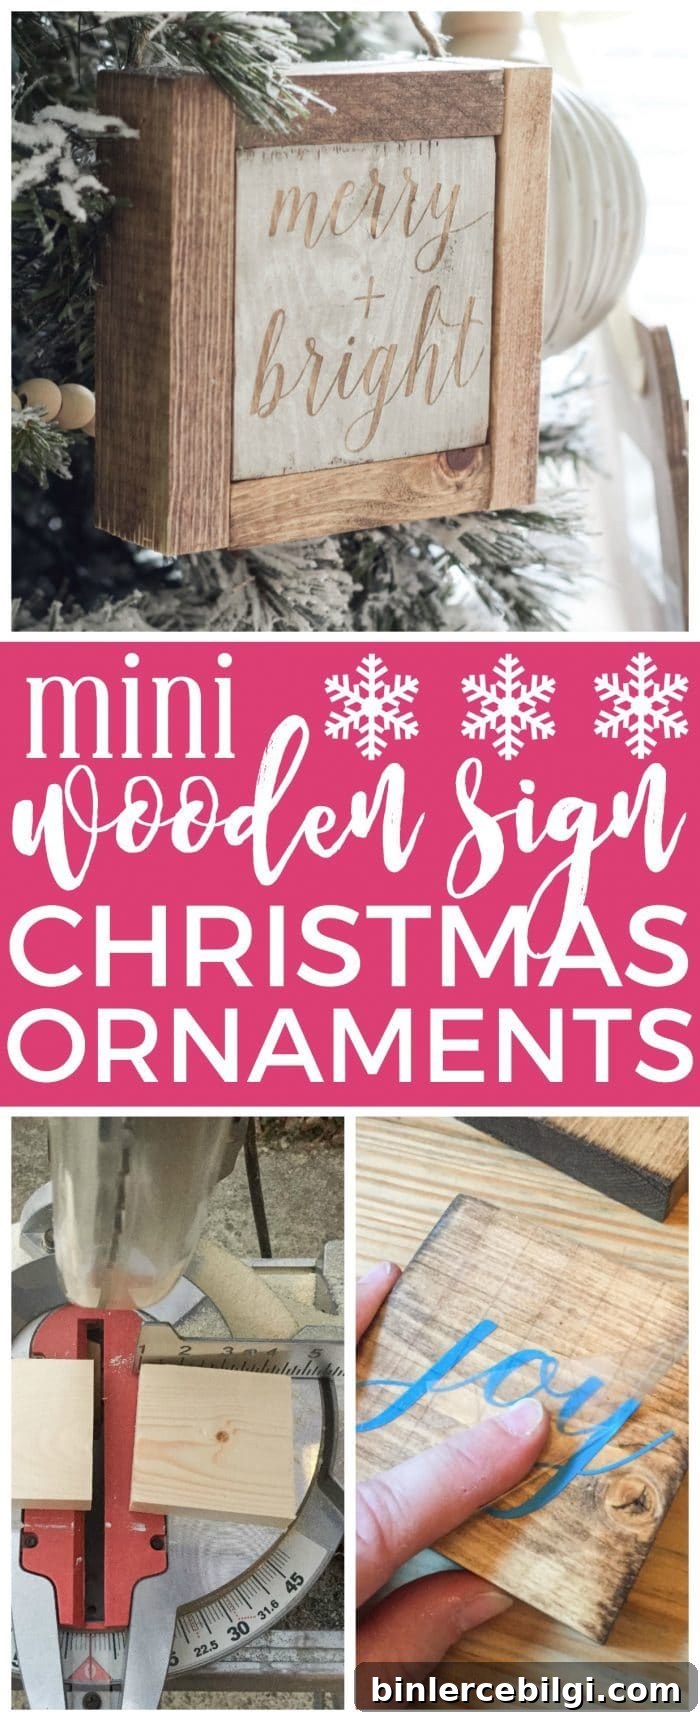
Wooden Christmas signs are one of my favorite holiday accents, so I decided to make miniature wooden sign ornaments. These tiny signs carry the same rustic, farmhouse charm as full‑size boards but cost very little and are quick to create.

If you’ve followed my projects, you know I love making wooden signs. I haven’t made dozens, but I have a handful of favorites—some on wood, some on canvas—and I prefer crafting my own pieces rather than buying them. Making your own means you choose the exact size, color, and wording you want, and it’s almost always easier on the budget.
A recent holiday market inspired me: I saw adorable mini wooden sign ornaments and realized they’re simply scaled‑down versions of the signs I already make. I adapted my usual process to build several ornaments using scrap wood and supplies I already had, so the cost was minimal.
RELATED: How to Make a Large Wooden Sign
I scaled down the techniques I use for large signs to produce tiny, three‑dimensional ornament signs. The result is a cozy, handcrafted look that works well on a tree, in a gift package, or as a small stocking stuffer.

I used materials from my scrap pile and mixed a couple of stain colors I already had. If you’re starting from scratch, these pieces are still inexpensive — a single board yields several ornaments. Note: this post originally contained affiliate links for convenience and disclosure information.
Supplies You’ll Need for Mini Wooden Christmas Sign Ornaments
- 1″ x 4″ x 6′ board — cut into 3.5″ x 3.5″ squares (as many as you want to make)
- 2 boards of 1″ x 2″ x 8′ — cut into two 3.5″ lengths and two 5″ lengths per ornament to form the sides and depth; each 8′ board will make several signs
- Sandpaper (medium and fine grits)
- 1¼″ brad nails or brad nails for your nail gun
- Wood stain in your chosen tones
- Stencil material or contact paper for cutting stencils (you can make stencils with a cutting machine or purchase small stencils sized to your boards)
Tools used:
- Miter saw (or hand saw to cut boards to length)
- Nail gun or brad nailer
- Sander or sanding block
How to Make Mini Wooden Christmas Sign Ornaments
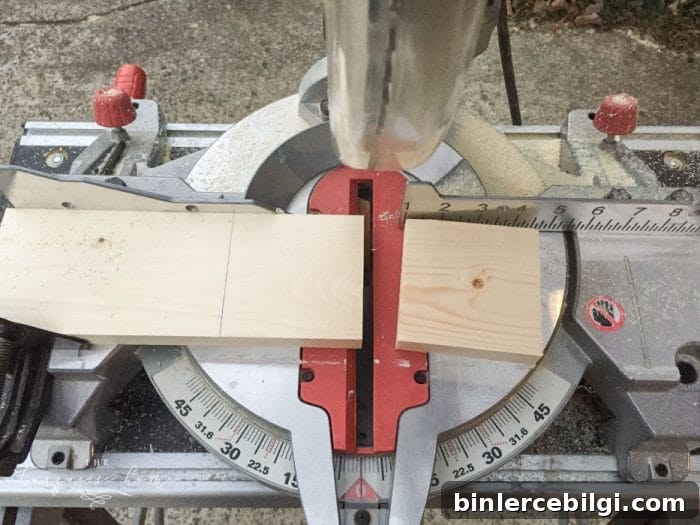
Step 1. Cut all of your boards.
Start by cutting the 1×4 board into 3.5″ segments. Because a 1×4 measures about 3.5″ across, each piece becomes a square (3.5″ x 3.5″). Then cut the 1×2 boards into the small strips that will form the sides and give the ornament depth. I cut enough pieces to make nine ornaments from my scraps.
Step 2. Stain your board pieces.
Choose a stain or mix stains to achieve a weathered, farmhouse finish. I mixed two stains to reach the tone I wanted and applied the stain evenly to all pieces, wiping off excess and allowing them to dry thoroughly before moving on.
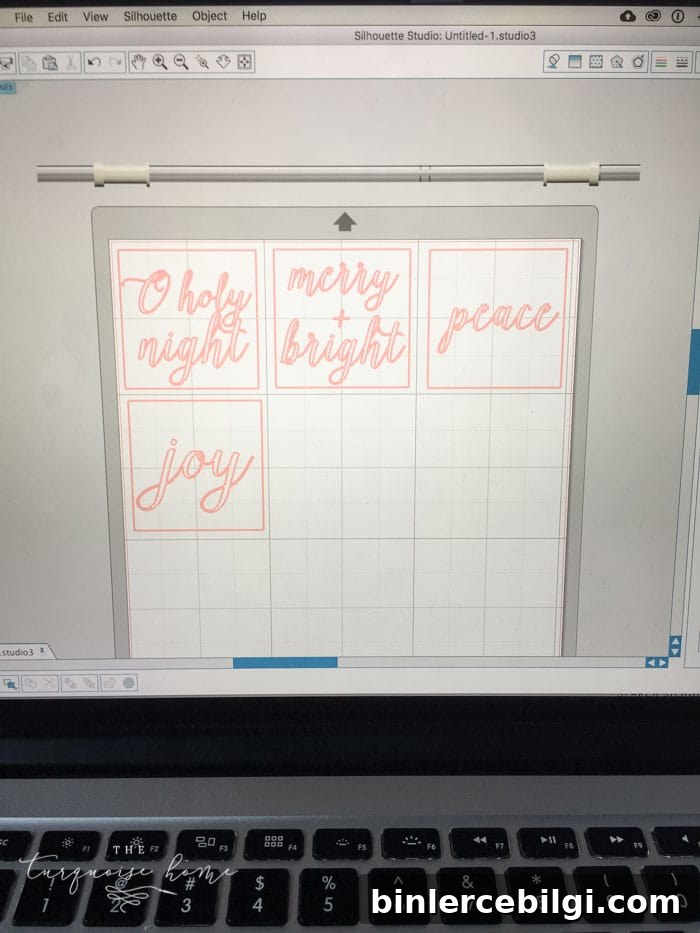
Step 3. Make or prepare the stencils.
While the stain dries, create your stencils. I used contact paper and a cutting machine, but you can hand‑cut stencils or buy ready‑made small stencils. Choose short holiday words or simple phrases that fit the 3.5″ square, such as “Joy,” “Noel,” or “Merry.”
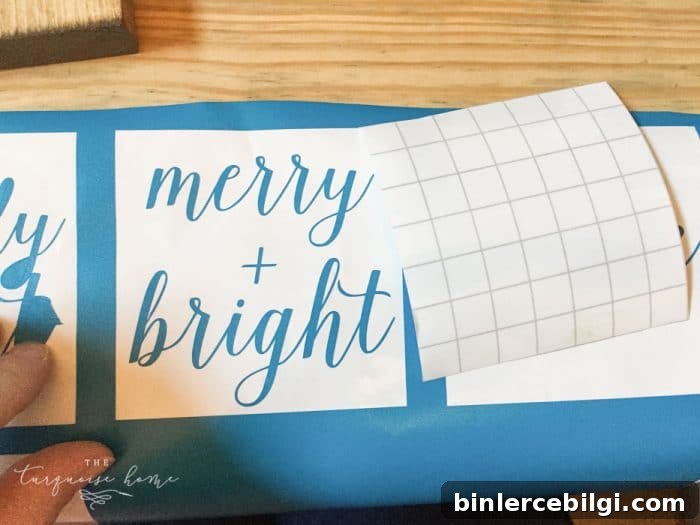
Step 4. Apply the stencil and paint the lettering.
Use transfer paper or carefully press the stencil onto the wood so it’s firmly adhered. Dab a small sponge with chalk paint or acrylic paint and pounce it over the stencil, using a light, even application. Multiple light layers give a clean edge without bleed‑through. Let the paint dry completely.
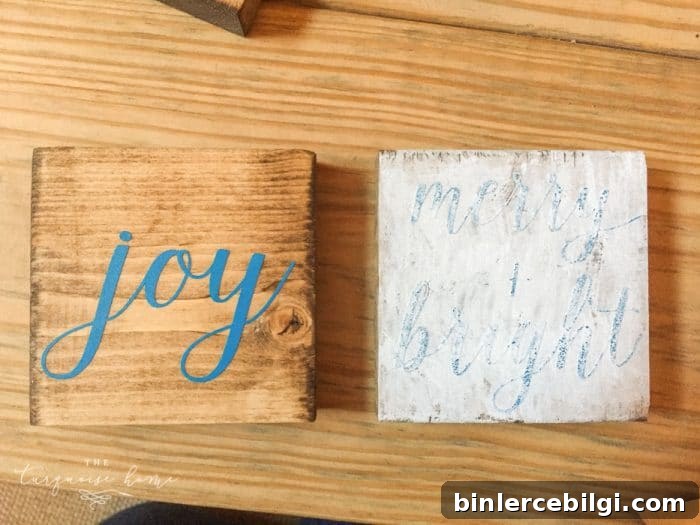
Step 5. Remove the stencil and touch up.
Carefully lift the stencil to reveal the lettering. If any edges need tidying, use a small artist brush to clean lines or add a bit more paint. Allow everything to cure before assembly.
Step 6. Assemble the ornament sides.
Attach the 1×2 side pieces to the square face using 1¼″ brad nails and a brad nailer or hammer and brads. Position the narrow edge of the side pieces toward the face to create a thicker, boxed look rather than a wide, flat strip. This gives the ornament a more finished, dimensional appearance.
Step 7. Add a hanger.
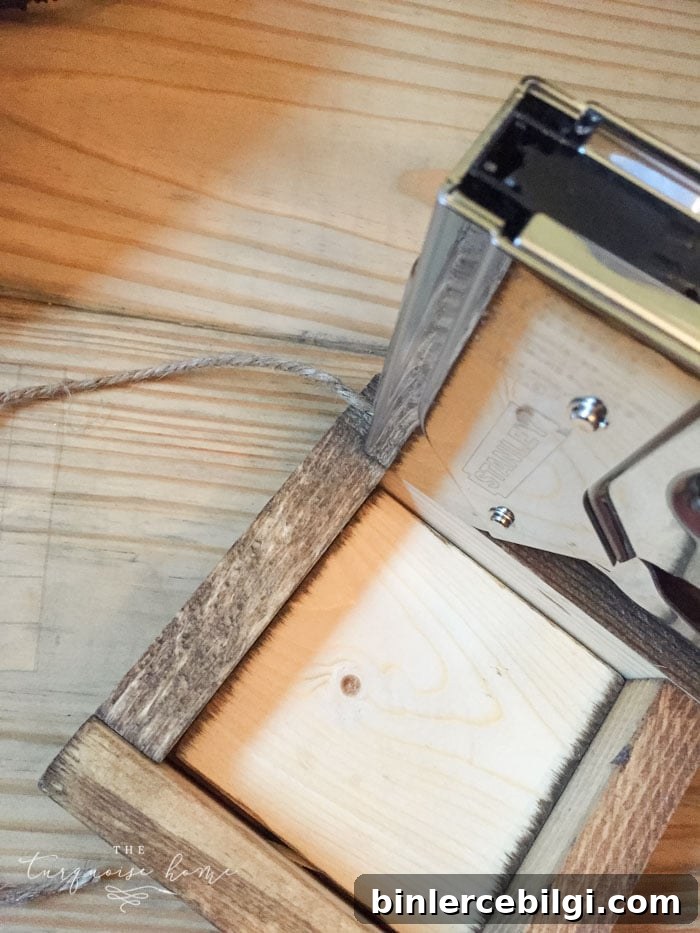
Staple or glue a short loop of twine or thin ribbon to the back of the ornament to serve as a hanger. You can also drill a small hole through the top and thread the twine through for a neater finish.
These mini wooden sign ornaments turned out adorable and make lovely additions to a rustic tree, gift tags, or handmade holiday favors. They’re small, personal, and easy to customize with different stains, fonts, and finishes.
More Posts You Will Love:
- String Art Christmas DIY Stocking Holders
- DIY Twig Christmas Tree Ornament
- 25 Amazing DIY Christmas Gifts