
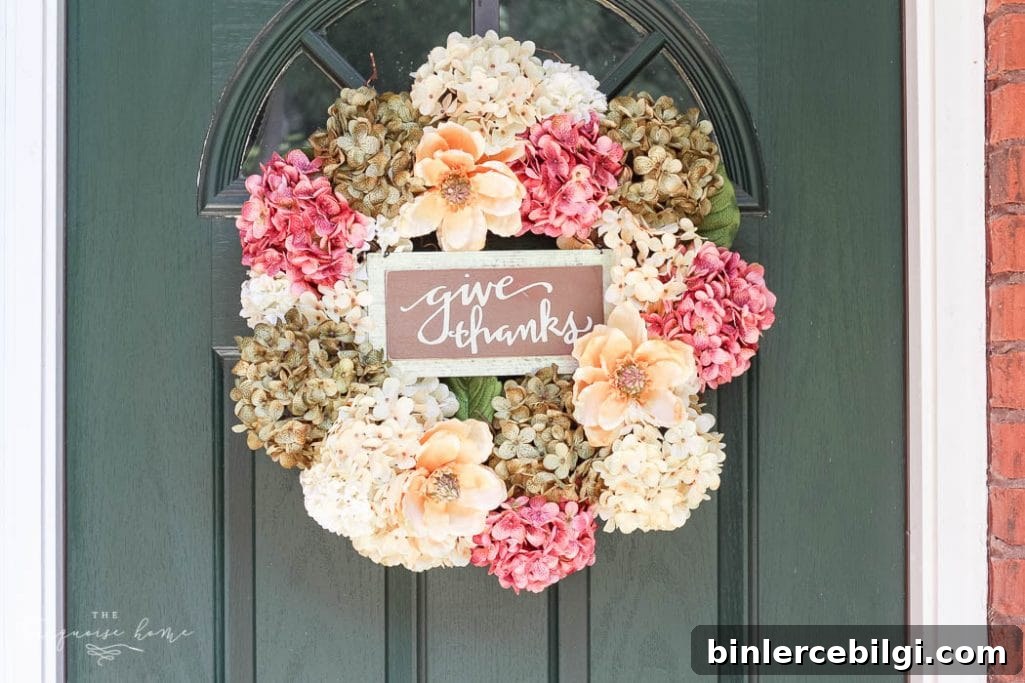
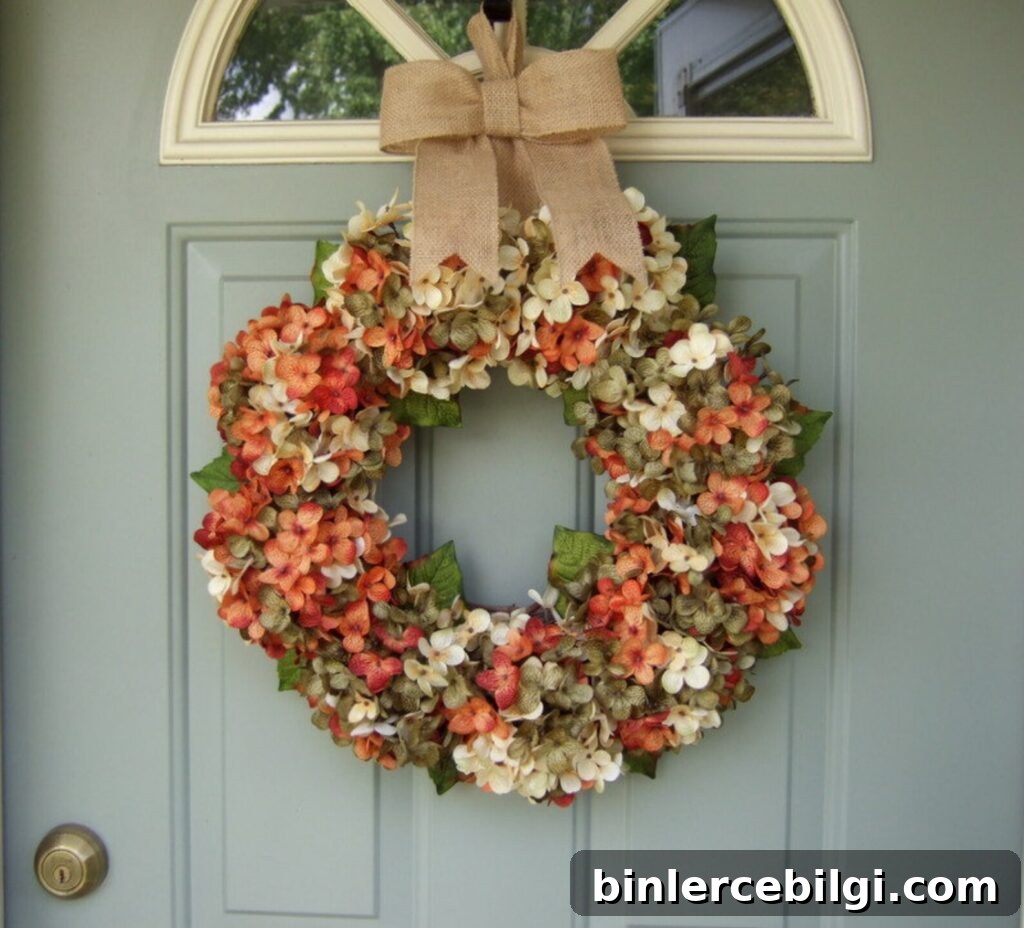
If you love welcoming a new season with a fresh wreath on the front door, this fall hydrangea wreath is a perfect choice. I made a cozy, classic wreath using a grapevine base and just a few faux stems. It’s a quick, beginner-friendly DIY that takes about 20–30 minutes and brings warm autumn colors to your entryway.
This hydrangea wreath project is incredibly simple, and I promise it’s doable even if you think you’re not crafty. I was inspired by dried hydrangea wreaths but used faux stems so the wreath will hold up year after year. It’s a versatile look that doesn’t scream Halloween or pumpkins—so you can display it throughout autumn, with or without a seasonal sign.
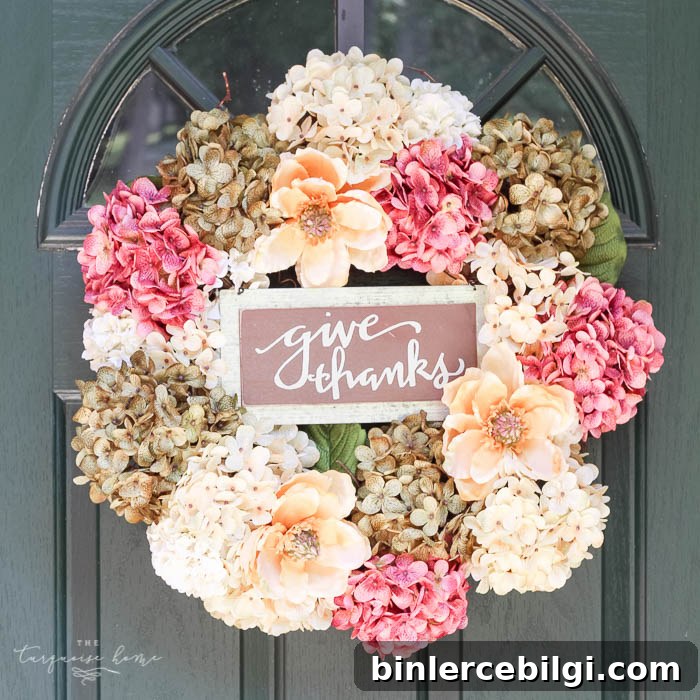
I’ve used store-bought wreaths before, but I enjoy changing up my front door decor. Upcycling a grapevine wreath or building one from a blank base let you pick the exact colors and texture you want—rust, cream, plum, and soft greens are great fall choices. I added a small sign to one version, but the floral wreath looks charming on its own.
Even if you’ve got a black thumb like me, faux florals make decorating stress-free. They look realistic at a distance, last through the season, and allow you to re-use the wreath year after year. If you prefer real dried hydrangeas, this design will work with those too, but faux stems are the easiest route for most people.

This post contains affiliate links for your convenience.
Supplies Needed for Your Fall Hydrangea Wreath
- 14–18 inch grapevine wreath base (new or recycled)
- 6–8 faux hydrangea stems in fall tones (rust, cream, plum, blush)
- A few faux magnolia blooms or other accent flowers
- Optional small filler blooms or green snowball flowers for texture
- Floral wire or a hot glue gun
- Floral wire cutters or strong scissors
- Optional small fall sign or ribbon for the center
This project is so straightforward it might surprise you. Gather your supplies, clear a workspace, and you’ll be ready to assemble in no time.
Steps to Make a Fall DIY Hydrangea Wreath
1. Gather Your Supplies
Start by setting your grapevine wreath on a flat surface. If you’re upcycling an old wreath, brush off dust and straighten any warped vines. Lay out your faux stems so you can see the colors and plan where each bloom will go.
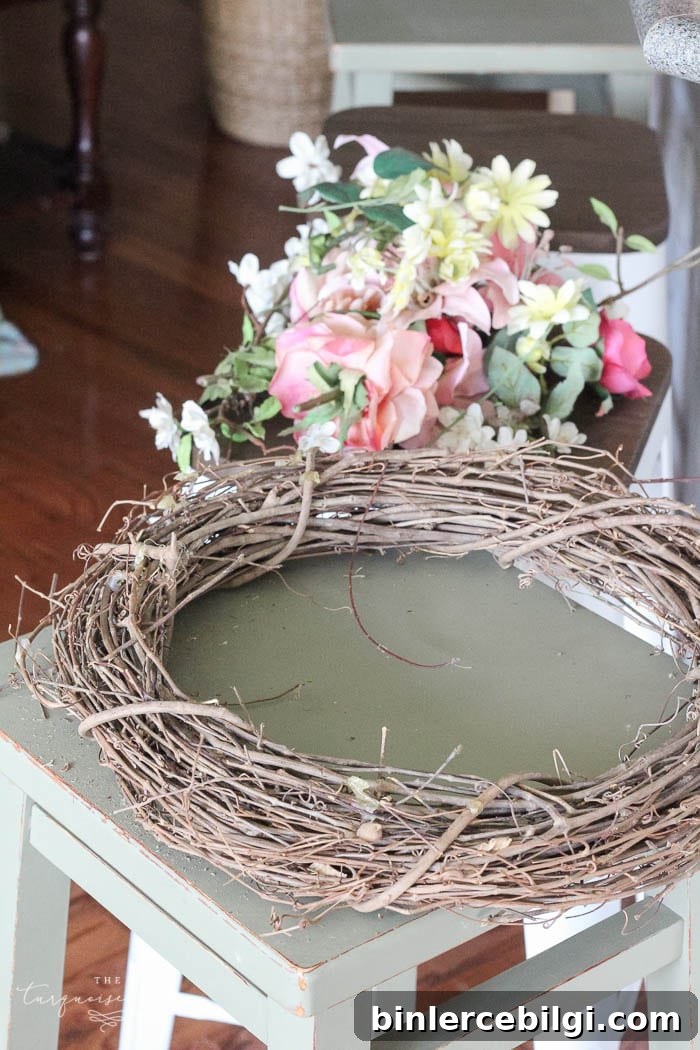
Using a wreath you already own is a great way to give it new life. My grapevine base had sentimental value and upcycling it into a fall wreath felt lovely and sustainable.
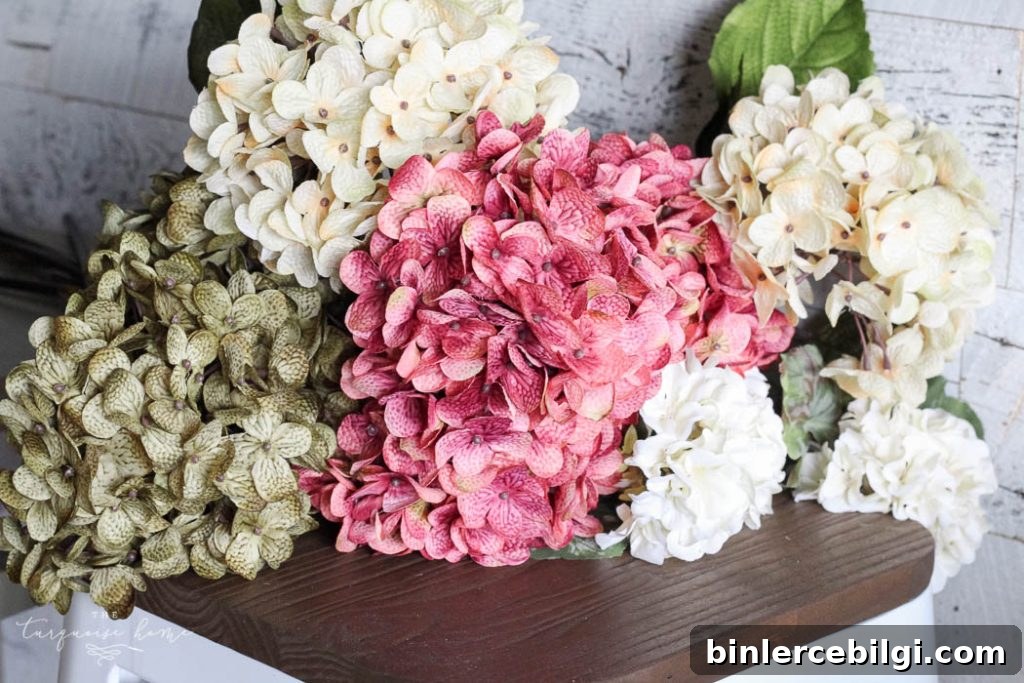
2. Prep the Stems
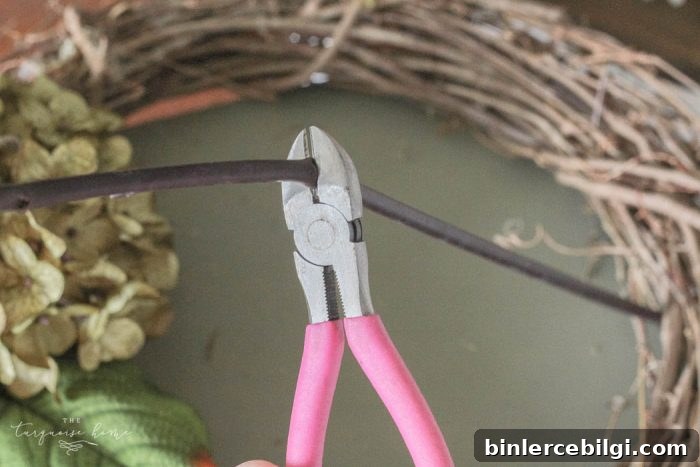
Trim each faux stem to about 10–12 inches using floral wire cutters. Leaving this length gives you enough stem to secure through the wreath while keeping the blooms sitting naturally on the front of the base.
3. Arrange the Floral Stems in the Wreath
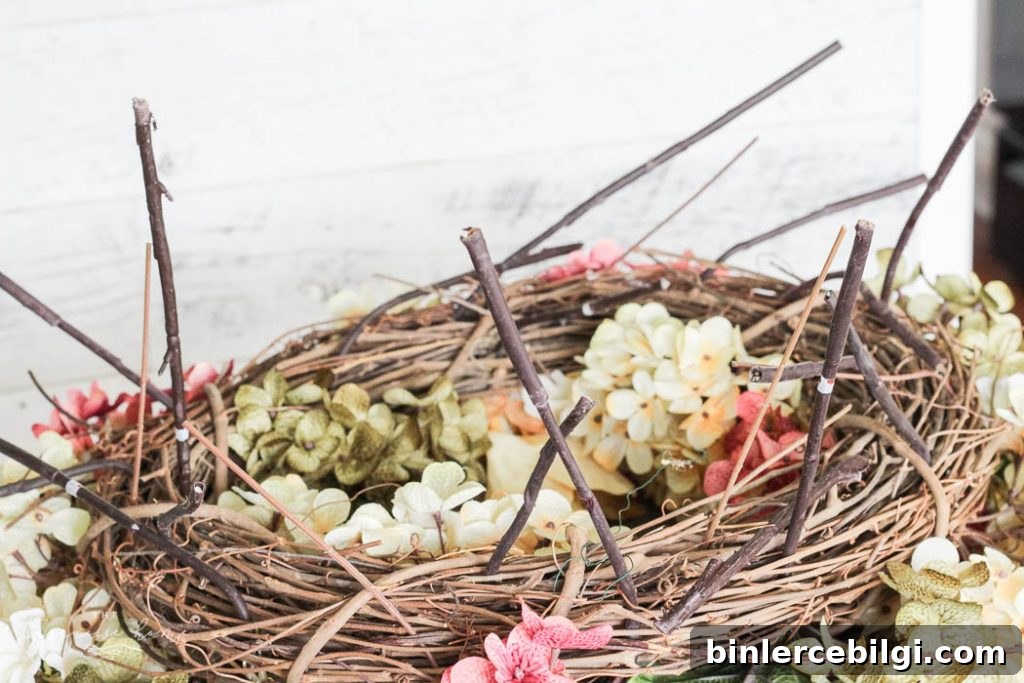
Push each trimmed stem through the grapevine base so the bloom sits where you want it. Arrange stems in the same general direction for a cohesive look. Use larger hydrangea heads as your anchors and tuck smaller blooms and magnolia accents in between.
4. Secure the Stems in Place
Once the arrangement looks balanced, flip the wreath and tuck the stem ends into the back of the grapevine. For extra security, wrap floral wire around the stems and wreath or add a small dab of hot glue at the underside where stems meet the base. If you want a cleaner back, trim stems short before gluing.
5. Optional: Add a Cute Sign
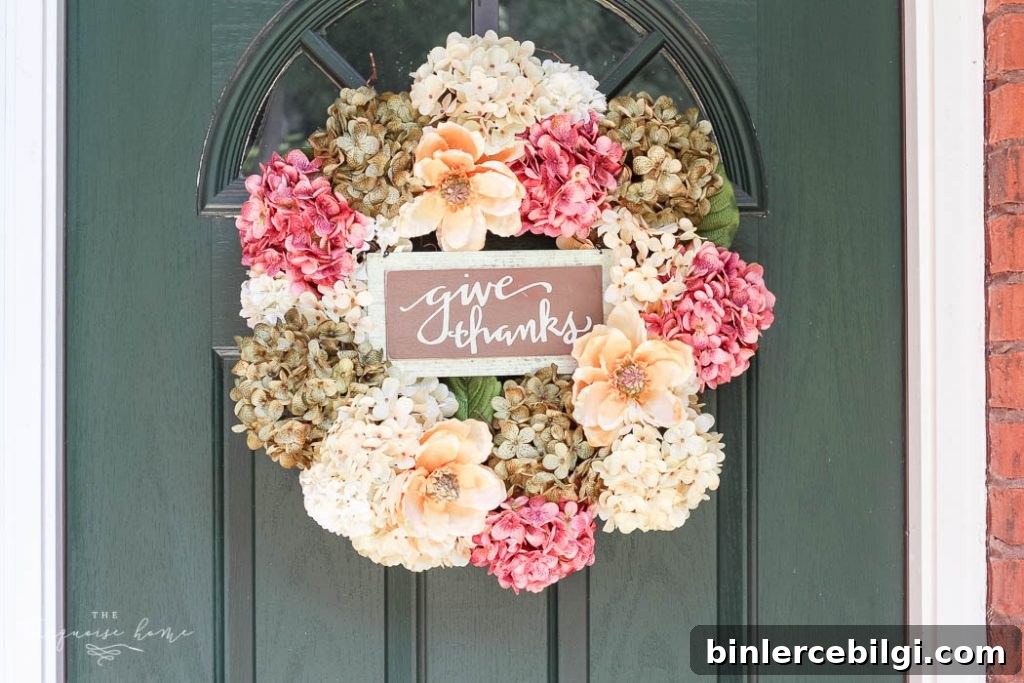
If you like, attach a small fall sign to the center with floral wire or thin twine. You can save the sign for Thanksgiving or keep the wreath plain for a more timeless look.
6. Hang and Enjoy Your Beautiful Fall Hydrangea Wreath
This wreath took about 30 minutes from start to finish. Hang it on your door or a covered porch—faux florals are best protected from heavy rain and direct sun but will hold up well in a sheltered spot. The finished wreath adds instant warmth and charm to your entryway.

I love how this fall hydrangea wreath makes my front door feel welcoming—small handmade touches like this make a house feel like home. If you try this, choose colors that reflect your personal style and don’t be afraid to mix textures for a more natural appearance.
Tips for Styling Your Wreath
- Tie a velvet or linen ribbon at the bottom or top for extra texture.
- Pair the wreath with neutral pumpkins, lanterns, or a doormat to create a cozy entry vignette.
- For a long-lasting display, keep the wreath out of direct sunlight and rain.
- Mix in small faux greenery or berries to add depth and seasonal interest.
Hydrangea Wreaths to Purchase
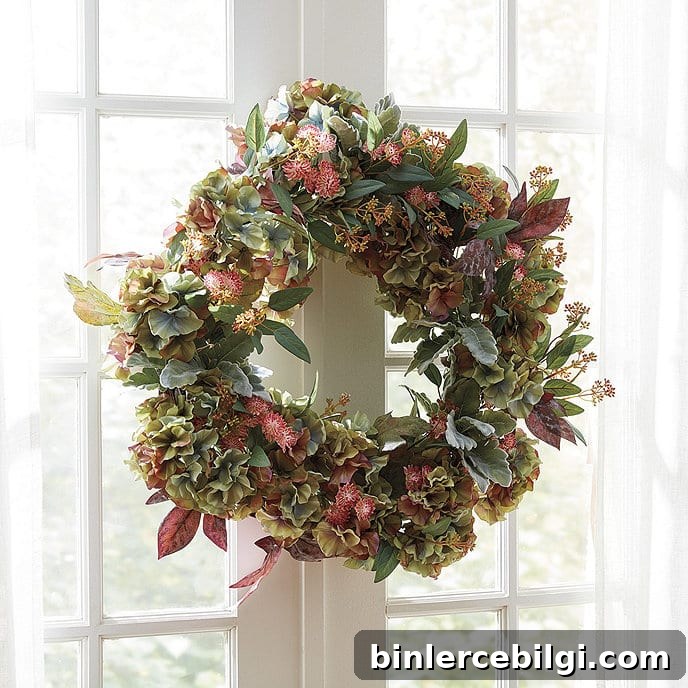
If you’re short on time, there are many attractive faux hydrangea wreaths available for purchase in a variety of color palettes. Choose one that complements your door color and seasonal decor.




More DIY Wreath Ideas:
- How To Make A Patriotic Wreath
- DIY Winter Wreath with Bells
- DIY Summer Lemon Wreath
- DIY Boxwood & Bicycle Spring Wreath
- Simple Spring Wreath with Peonies
- Cotton Wreath with Free Printable Monogram
Would you make a wreath like this? It’s a quick, affordable way to update your home for the season and can be customized to match your decor. Happy crafting!