
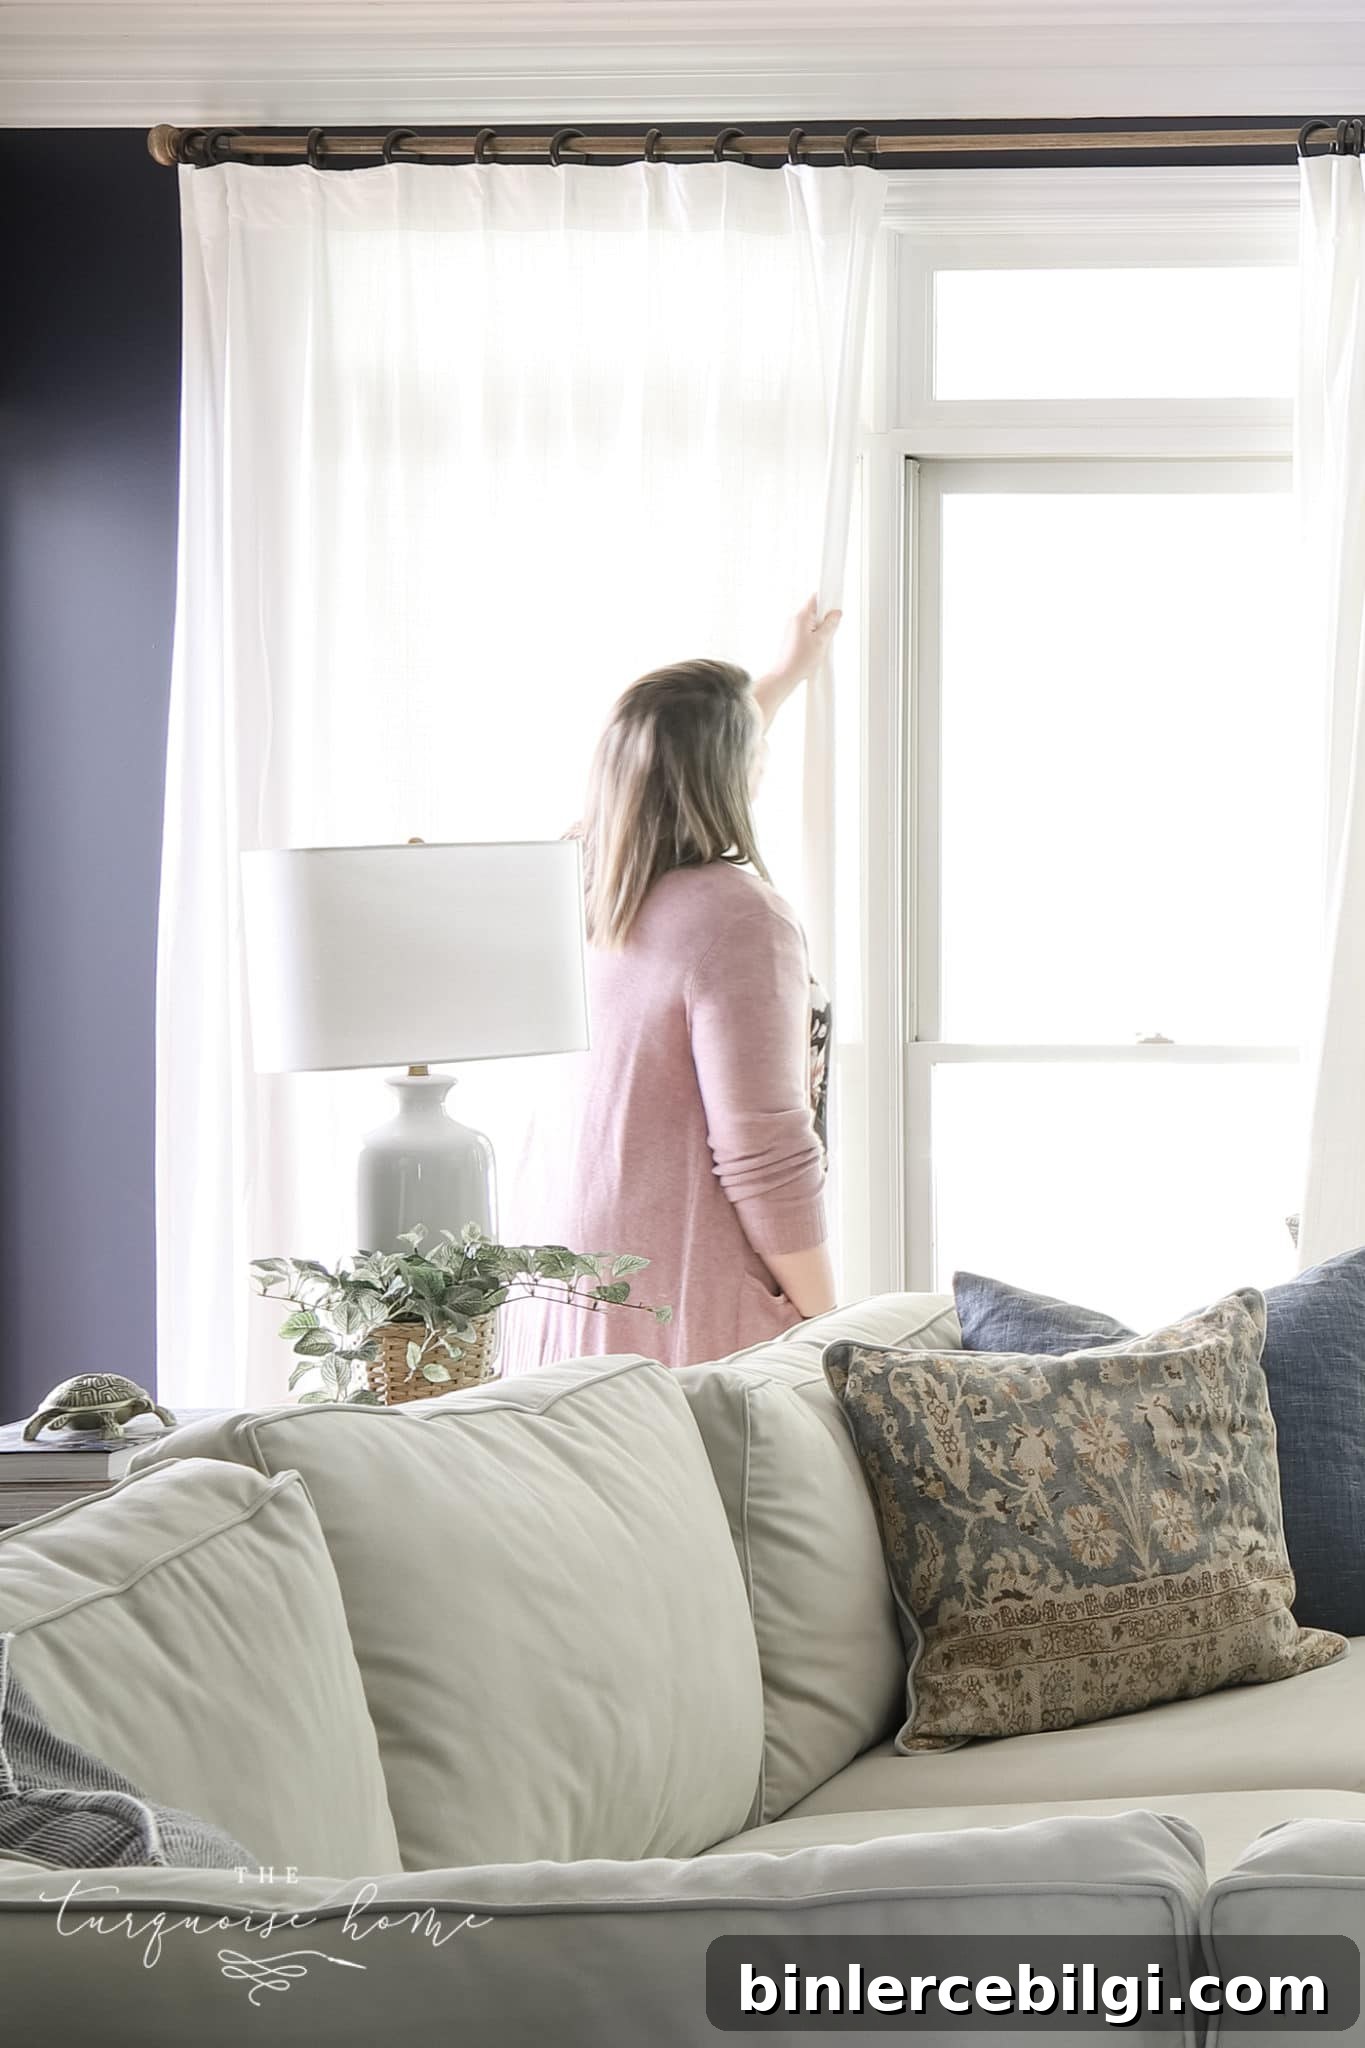
You’ve chosen the perfect fabric, color, and hardware—now it’s time to hang your curtains. Turning a mood board into a finished window treatment is one of the most satisfying home projects, but the installation can feel tricky. This clear, step-by-step guide will walk you through how to hang curtains correctly, avoid common mistakes, and get a polished, designer look.
I’ve hung many curtains over the years and learned a few shortcuts and rules that make the process faster and neater—no extra holes in the wall. Below you’ll find a practical checklist of supplies and a step-by-step process for measuring, choosing the right panel sizes and rods, installing brackets, and hanging your curtains with confidence.
This post contains affiliate links for your convenience. See my full disclosure policy.
Supplies You Will Need to Hang Curtains
- Measuring tape (metal tape recommended)
- Level (or laser level if hanging across several windows)
- Pencil and a notepad for sketches
- Stud finder
- Drill and appropriate drill bits
- Screwdriver
- Ladder or step stool
- Drywall anchors (for mounting when you can’t hit studs)
- A helper for holding rods and lowering panels (optional but helpful)
- Curtain rods and brackets
- Your chosen curtain panels
How To Hang Curtains
Before buying panels or choosing hardware, take accurate measurements and decide on the overall look you want—high and wide for drama, or close to the trim for a tailored aesthetic. Planning ahead ensures the right panel width, length, and rod size so the finished result looks intentional and custom.
1. Measure Your Windows & Do the Math
Start with a tape measure and a quick sketch. Note the width and height of each window and, if you’re treating several windows together, measure the combined width as well. Measure twice (or three times) to be sure.
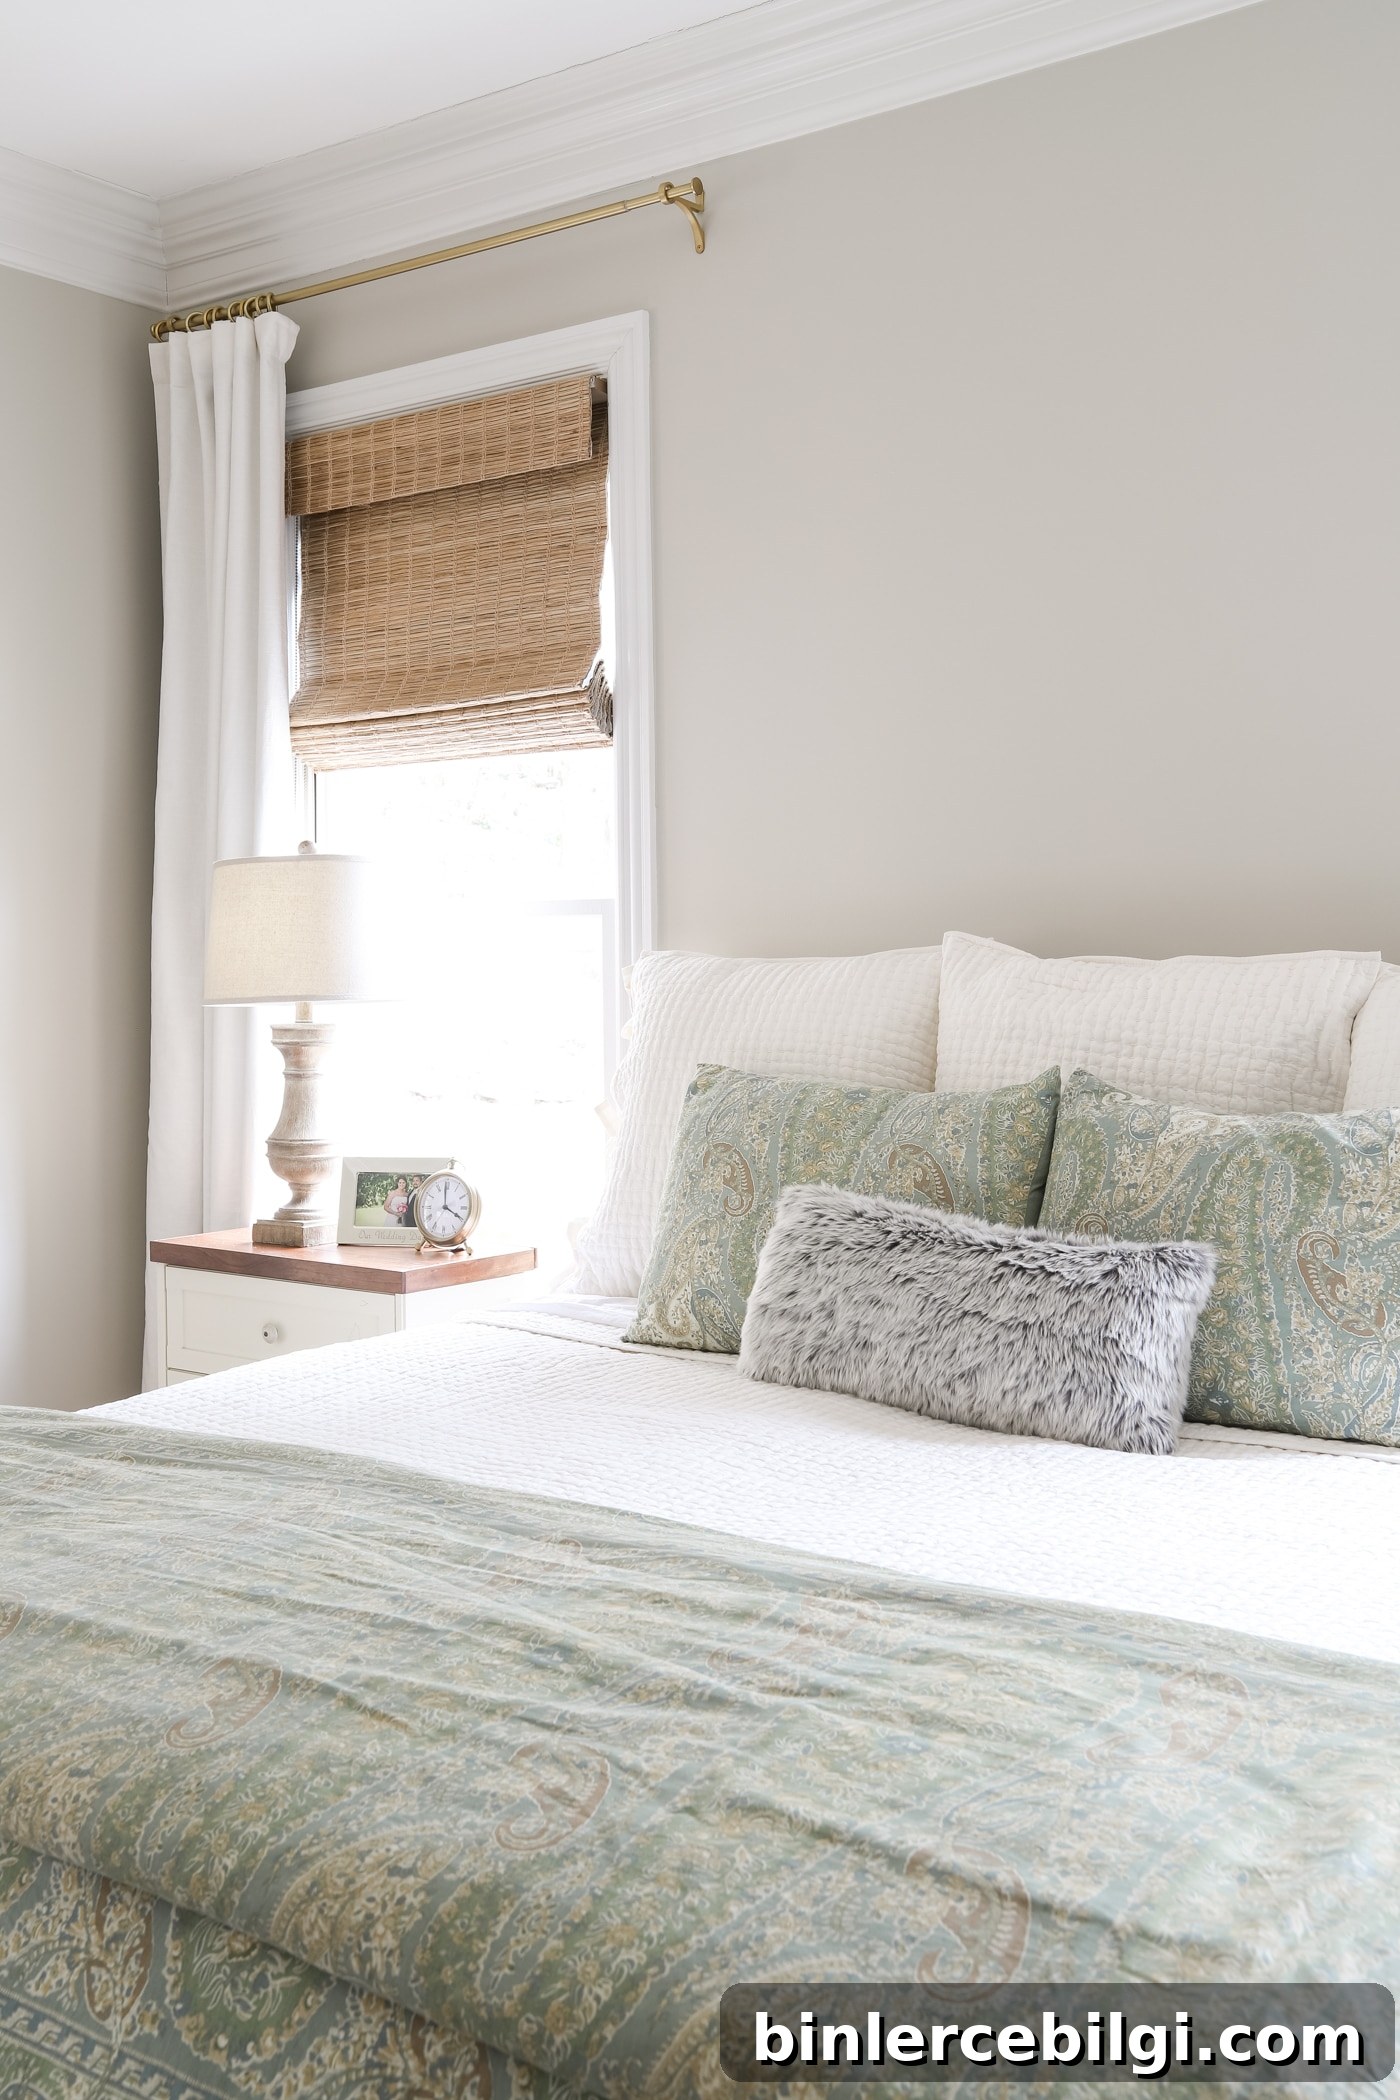
For bracket-mounted rods, measure the width from the outer edge of the trim on one side to the outer edge on the other. For height, decide how high you want the rod above the window—typically 4 to 6 inches above the frame for a high-and-wide look. For full floor-to-ceiling curtains, measure from about 4–6 inches above the frame down to the floor. If you’re using a tension rod for an inside mount, measure inside the frame instead.
2. Choose the Best Curtain Width
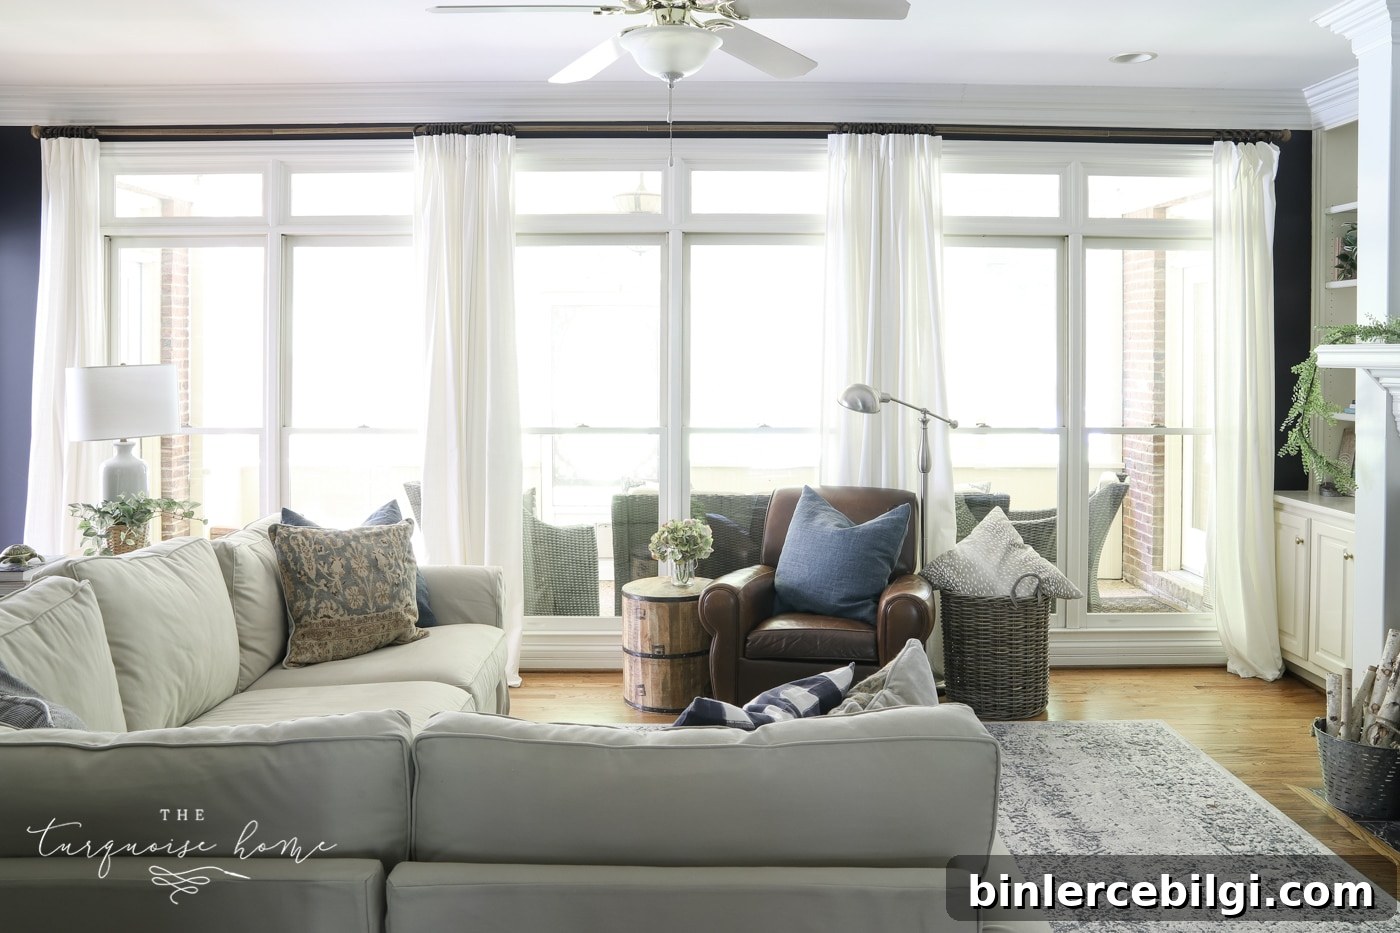
A good rule of thumb: add 6 inches to each side of the window (12 inches total) to determine the total curtain coverage. If your window width is 48 inches, the total becomes 60 inches. Divide that total by the number of panels you plan to use—usually two—so each panel would be at least 30 inches wide. For a fuller look, choose wider panels or add extra panels for lightweight fabrics.
3. Choose the Best Curtain Length
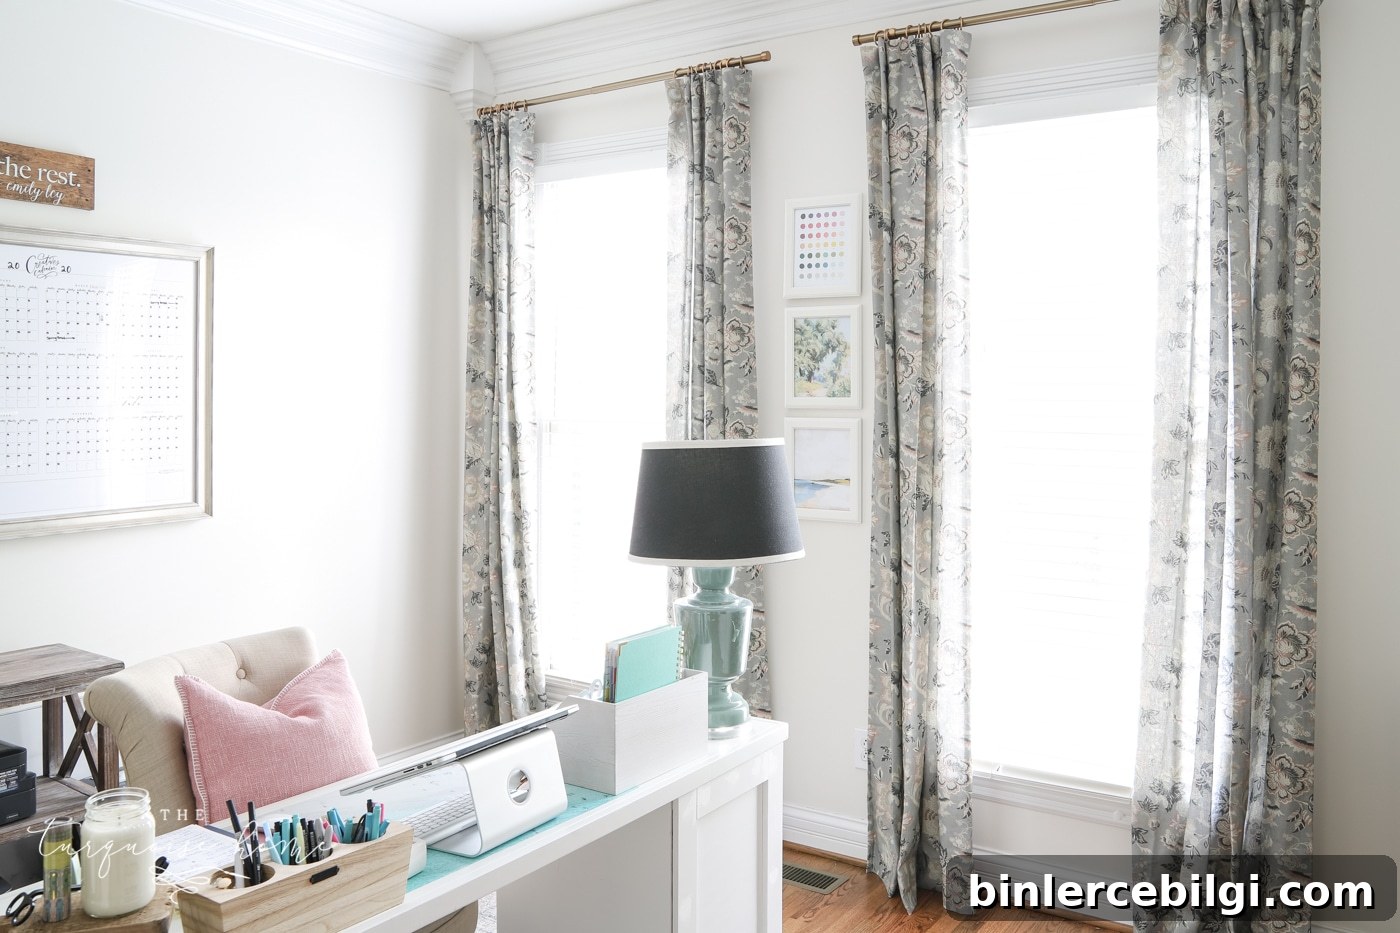
Curtain length affects the room’s scale. Hanging curtains high—close to the ceiling or several inches above the window frame—makes a room look larger. Typical curtain lengths are 63, 84, 96, 108, and 120 inches; choose the length that matches your measured distance from rod to floor.
If you open and close the panels frequently, aim for about a half-inch clearance from the floor. If the panels are mostly decorative or used infrequently, a slight puddle can add a luxurious look, especially in bedrooms. Avoid long puddling in high-traffic areas where dust and tripping hazards are concerns.
4. Choose the Best Curtain Rod Length
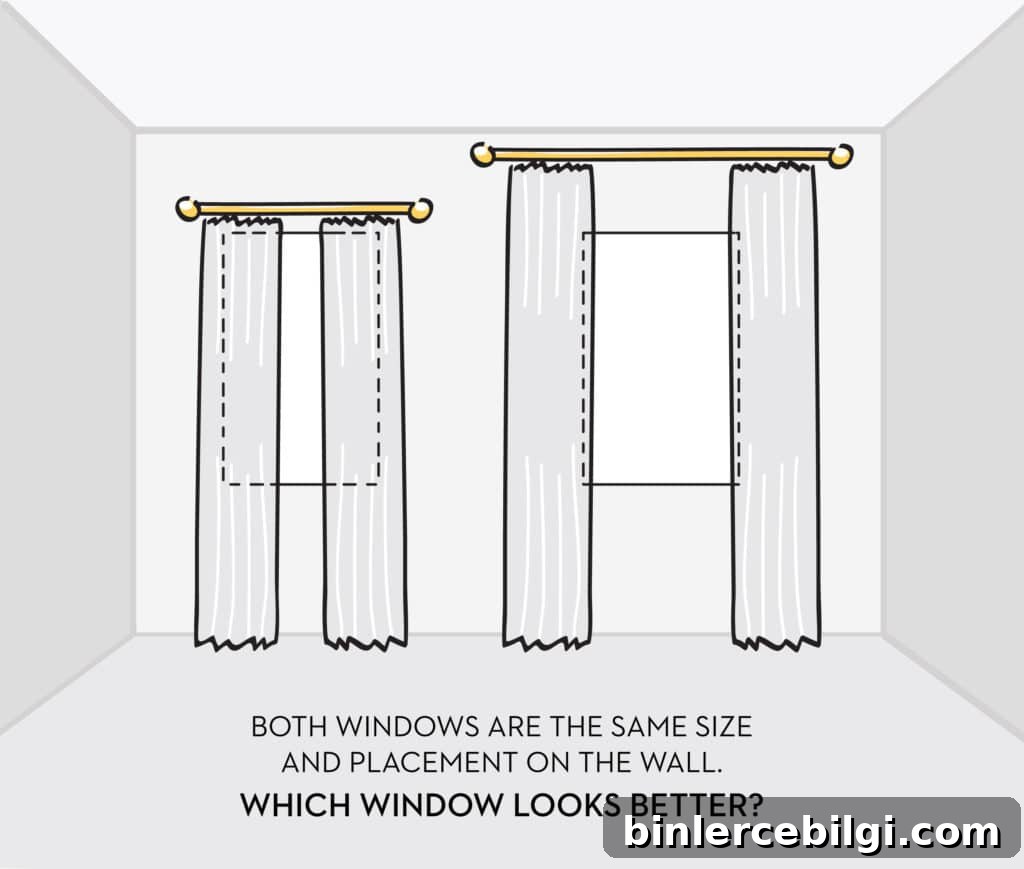
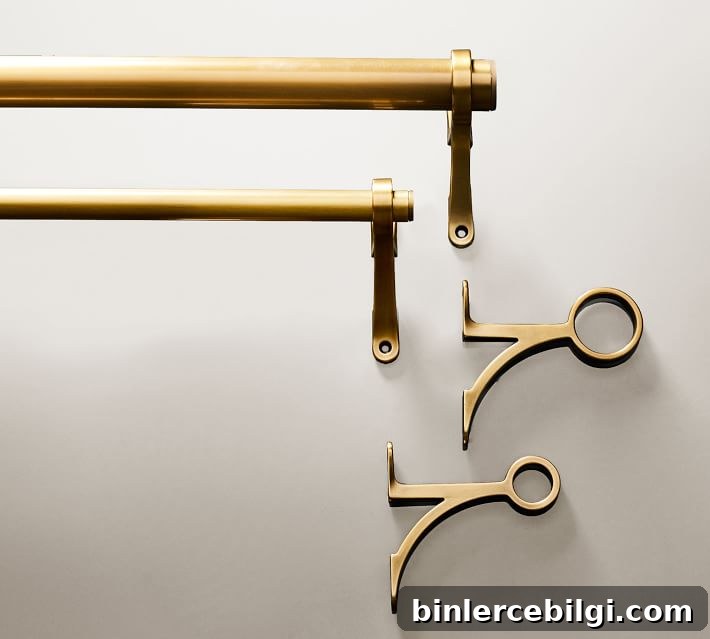
To determine rod length, start with your window width and add 8–12 inches total, or 4–6 inches on each side. A 48-inch window, for example, will usually take a rod between 56 and 60 inches. Account for decorative finials when ordering a rod, and remember that rods typically need a middle support bracket every 60 inches to prevent sagging—so plan bracket placement accordingly.
5. Install Curtain Rod Brackets
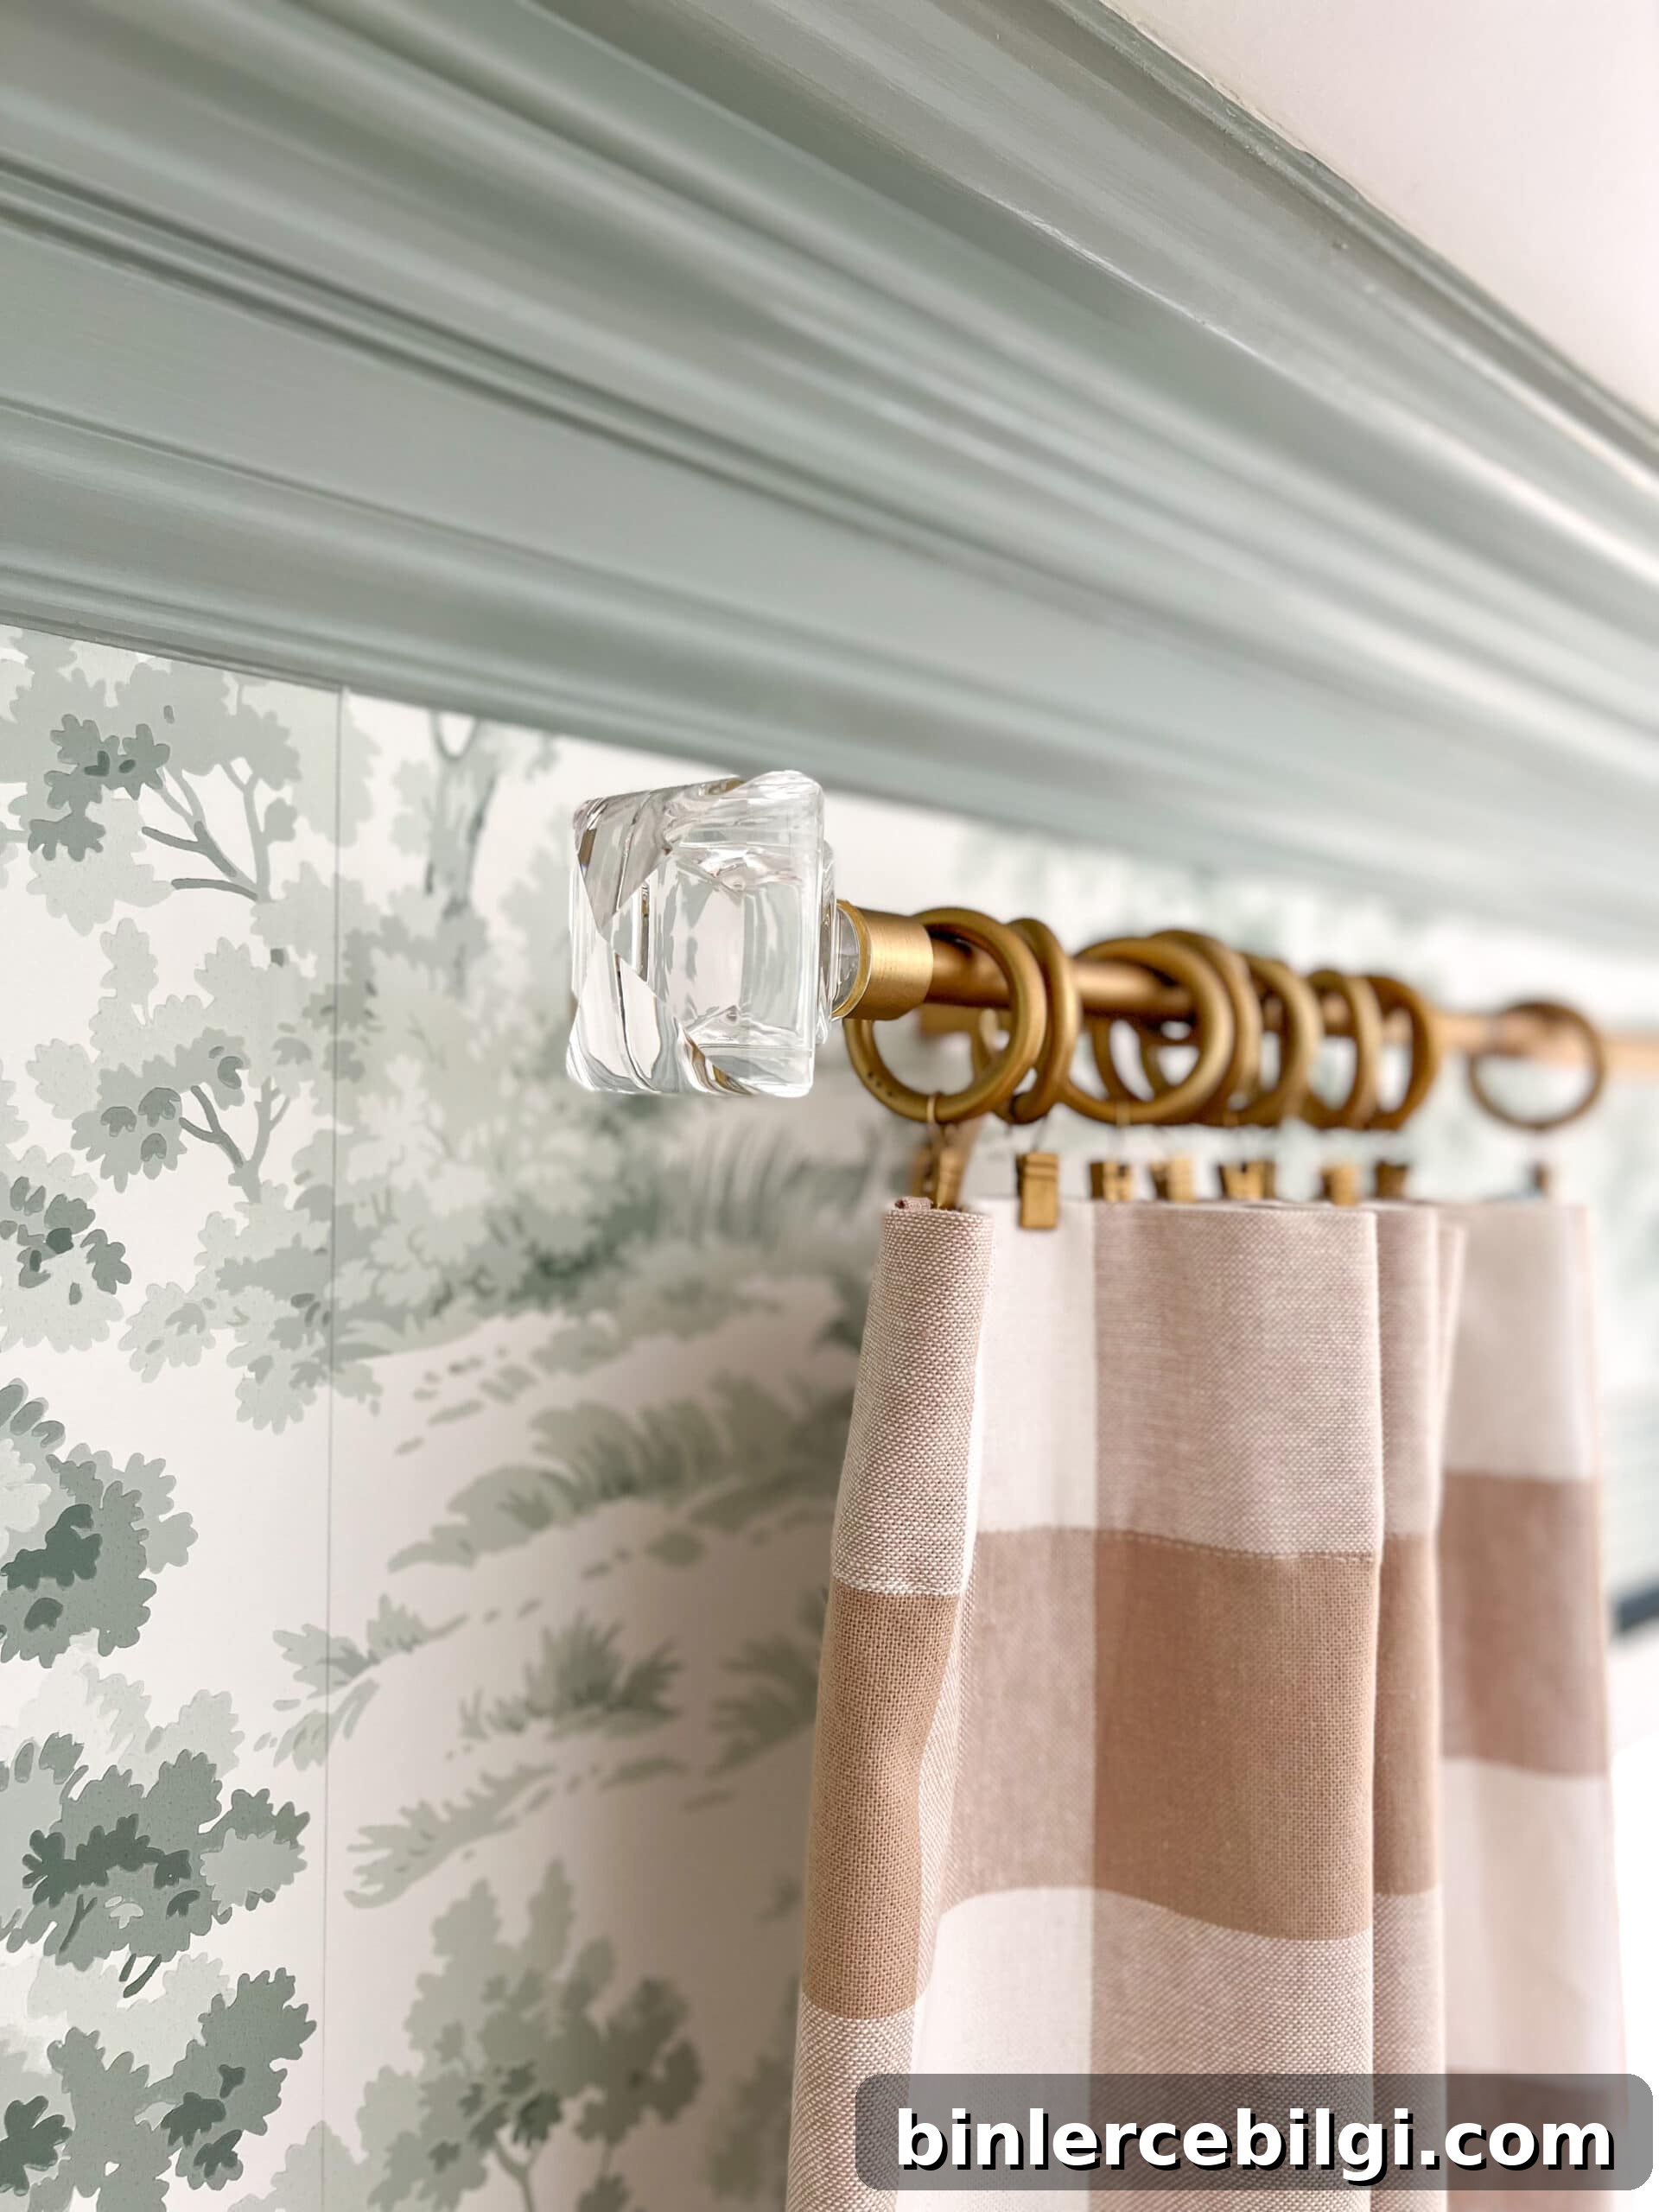
With your rod length and bracket locations planned, mark bracket holes about 3 inches horizontally from the window trim and 4–6 inches above the frame (or higher for a taller appearance). Use a stud finder to locate studs; if you can’t hit a stud, install quality drywall anchors for secure mounting. Drill pilot holes, attach the brackets with screws, and use a level (or laser level across multiple windows) to ensure both brackets are perfectly even. If your rod spans a wide distance, add a center support bracket.
6. Hang Curtains and Adjust
How you hang the panels depends on the heading style. Rod-pocket and tab-top panels slide onto the rod; pocket and tab styles have a structured, tailored look. Grommet panels are easy to slide and create consistent folds. For more control and a polished finish, consider using rings with clips or hooks—these make it easy to adjust height and spacing, and they create neat, even pleats when arranged properly.
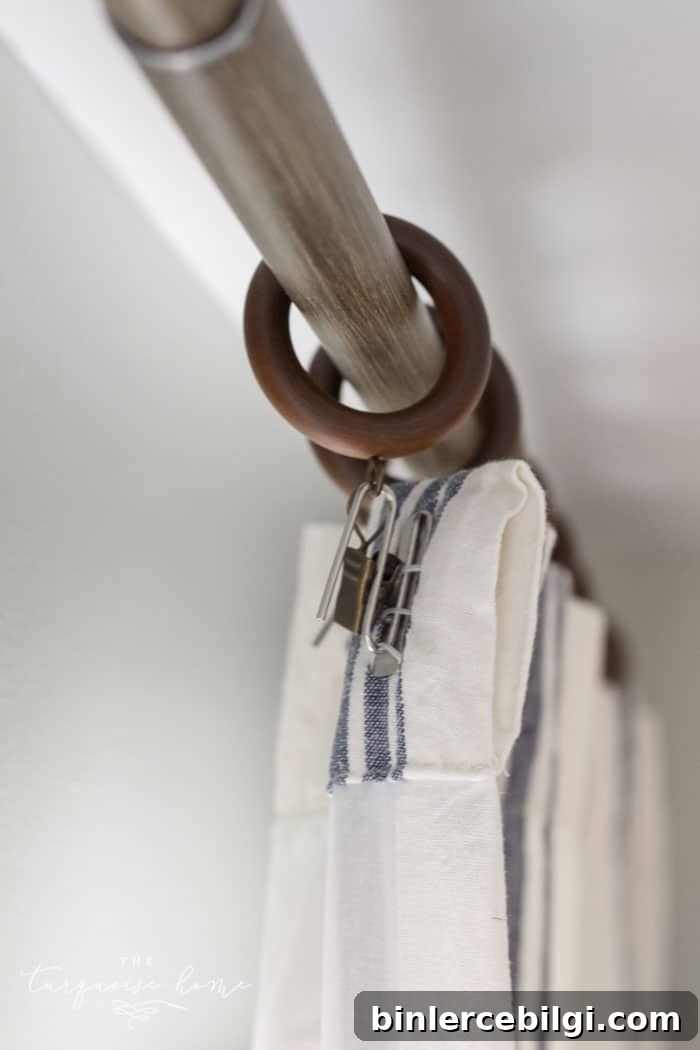
Once your panels are hung, step back and adjust the spacing, pleats, and hem length as needed. If panels are slightly long, using curtain rings or hook adjustments can give you the perfect floor clearance without altering the fabric.
Final Thoughts
Hanging curtains well is mostly planning and accurate measurements. Decide whether you want a high-and-wide, dramatic look or a close-to-frame, tailored style and choose panel widths, lengths, and rod placement to match. Good hardware, solid brackets, and the right number of panels will give you a professionally finished window treatment that elevates the whole room.
More Posts You Will Love:
- How To Add Curtain Trim Tape For A Custom Look
- The Best Window Treatment Options For Every Room
- How To Choose Living Room Curtains
- How To Hang An Extra Long Curtain Rod
- Gorgeous Cheap Curtain Ideas For Your Home