DIY Custom Frame for Your Frame TV
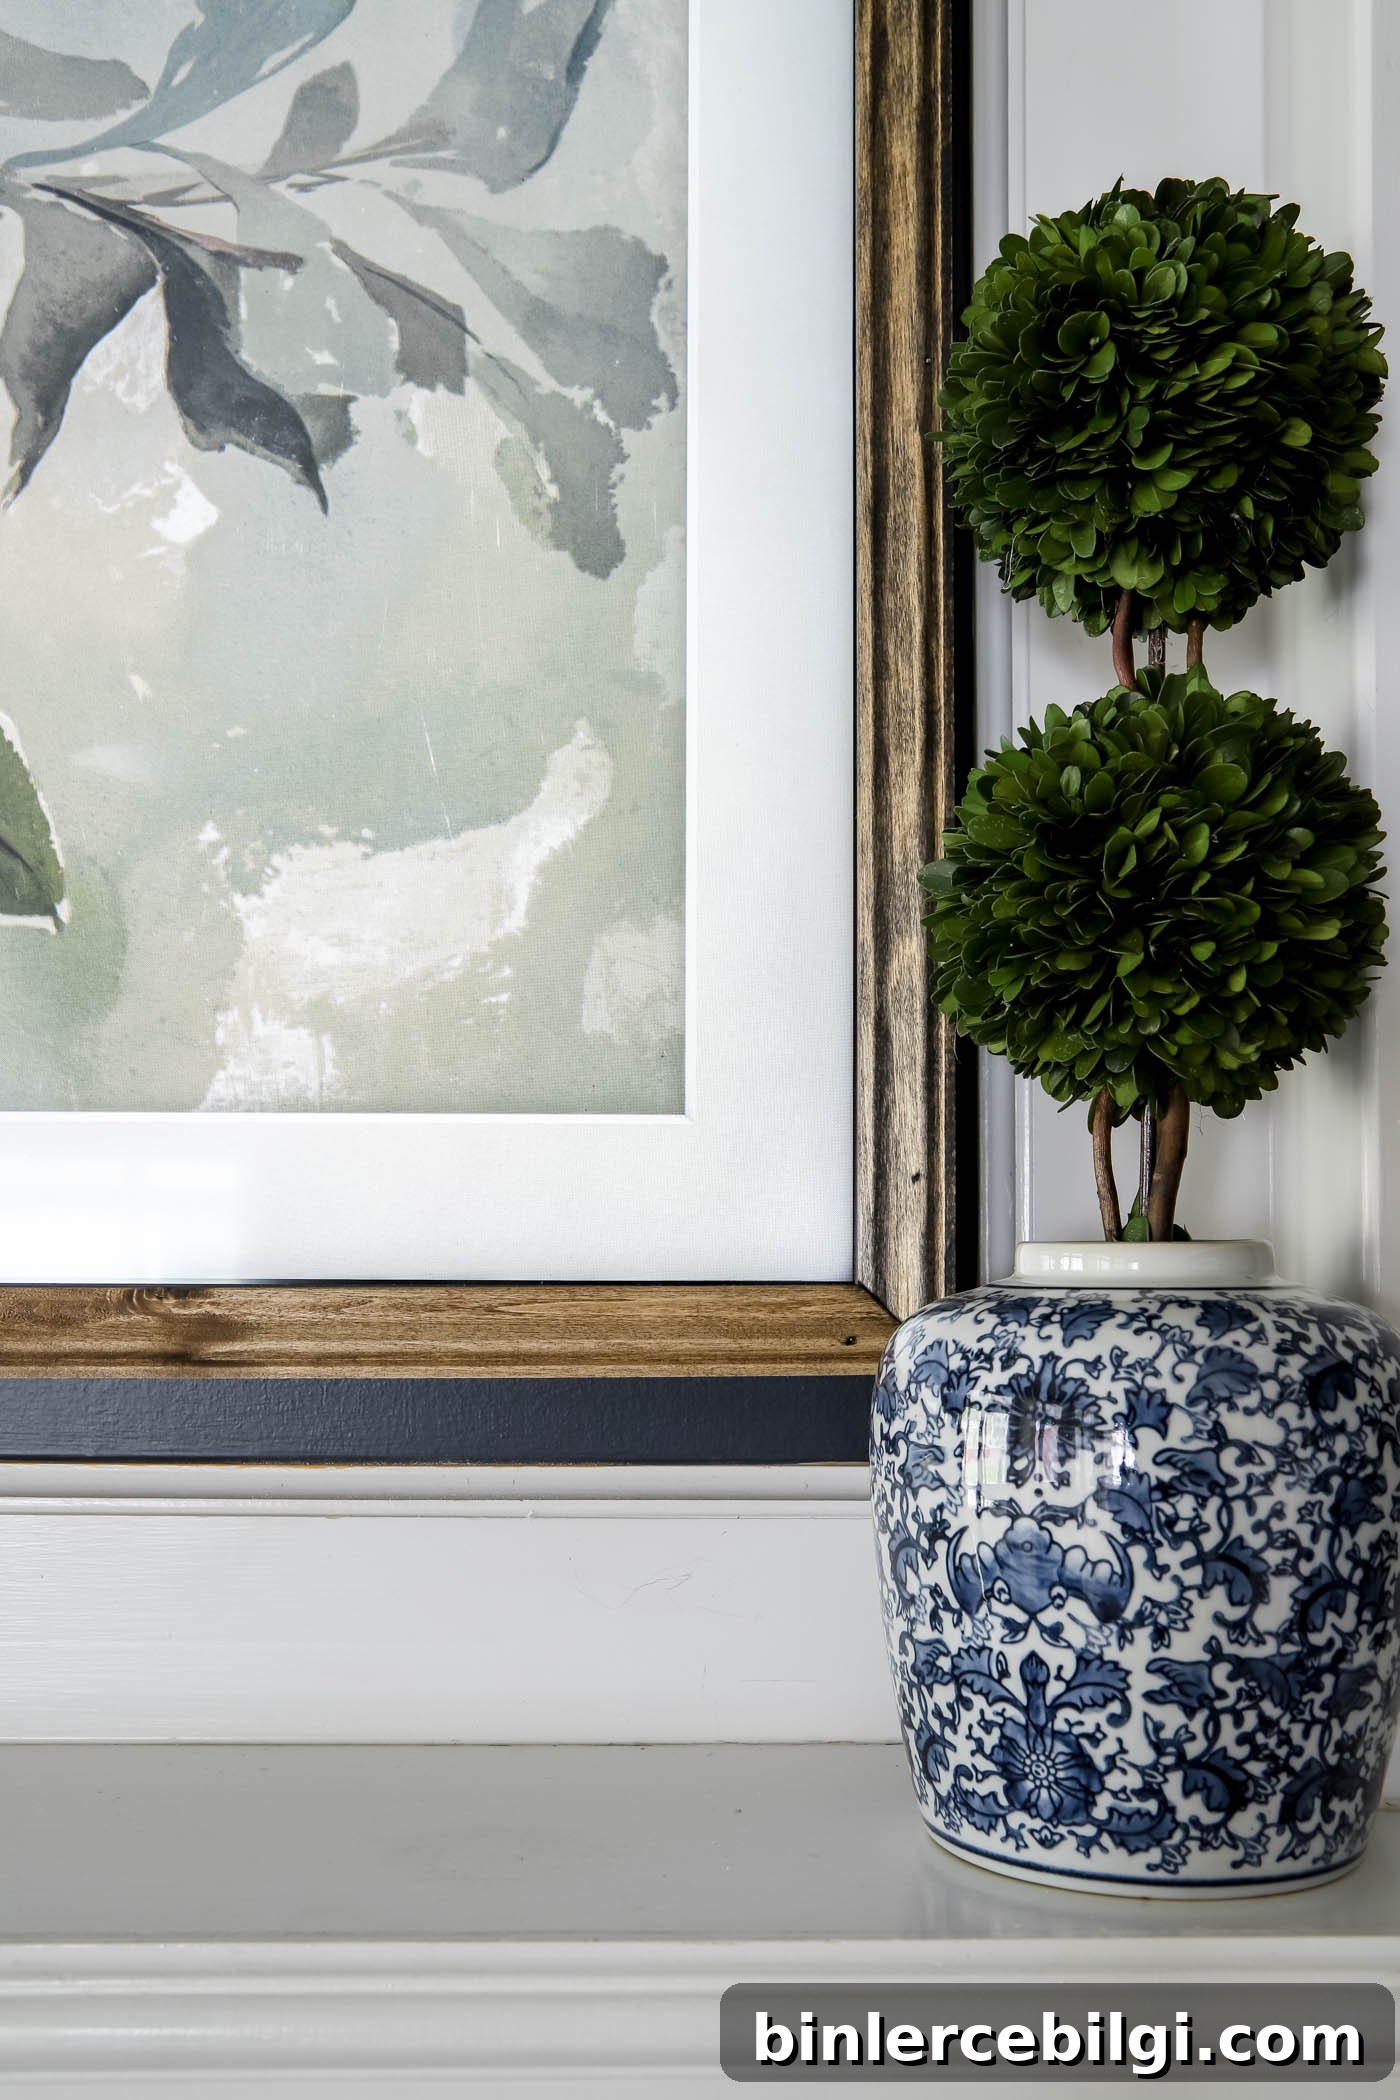
Learn how to build an attractive, inexpensive frame for your Samsung Frame TV using basic tools and a little time.
The Samsung Frame TV is a clever device that displays artwork when it’s not in active use, letting it blend into your decor as framed art. However, it doesn’t include a decorative outer frame, and while the screen sits flush to the wall, adding a tailored frame really completes the look.
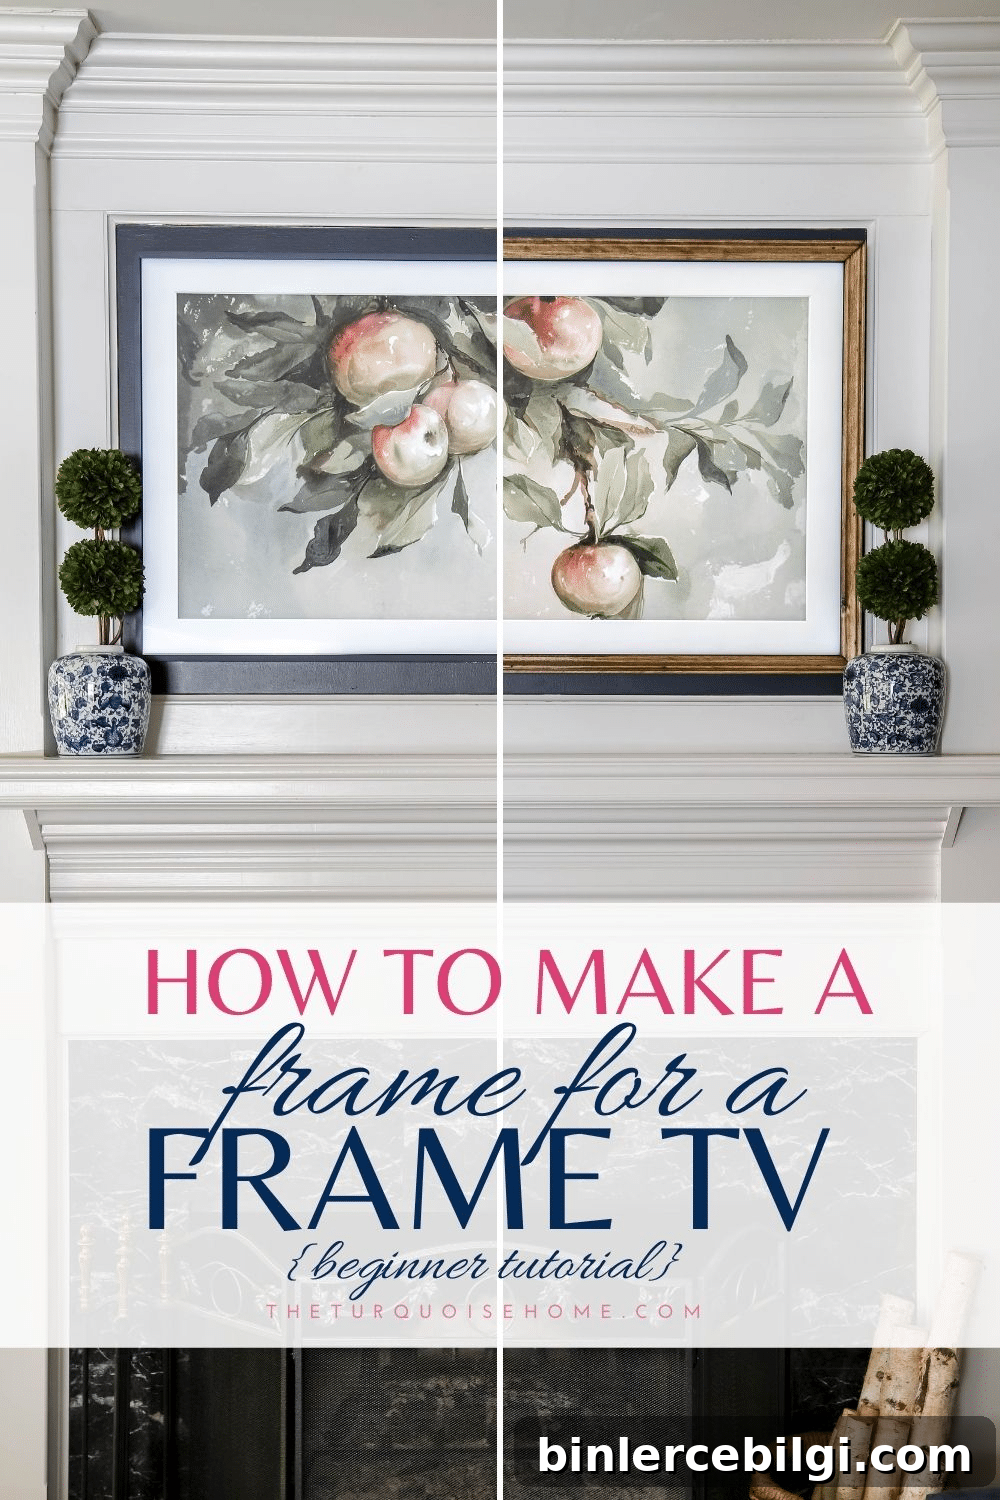
Options for Buying a Frame for the Frame TV
There are a few ready-made frame options on the market, each with pros and cons. I explored these before deciding to build my own because the available frames either didn’t match my style or didn’t fit the space.
Modern bezel frames
These are slim, modern plastic bezels that magnetically snap to the display and are manufactured specifically for the Frame TV. They come in multiple colors and can be a good fit for contemporary interiors, but they felt too modern for my home and were more expensive than I wanted to spend.
Decorative wood or metal frames
Higher-end decorative frames are available in wood or metal and offer a traditional framed-art appearance. While some designs are beautiful, many are wider and bulkier than I needed. My TV sits in a tight space with less than two inches between the screen and surrounding moulding, and many pre-made frames were too wide to fit.
DIY frame
So I made my own narrow-profile wood frame for about $25. The result looks custom and fits my space exactly. If a commercial frame doesn’t suit your budget or space, this DIY approach is a great alternative.
How I Built a Frame for My Samsung Frame TV
I wanted a subtle, stained wood frame with decorative moulding, not an oversized or overly modern bezel. Below are the materials and step-by-step instructions I used for a 55-inch 2020 Frame TV; adjust measurements for different TV sizes.
Materials
- 2 — 1″ x 2″ trim boards, 8 feet long
- 2 — 3/4″ x 1-1/4″ unfinished wood moulding, 8 feet long
- Miter saw (or miter box and hand saw / miter shears)
- Wood glue
- Brad nailer or cordless brad tool
- 1.5″ finishing nails
- Pencil and tape measure
- Corner clamps (optional but very helpful)
- Sandpaper
- Stain or paint of your choice
- Wood putty (optional, for filling nail holes if painting)
Step-by-step Instructions
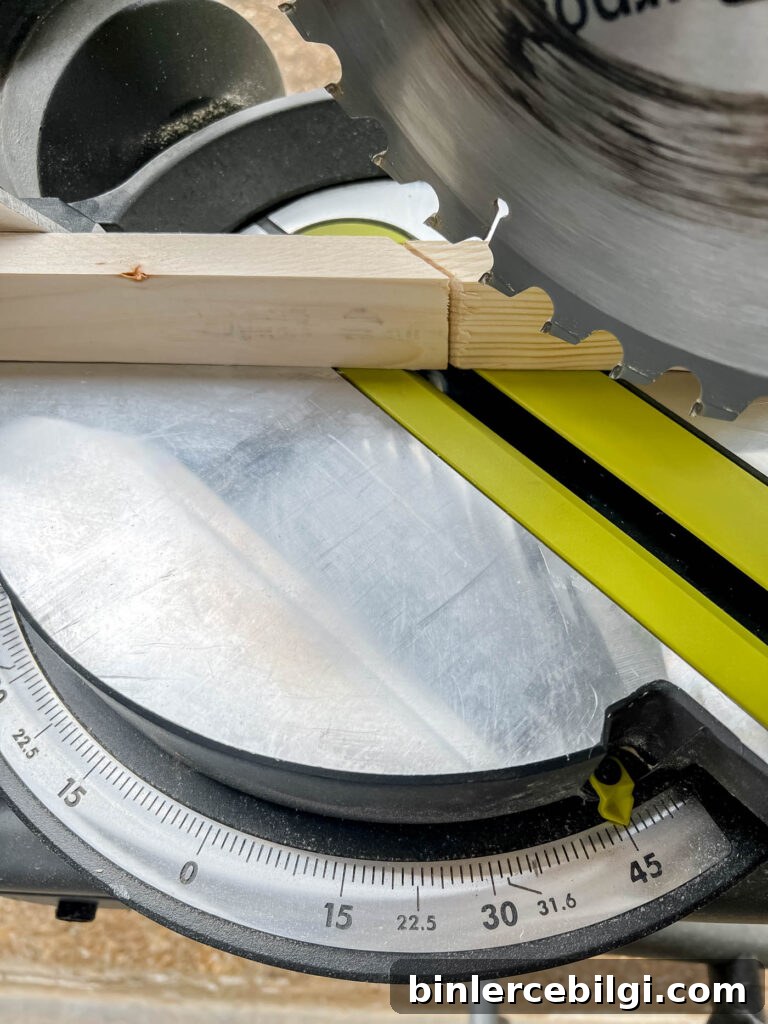
1. Measure and cut the 1 x 2 boards at 45°
Measure the visible edges of your TV and cut the 1 x 2 boards with 45-degree miter cuts so the inside edge matches the TV’s perimeter. Cut two longer pieces for the top and bottom and two shorter pieces for the sides. Make sure the angled cuts are oriented so the corners join neatly.
2. Dry-fit and clamp the corners
Use corner clamps to hold each mitered corner square while you test the fit. Ensure all four corners line up and that the frame sits evenly around the TV’s face.
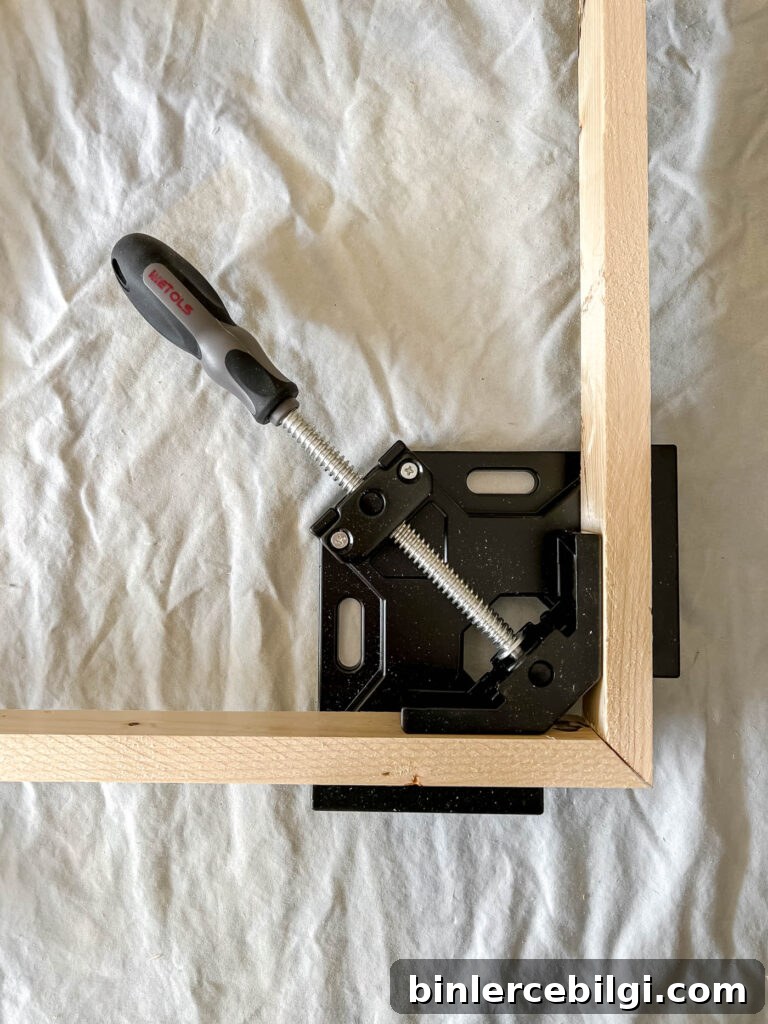
3. Glue and nail the frame foundation
Apply wood glue to the mitered faces, clamp the joints square, and secure each corner with 1.5″ finishing nails driven with a brad nailer or hammer. Nail each joint from both directions if possible to ensure a tight fit. Allow glue to dry thoroughly.
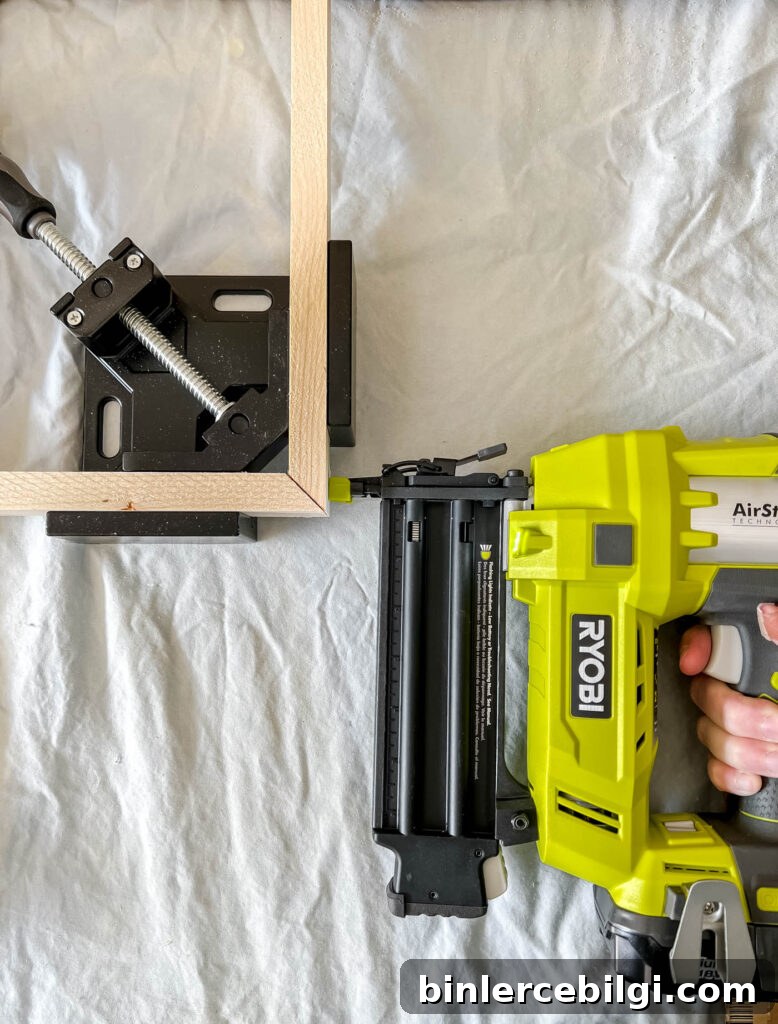
4. Test fit the foundation on the TV
Before adding decorative trim, set the frame foundation on the TV to verify the fit. Trim or sand small amounts if any sides are slightly oversized. A snug fit is better than one that’s too small.
5. Cut the decorative trim at 45° to match
Cut the moulding pieces to match the lengths of the 1 x 2 foundation, keeping the same 45-degree angles so the trim miters align with the underlying frame.
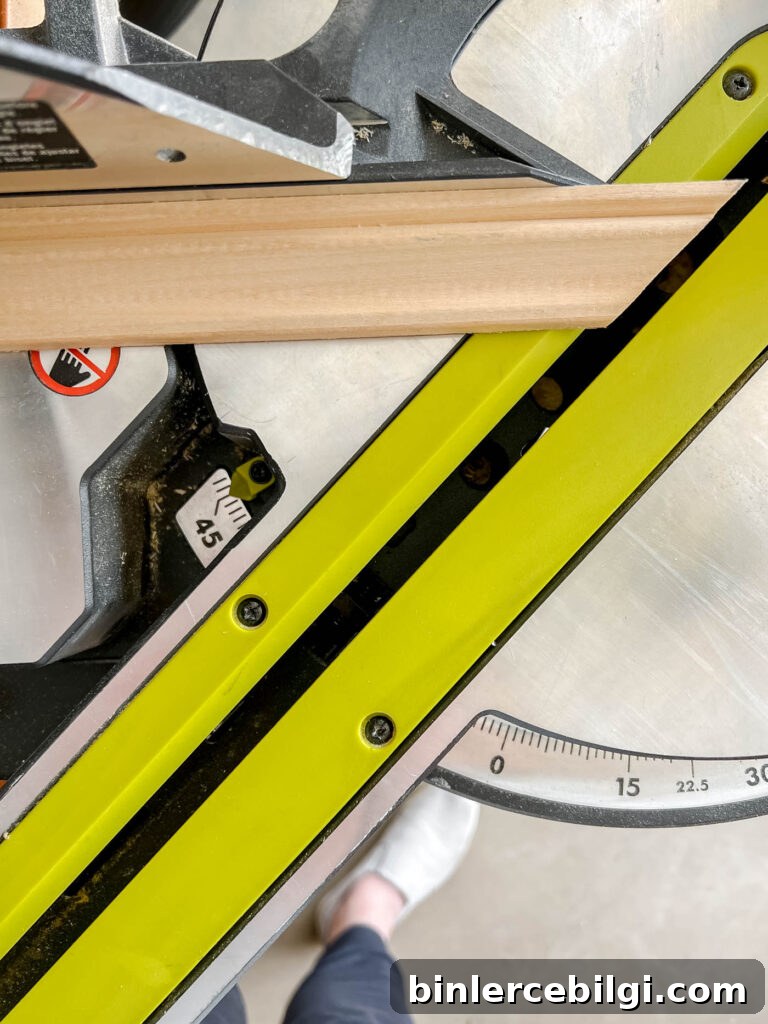
6. Attach the trim to the foundation
Position the taller edge of the trim flush with the outer edge of the foundation so the inner lip covers the TV’s black bezel. Use wood glue and 3–4 brad nails per trim piece, nailing from the top into the foundation. If you plan to paint, fill nail holes with wood putty; for stain, leave holes exposed or fill with stainable putty.
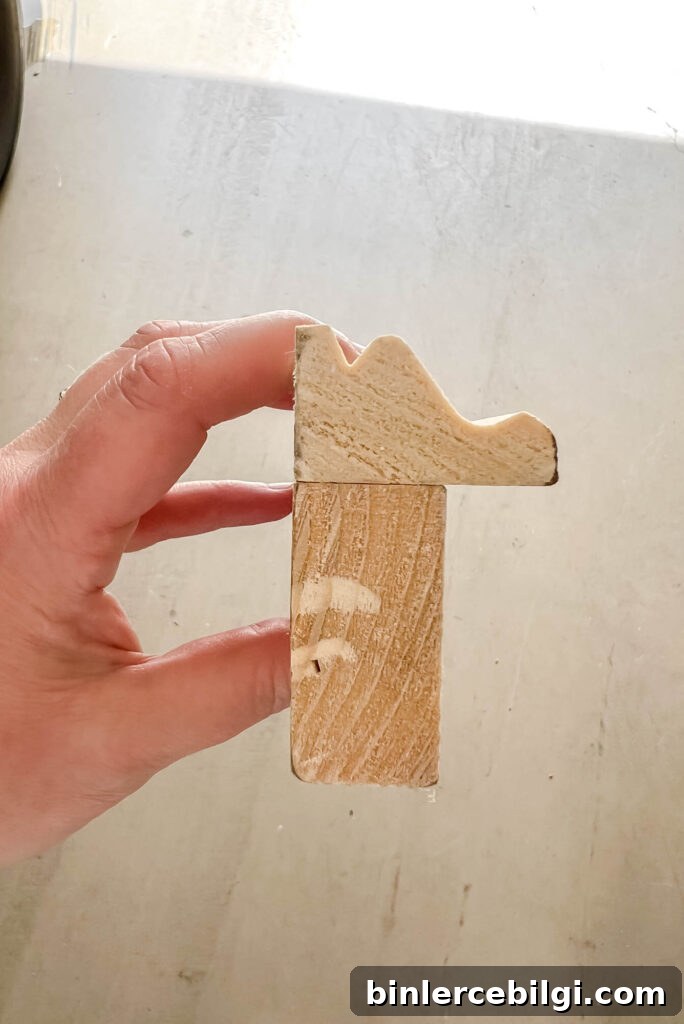
7. Stain or paint the assembled frame
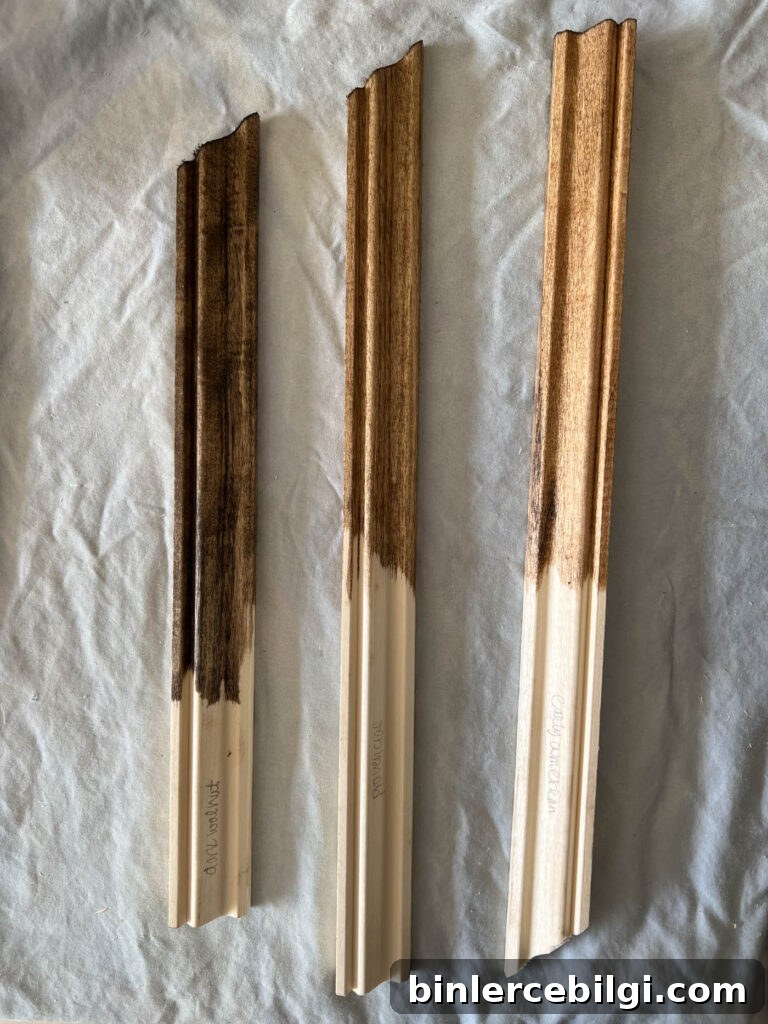
Finish the frame with stain or paint to match your decor. I tested a few stains and chose a dark walnut for warmth against white trim. Allow ample drying time between coats and lightly sand between coats for a smooth finish.
8. Mount the frame onto the TV
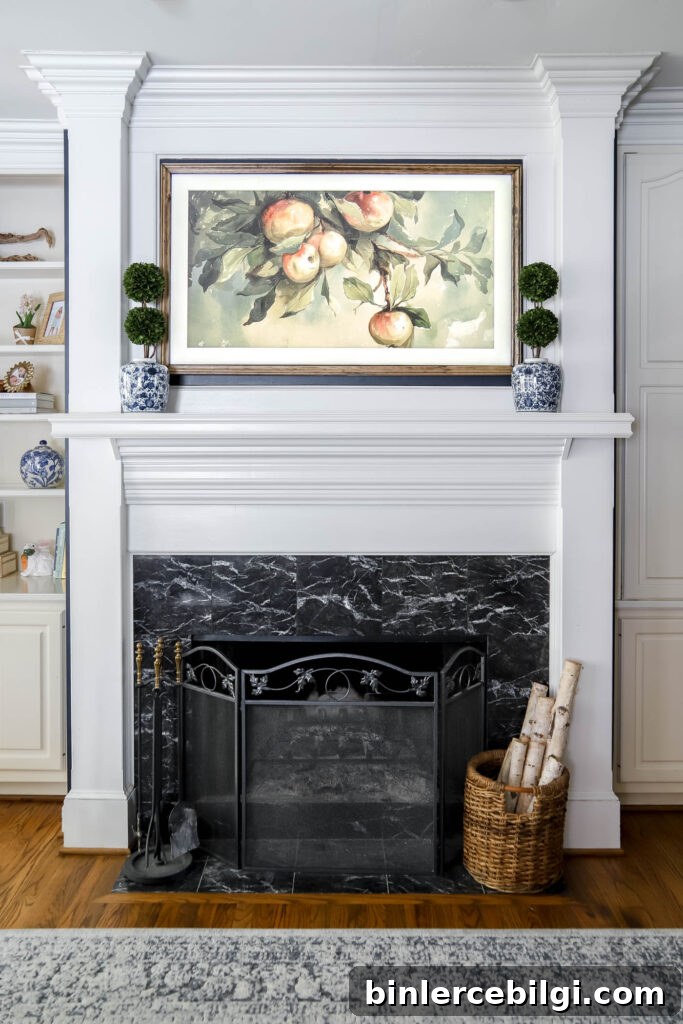
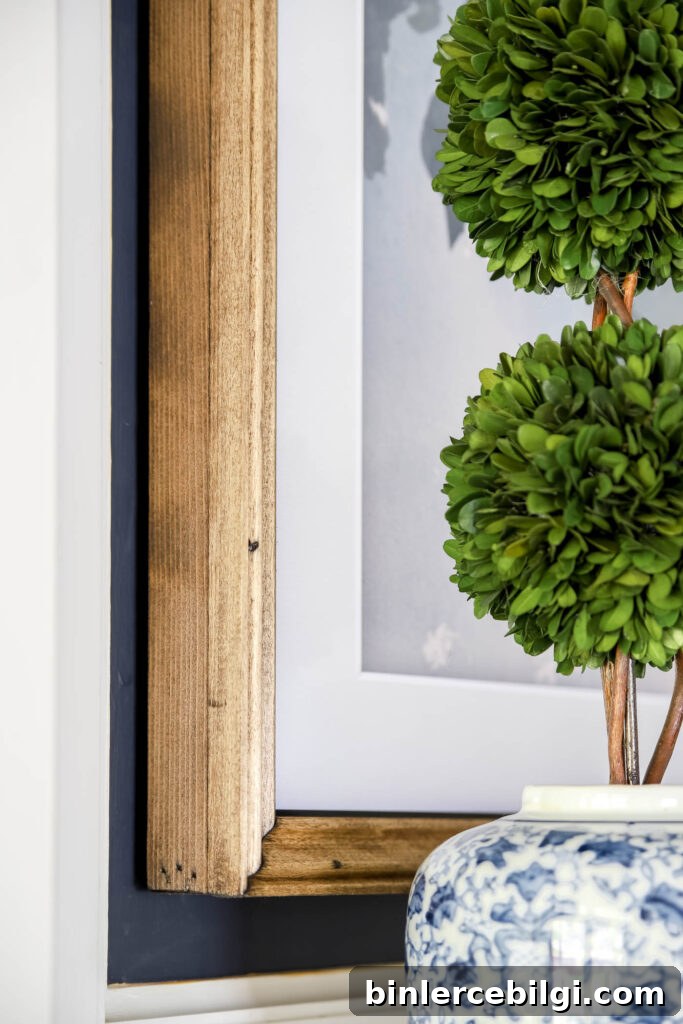
Once finished and dry, press the frame onto the TV. My frame fits snugly and stays in place without additional hardware. If you want extra security, use removable adhesive strips or attach the frame discreetly to the TV’s edges or wall.
9. Optional: notch a sensor opening
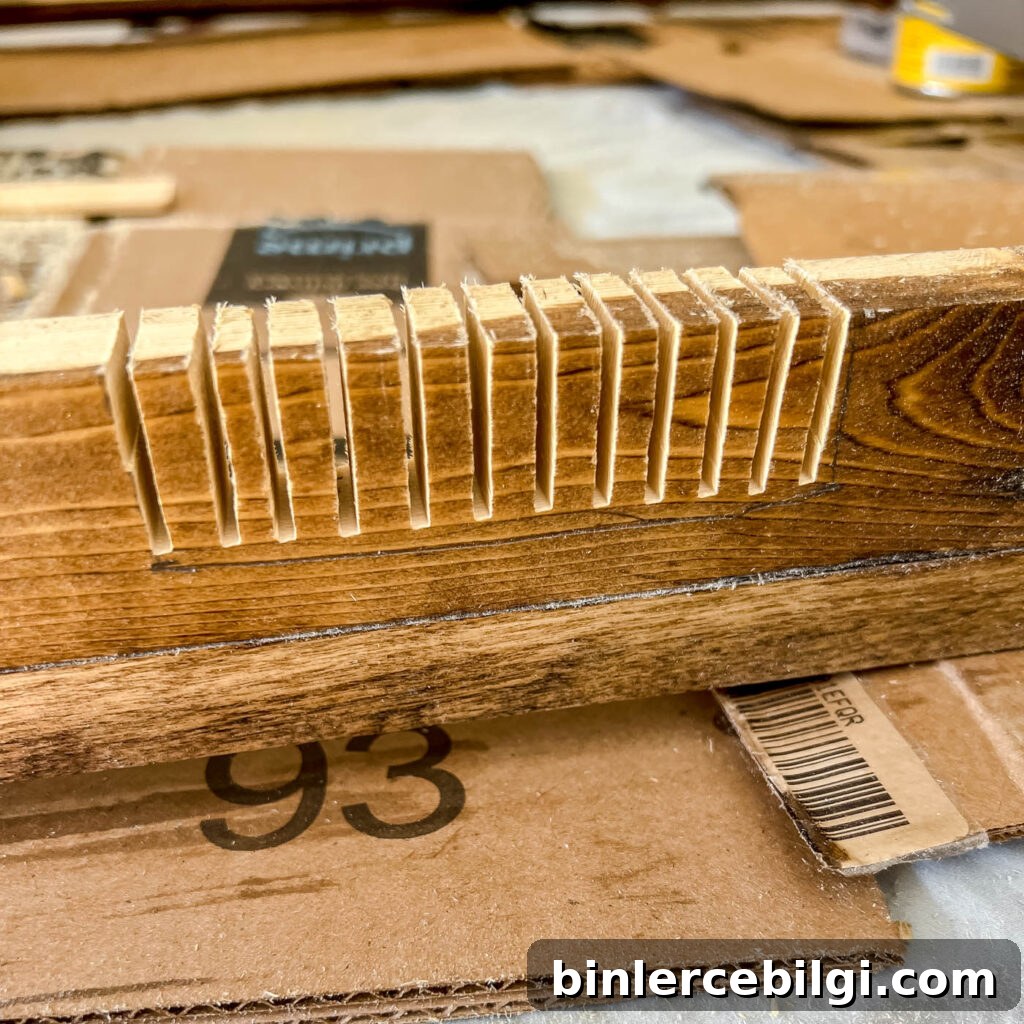
The Frame TV has a light/motion sensor near the bottom that can affect art display. If the frame blocks that sensor and the TV thinks the room is dark, the art may dim or turn off. To restore sensor function, remove the frame and mark the sensor location, then cut a small notch in the frame’s inner edge. I made shallow cuts with a circular saw, removed the waste pieces with a screwdriver, and sanded the opening smooth. The sensor now works nearly as well as before.
This simple project cost about $25 in materials and produced a custom-looking frame that suits my room. If you enjoy DIY home projects, framing your own Samsung Frame TV is an affordable way to achieve a high-end look that fits your space and style.
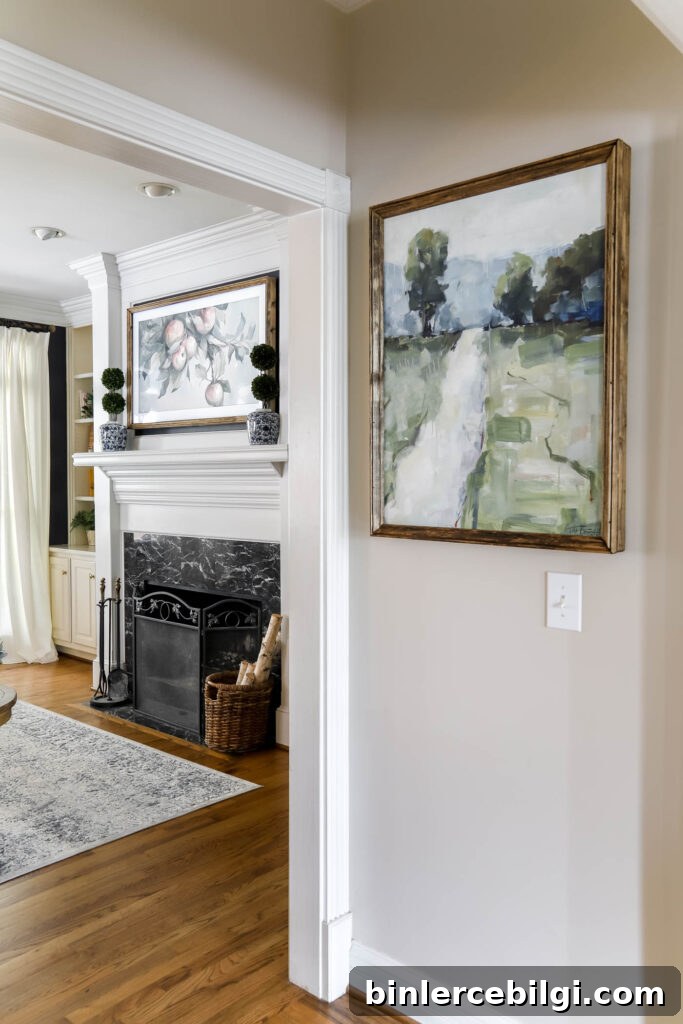
Note: the same framing technique works well for canvas art or other wall-hung pieces, so you can adapt this method to other projects in your home.
Related project ideas:
- DIY picture frame moulding
- Framing a canvas with simple trim
- How to frame a builder-grade mirror
- Tips for finishing and staining small wood frames