
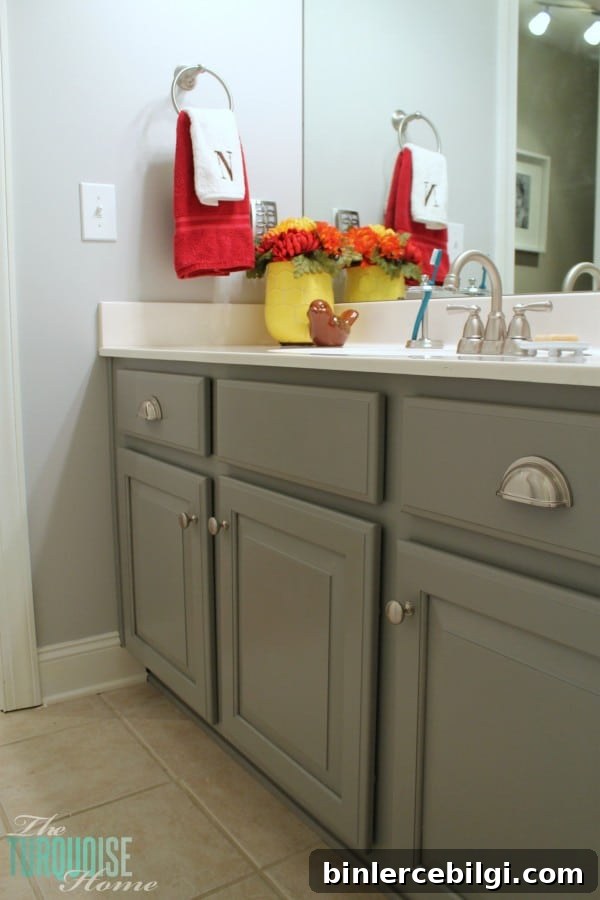
Painting cabinets doesn’t have to be intimidating. Follow these straightforward steps and you’ll end up with cabinets you love!
When I first showed my guest bathroom makeover, I promised to share every detail about painting the vanity cabinets. Here’s the Average DIY Girl’s Guide to Painting Cabinets — a simple, practical approach that doesn’t require professional tools. If you have patience and a few basic supplies, you can do this.
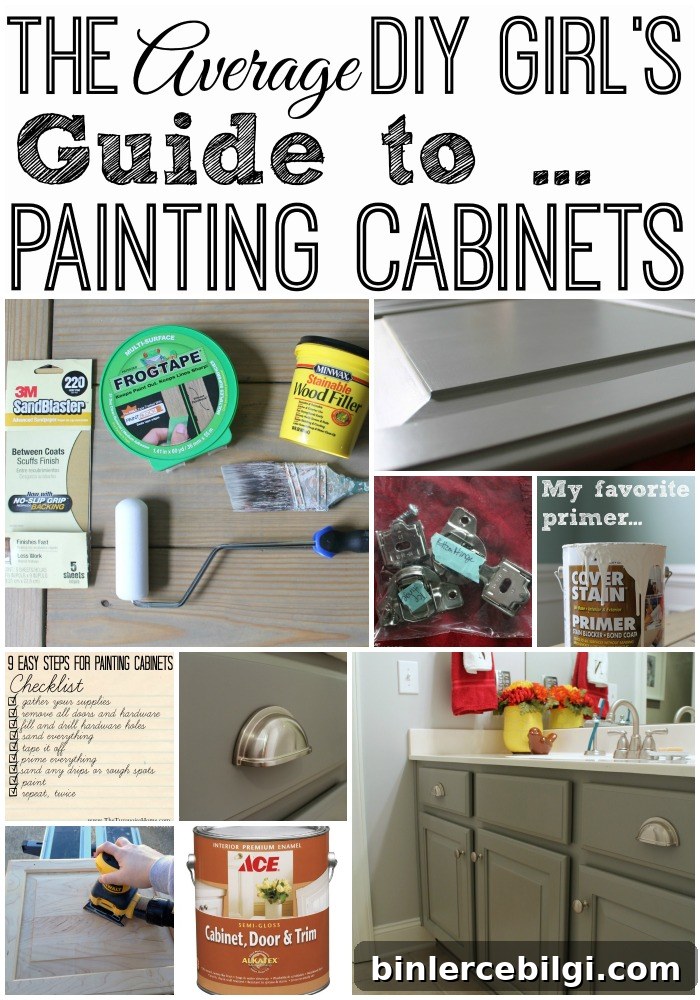
I’d noticed the honey-oak cabinets when we first toured our house and always planned to paint them. I was hesitant at first because I didn’t own a paint sprayer and couldn’t afford a pro. I worried about drips, brush marks, and ruining the cabinets worse than the original finish. But modern cabinet paints have excellent self-leveling properties, so I decided to take the plunge.
I prefer a waterborne alkyd cabinet paint for a smooth, durable finish — specifically Benjamin Moore’s Advanced line in satin or semi-gloss for all my cabinets and trim. For my first project I started small with the guest/kid bathroom cabinets. Baby steps.
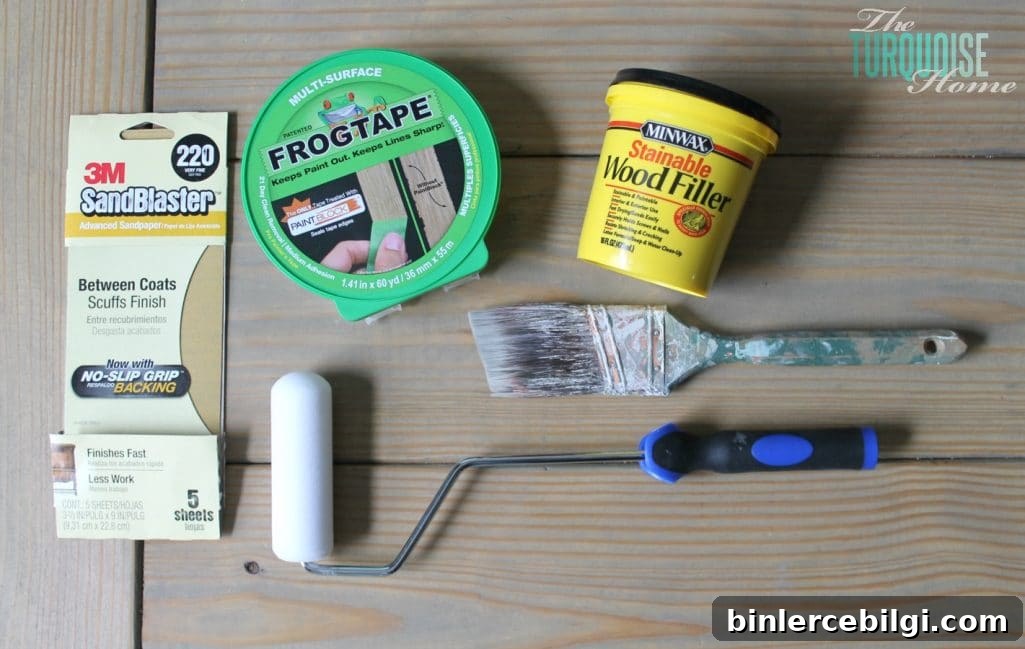
Tools Needed for DIY Cabinet Painting
- Painter’s tape
- Sandpaper (120-grit and 220-grit; a finishing sander makes the job faster)
- Brush (a quality brush for trim and detail work)
- Foam roller for smooth panel surfaces
- Cabinet paint — a premium waterborne alkyd like Benjamin Moore Advanced in satin or semi-gloss
With those basics, you’re ready. Here’s the step-by-step process that gave me a professional-looking finish without a sprayer.
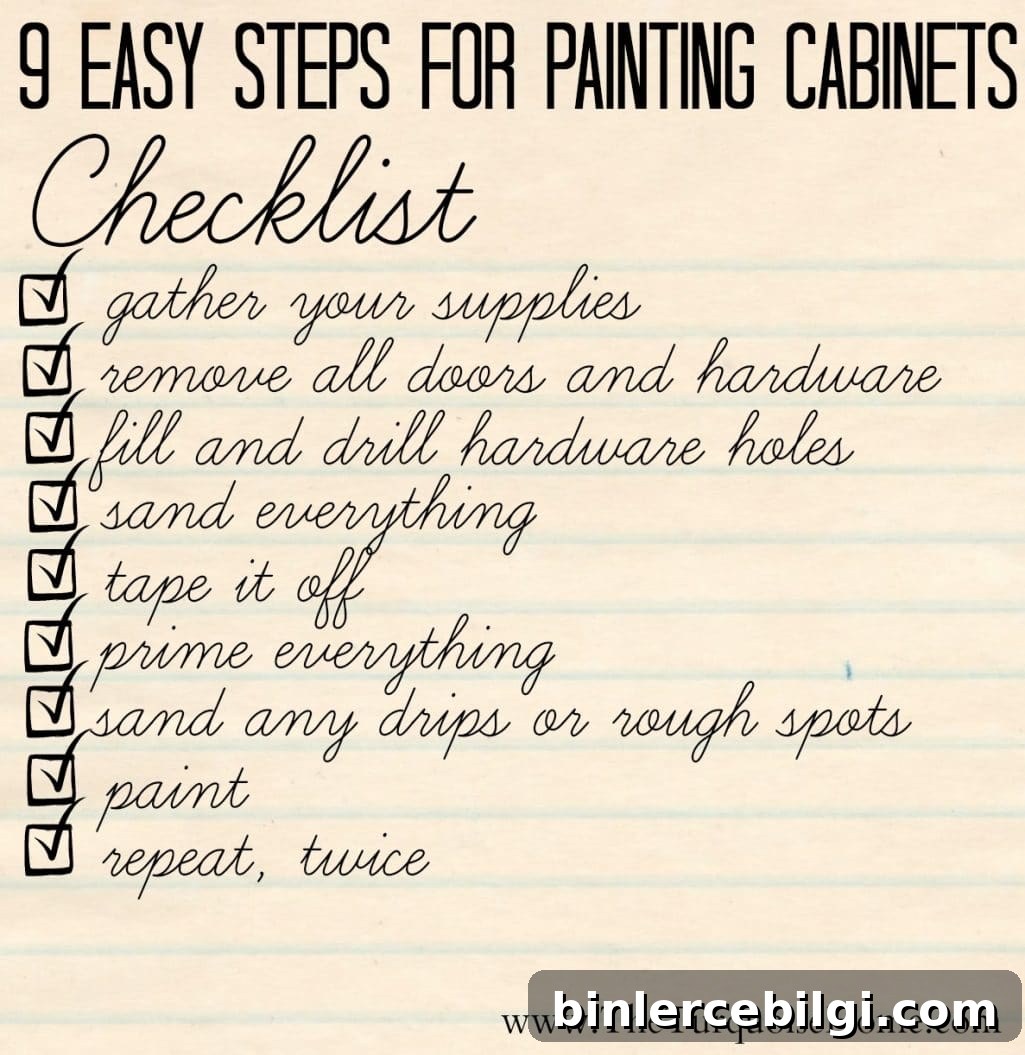
How to Paint Bathroom Cabinets
1. Gather your supplies
Keep it simple: brushes, a foam roller, sandpaper, painter’s tape, primer, and your cabinet paint. No specialty tools required for a great result.
2. Clean the cabinets to remove dirt and grease
Use a strong cleaner or degreaser to remove oils and grime. Clean surfaces allow primer and paint to adhere properly. If you use a liquid deglosser, you may be able to skip some sanding.
3. Remove doors, drawers, drawer fronts, and hardware
Take everything off and store hardware carefully. Label hinges and drawer parts so reassembly is painless. Also clear the area beneath the cabinets and protect countertops if you are priming or painting nearby surfaces.

4. Fill and drill new hardware holes (if changing hardware)
If you’re replacing knobs or pulls, fill old holes and drill new ones before painting. Use a good wood filler and sand smooth after it dries so the new hardware will sit flush.
5. Sand everything, then remove dust
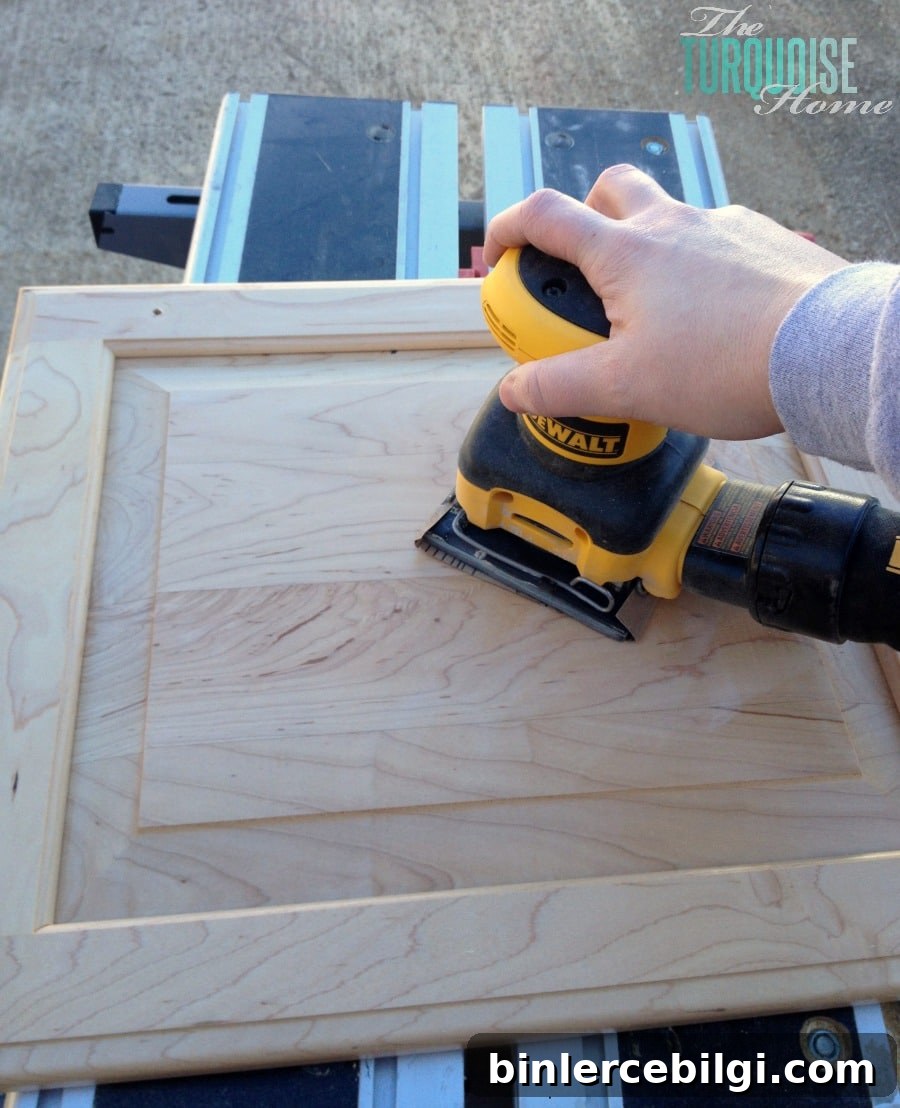
Lightly sand doors and drawer fronts with 220-grit to scuff the finish and give primer something to grip. If there is thick old finish, start with 120-grit then finish with 220. Hand-sand cabinet frames and wipe away all dust before priming.
6. Tape off walls and floors
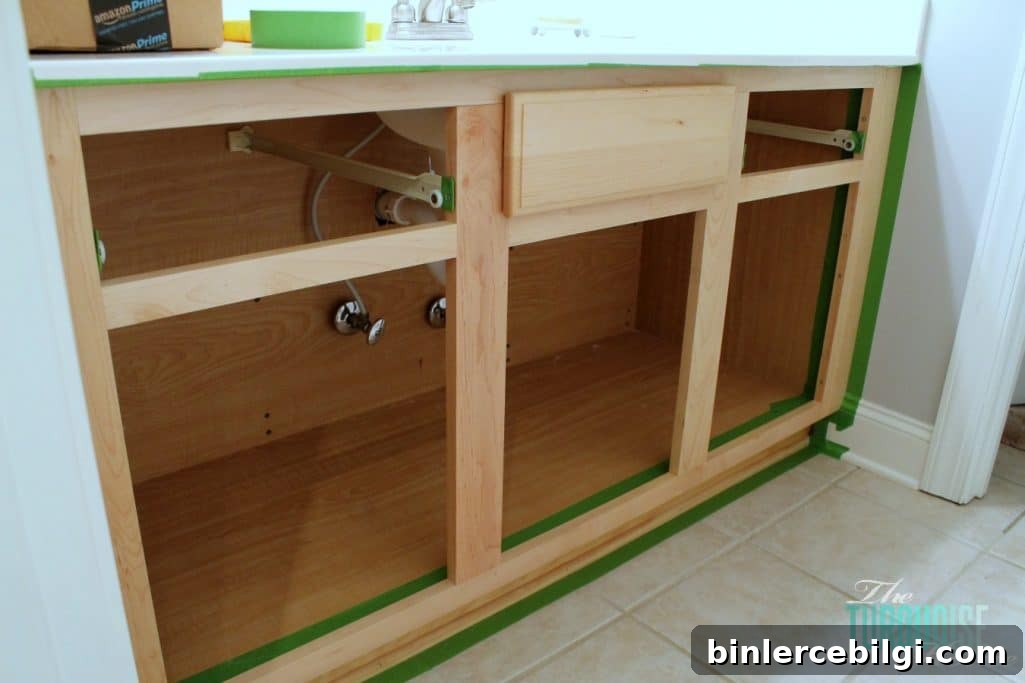
Protect areas you don’t want painted by taping and covering countertops, floors, and walls. Taping interior cabinet edges makes priming and painting neater and faster.
7. Prime everything
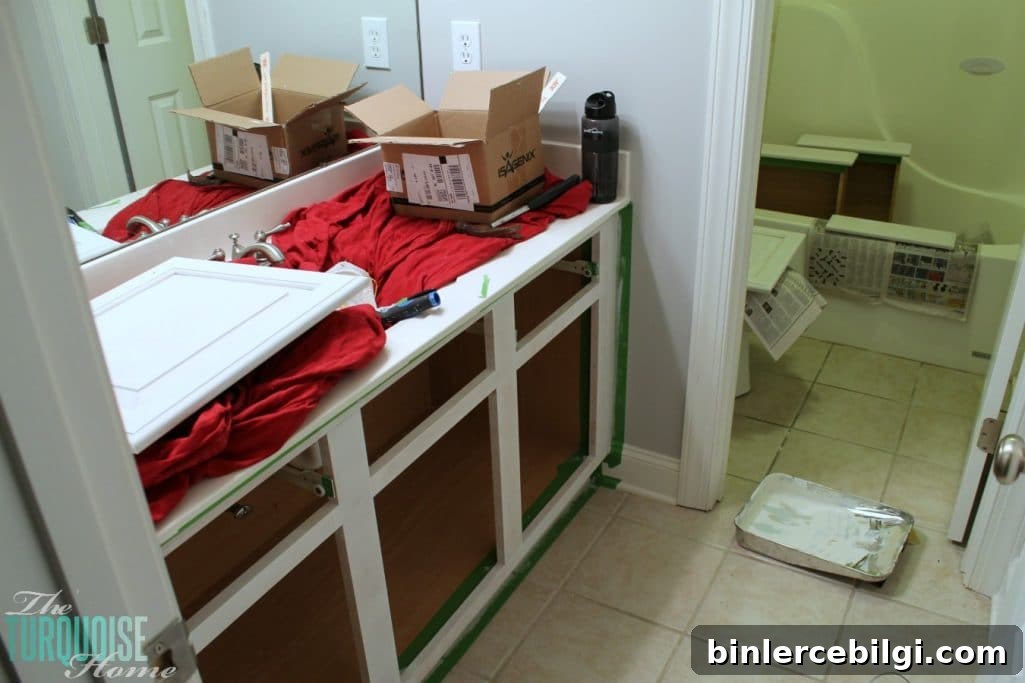
Prime all surfaces with a stain-blocking primer suitable for cabinets. Good ventilation is important when priming indoors. Once primer is dry, move pieces to a clean, dust-free workspace for painting.
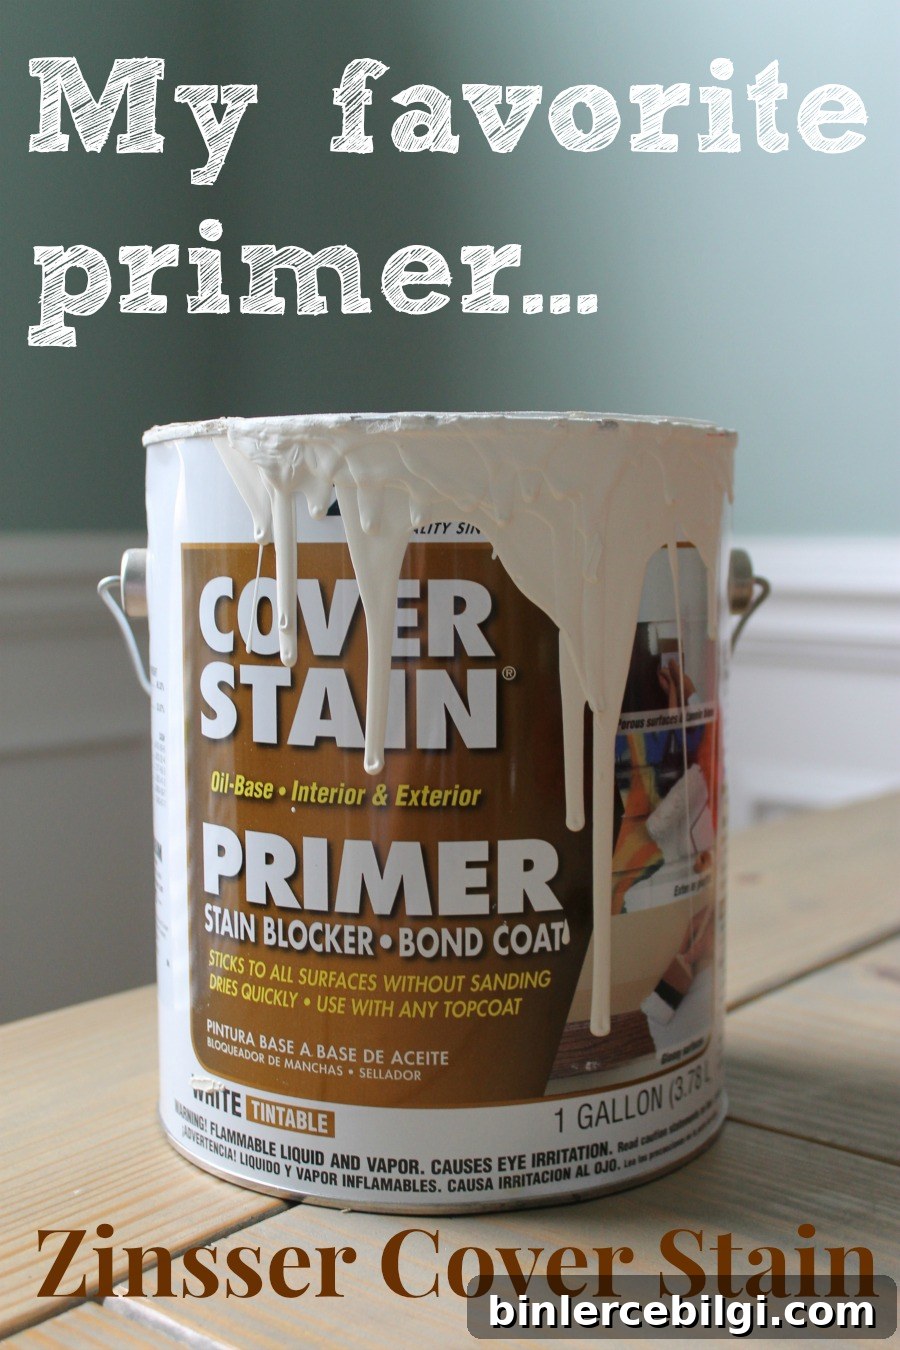
8. Sand any drips or rough spots
After priming, lightly sand any imperfections so the topcoat goes on smooth. Sand gently to avoid removing the primer layer.
9. Paint
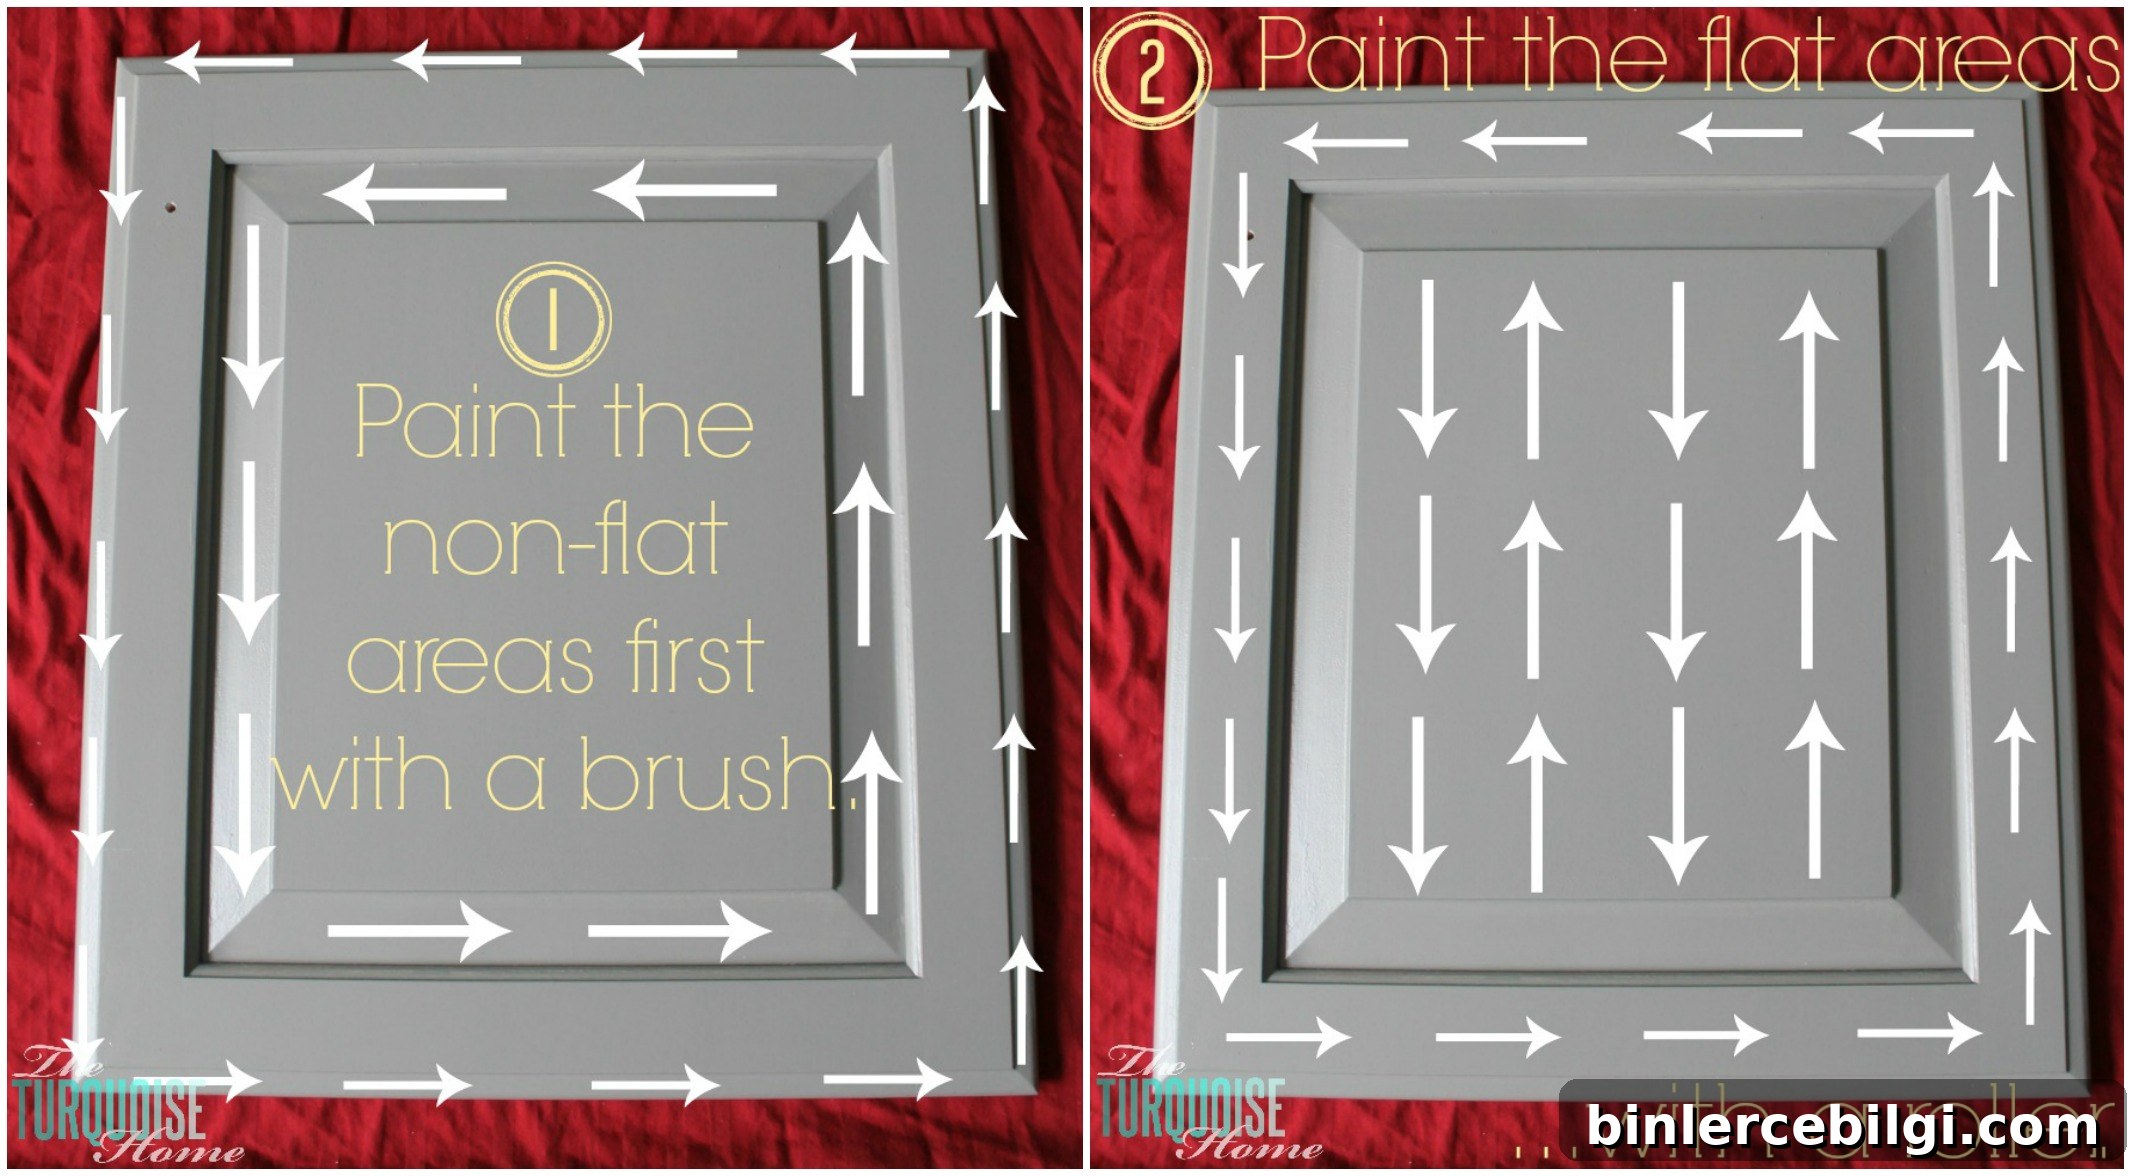
Use thin, even coats. A foam roller produces a very smooth surface; use the brush for corners, panel details, and trim. Waterborne alkyd cabinet paint is self-leveling, so after each thin coat let the paint flow for a few minutes, then inspect for drips and smooth them out while wet. That avoids ridges and brush marks.
10. Repeat, twice
Plan for at least two to three coats for full, even coverage. Allow 24 hours between coats and up to 48 hours for a fully cured surface. If you notice rough spots or drips between coats, sand lightly before the next coat.
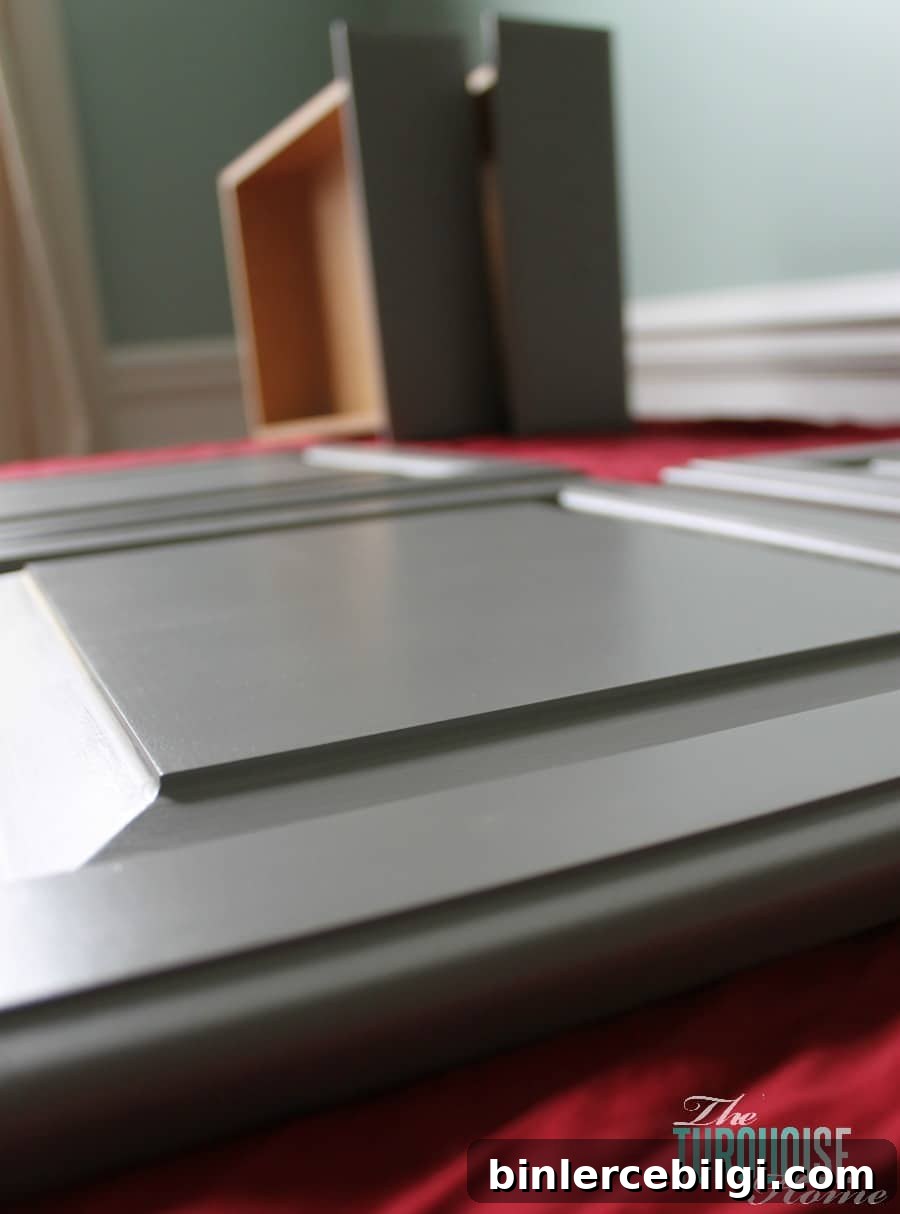
With proper prep, primer, and thin self-leveling coats, the finish can be very smooth — almost glass-like. It’s a dramatic update for builder-grade or dated cabinetry and well worth the time.
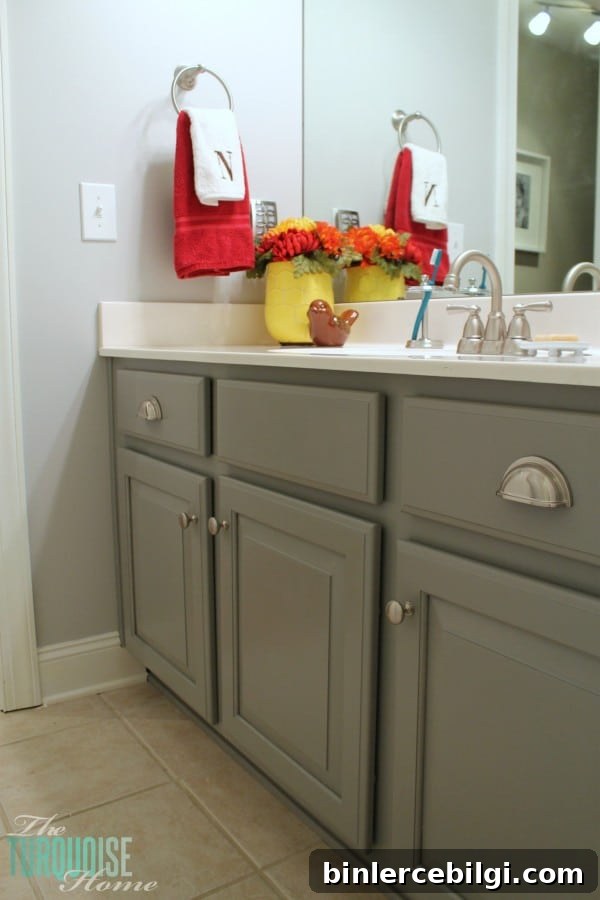
If you’ve been hesitant about painting your cabinets, start small and give it a try. You might be surprised at how achievable a professional-looking result can be with the right products and technique.
If you have tips from your own cabinet projects, please share them — experienced pro tips are always welcome for those of us learning along the way!
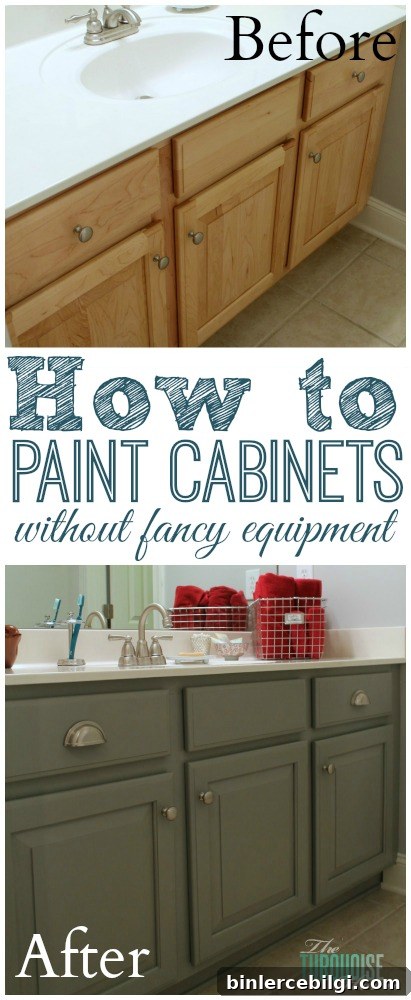
UPDATE: The paint color used on these cabinets is Ominous Cloud by Clark+Kensington (Ace Hardware’s brand).
Frequently Asked Questions
How much does it cost to paint bathroom cabinets?
Expect roughly $7–$15 per square foot depending on cabinet condition, size of the project, and method used. Costs vary based on primer, paint quality, and whether you hire labor.
Can you just paint over cabinets?
If the cabinets are unfinished wood, they need primer. If they already have a compatible water-based finish and are in good condition, you can sometimes repaint after cleaning and light sanding. Test the existing paint: rub a damp cloth over a small area — if paint comes off, it’s likely water-based and easier to repaint over; if not, use a primer first.
What kind of paint do you use on cabinets?
The best option is a premium waterborne alkyd cabinet paint with excellent leveling characteristics. These offer durability, easy cleanup, and a smooth finish. Benjamin Moore Advanced is a commonly recommended choice.
Is it better to brush or roll paint on cabinets?
Use both. Brush into recessed panels and edges, then finish large flat areas with a smooth foam roller for the best, most consistent finish.
More favorite posts you may enjoy:
- Ideal Cabinet Knob Placement — Tips and Tricks
- Budget-Friendly DIY Kitchen Cabinet Ideas
- Painted Kitchen Cabinets: Two Years Later