
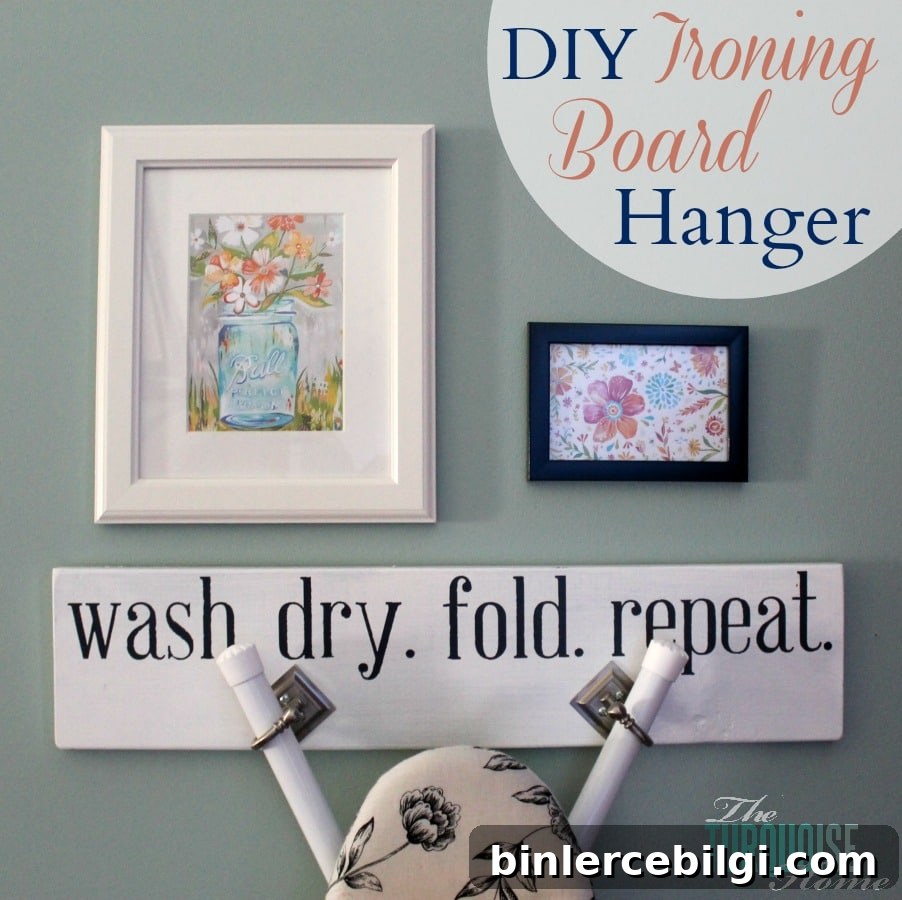
DIY Ironing Board Hanger Tutorial
This easy DIY ironing board hanger tutorial shows how to make a custom, attractive, and functional ironing board hanger—perfect for freshening up your laundry room without sacrificing practicality.
Over the past few weeks I’ve been playing with my Silhouette machine, paint, and contact paper, and this project is a simple, satisfying result. If you’re new to stenciling, contact paper plus a cutting machine is one of the easiest ways to create clean, repeatable lettering and shapes.
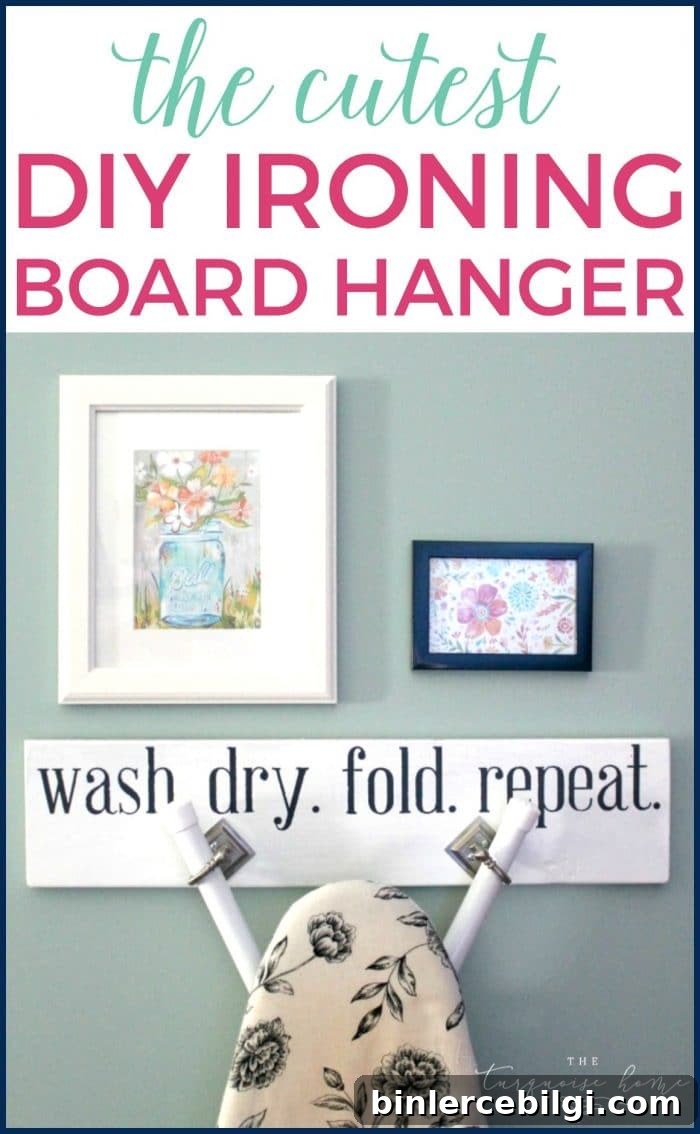
I’ve been slowly renovating my laundry room for almost a year now, and this hanger was one of the small finishing touches I wanted to add. The project uses basic supplies: a scrap board, paint, contact paper stencils cut with a Silhouette (or a similar cutting machine), and a couple of hooks.
What you’ll need:
- Silhouette cutting machine (or equivalent)
- Contact paper for stenciling
- Paint in your chosen color
- Wooden board (scrap wood works great)
- Two hooks sturdy enough to hold your ironing board
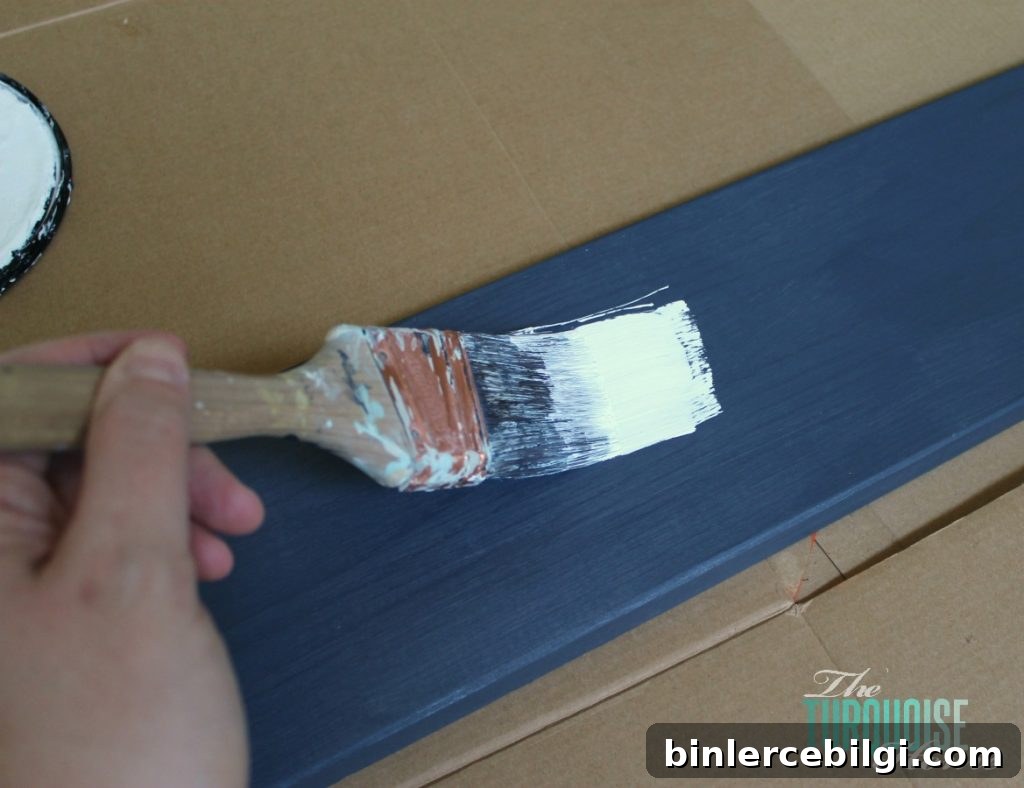
Start by selecting a board that fits the size of your ironing board when stored upright. I found one in my scrap pile, painted the base navy, and then added a white topcoat. I considered distressing the finish for a rustic look but left it clean this time; you can lightly sand edges later if you prefer that aged style.
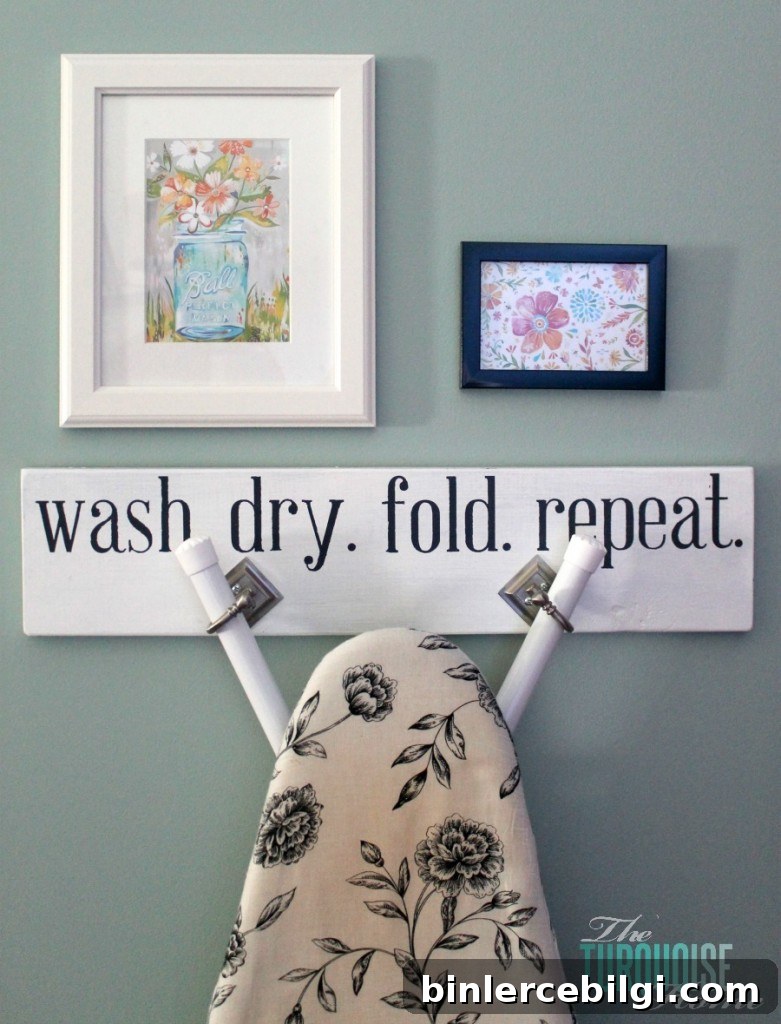
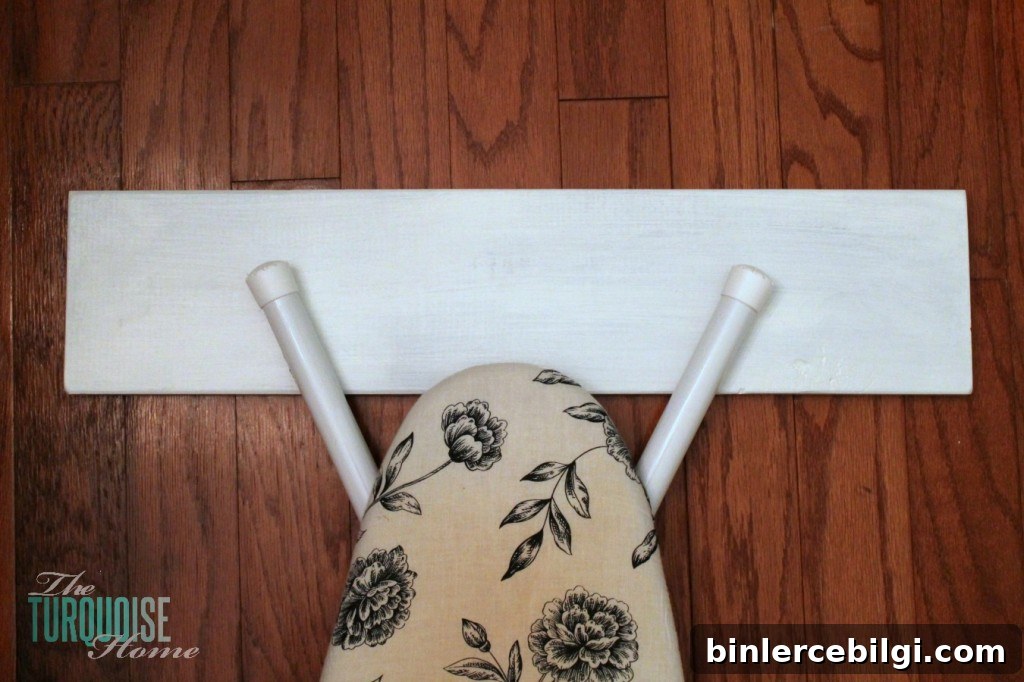
Lay the board and the ironing board flat on the floor to determine the best placement for the hooks. Mark where the legs or frame of your ironing board will rest and use those marks to position the hooks. If your ironing board has T-shaped legs it’s easier to mount; otherwise take a few measurements to ensure the hooks will support it securely.
Drill pilot holes and screw in the hooks at the marks you made. Test the fit by hanging the ironing board to make sure it holds comfortably and stays level. I thought about replacing my old ironing board, but this hanger just made it easier to store what I already have—though I do plan to replace the singed cover soon.
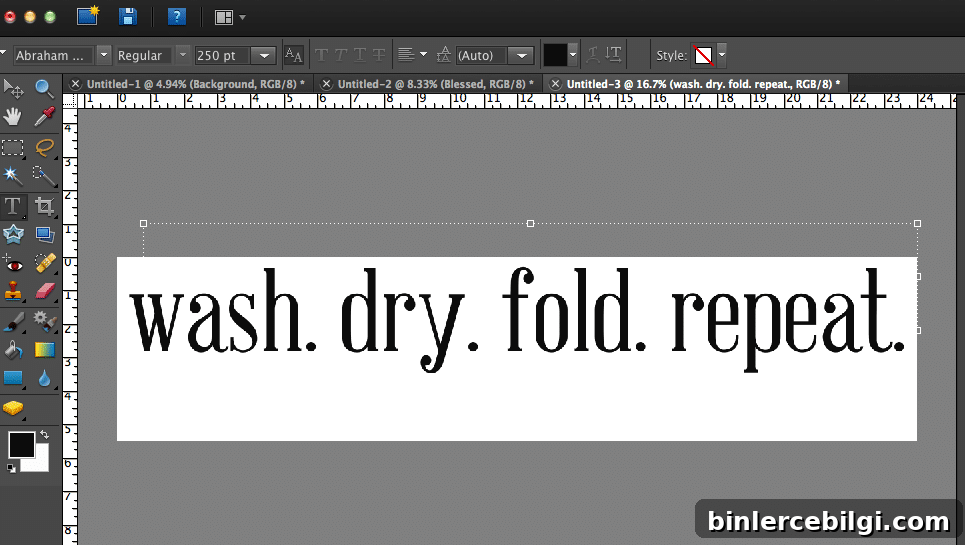
To add lettering, I designed the layout on my computer first to visualize spacing and font size. Using a blank document the same dimensions as the board helps you pick the right font and placement. I used a bold display font for maximum impact and adjusted spacing so the words would fit across the board.
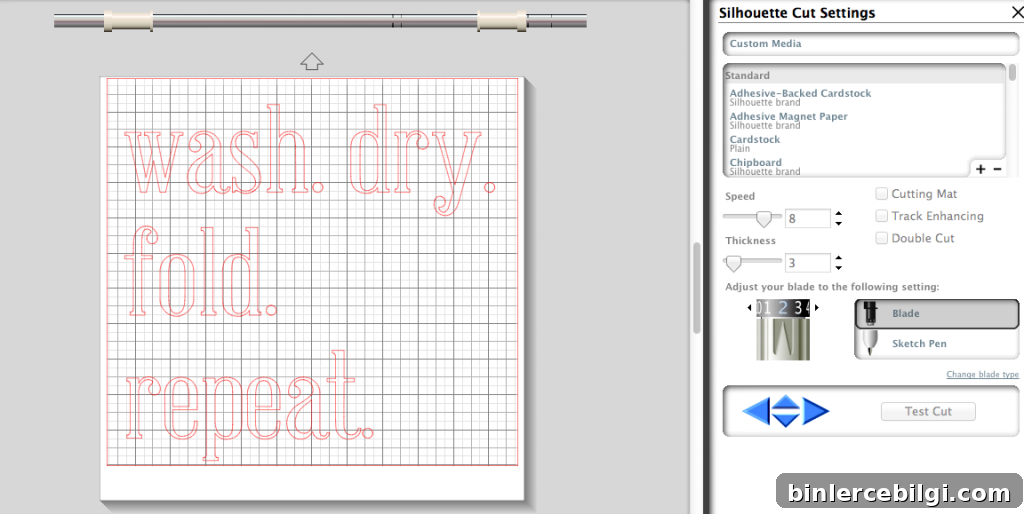
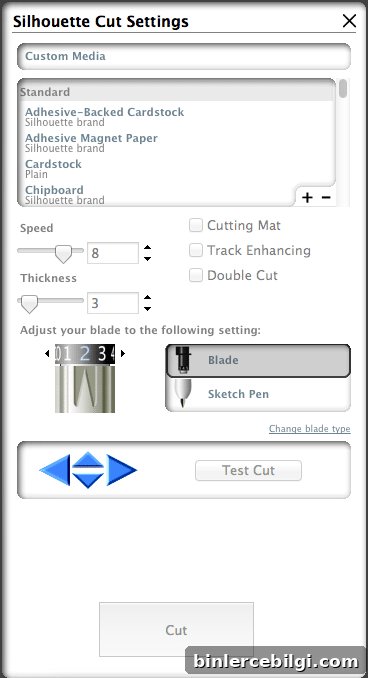
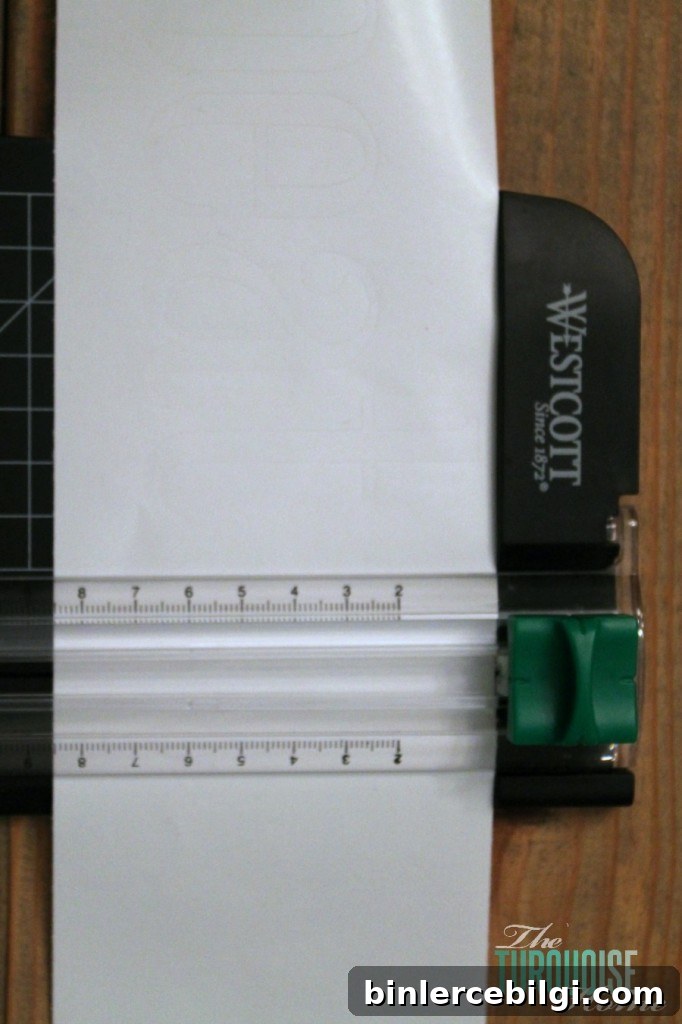
Transfer that design into your cutting software and cut the lettering from contact paper to make a stencil. If your cutter allows direct feeding, you can skip the cutting mat—just make sure your blade setting is appropriate for the contact paper thickness. After cutting, separate the text pieces and trim any excess to keep placement neat.
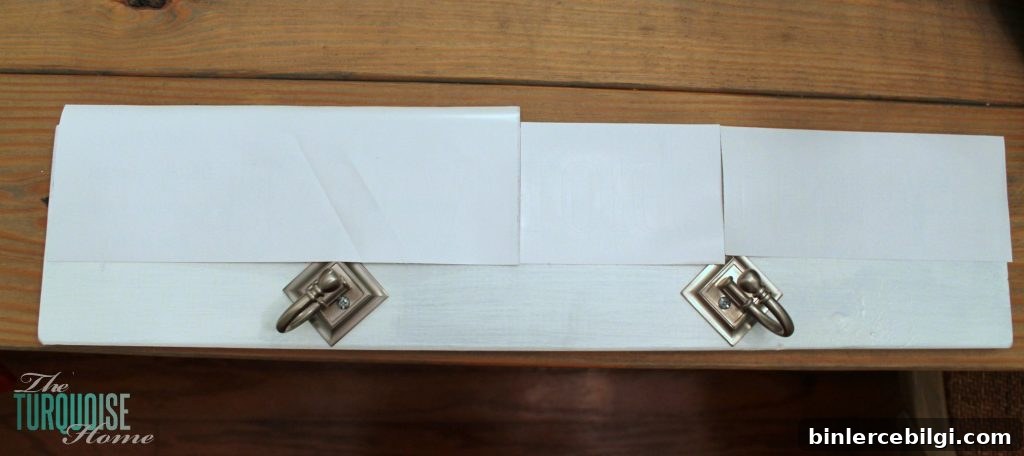
Before peeling the backing off the contact paper, arrange all stencil pieces on the painted board to confirm spacing and alignment. When everything looks right, remove the backing and apply each stencil carefully, smoothing out bubbles so paint won’t bleed under the edges.
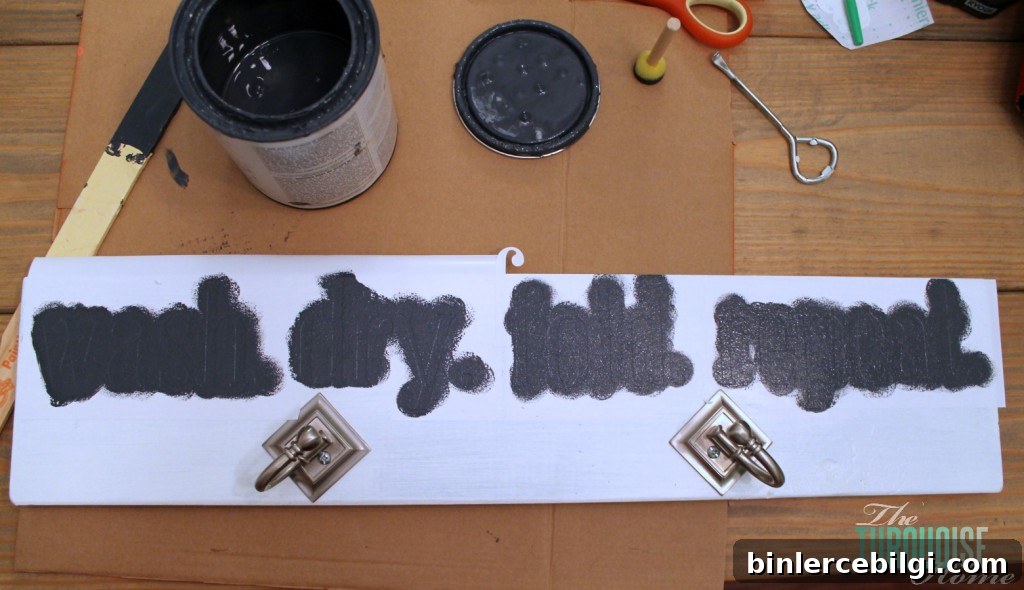
Pull out the inner portions of each letter so the paint can show through. Then paint the letters with your chosen color—navy worked well against the white background in my case. Use light coats to avoid drips and reduce the chance of paint seeping under the stencil.
Remove the contact paper while the paint is still slightly tacky. If you wait until it’s fully dry the stencil can pull up paint along with it. I had a few tiny spots to touch up afterward with a small paintbrush, which is an easy fix.
Once the paint was set and any touch-ups were done, I mounted the board in the laundry room using a secure hanging method. It’s so much better to have the ironing board stored on the wall instead of leaned in a corner—it saves space and looks intentional.
Staging photos in a brighter room helped show the finished piece since my laundry room lacks natural light. The final result is both pretty and practical—exactly what I wanted.
Tips and reminders:
- Measure twice before drilling to ensure the hooks align with the ironing board frame.
- Use light coats of paint over stencils to minimize bleeding.
- Remove stencils while paint is slightly tacky to avoid peeling paint up with the paper.
- If you don’t have a cutting machine, consider painting freehand with a pencil outline or using adhesive letter stencils purchased from a craft store.
P.S.: I eventually hung the board in the laundry room using a French cleat-style system, which makes the hanger secure and easy to remove if needed.
More projects you might enjoy:
- Traditional Laundry Room Design Plans
- Sherwin Williams Sea Salt paint ideas
- How to Decorate Kitchen Counters: Decorating 101