
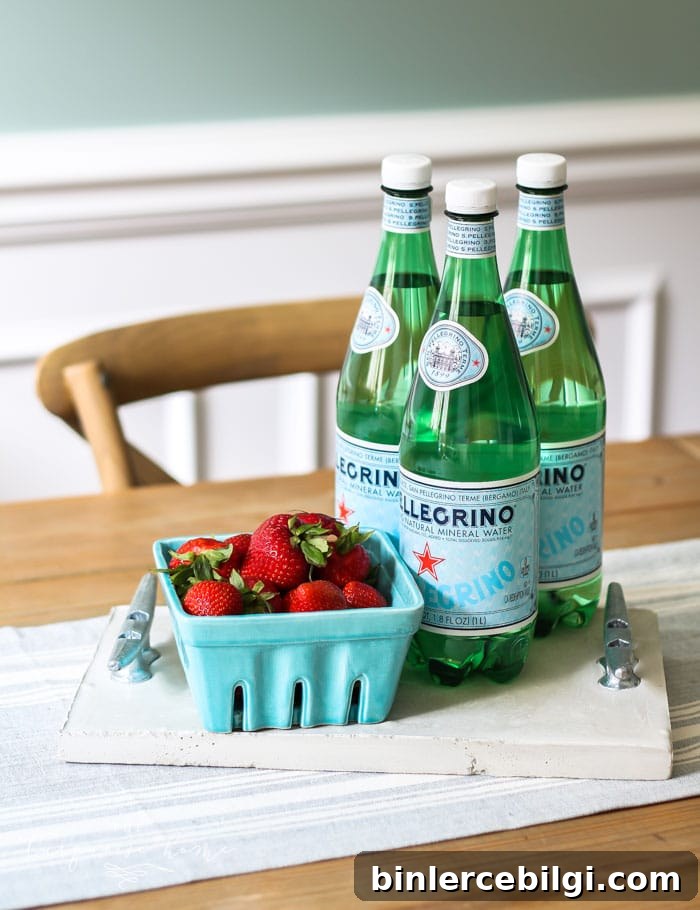
Make a coastal concrete serving tray with dock cleat handles and an easy-to-build mold. This simple DIY concrete tray is perfect for summer hosting and casual gatherings.
I love projects that are both useful and attractive. Small, straightforward builds that use basic materials from the hardware store are my favorite — they’re quick, budget-friendly, and add personality to the home.
I make a lot of simple, functional decor pieces, from a jewelry organizer to a chalk holder and even rustic kitchen shelves. Each of these projects is easy to source and assemble, and they all serve a purpose while looking good.
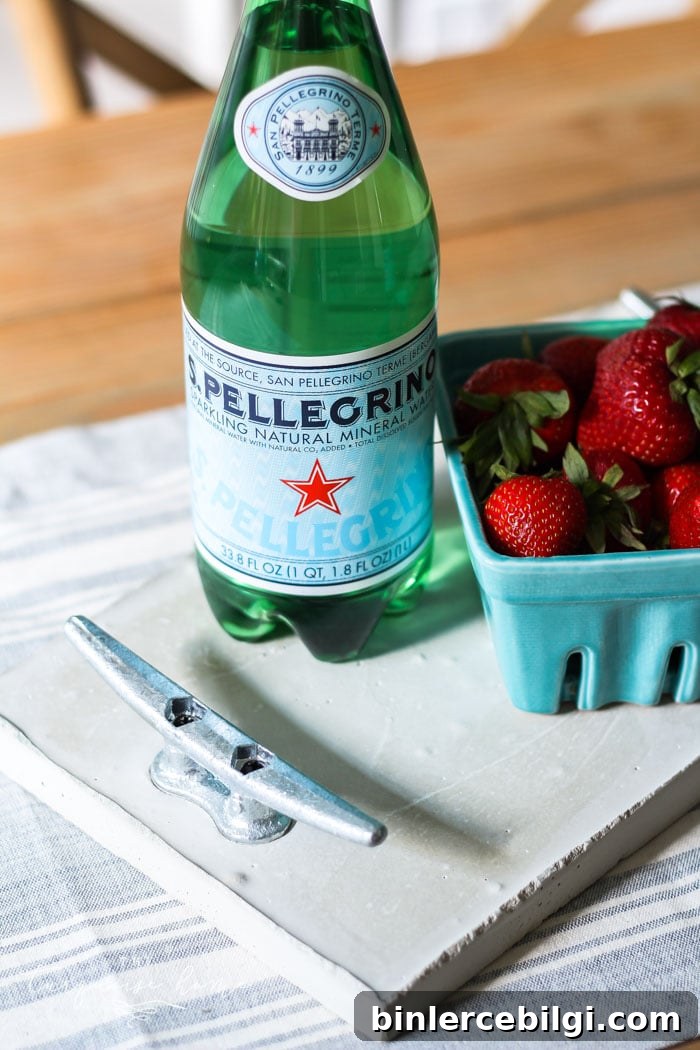
How to Make a Concrete Tray with Cleat Handles
This post walks through my latest project: a DIY concrete tray fitted with dock cleat handles for a coastal look. If you’re new to working with concrete, don’t worry — it’s straightforward when you follow the steps and have your supplies ready.
I kept the design simple since it was my first concrete project. Adding dock cleat handles gives a subtle nautical touch that makes the tray ideal for summer styling. The finished tray is solid and slightly heavy, so it works well as a decorative serving piece or a display tray for fruit, candles, or other tabletop accents.
Note about food use: If you plan to place food directly on the concrete surface, consider sealing it with a food-safe concrete sealer after finishing and curing.
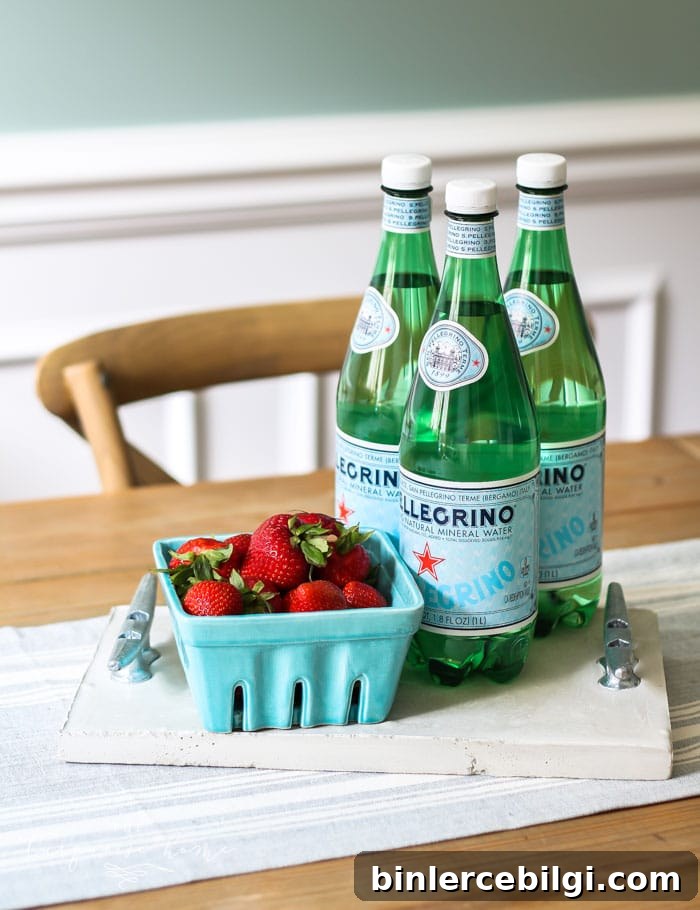
Those dock cleats are a favorite detail — understated but very summery. They look great on a table with fresh fruit or used as a serving surface for small bites.
Supplies Needed for a DIY Concrete Tray
Tools:
- Drill
- Circular saw (or a hand saw)
- Small bucket for mixing
- Measuring cup or jug
- Paint stirrer or mixing stick
- Sandpaper or sanding block
- Painter’s tape
- Measuring tape
- Pencil
- Trowel
Materials:
- 1/2 inch plywood sheet (backing for the mold)
- 1 x 4 x 6 common board (for the frame)
- Multi-purpose concrete mix
- 2 dock cleats for handles
- 1 1/2 inch wood screws
DIY Concrete Tray Step-by-Step Instructions
1. Cut the Pieces for the Tray Mold
Cut the wood pieces for the mold to these sizes:
- Two long frame pieces: 1 x 4 x 14 inches
- Two short frame pieces: 1 x 4 x 9 1/2 inches
- One plywood backing: 15 1/2 x 9 1/2 inches
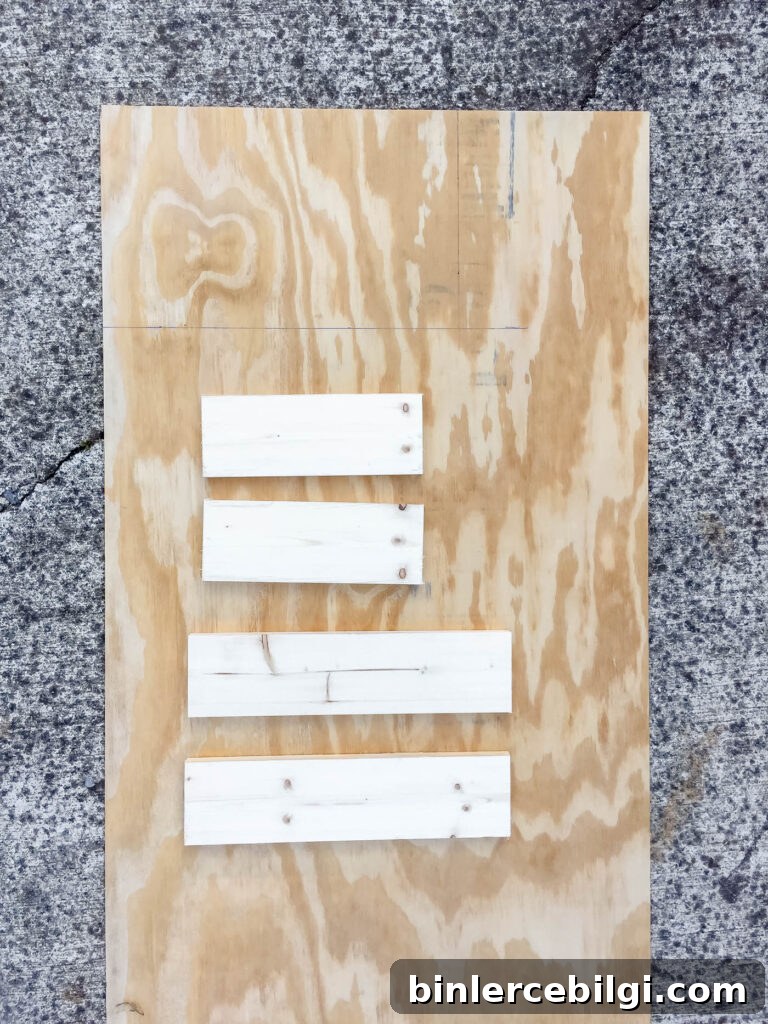
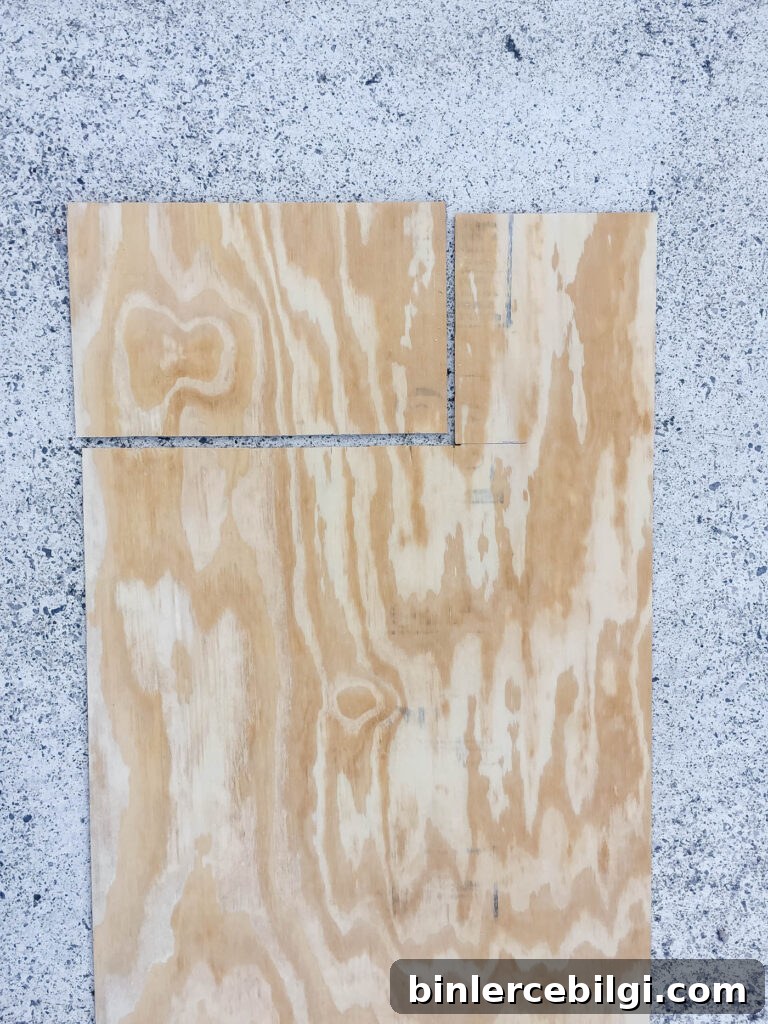
2. Make a Box with the Frame Pieces
Assemble the frame by screwing the long and short 1×4 pieces together to form a rectangular box. Make sure the corners are square for an even finished shape.
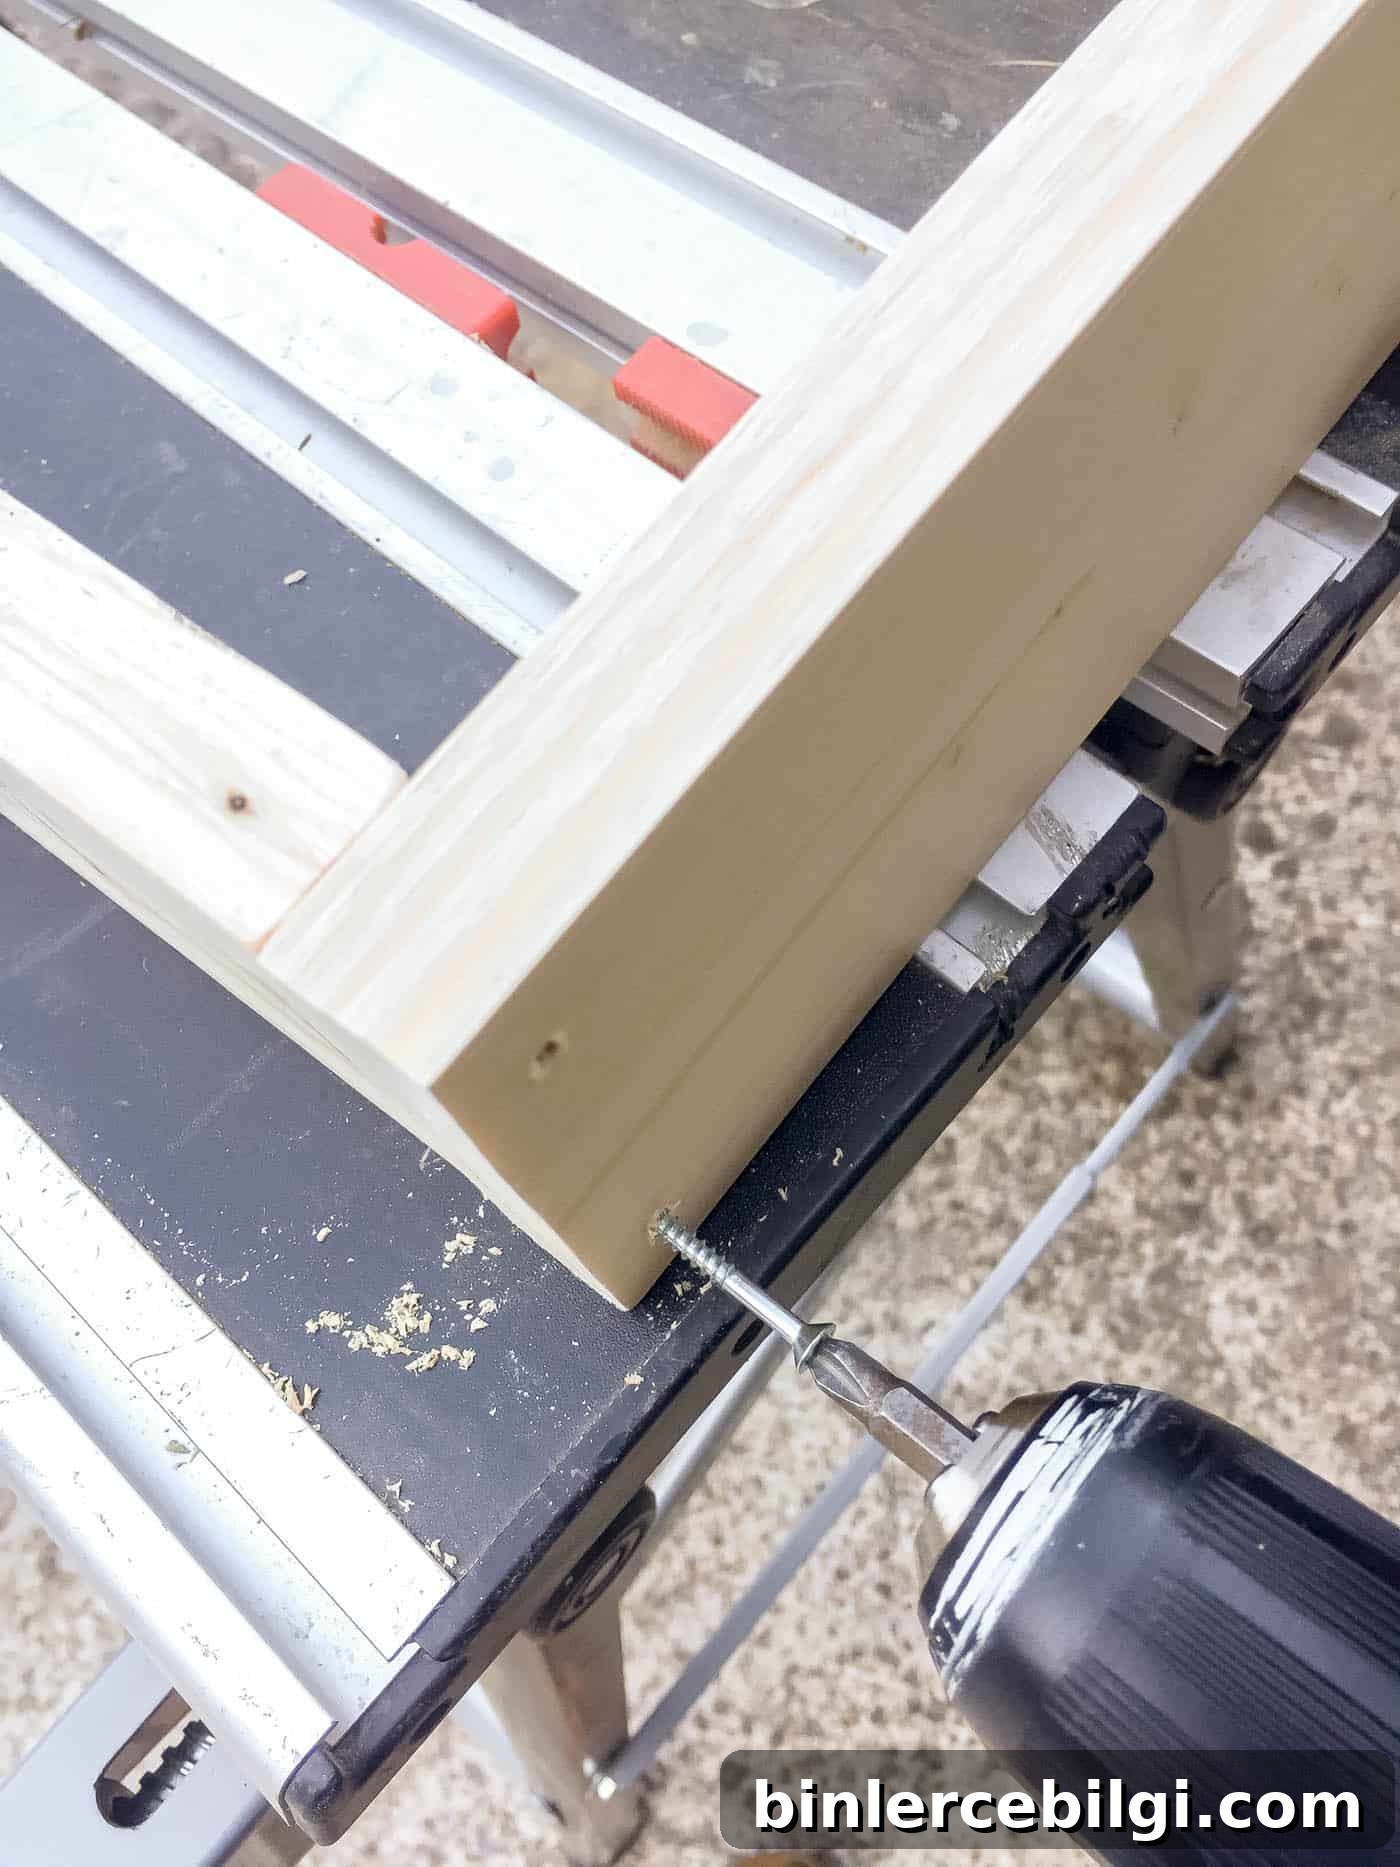
3. Attach the Plywood to the Bottom of the Box
Secure the plywood backing to the bottom of the frame using wood screws. Tight, flush attachment prevents leaks when you pour the concrete.
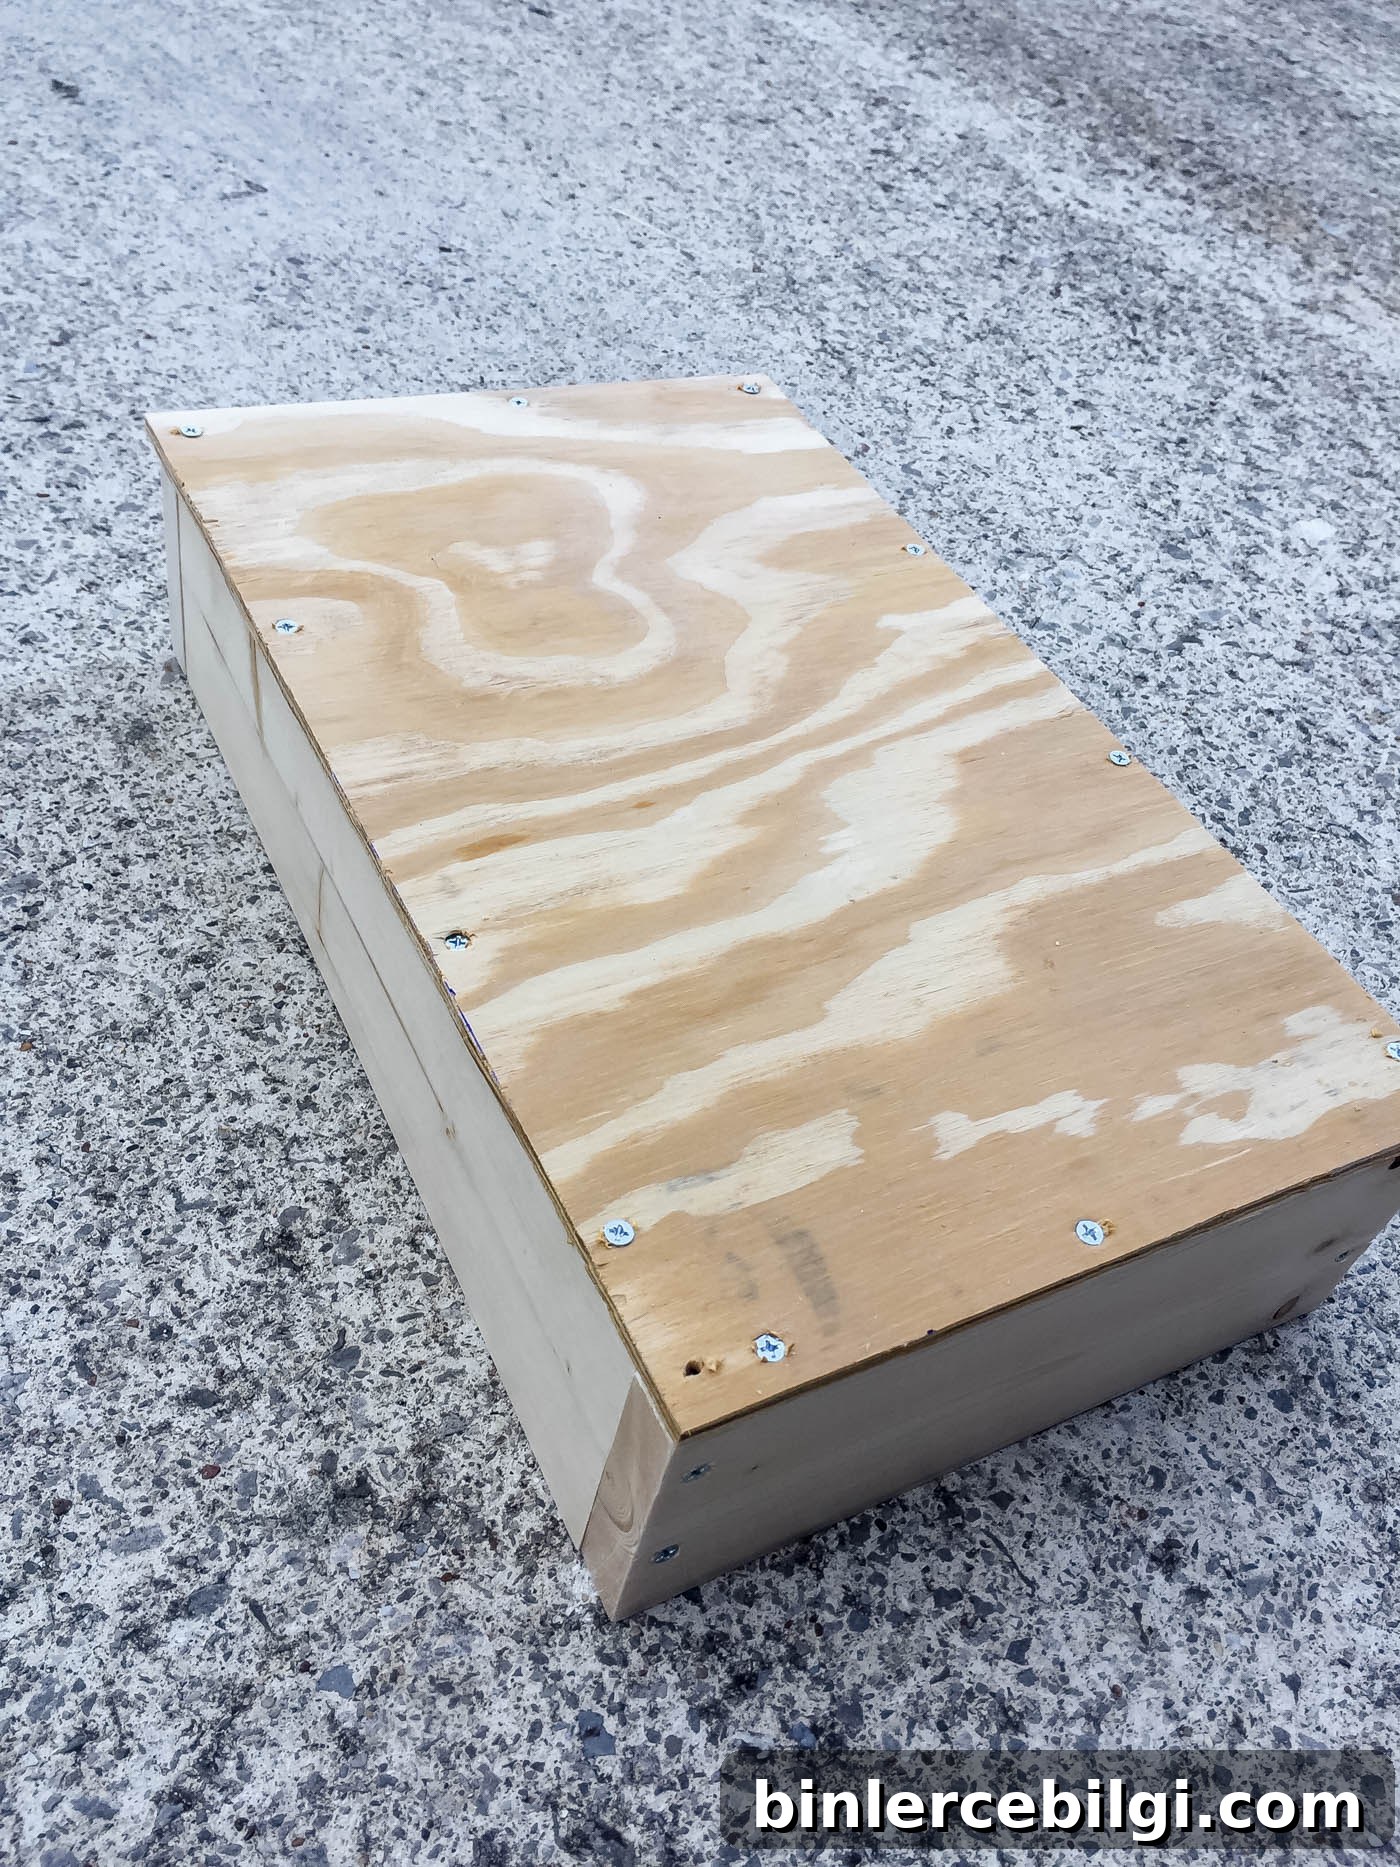
4. Affix the Screws to the Dock Cleats
Attach the small screws that come with the dock cleats so the screws are set into the concrete and hold the cleats securely. If you wait to insert screws later, the handles can pull out when you lift the tray.
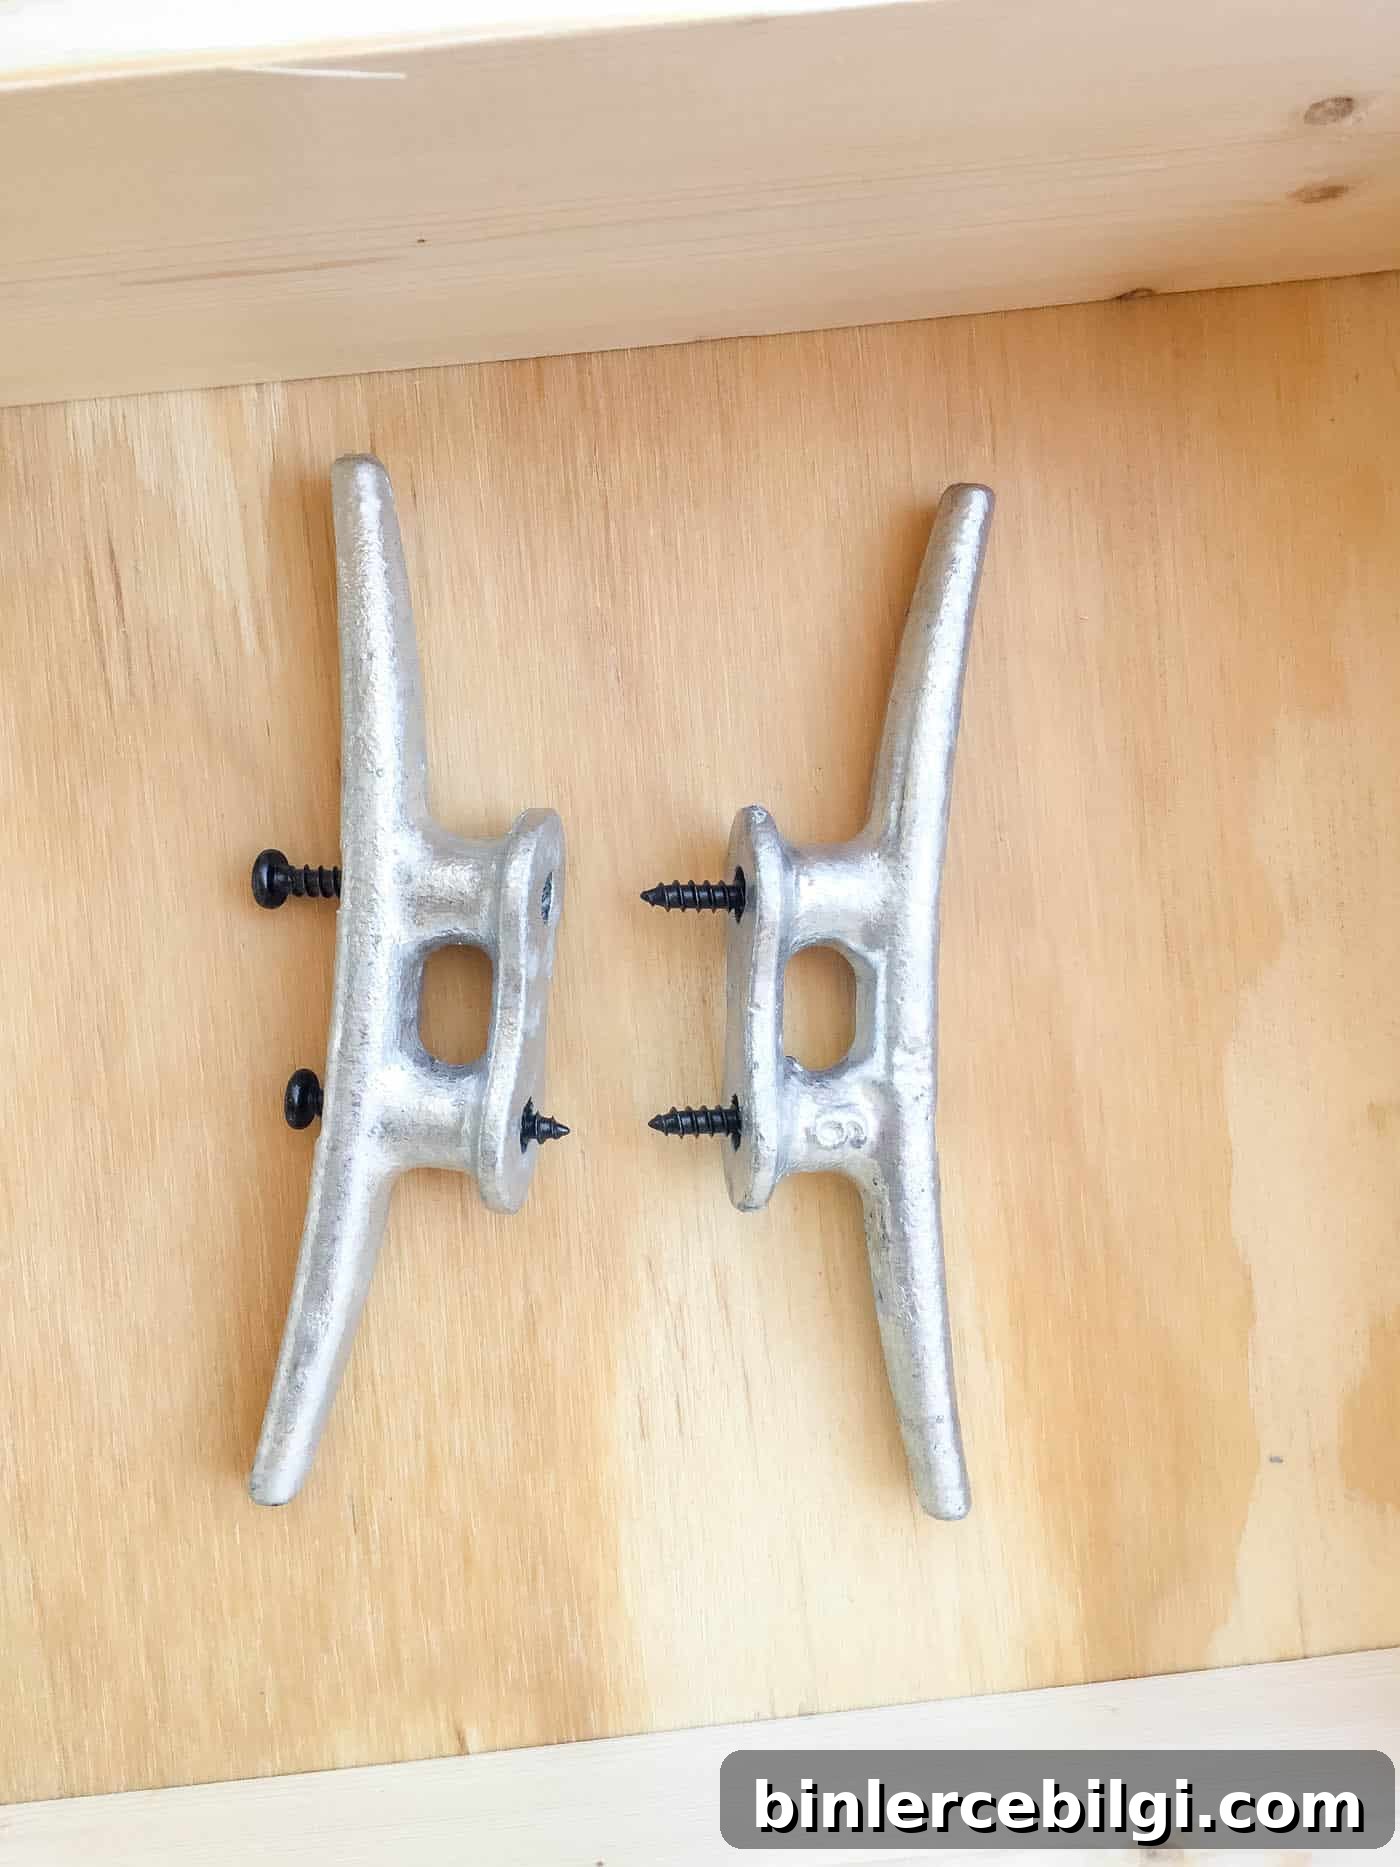
5. Mix the Concrete per the Instructions
Prepare the concrete according to the manufacturer’s directions. Mix to the recommended consistency and be ready to pour — concrete begins to set quickly, so have your mold and tools within reach.
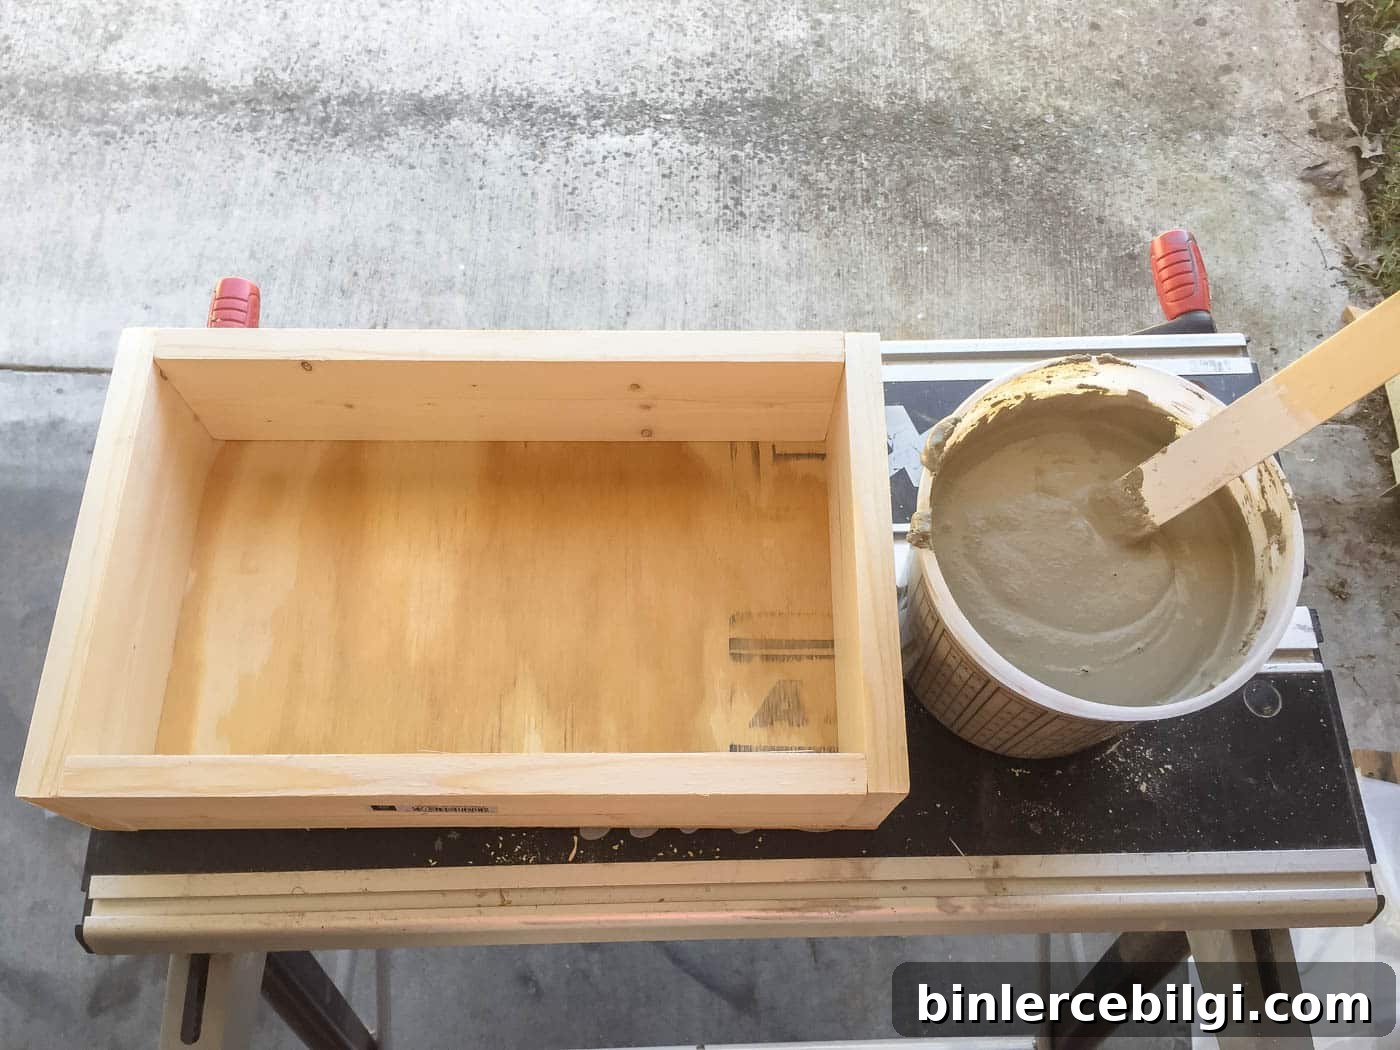
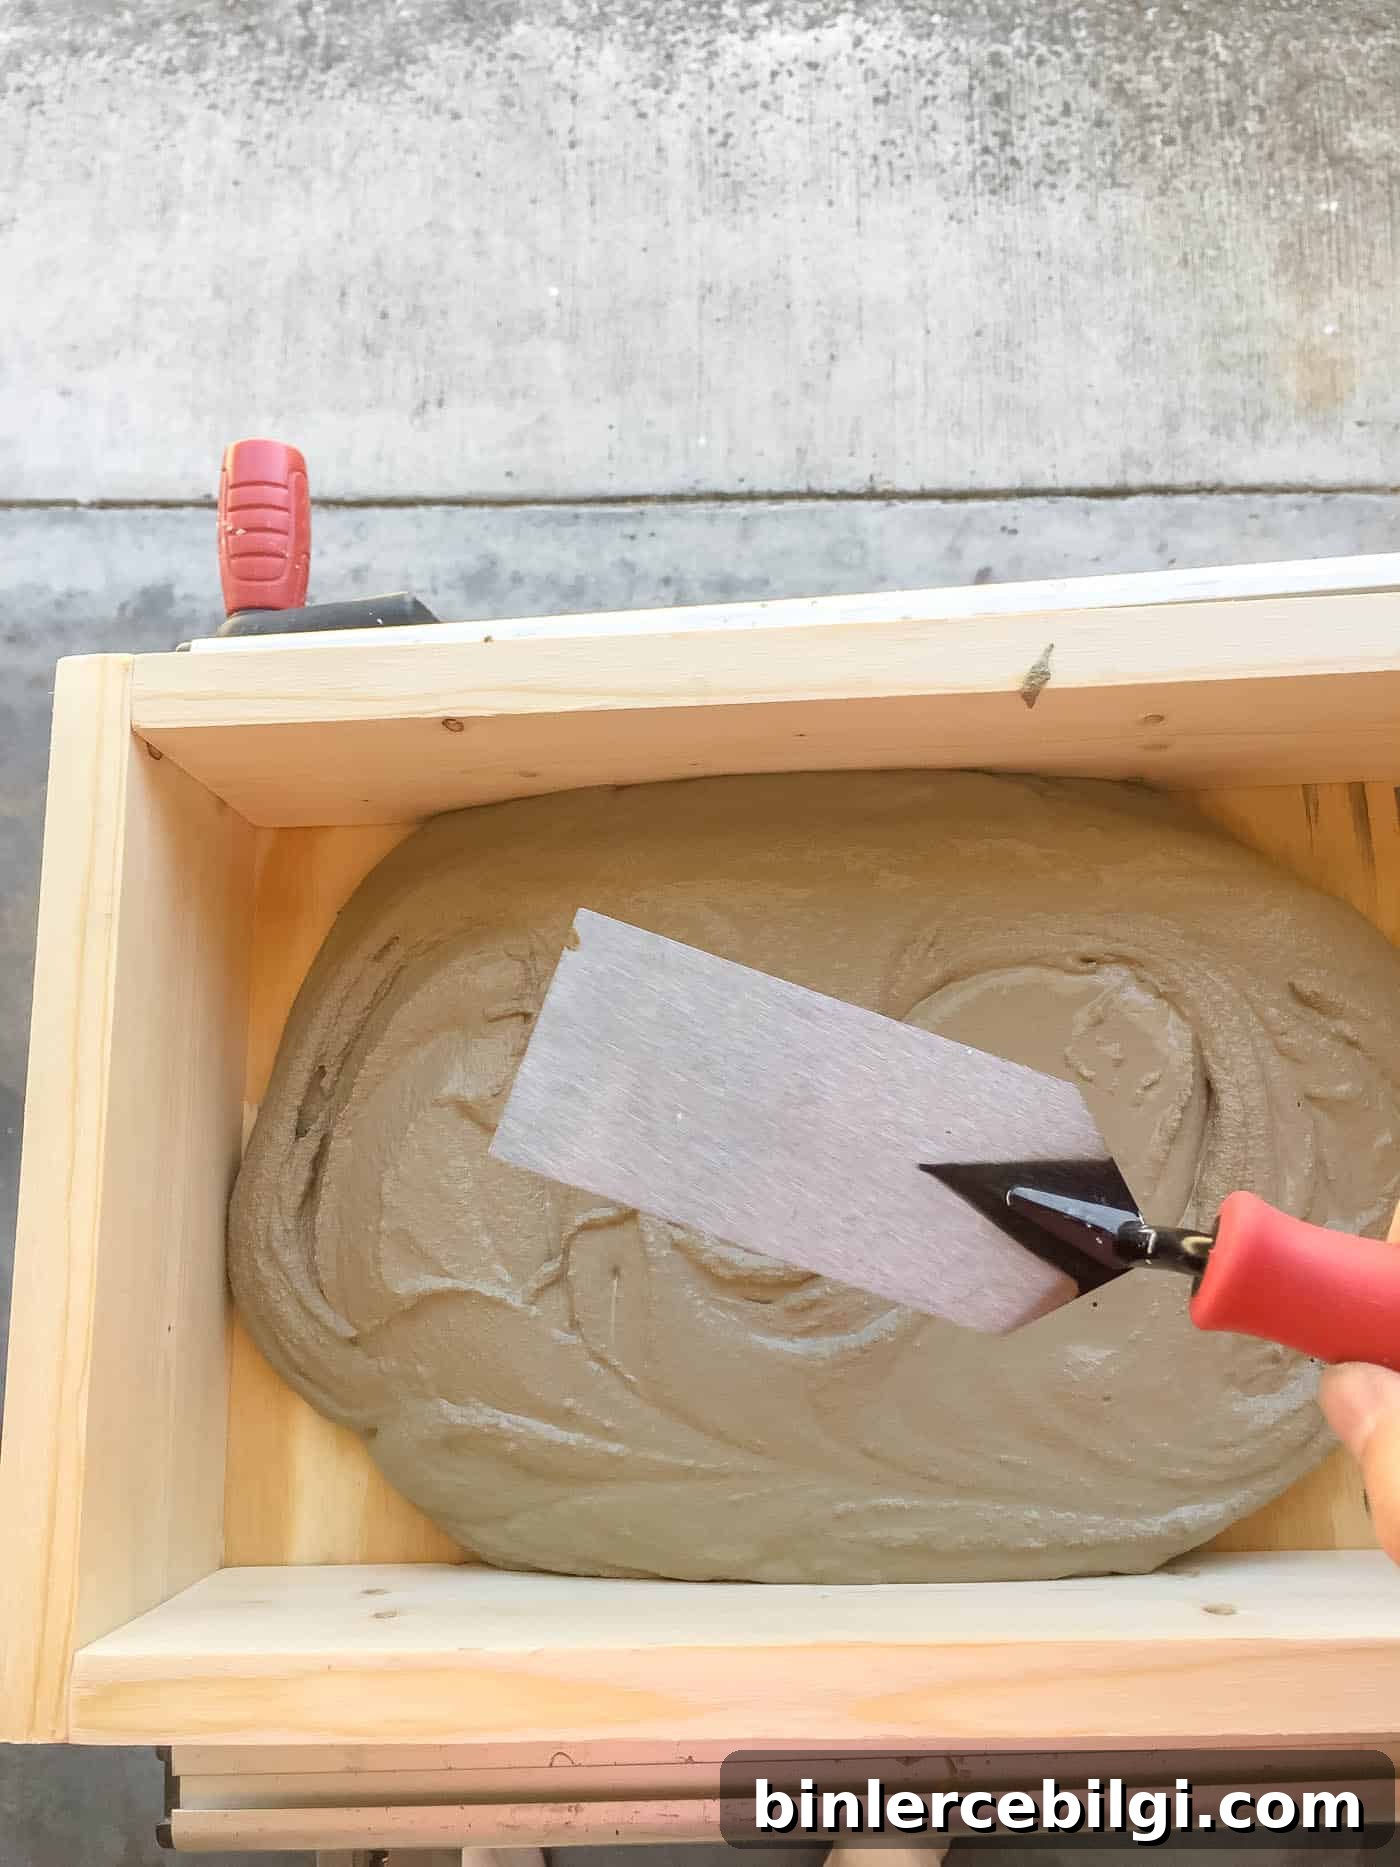
6. Pour the Concrete into the Mold
Pour the mixed concrete into the mold to a depth of 2–3 inches. Use a trowel to level the surface and tamp it down. Gently shake or rock the mold to help trapped air bubbles escape and to help the mix settle evenly.
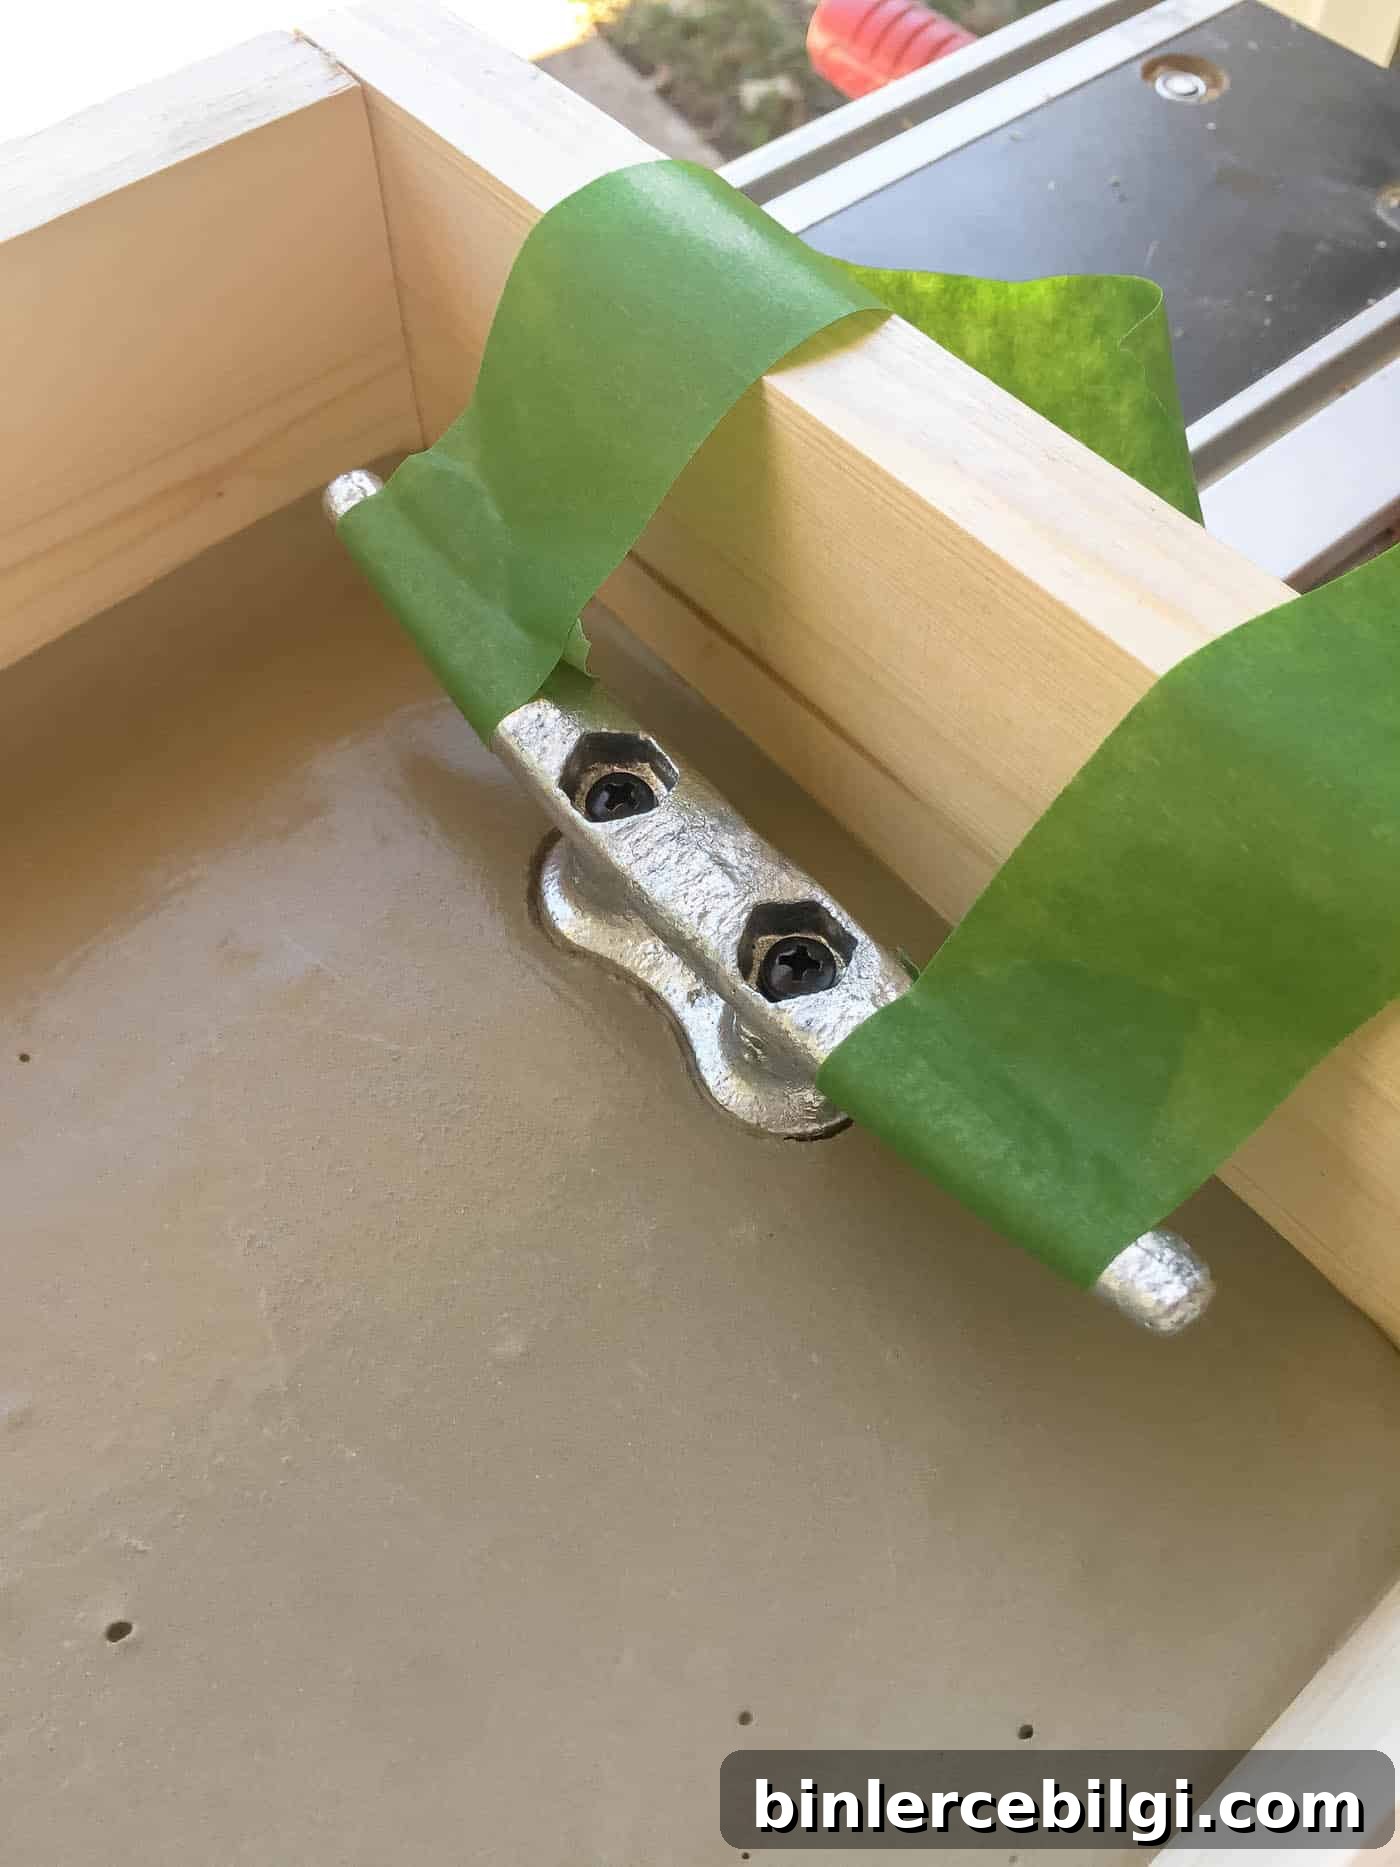
7. Wrap Cleats with Painter’s Tape and Set into Concrete after 5 Minutes
Wait about five minutes after pouring before inserting the cleat handles. If you insert them too soon they may sink. While you wait, wrap the cleats with painter’s tape to protect them and help them stay level. When the time is right, press the cleats into the concrete and secure them to the form with tape or clamps so they remain upright while the concrete sets.
8. Let the Tray Dry
Allow the tray to cure fully according to the concrete mix instructions. Proper curing time ensures strength and durability.
9. Carefully Remove the Form
Once the concrete is fully dry, remove the screws and gently disassemble the mold. Pry the frame pieces away slowly to avoid chipping the edges.
10. Sand down Rough Edges
Smooth any rough edges with sandpaper, starting with a coarser grit and finishing with a finer grit for a polished feel. If you plan to use the tray for food, apply a food-safe concrete sealer following the product instructions.
This tray is a simple and fun project that yields a stylish, coastal-inspired piece for your home. It’s sturdy, attractive, and makes a lovely addition to outdoor gatherings or everyday display.
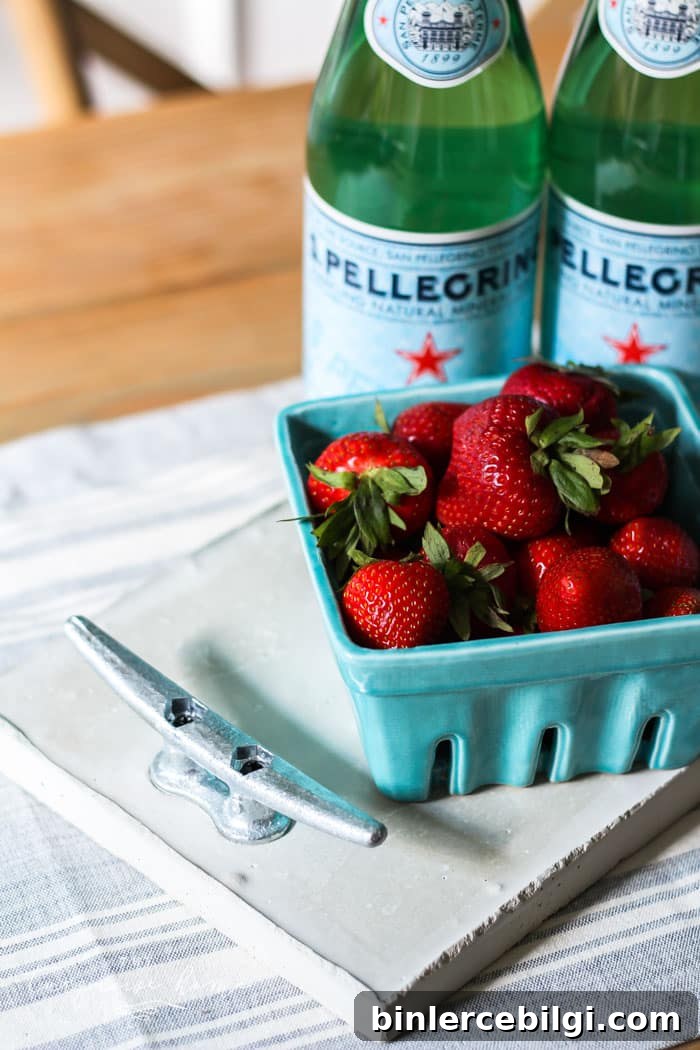
Give it a try — the process is approachable, and the finished tray looks far more complex than it is to make.
More posts you may enjoy:
- DIY Wood Bead Garland with Tassels
- Furnishing a Teen Girl’s Bedroom: 10+ Tips and Tricks
- 10+ Stylish Dog Crate Furniture Ideas
- DIY Window Cornice Board with Fabric
- DIY No-Sew Garden Flag