
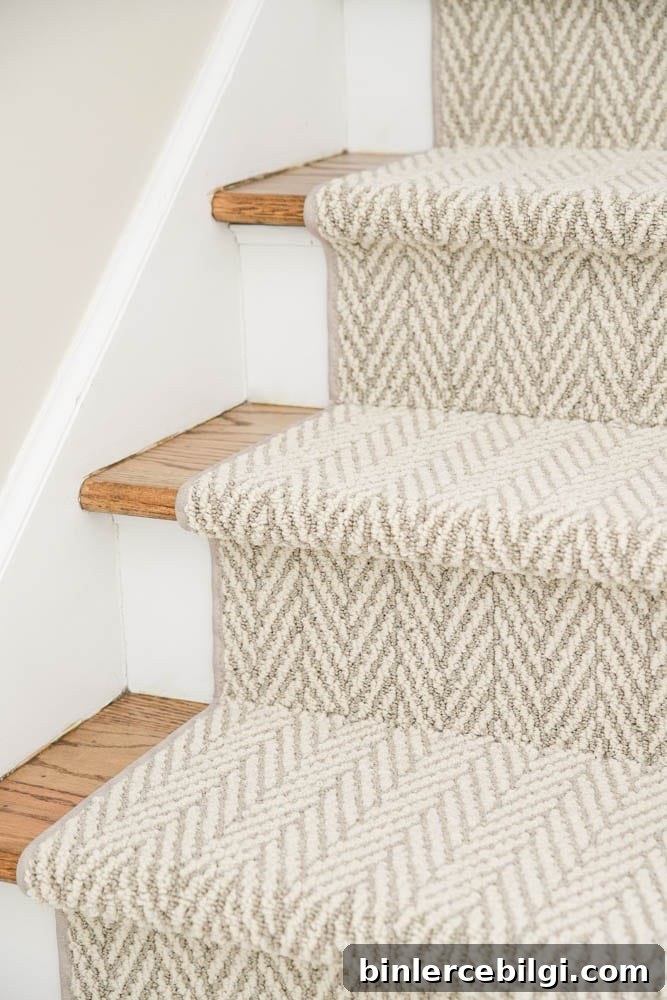
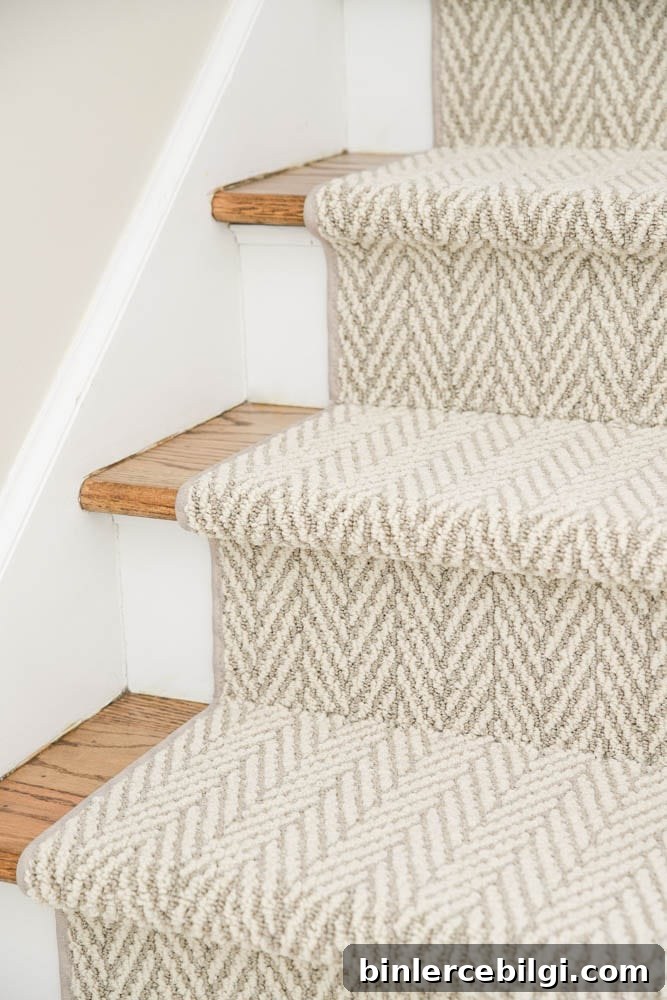
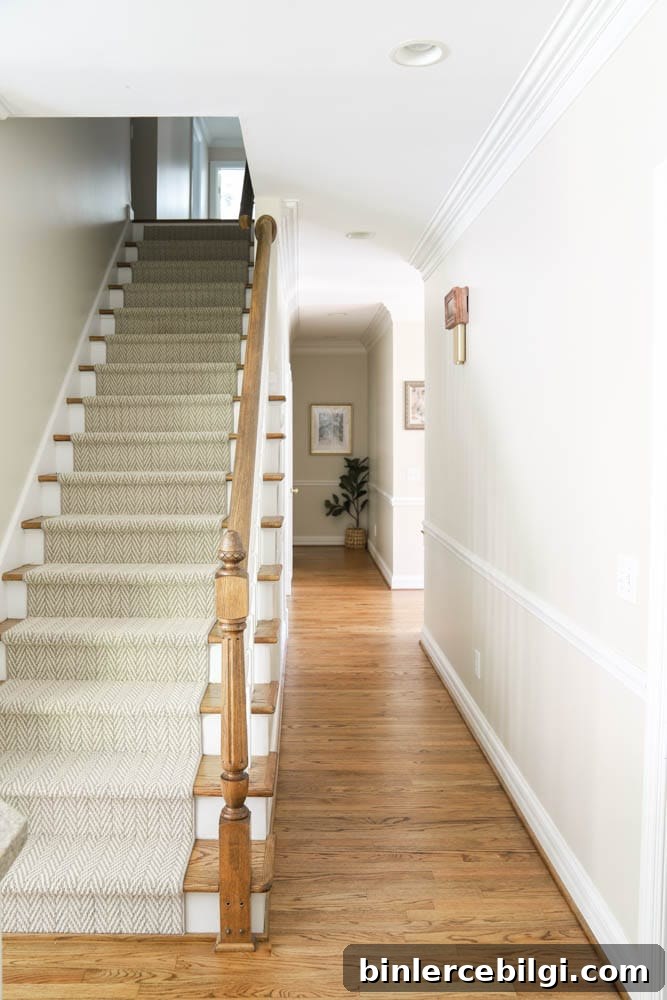
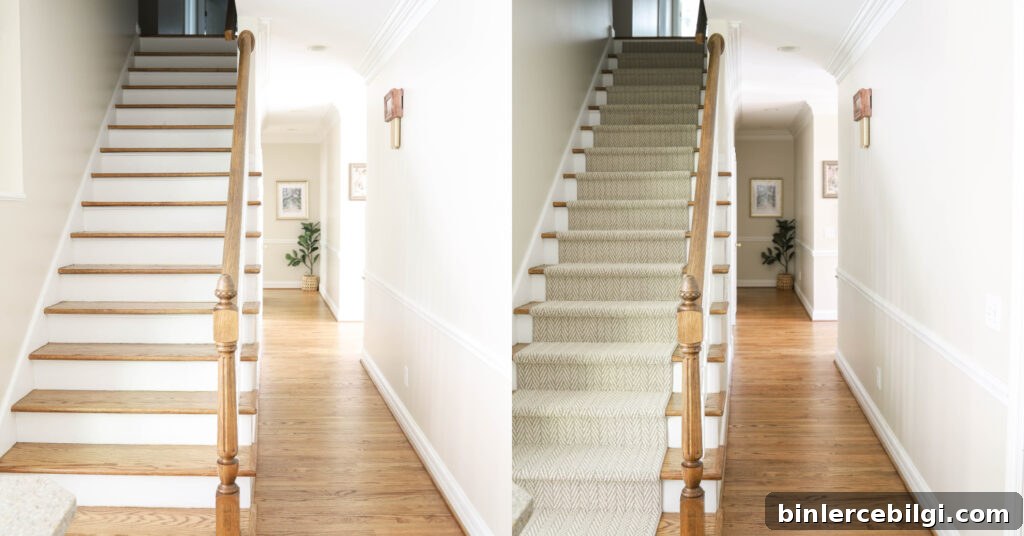
Adding a stair runner to our wooden stairs brought texture, style, comfort, and—most importantly—safety to our home. It also made the stairs noticeably quieter, which we love.
If you follow me on Instagram, you might remember how many times I went back and forth about this seemingly simple update. It felt like a small change, but there were a lot of decisions to make. I’m happy to say the runner is installed and we all love the results—my whole family agrees!
First, here’s how the stairs looked originally.
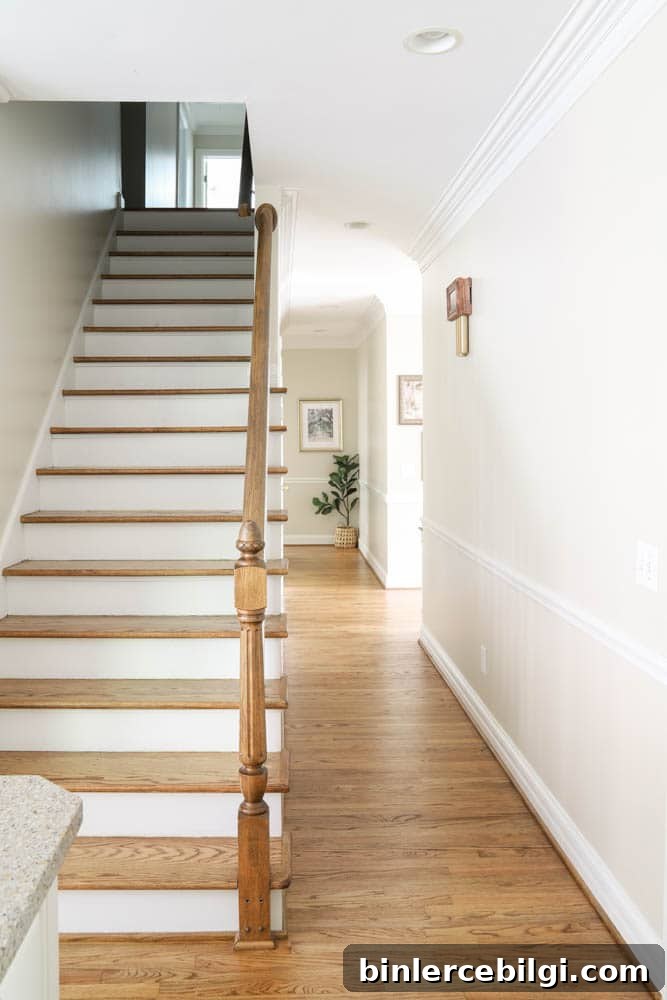
These stairs lead straight into our kitchen. When we first bought the house I wasn’t sure I’d like that, but now I love it—the kitchen is the hub of our home and it’s great to be able to talk to anyone upstairs while I’m cooking.
Why Did We Need a Stair Runner?
A few readers suggested leaving the hardwood bare, and I agreed that the stairs are beautiful. Still, after several slips—some involving our kids—we decided a runner was the right choice for safety. The padding helps reduce the chance of a serious injury if someone does fall, and it gives better traction so socks on the stairs aren’t terrifying anymore. One of my daughters’ first reactions was, “Yay! Now we can wear socks on the stairs!”
Three bedrooms are on the second floor, including our guest room, so I didn’t want any guest—especially older family members—to risk slipping. Beyond safety, I liked the idea of adding texture and pattern that ties into the kitchen since the stairs flow directly into that space.
If we change our minds later, the runner can be removed and any touch-ups made. These stairs had carpet before we moved in; the previous owners removed it and refinished the treads, so there are faint marks from the earlier carpet but nothing that bothered us.

Which Carpet Did We Pick?
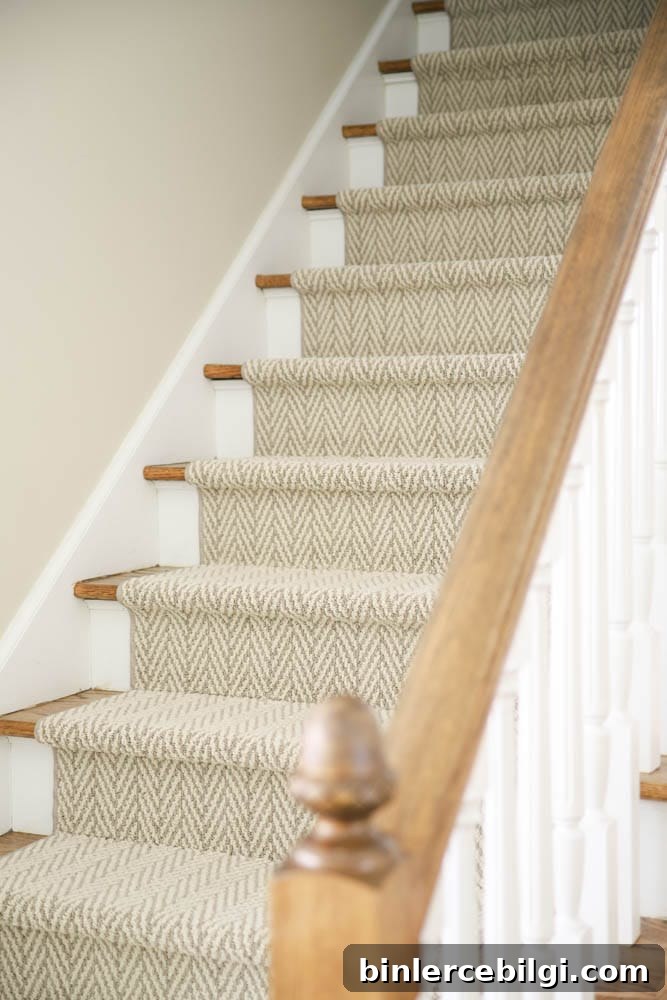
I explored several affordable alternatives—sisal, pre-made runners, and DIY options—but ultimately chose a carpet I loved: Anderson Tuftex Only Natural in the Plaza Taupe color. It complements our Edgecomb Gray walls and has a subtle herringbone pattern that feels textured without being busy.
I tested sisal samples and worried they would be too rough for kids who like to sit on the stairs while I cook. Sisal can also become slick as it wears down, which could defeat the safety purpose. I even ordered a sisal runner and planned to DIY it, but returned it and decided a softer carpet made more sense for our family.
Decisions to Make Before Ordering
Width was the first question. Our stairs measure 37 inches across at the top, so I picked a 30-inch runner. That leaves about 3.5 inches of wood exposed on each side—enough to show off the hardwood while still providing a substantial strip of carpet for traction.
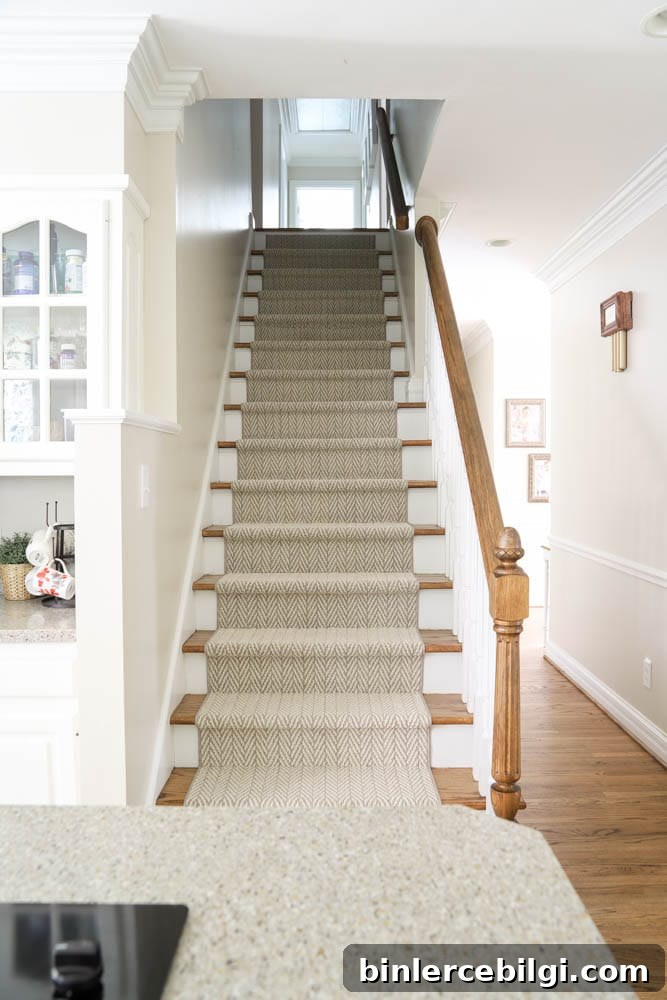
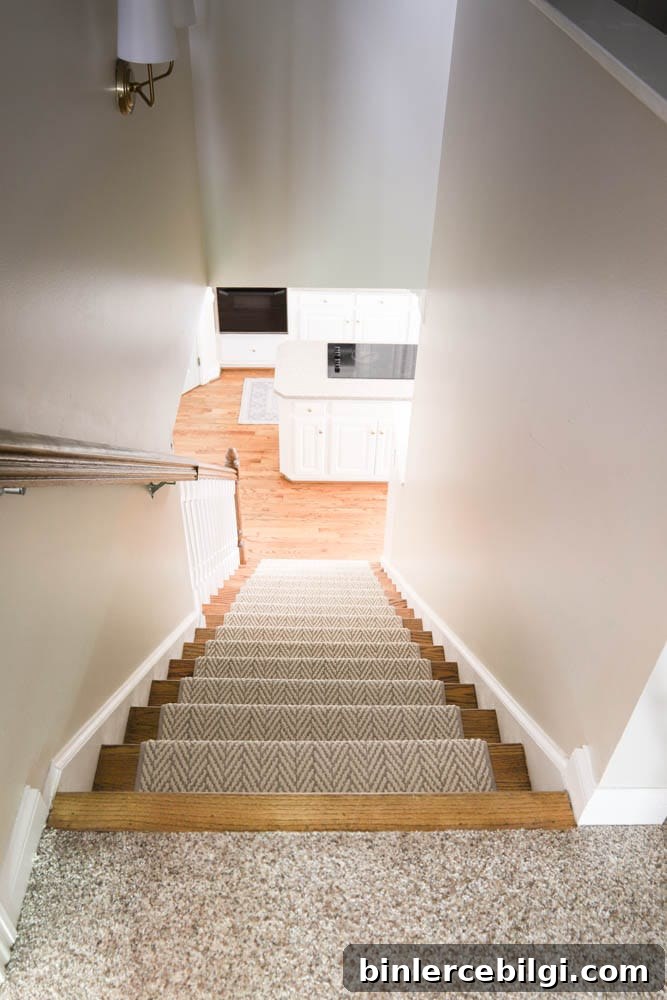
We also had to decide where to center the runner. I chose to center it at the top of the stairs so the opening into the room looks balanced. Centering at the bottom would have made the exposed side of the staircase look off-kilter when viewed from the kitchen.
Cleaning was another consideration. Carpet does trap dirt more than bare wood, but we already have a “no shoes upstairs” rule, which helps a lot. We plan to maintain the runner with our cordless stick vacuum—what we’ve always used for the stairs—and regular spot cleaning as needed. Our vacuum has been a daily tool for years, so upkeep should be simple.
Stair Runner Installation
I’m a DIYer and felt confident I could install a pre-made runner, but the carpet vendor explained that the runner’s binders needed to be seamed every few steps. To avoid mistakes, I hired the company’s professional installer to do the work.
The installer did a great job overall and used the proper tools to get a tight fit. When he returned to finish the final few stairs, he was rushed and the last three weren’t as neat as the rest. With a staple gun I had on hand, I was able to tidy those spots myself, which showed me I probably could have handled the whole project if I’d taken my time.
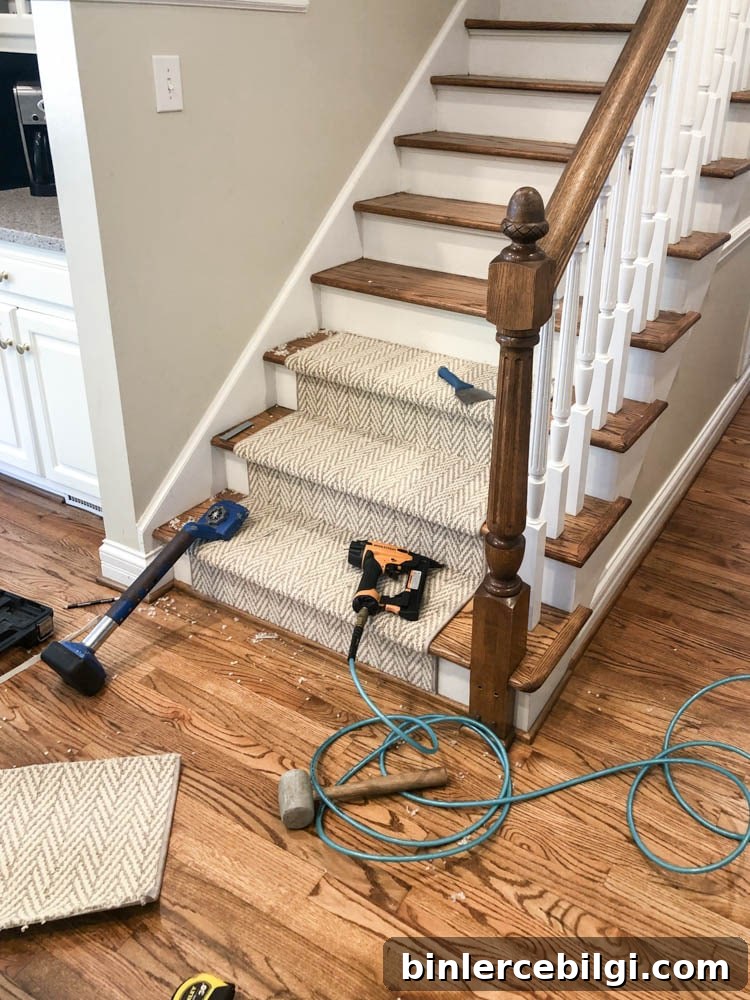
If I install another stair runner in the future, I’ll likely DIY it from start to finish. For this project, hiring help ensured a professional seam and saved me the hassle of ordering the perfect amount of material.
Overall, I’m thrilled with how the runner looks and feels. It’s one more step toward finishing our kitchen updates, and I’m enjoying this view in the home every day. Next up: deciding whether to add artwork or keep the hallway simple. Time will tell.
See More Kitchen Updates
- Traditional Coastal Kitchen Mood Board
- My Traditional Kitchen at Christmas
- Traditional Brass Chandelier in the Kitchen
More Posts You Will Love
- How To Hang Garland On the Stairs
- Luxury Vinyl Plank Flooring Review
- Timeless Home Decor Essentials
- How to Upgrade Your Home with Beadboard
- Loft Bed Ideas For Small Rooms