
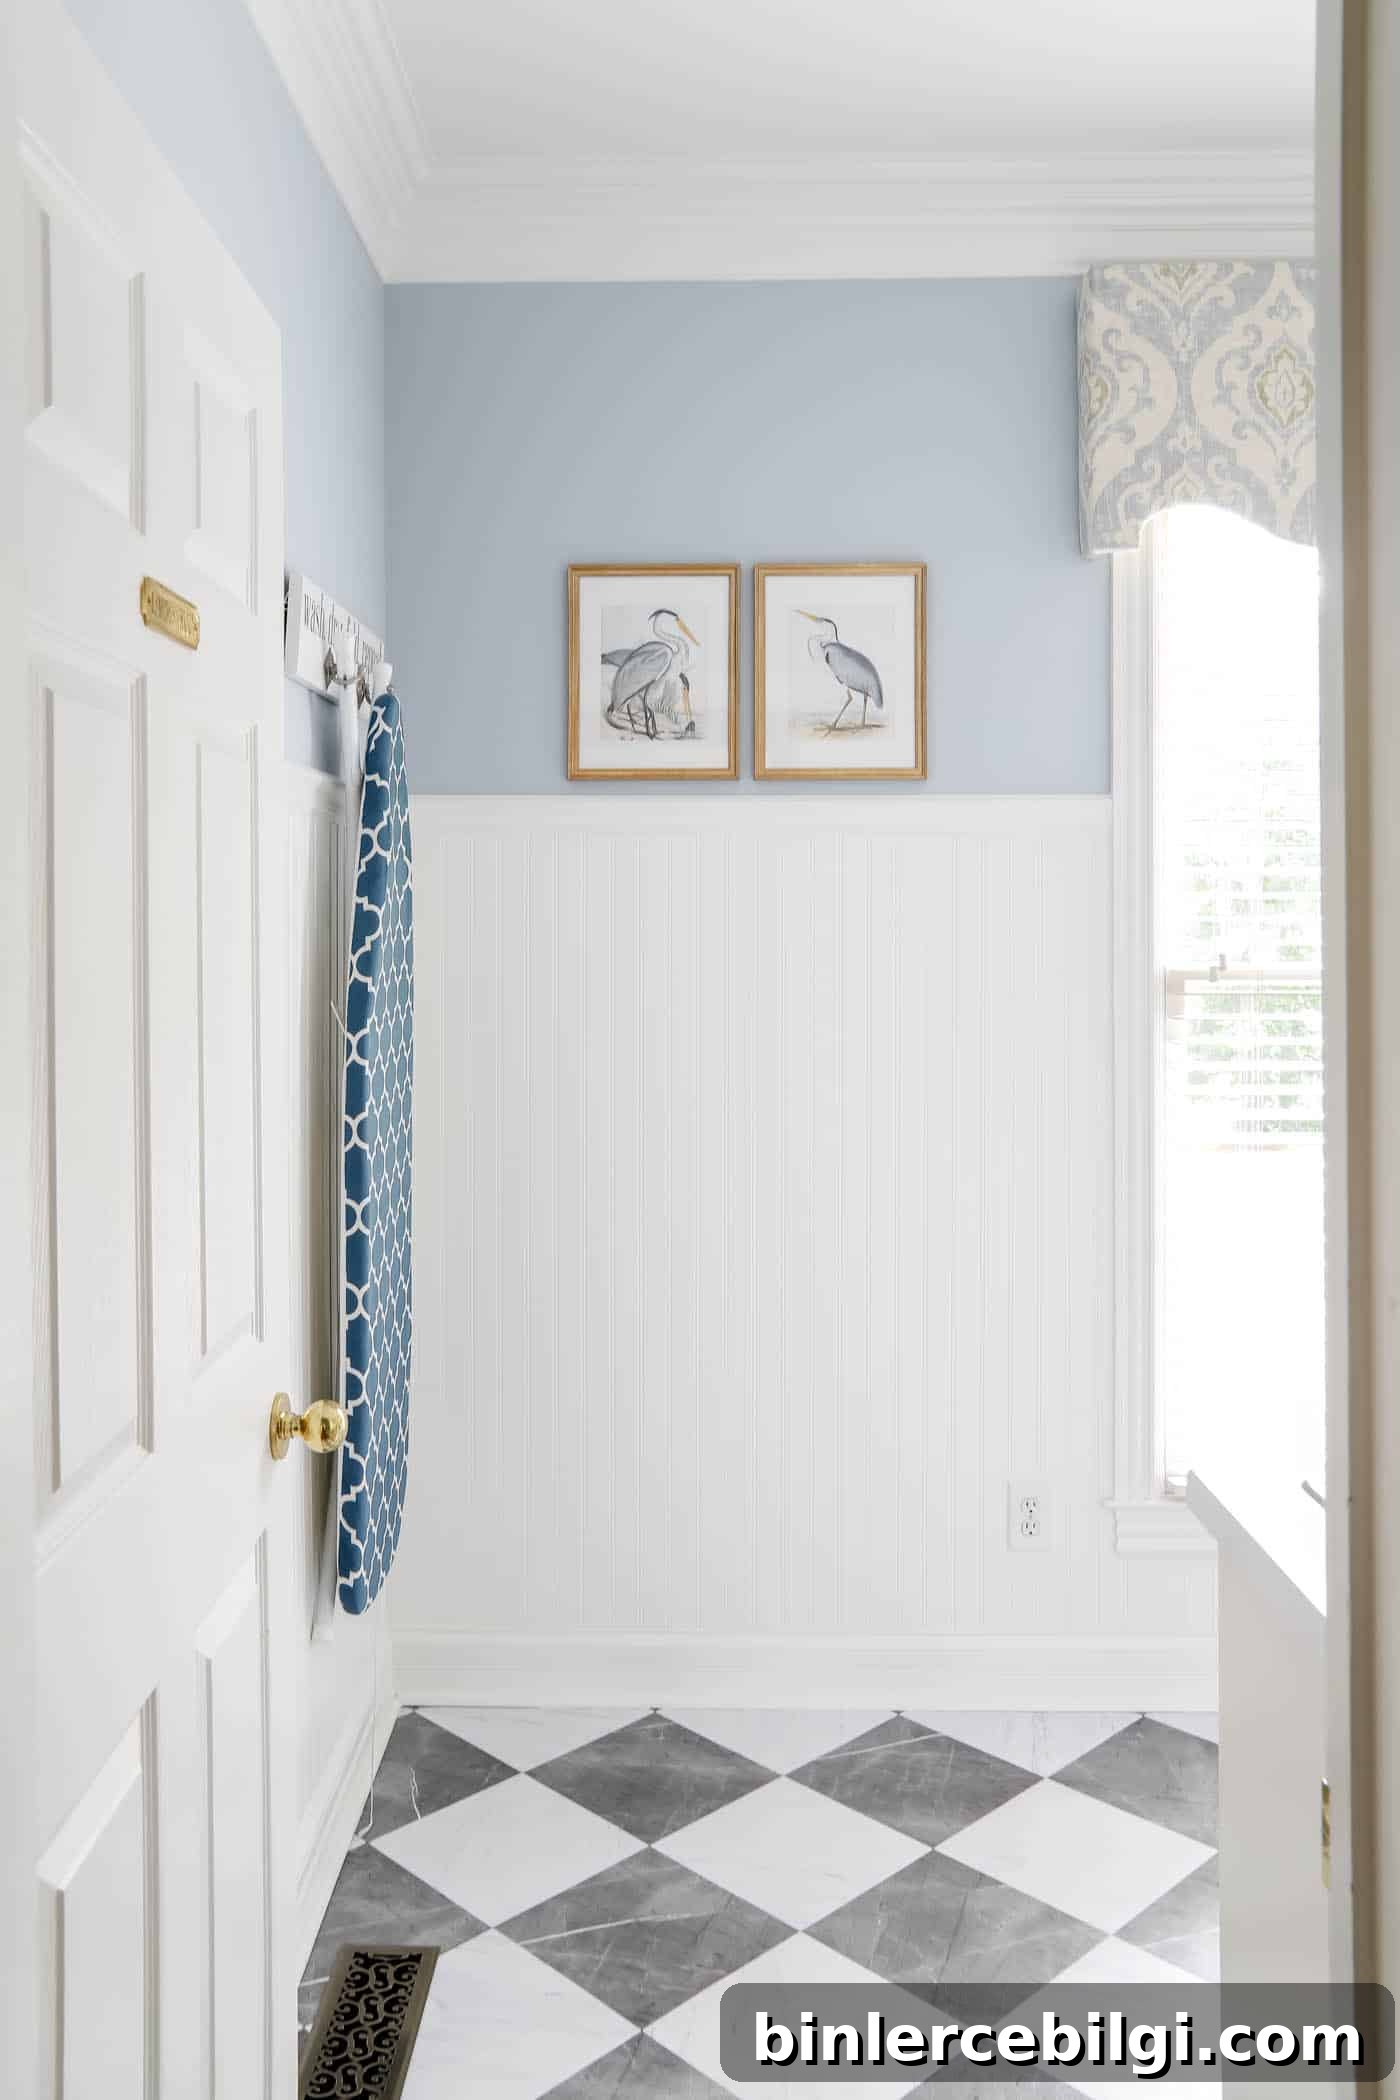
Are you looking for a budget-friendly way to refresh your home with timeless charm? Beadboard is a classic, versatile choice that adds texture, depth, and character to any room.
Whether you want a coastal-inspired bathroom, a cozy country kitchen, or an elegant hallway, beadboard can deliver. In this guide, you’ll learn what beadboard is, where to use it, how it differs from traditional wainscoting, and a straightforward step-by-step for installing and customizing beadboard in your own home.
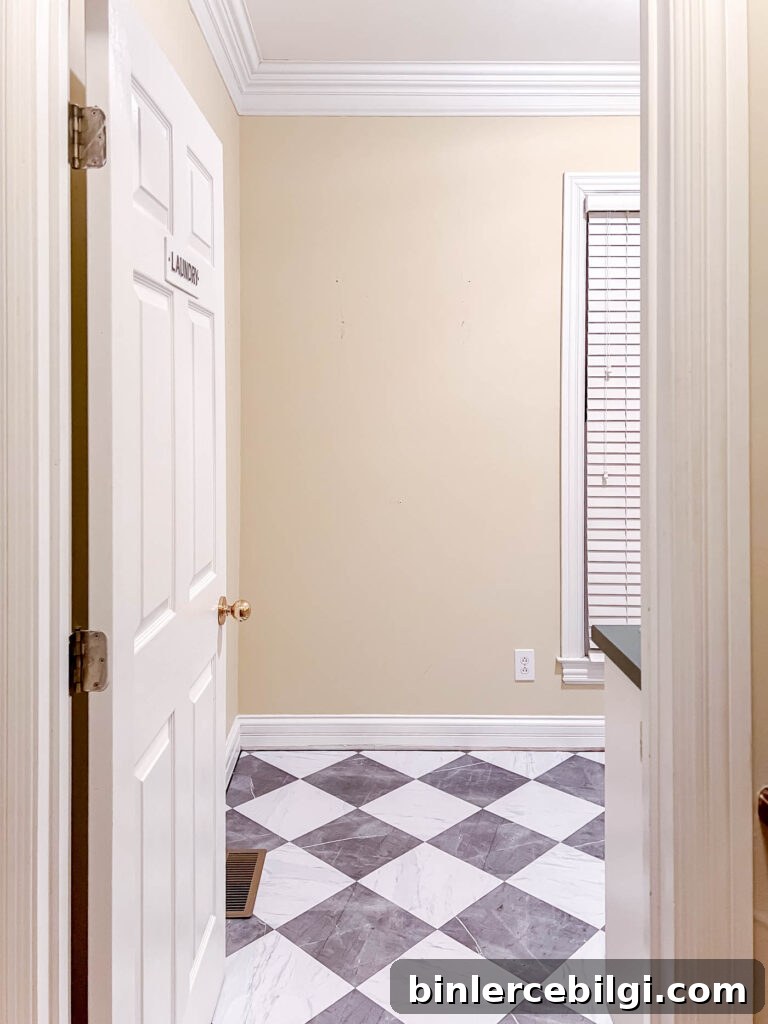
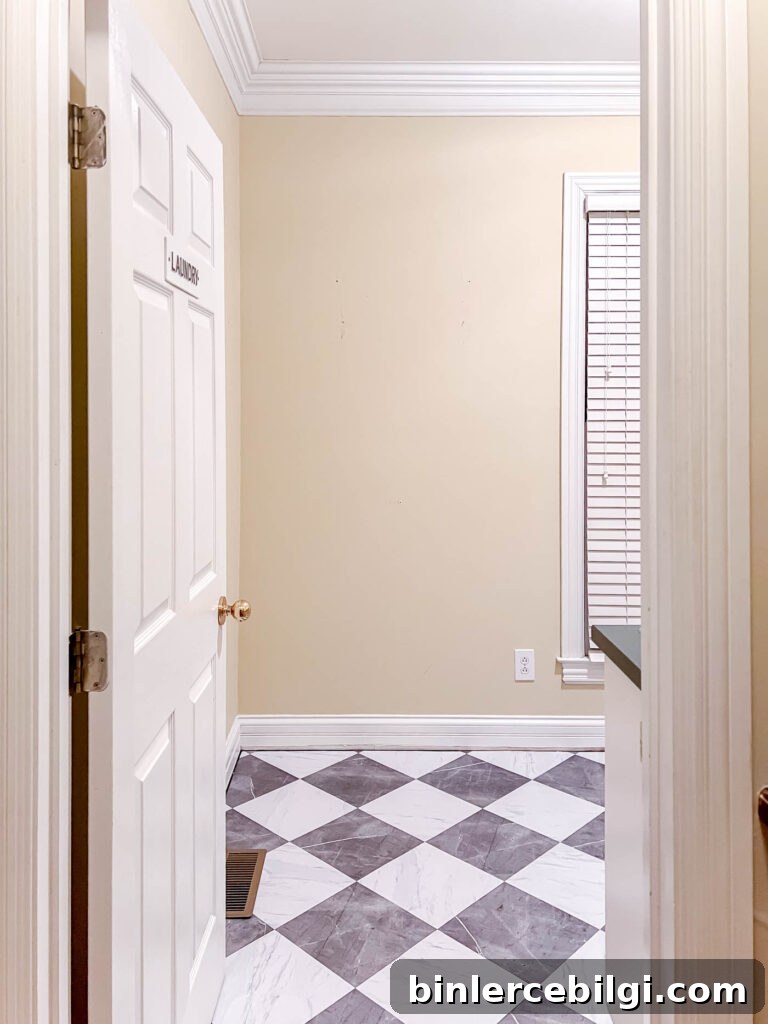
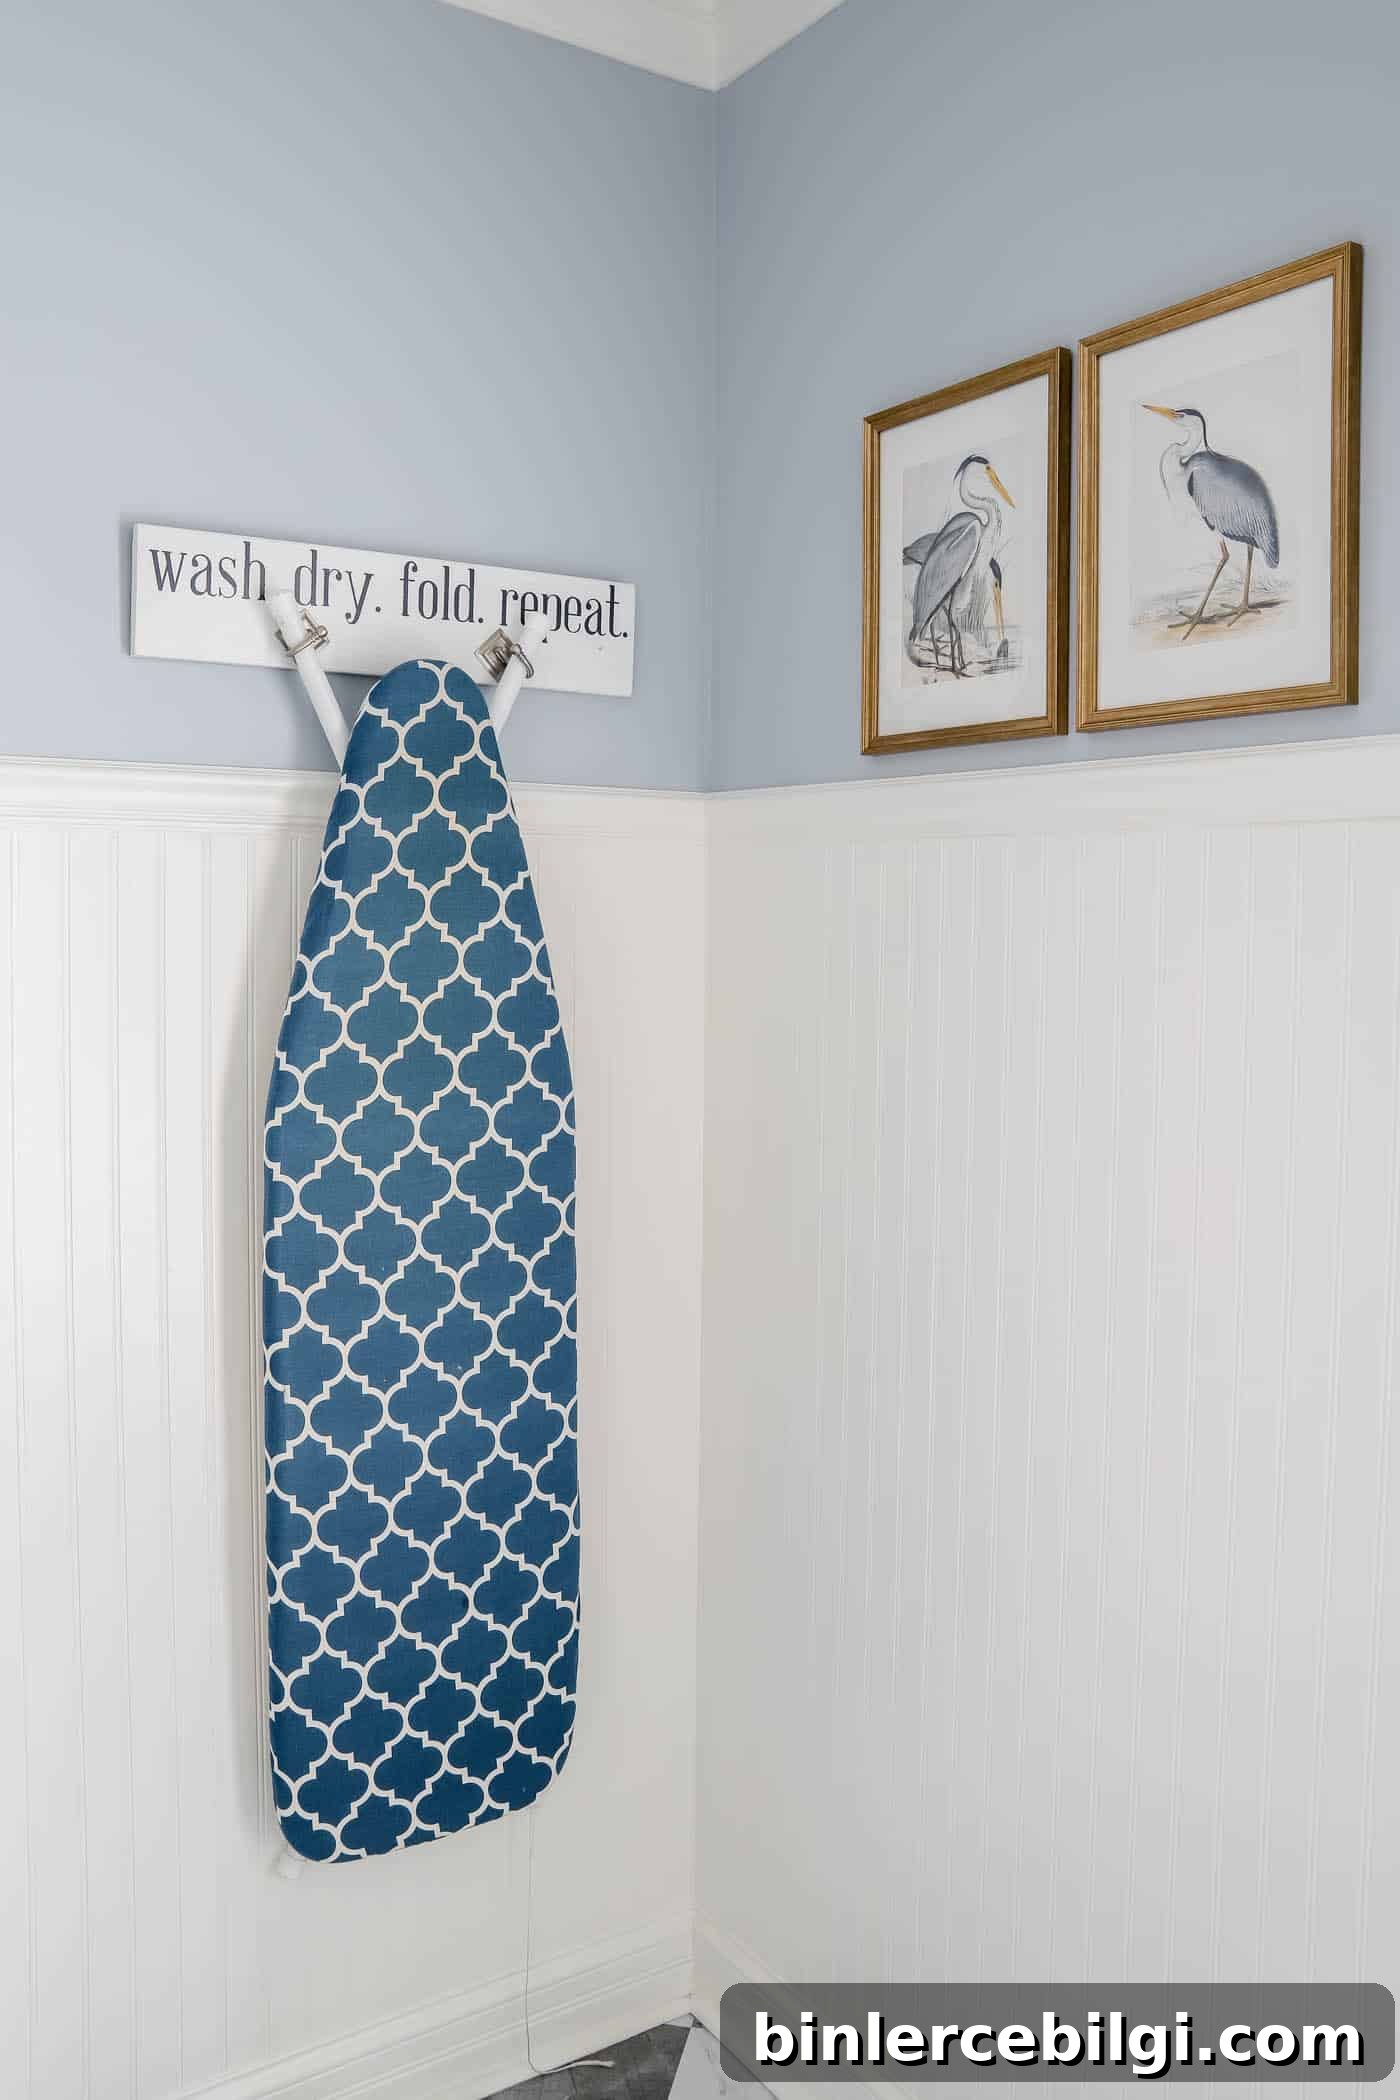
I’ve installed several wall treatments over the years, including board-and-batten and picture frame molding. Most recently I added beadboard to my newly refreshed laundry room. It’s an attractive wall treatment that doesn’t cost much, especially when you install it on a portion of a small room as I did.
We also used beadboard on the back porch ceiling and on the half wall of our screened-in porch. It’s a beautifully traditional look I enjoy throughout the house.
What is beadboard?
Beadboard is a type of paneling composed of narrow boards or panels with a repeating vertical groove and a small rounded ridge, called a “bead.” Materials range from solid wood to MDF and PVC. Some manufacturers also sell large paneled sheets that mimic the classic tongue-and-groove appearance for faster installation.
Where can you use beadboard?
Beadboard is flexible and can be used practically anywhere in the home. Popular applications include:
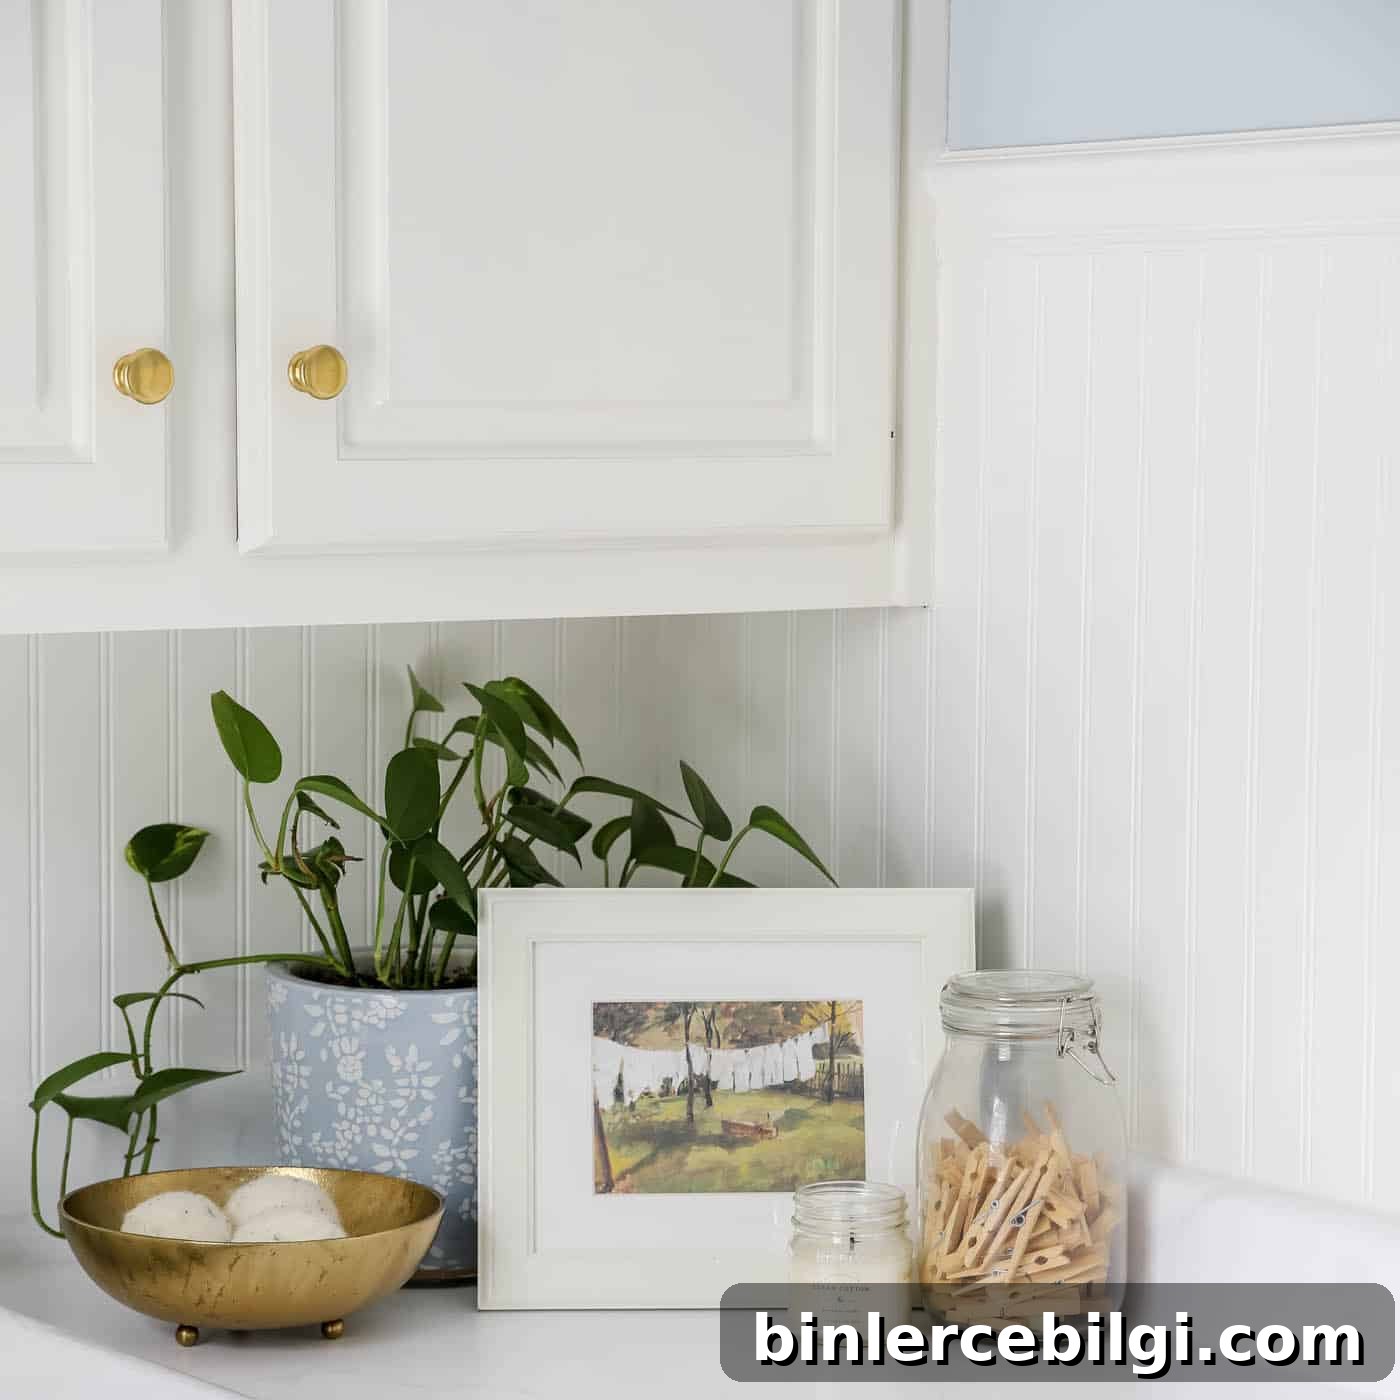
- Wainscoting on the lower half of a wall to protect from scuffs and add visual interest.
- Full-wall treatments to add texture and make a room feel taller.
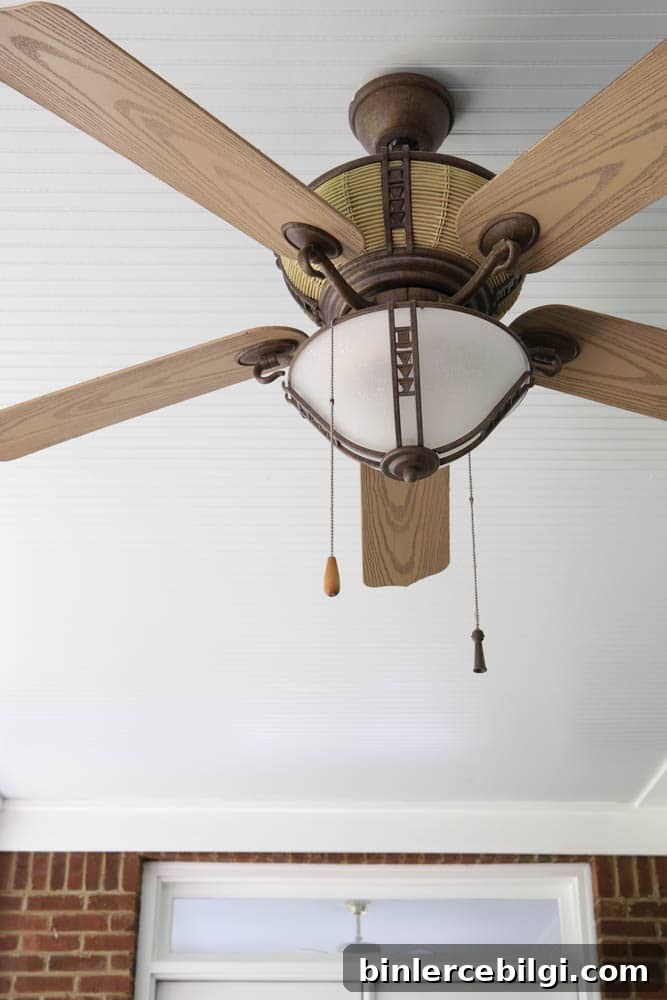
- Ceilings—especially useful to cover an unattractive or popcorn ceiling without demolition.
- Bathrooms, laundry rooms, mudrooms, kitchens, dining rooms, bedrooms, and porches.
Full-height beadboard paired with crown molding can create a refined, cohesive look. On ceilings, beadboard is a decorative “fifth wall” that instantly adds character.
Beadboard vs. Wainscoting
While people often use “beadboard” and “wainscoting” interchangeably, they are different concepts:
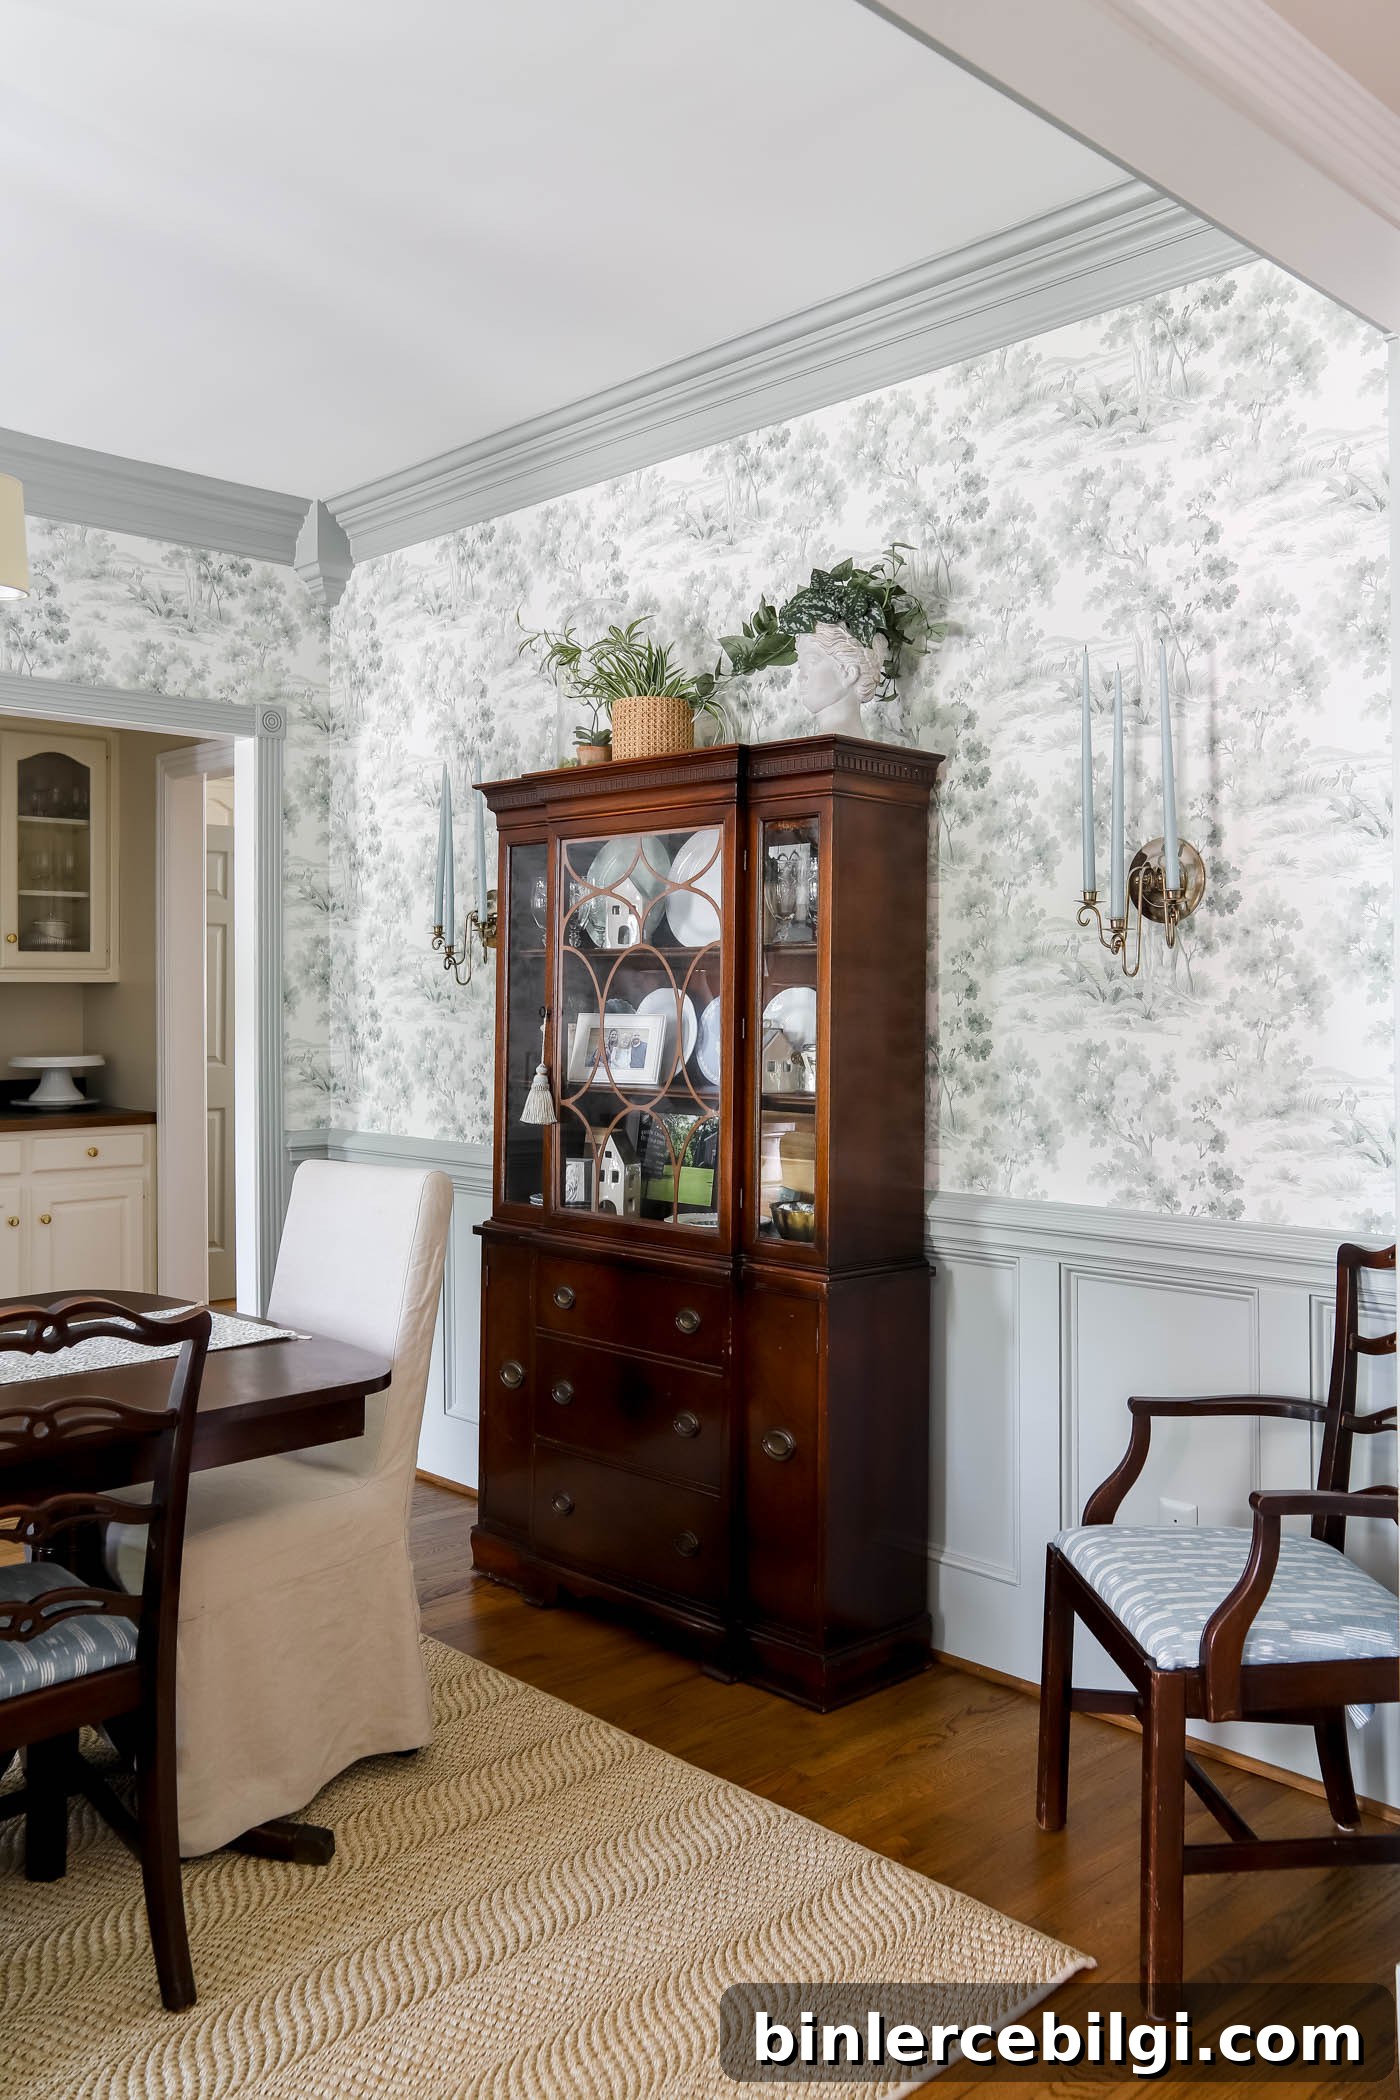
- Wainscoting typically refers to a finished lower wall treatment made of a baseboard, a panel or flat board, and a top molding or chair rail. It can include decorative overlays like picture-frame molding.
- Beadboard is a grooved paneling style that can be applied in different heights. When beadboard covers only the lower portion of the wall and is trimmed with baseboard and a chair rail, it functions as wainscoting.
Beadboard used as wainscoting is especially popular in bathrooms and mudrooms where it adds charm and practical wall protection.
This post contains affiliate links for your convenience.
Supplies needed to install beadboard
- Beadboard panels (wood, MDF, or PVC)
- Circular saw and/or table saw
- Jigsaw for cutouts
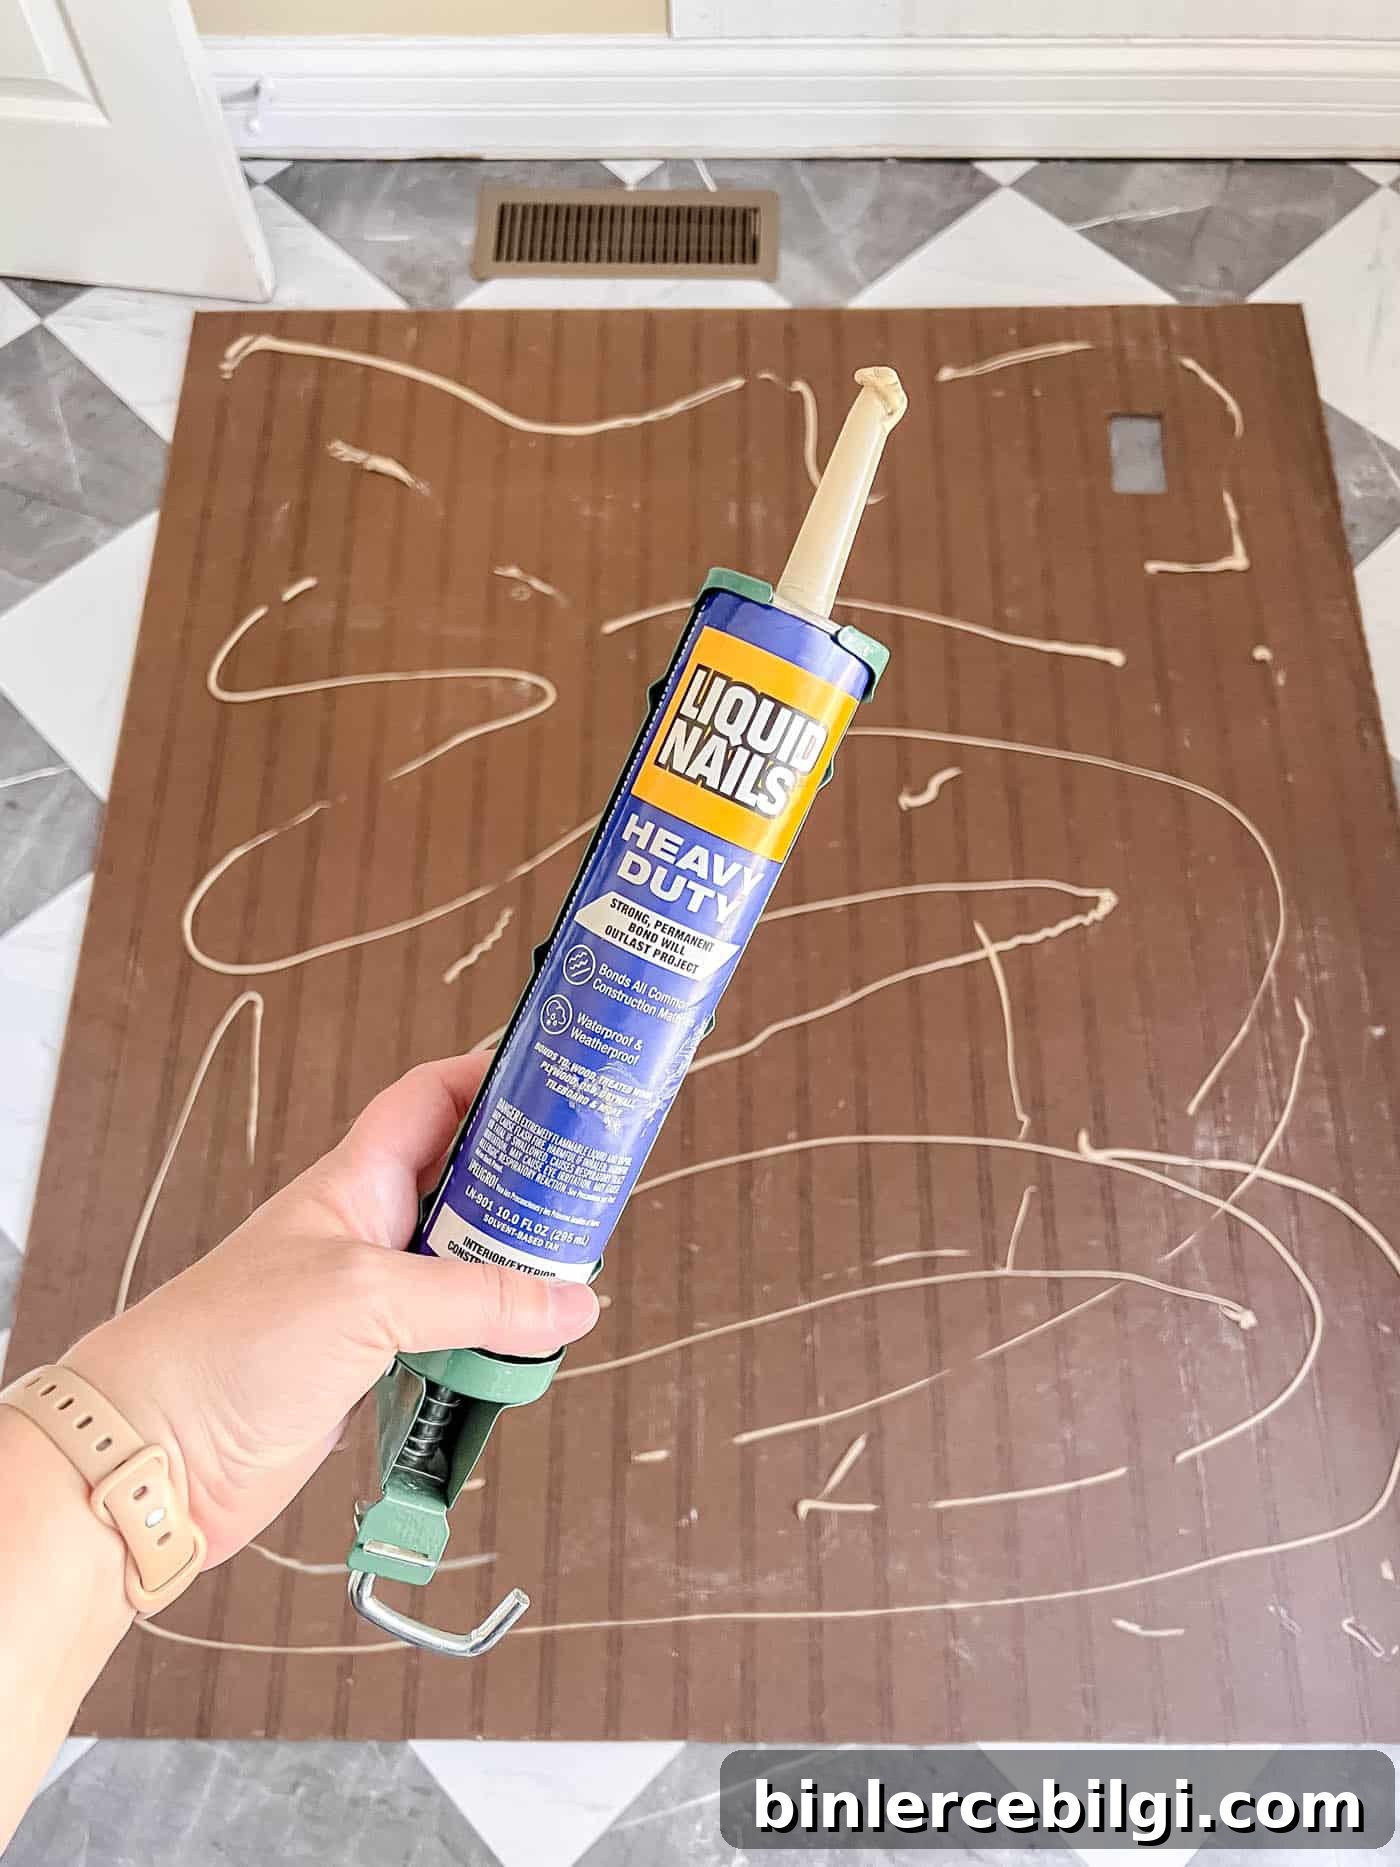
- Construction adhesive (such as Liquid Nails)
- Caulk gun and caulk
- Measuring tape and pencil
- Level
- Nail gun or hammer and brad nails / panel nails
- Poster board or paper for templates (optional)
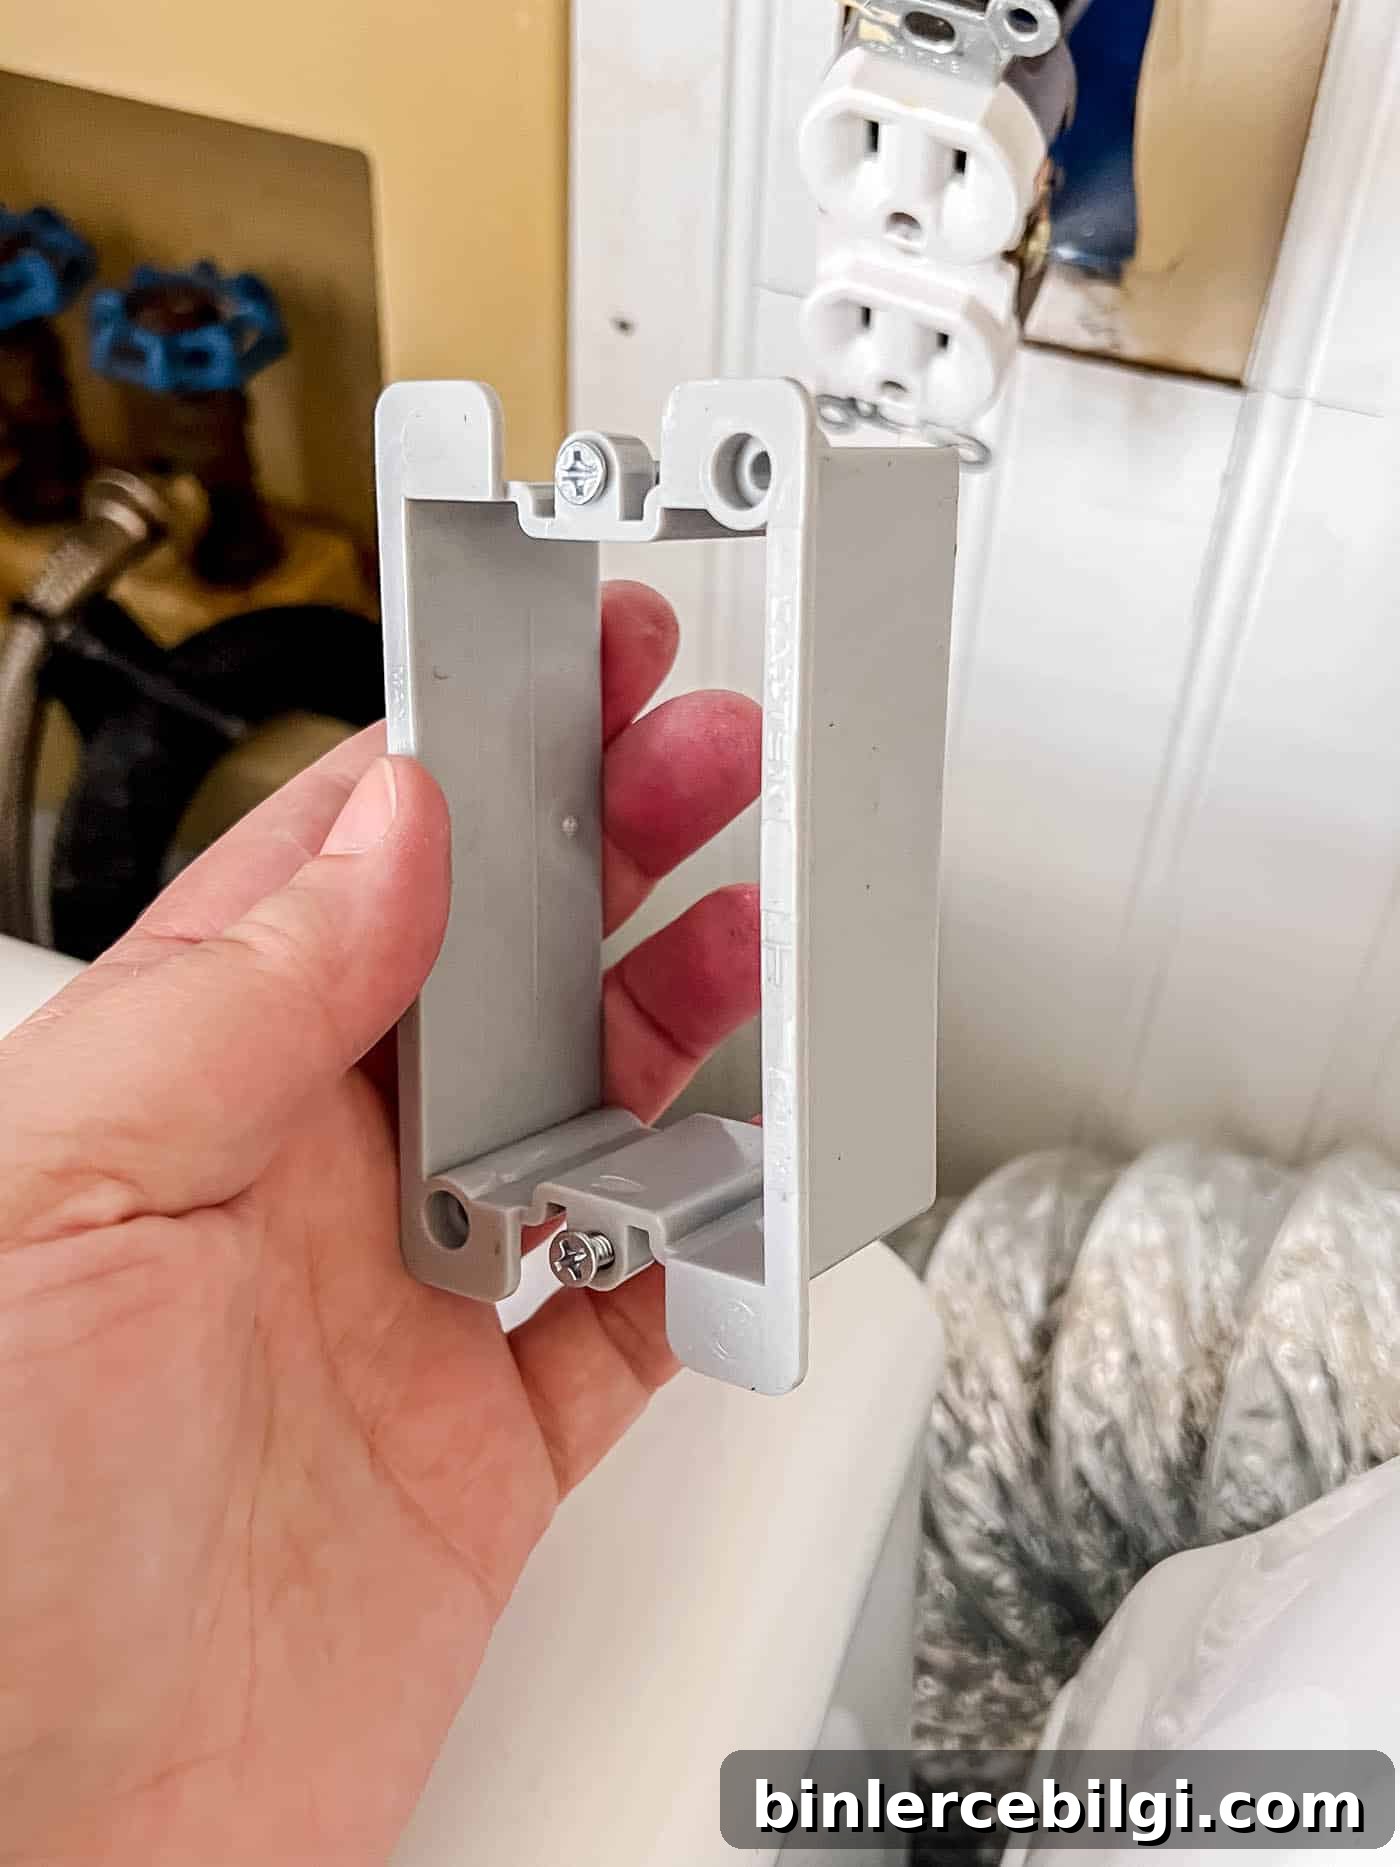
- Outlet extender boxes for electrical outlets
- Wood filler and sandpaper
- Paint, primer, brushes, and rollers
How do you install beadboard?
Installing beadboard is approachable for DIYers if you plan carefully and use the right tools. Here’s a step-by-step overview to guide your project.
1. Measure the walls and buy your supplies
Measure the wall area to determine how many panels you’ll need. Decide whether you want beadboard to cover the full wall or just a portion. Common visually pleasing heights are one-third or two-thirds of the wall height; in my laundry room I chose two-thirds. Choose your material based on budget and moisture resistance—PVC is a great choice for bathrooms or laundry rooms.
2. Cut the panels to size
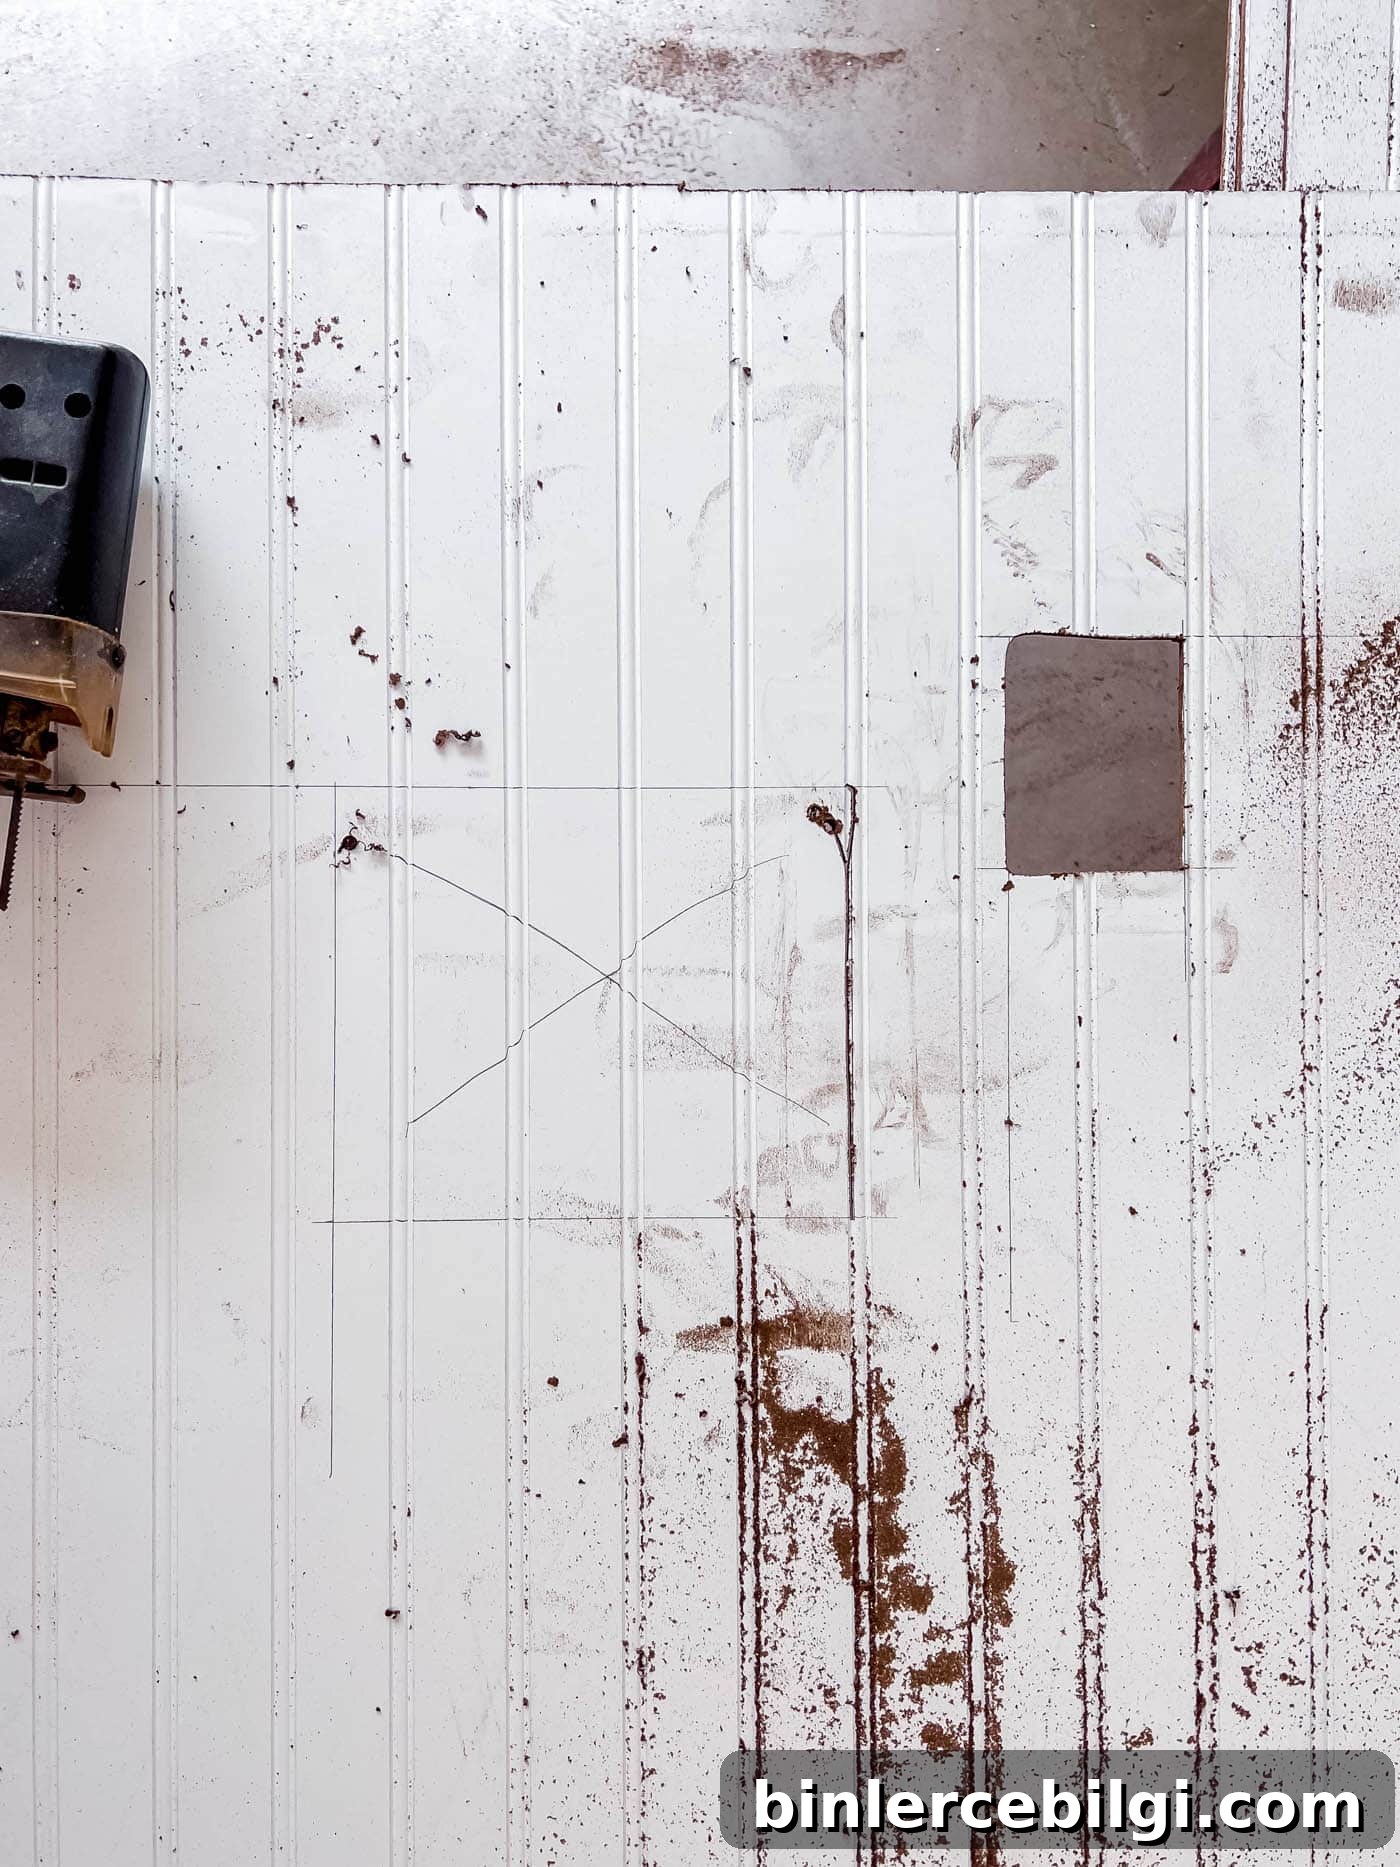
Mark the desired height on the wall and cut panels with a circular saw. For outlet and switch openings, trace and cut with a jigsaw. Creating templates from poster board or paper helps you accurately cut around windows, trim, and other obstructions.
3. Attach the panels to the wall
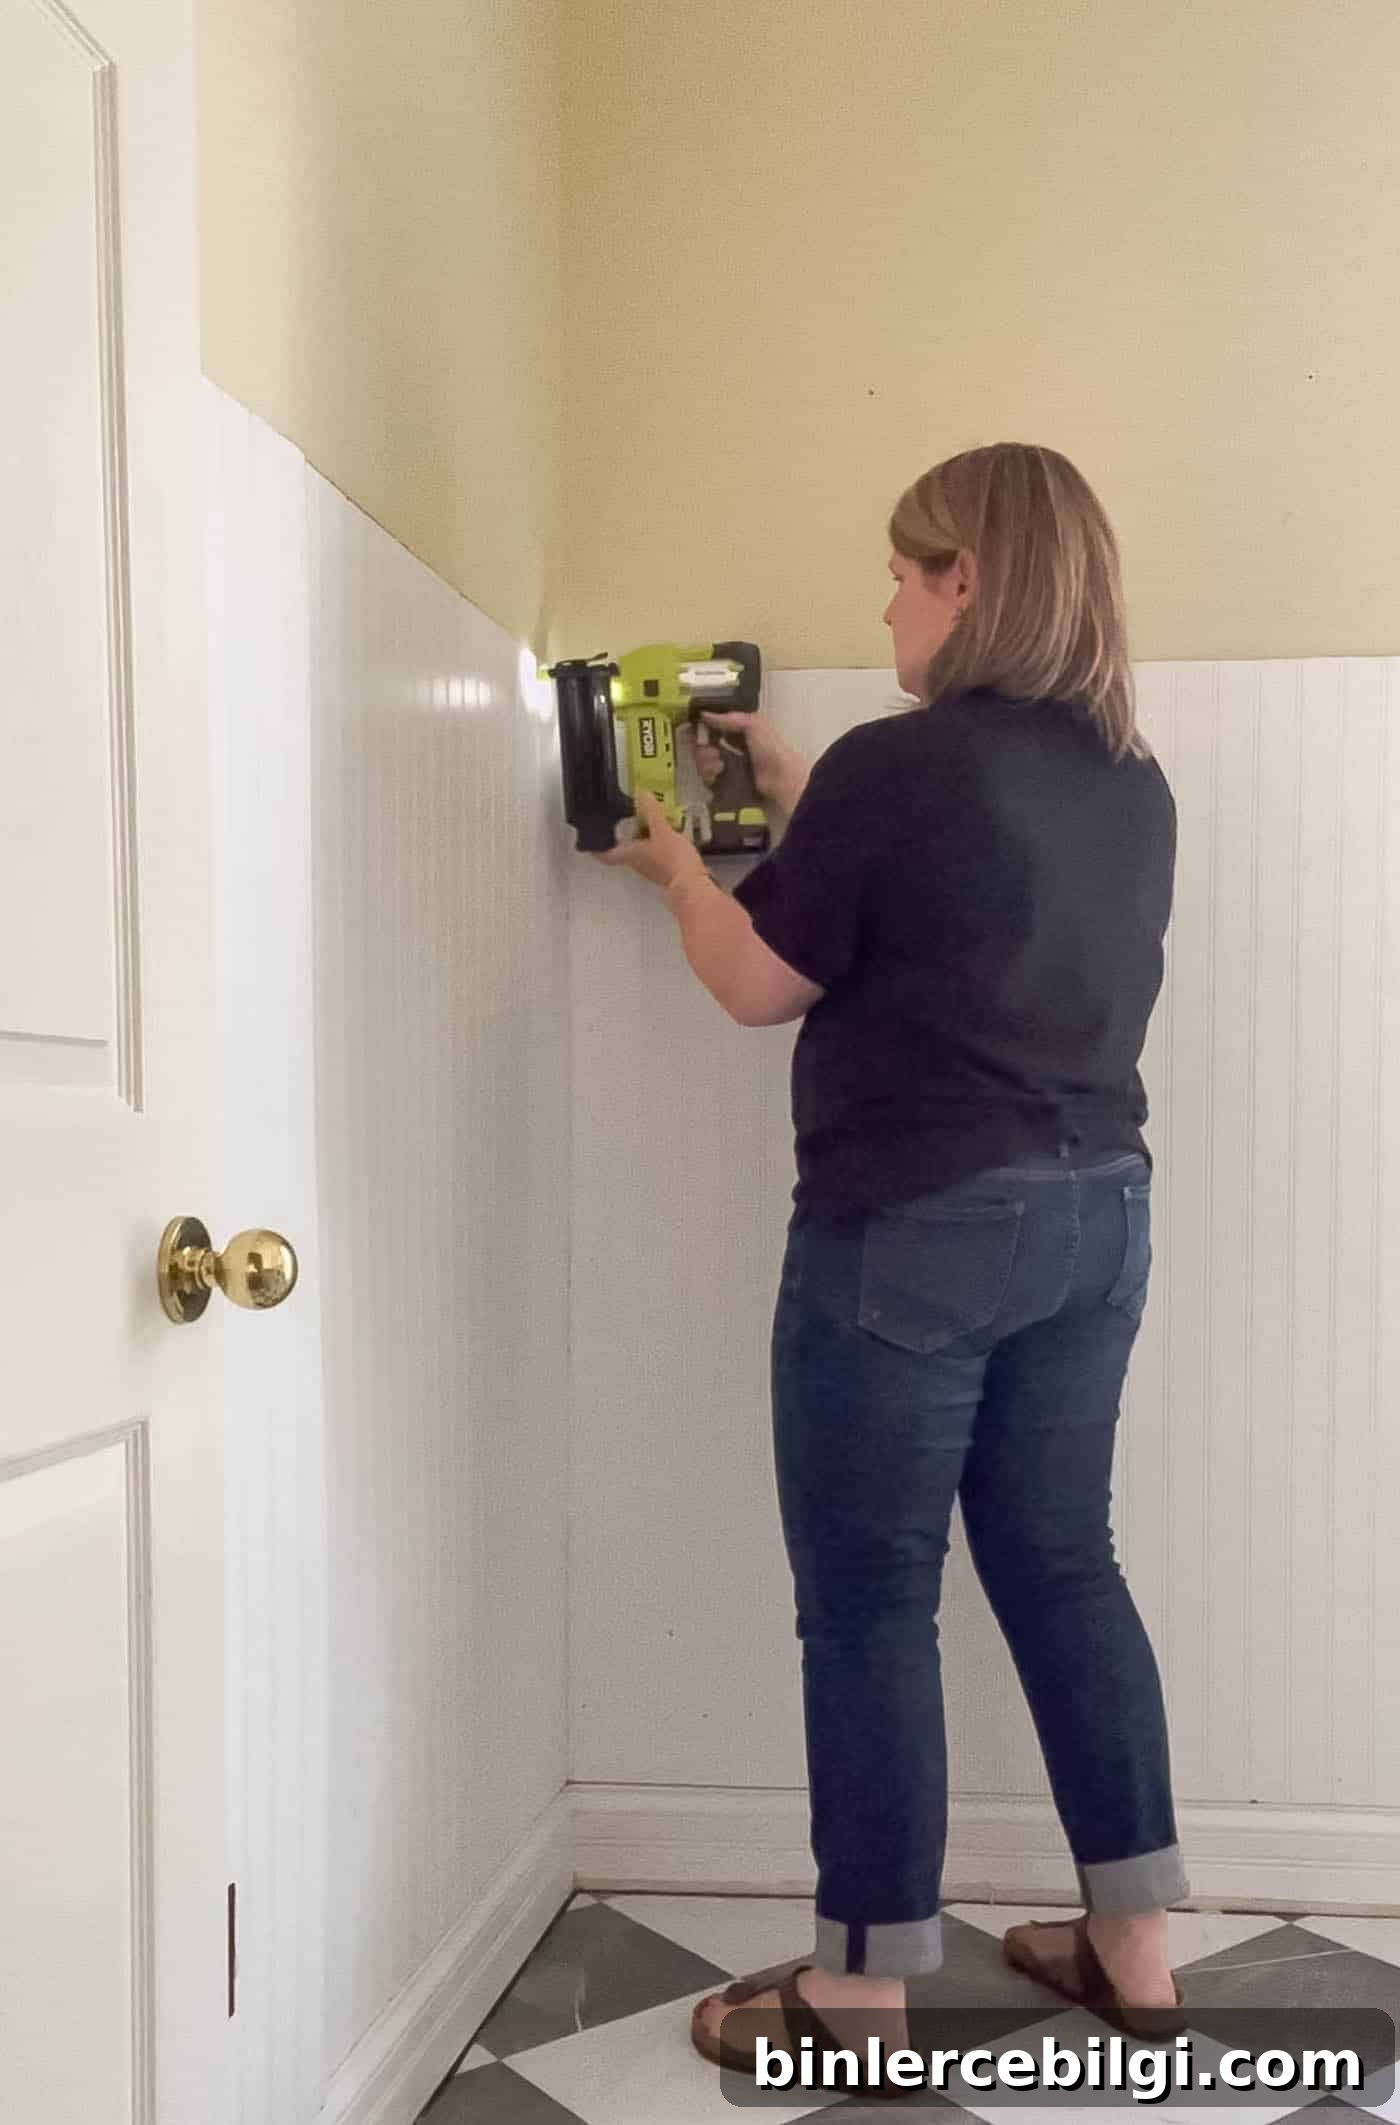
Dry-fit each panel before final installation. Apply a consistent bead of construction adhesive to the back, press the panel to the wall, and secure it with brad nails or a nail gun along studs and into the MDF/board backing. Check level frequently to ensure panels are straight and aligned.
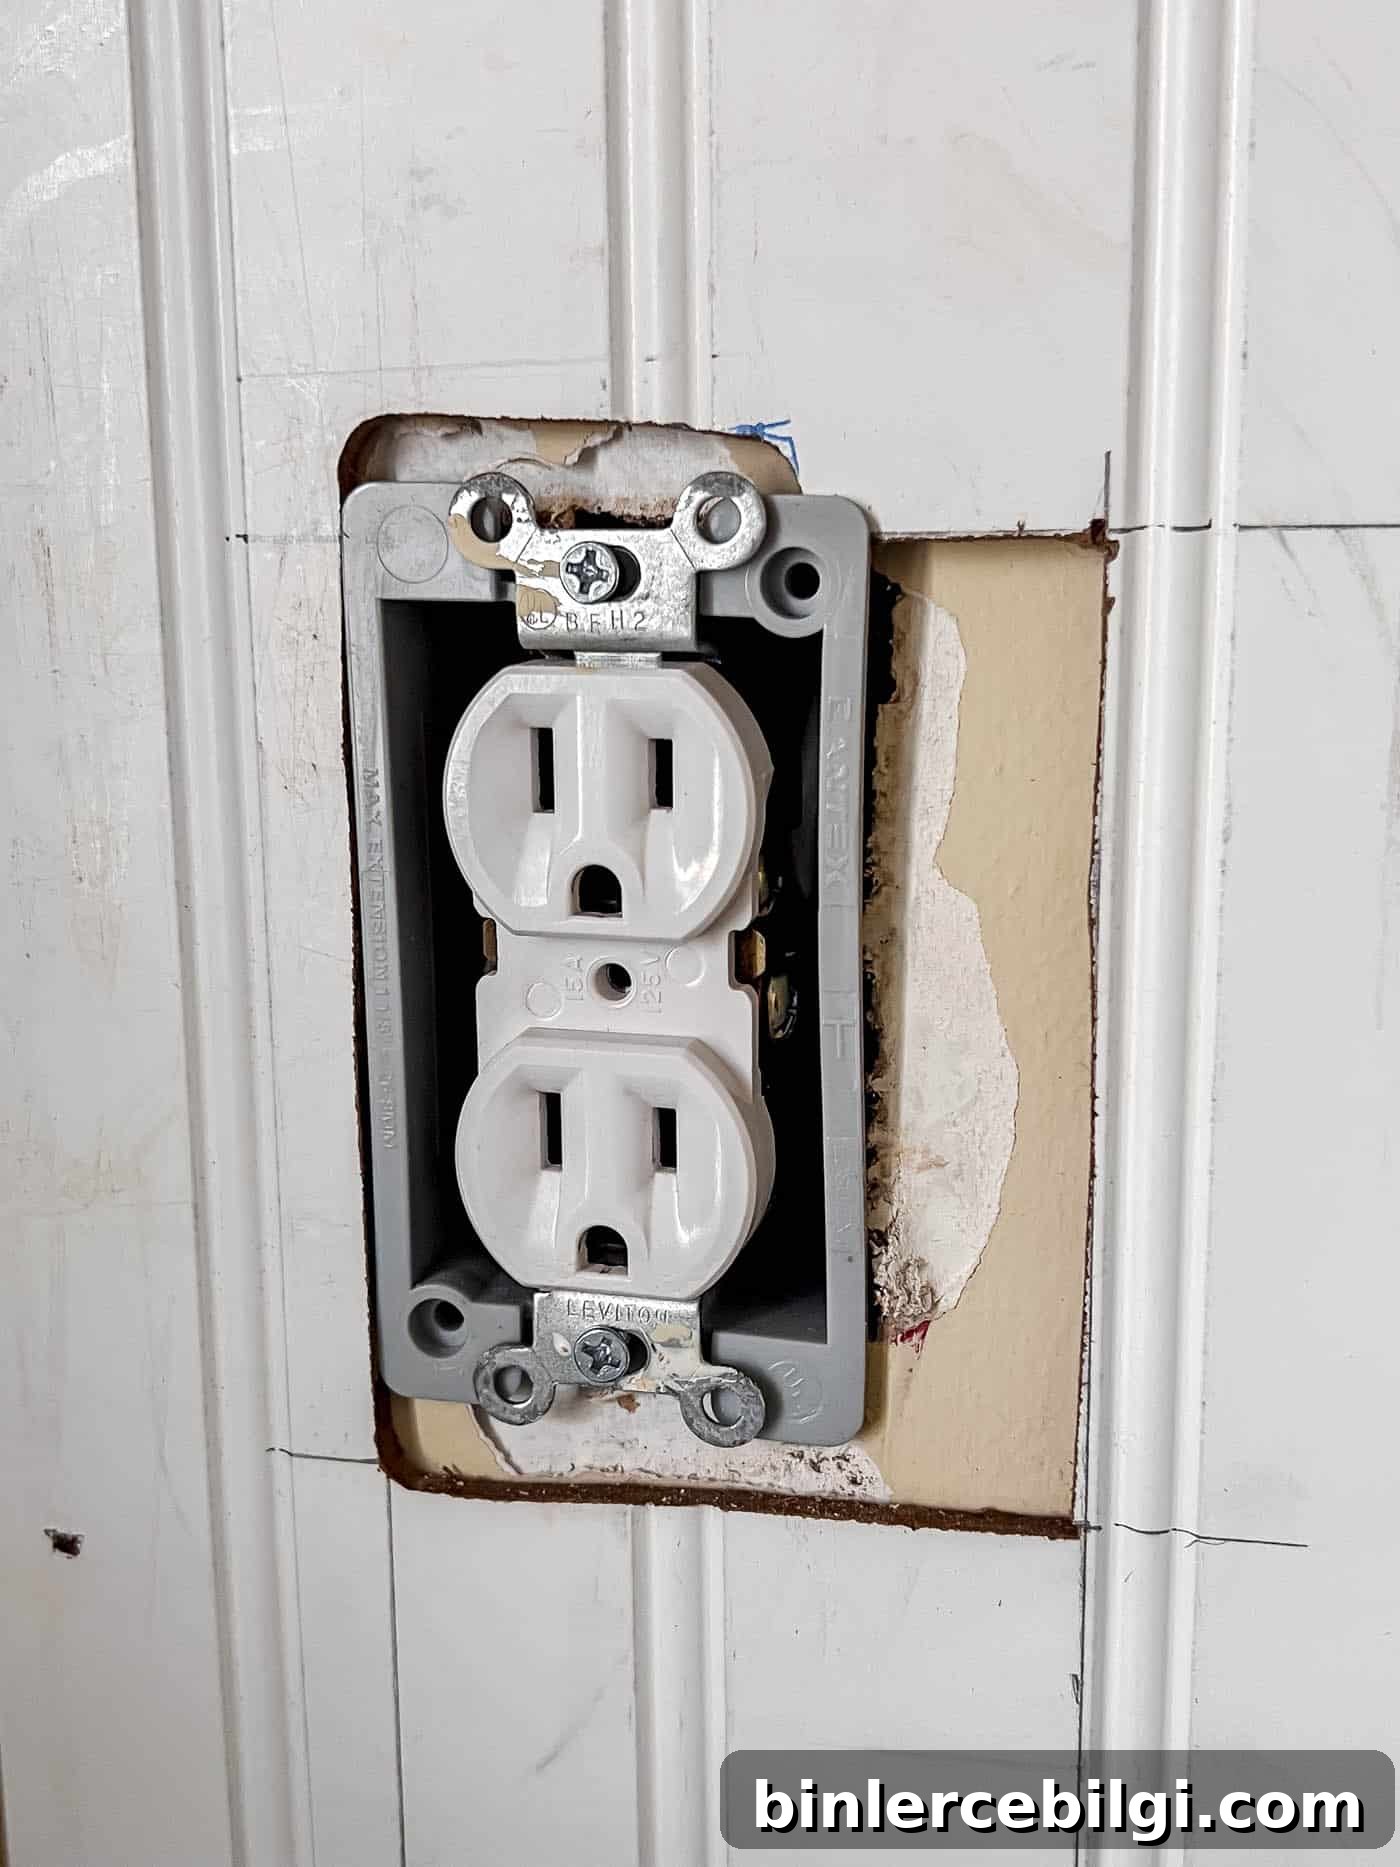
4. Install outlet extender boxes
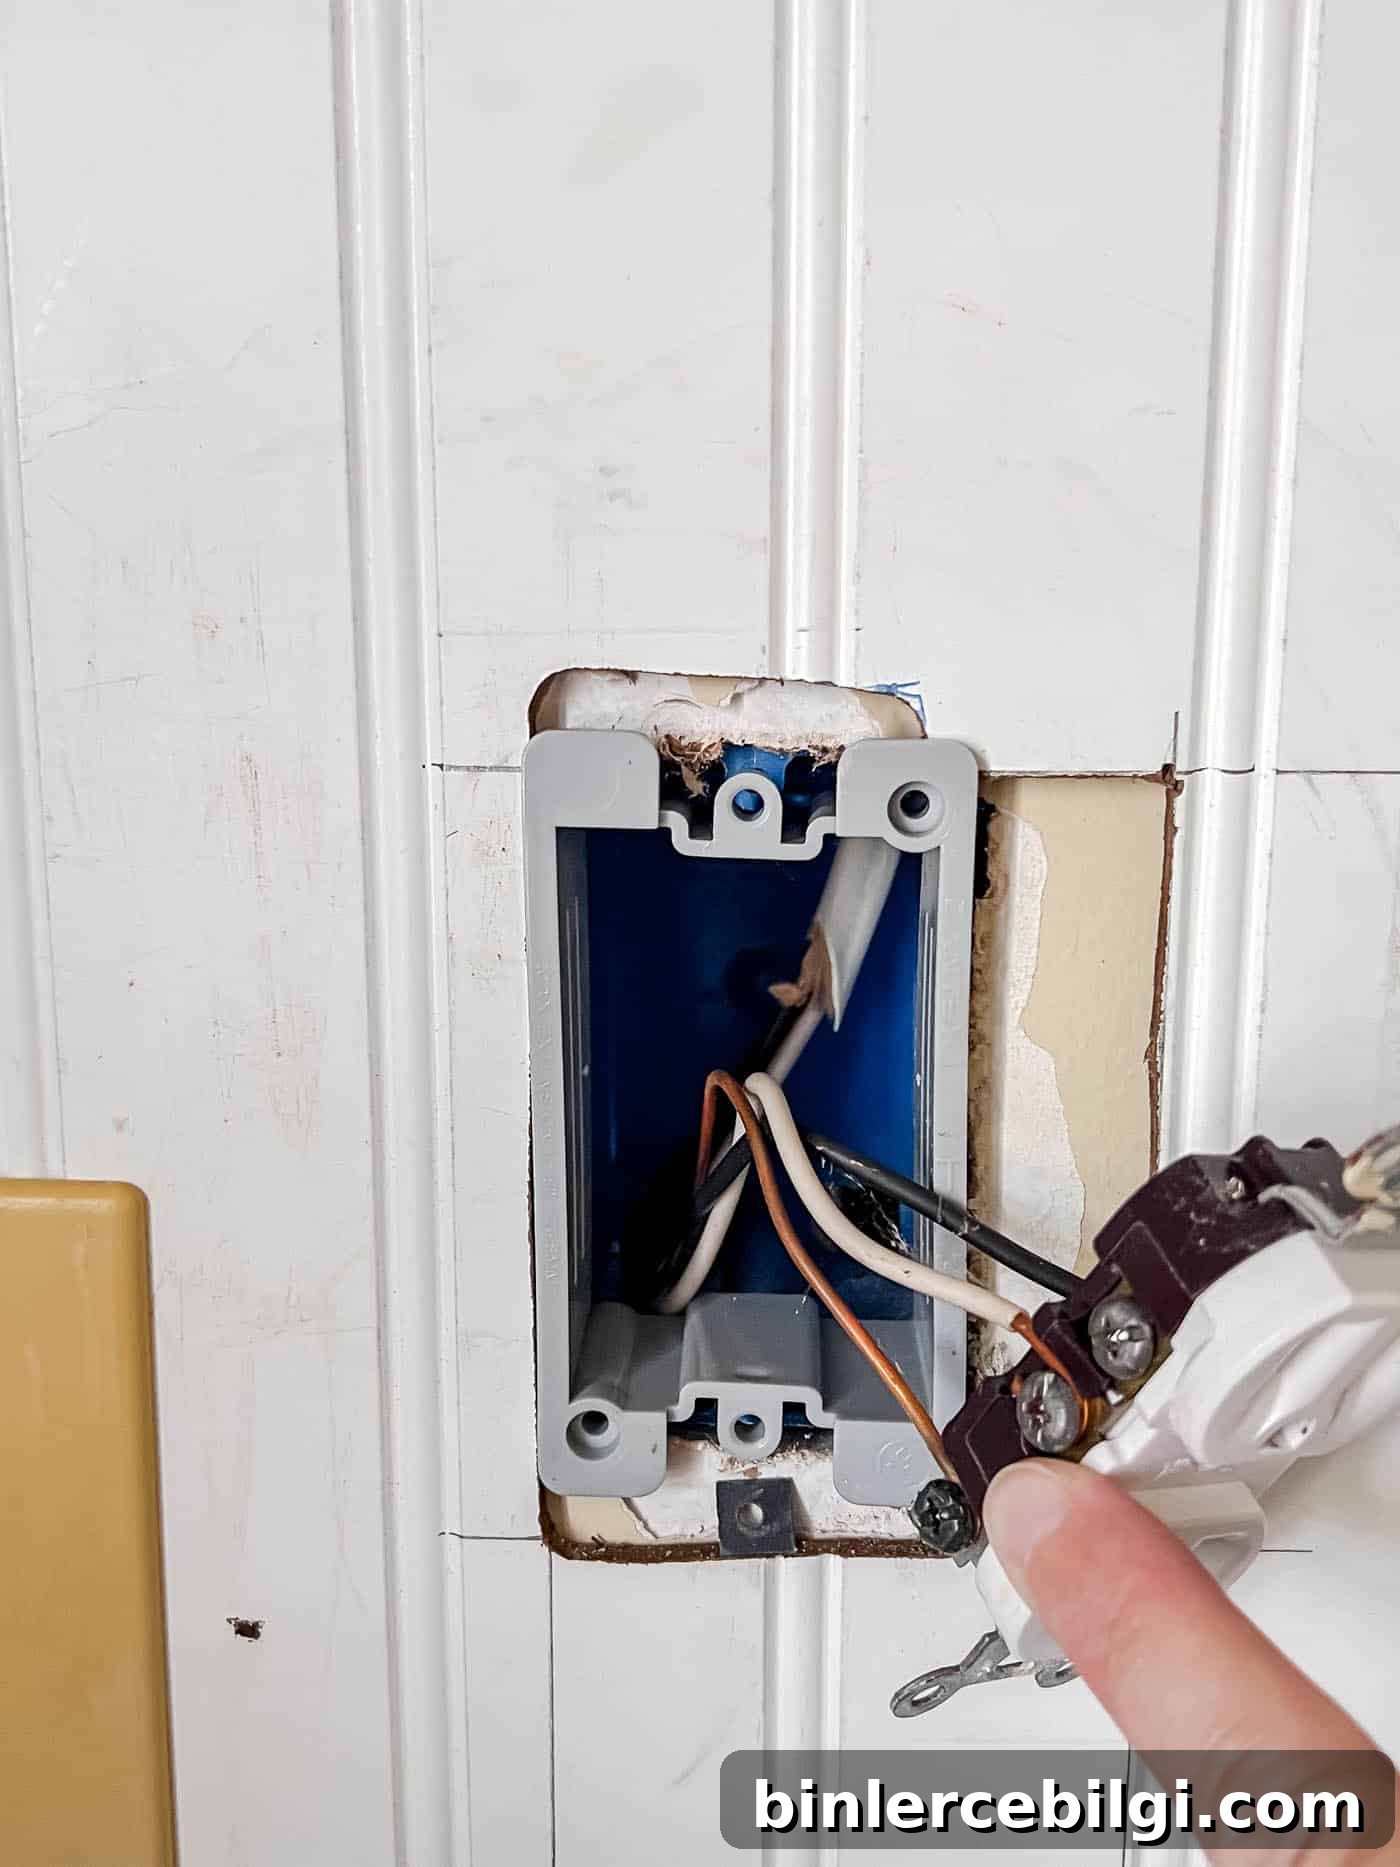
If panels cover electrical outlets, install outlet extenders to bring the receptacle flush with the new surface. Remove the receptacle, fit the extender over the existing box, pull the receptacle through, and reattach. This keeps the outlet safe and properly aligned.
5. Finish the boards
Fill nail holes and seams with wood filler or paintable caulk. Lightly sand filled areas, prime if needed, and paint the beadboard and trim for a polished finish. Add a top cap, chair rail, or baseboard molding to complete the look and protect edges.
How can you customize beadboard?
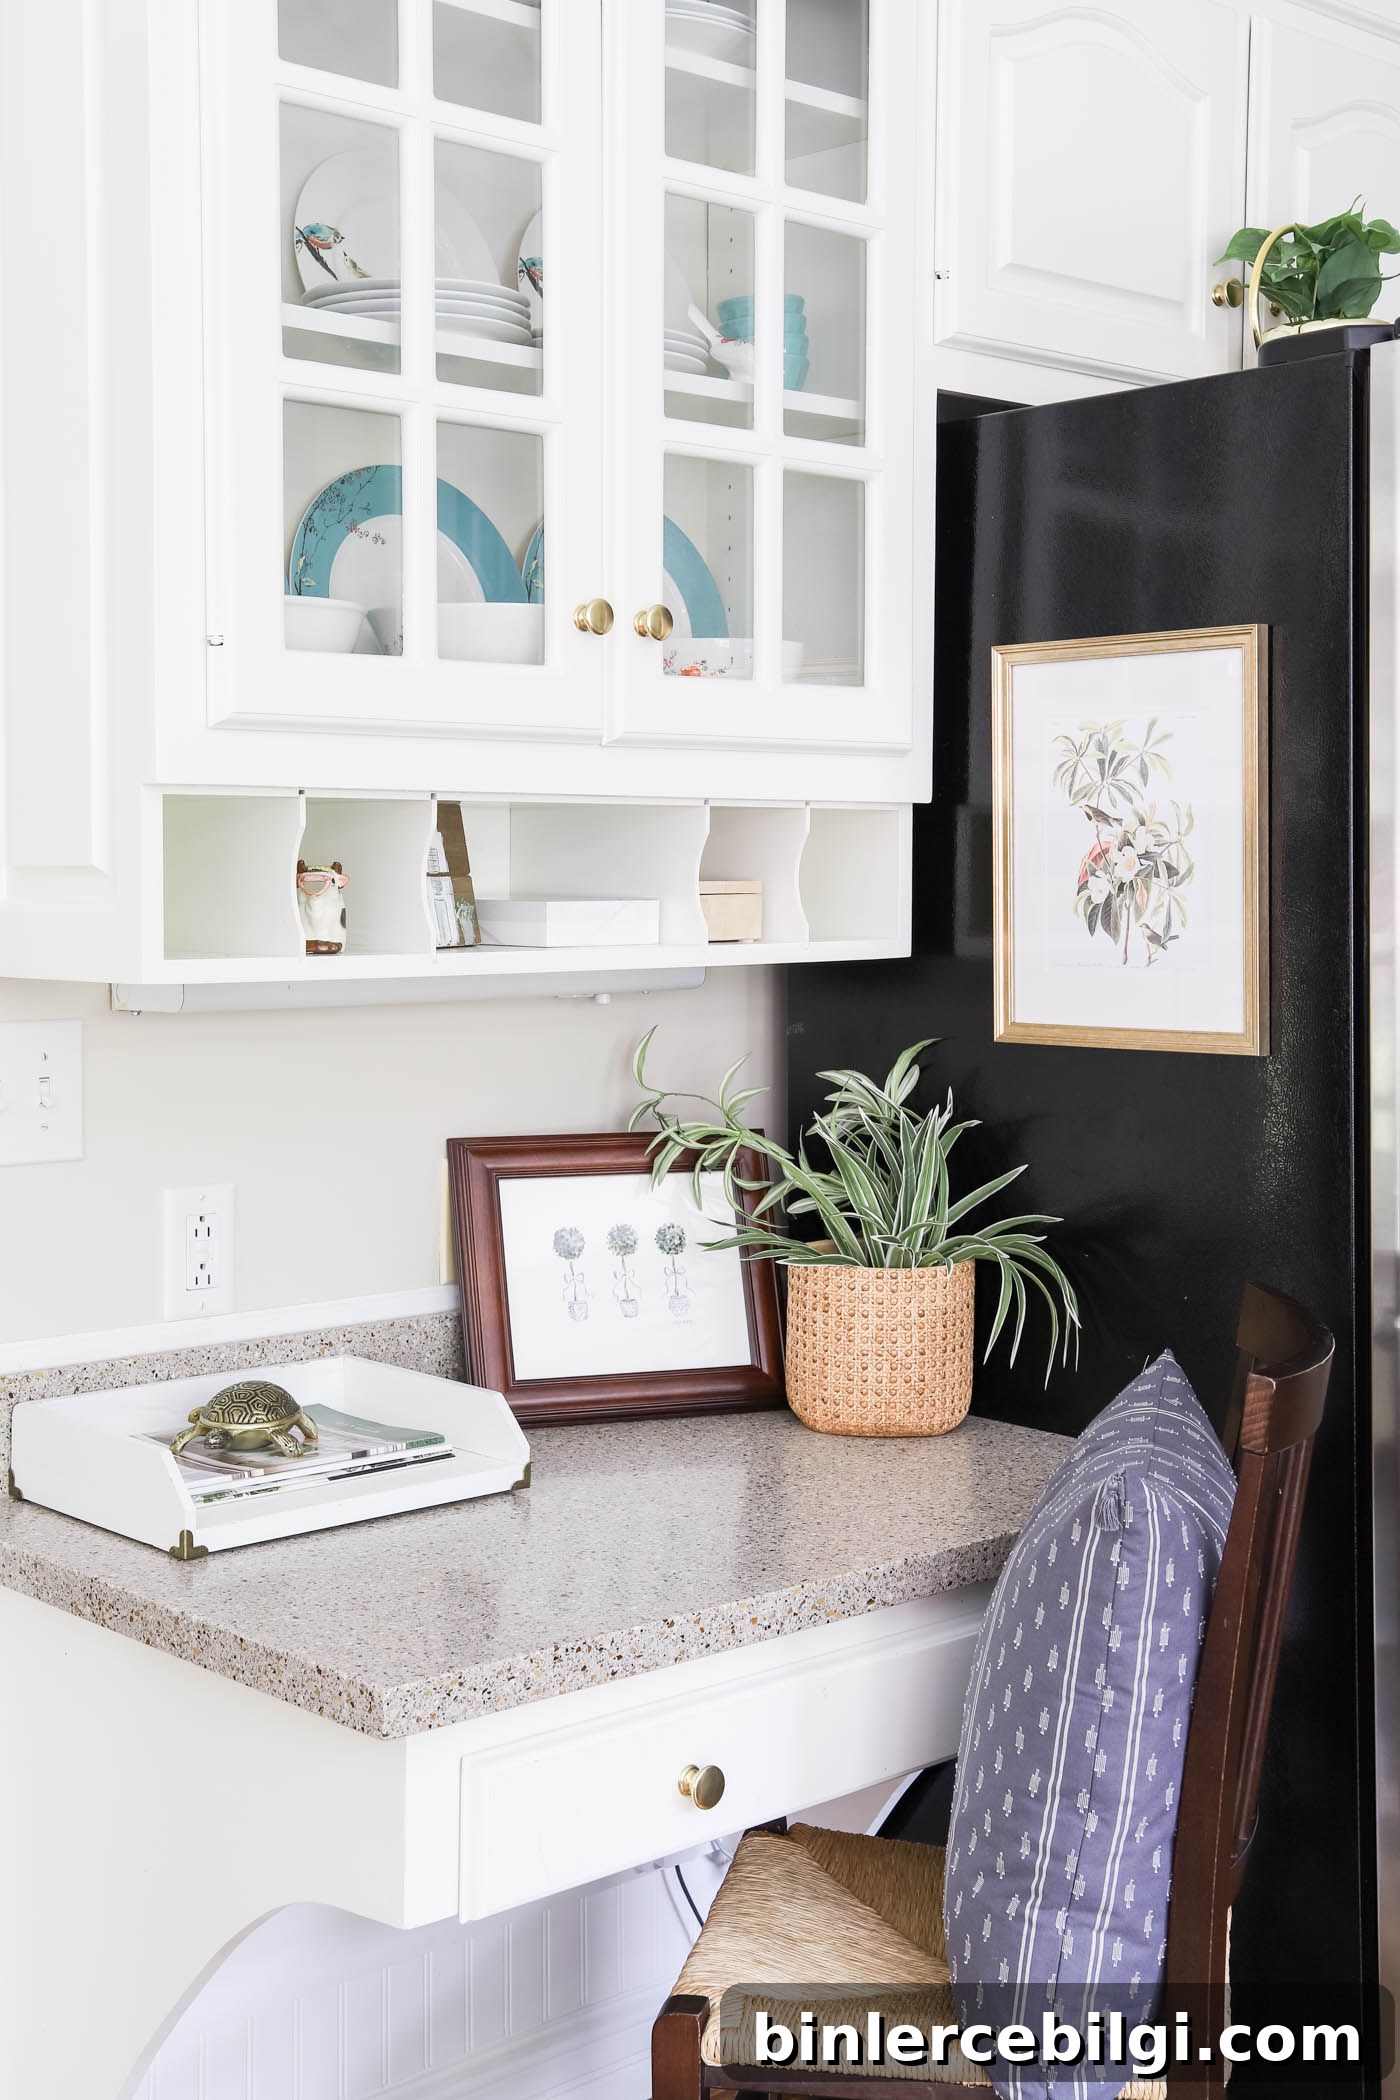
Beadboard can be adapted to many styles. Paint it any color—from crisp white to bold hues. Add a chair rail, crown molding, or baseboard for a traditional feel. For added functionality, mount a peg rail or shelf above the beadboard to hang bags, coats, and everyday items. In kitchens, a lower beadboard panel protects walls from scuffs and creates a practical, attractive surface.
Final thoughts
Beadboard is an affordable, durable, and attractive option for updating interior and exterior spaces. It adds texture, protects walls, and can be tailored to many design styles. Whether you tackle the installation yourself or hire help, beadboard offers a high-impact result for relatively little cost and effort.
Give beadboard a try in a bathroom, laundry room, entryway, or ceiling—its timeless look will serve your home well for years.
More posts you will love:
- How to Install Paste-on-Wall Wallpaper
- 15+ Large Wall Decor Ideas
- A Guide to Wall Trim and Wall Molding Ideas
- What Color Walls Go with Dark Wood Trim?
- The Best Window Treatment Options for Every Room