
These easy-to-build DIY sliding barn doors add instant character and function to any home. Made from pine and common tools, these handcrafted doors are attractive, sturdy, and surprisingly simple to construct.
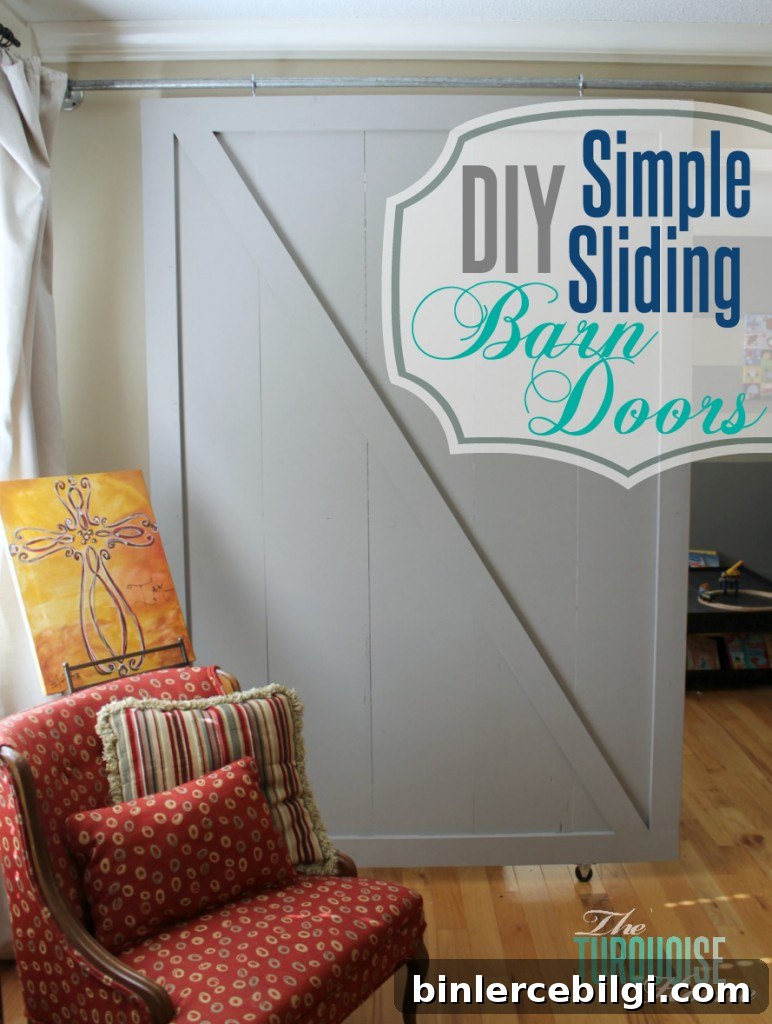
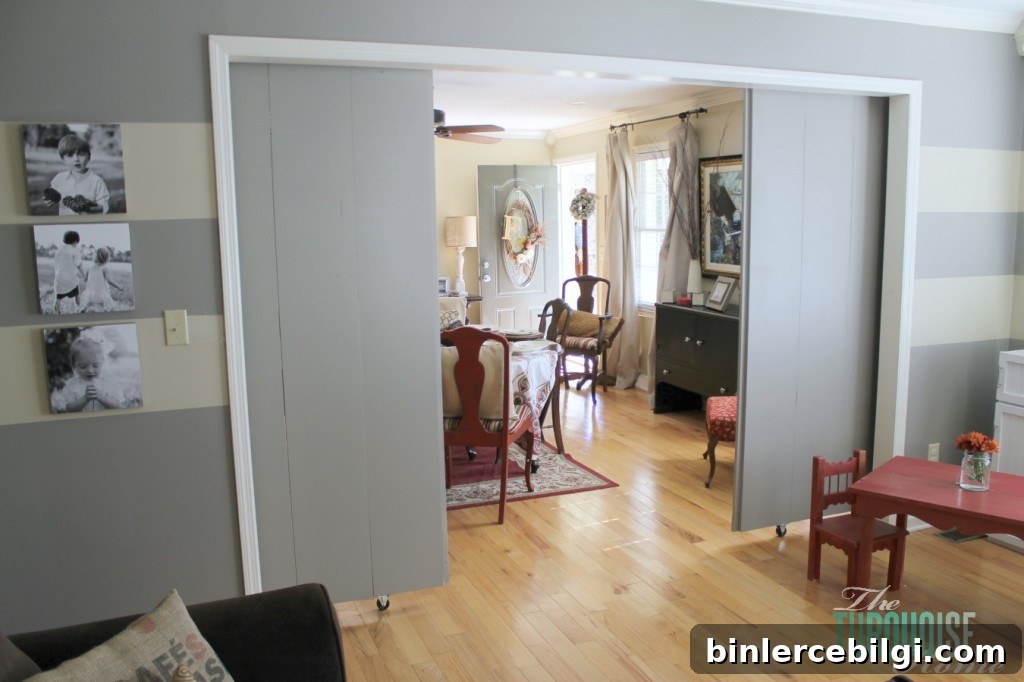
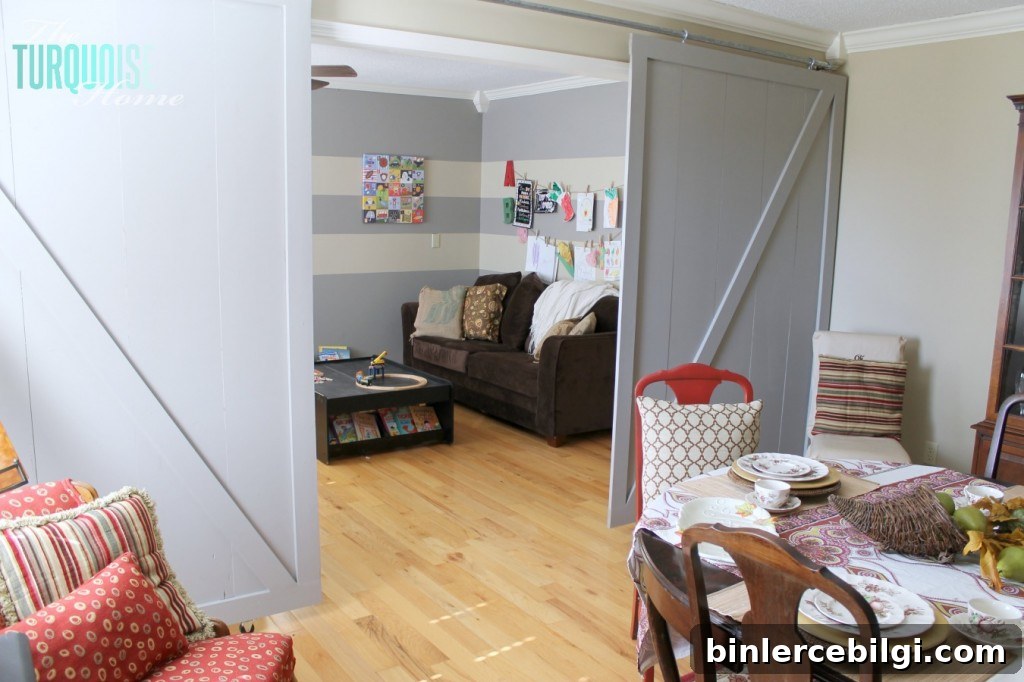
Barn doors have been popular in home design for good reason. A sliding barn door can save space, create privacy, and become a strong design statement. For a recent dining-room-to-playroom makeover, I built two oversized barn doors when pre-made doors didn’t fit the nearly 10-foot opening. Building them ourselves allowed us to get the exact size, finish, and hardware we wanted.
The wood for one large door totaled about $175. That’s not the cheapest project, but given the size and durability, it’s a great value. Below I outline the supplies and step-by-step process we used to build and install a single sliding barn door. If you’re making two doors, double the materials where needed.
Tools and Materials Needed for DIY Barn Doors
Lumber (we used quality pine):
- 5 × 1×12 @ 7 feet — enough to cover the door width; if ceilings are taller than 8 feet, buy longer boards
- 4 × 1×4 @ 8 feet — for framing the door
- 1 × 1×4 @ 10 feet — long enough to run diagonally across the door for the X/brace
Hardware for the sliding system:
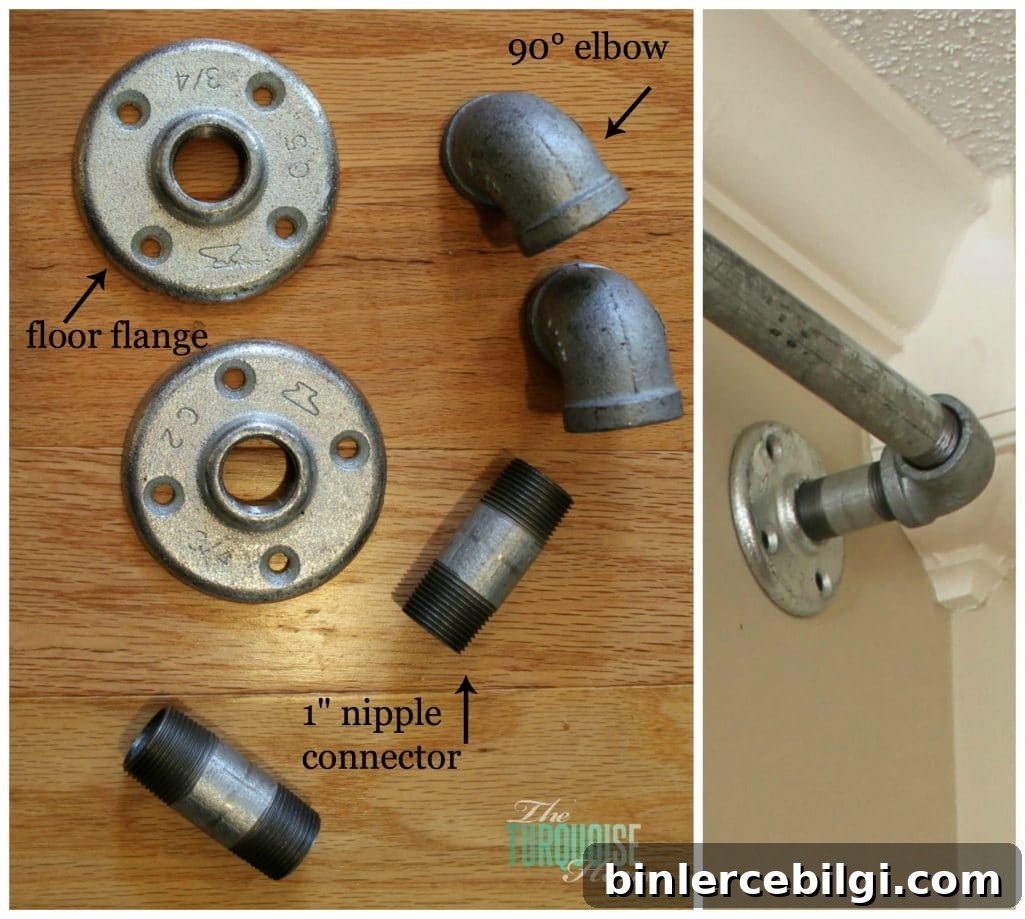
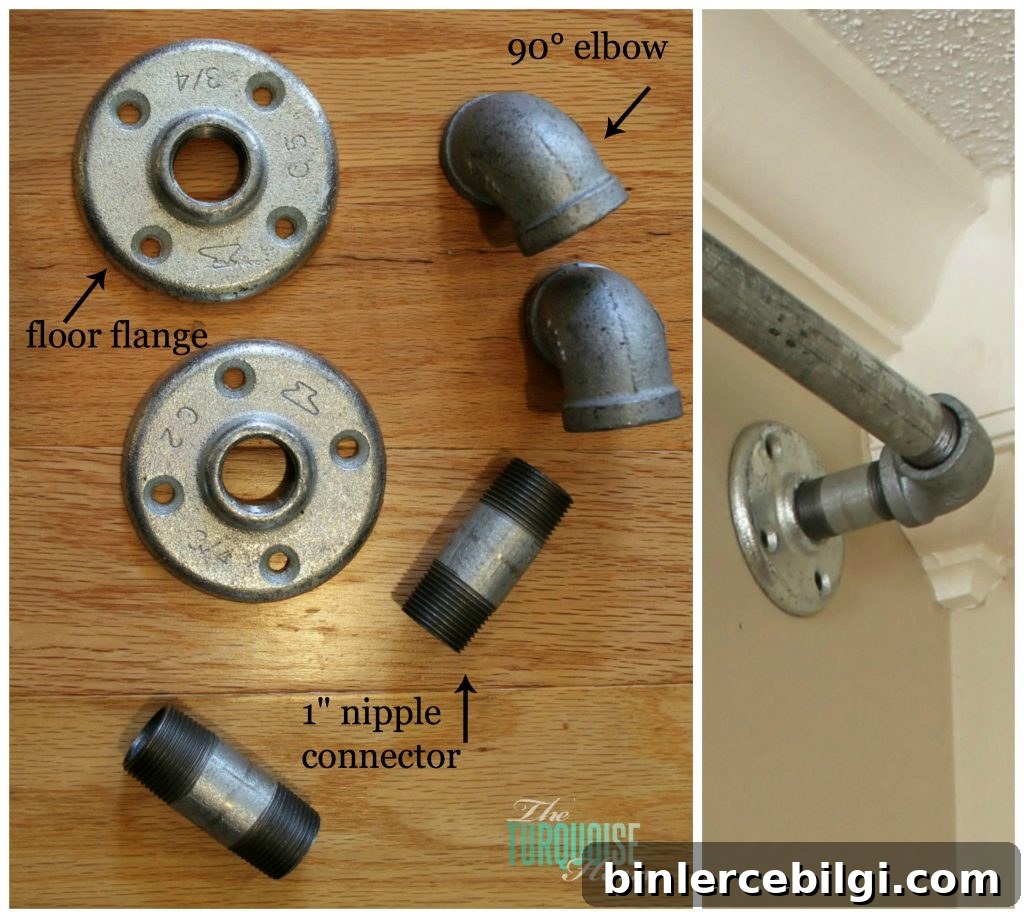
- 3/4″ galvanized pipe cut to the width of the opening plus the extra length you want the door to slide past the opening. Have the hardware store thread both ends so you can attach 90° elbows and floor flanges. Allow space for elbows and flanges on each end.
- 2 floor flanges matching the pipe diameter
- 2 × 1″ nipples and 2 × 90° elbows (match sizes to your pipe)
- 2 fixed casters (non-swiveling) for floor guidance
- 2–3 large screw-in eye hooks sized to let the pipe slide through
Make sure all hardware components match the pipe diameter so everything fits together smoothly. Our components were 3/4″.
Tools and other supplies:
- Miter saw or circular saw for cutting boards to length
- Kreg jig (recommended) or strong glue and back battens if you don’t have a pocket-hole tool
- Screwdriver or drill/driver
- Nail gun and brad nails (or finish nails and a hammer)
- Sander and sandpaper
- Wood glue, spackle or wood filler, and various screws
How to Build a Sliding Barn Door
These doors came together quickly, but because they were large, two people made the process far easier. Below are the main steps we followed to assemble, finish, and hang a single barn door.
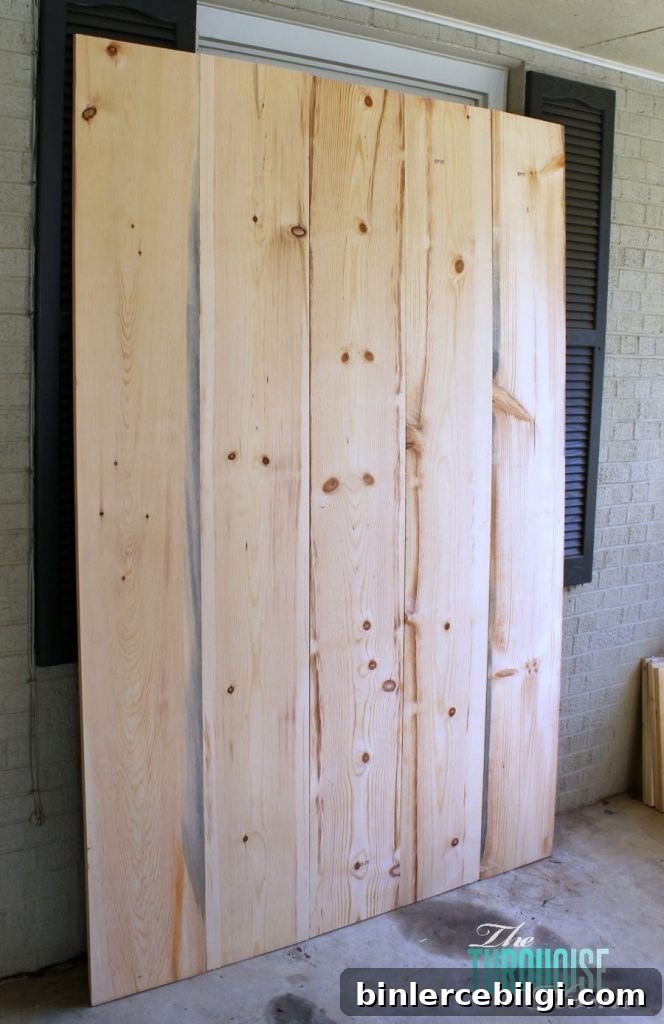
1. Join the face boards: Lay out the 1×12 boards edge to edge and join them into a single panel. We used a Kreg jig with pocket screws and wood glue to pull the boards tight. If you don’t have a pocket-hole jig, glue the boards and fasten a couple of cross battens to the back to keep the panel flat and secure.
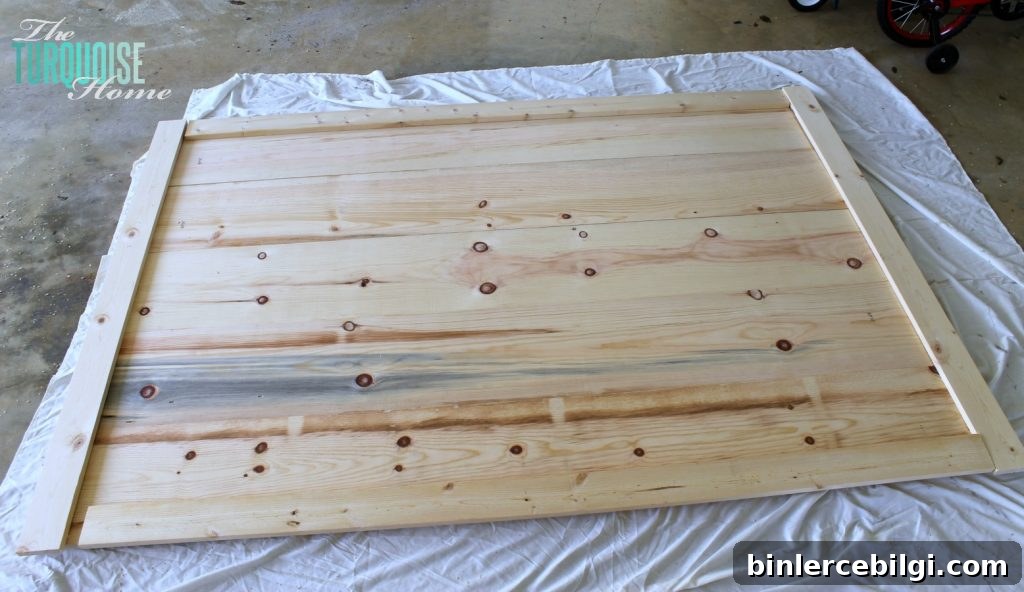
2. Frame the door: Cut the 1×4 lumber to fit around the perimeter of the assembled panel and attach with a nail gun or screws and glue. These trim pieces give a finished look and add structural support.
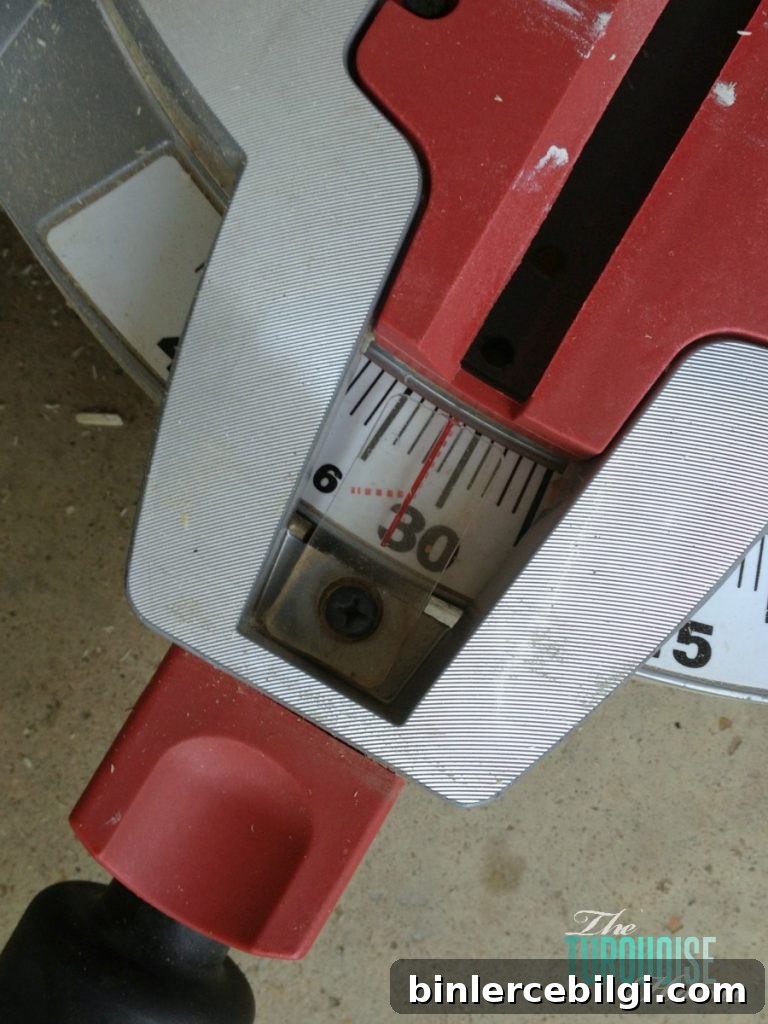
3. Add the diagonal brace: To create the classic barn-door X, measure and mark where the diagonal 1×4 will sit. I laid the board on the door and drew a cut line using a straightedge rather than calculating angles. On the miter saw I tested settings until the pieces fit; my saw marked a 30.6° setting that worked for these doors. Cut the ends, fit the brace, and fasten in place. When done correctly, the diagonal pieces fit tightly and add both style and rigidity.
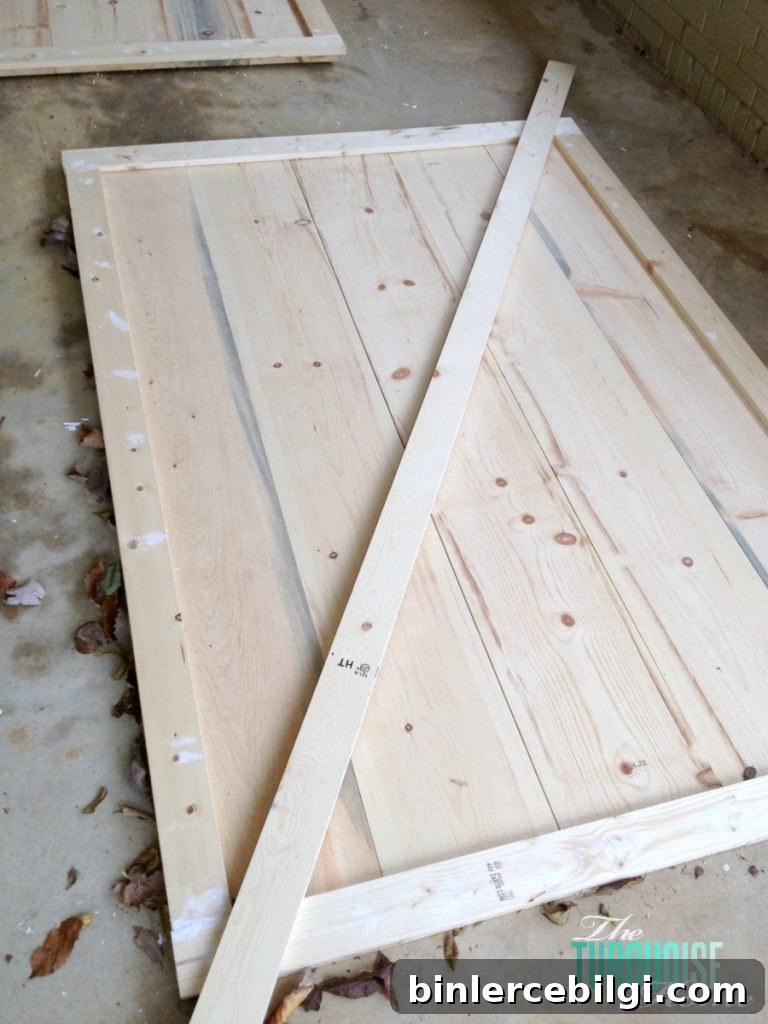
4. Fill, sand, and finish: Spackle or wood-fill the pocket-hole and nail holes and any gaps, then sand smooth with an orbital sander. Choose paint or stain to match your space. In our project the doors were painted to match the room gray, but you can stain for a rustic finish or paint the door and trim different colors for contrast. Handles or pulls are optional and can be added later.
5. Prepare the hardware: Before bringing the door inside, screw the eye hooks into the top edge of the door and install the casters on the bottom for floor guidance. Position the eye hooks slightly back from the outer edge so the door can slide fully past the opening even if the pipe doesn’t reach the wall.
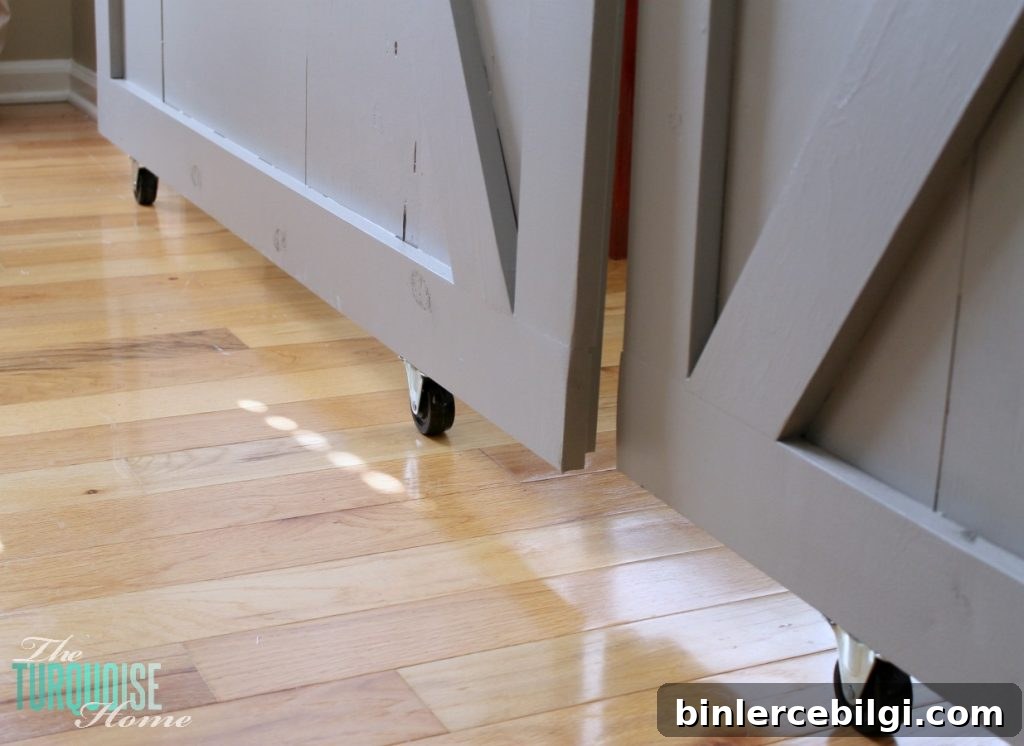
6. Install the track and hang the door: Thread the eye hooks onto the long threaded pipe, attach the pipe to the wall using floor flanges and elbows as needed, and mount securely into studs or a strong support. Lift the door so the eye hooks sit on the pipe and test the sliding motion. Finally, attach the bottom casters to keep the door aligned as it moves across the opening.
And that’s it — a custom sliding barn door tailored to your space. With a little planning and basic carpentry skills, you can build doors that are both beautiful and functional.
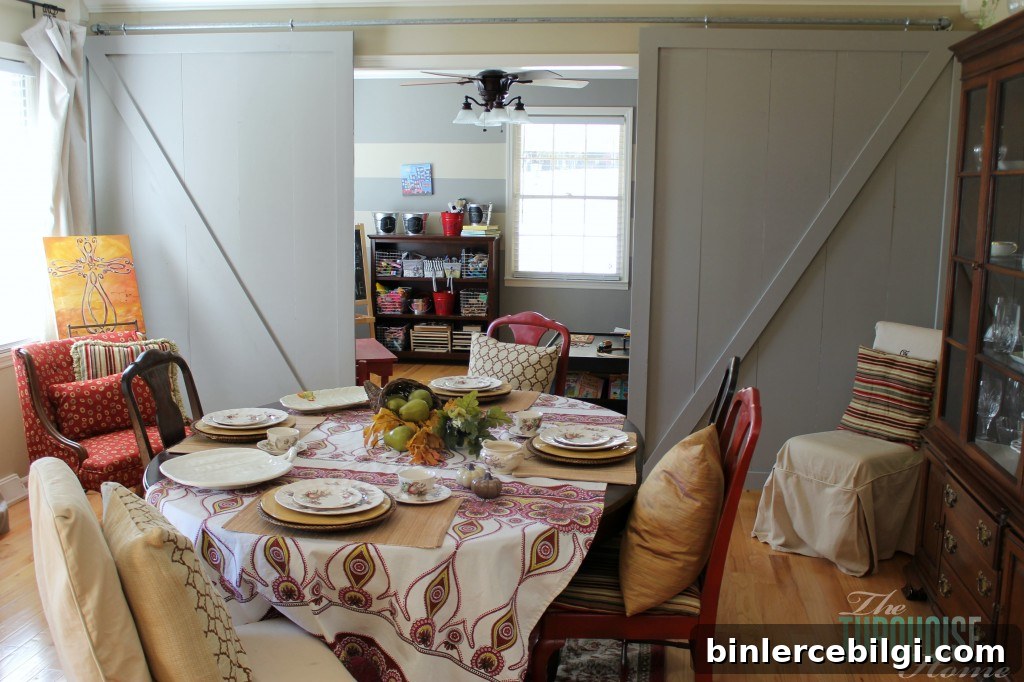
Have you built barn doors before? Would you try this project in your home? Popular spots for barn doors include pantry entrances, closet openings, playrooms, home offices, and bathroom or bedroom entries where a swinging door would be impractical.
More Posts You Will Love:
- How to Decorate the Dining Room for Christmas
- How To Organize The Playroom Before The Holidays
- Traditional Dining Room Reveal
- Beautiful Interior Door Paint Colors
- ZZ Plant Care Guide