
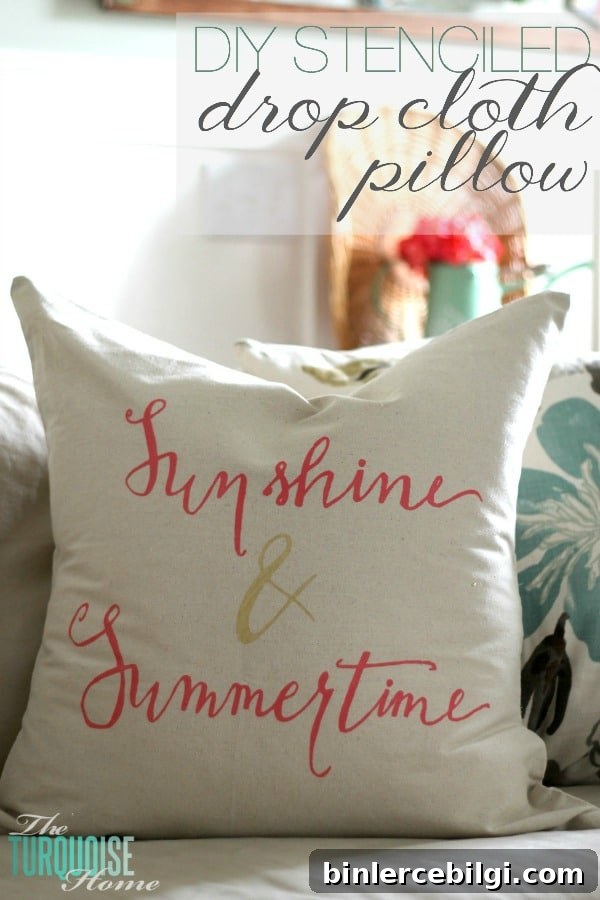
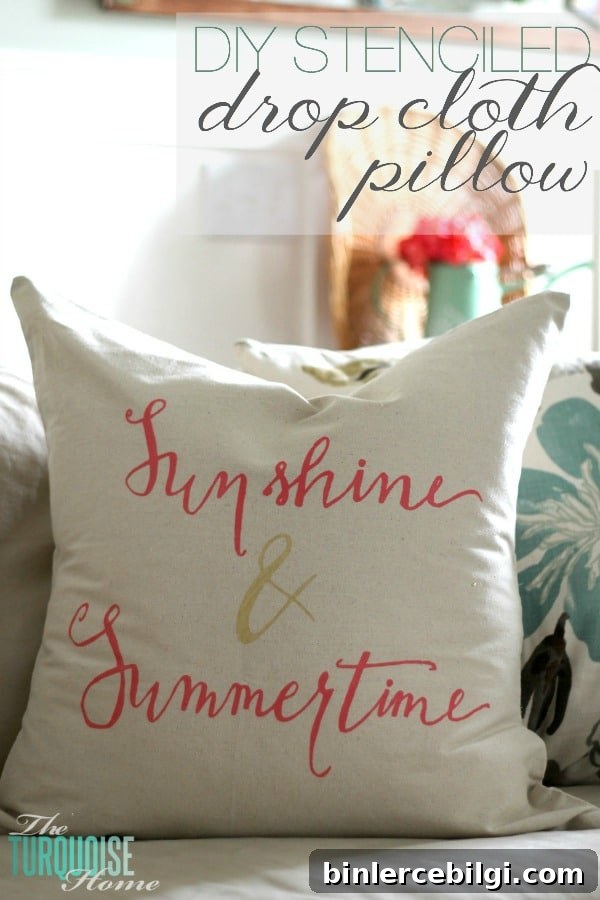
Learn how to create a stylish DIY stenciled drop cloth pillow using my hand-lettered phrase: “Sunshine & Summertime.”
A few weeks ago I drove home from church, fed my family, then slipped out for an afternoon class I’d been excited about for months. It’s not my usual thing to look forward to small talk with strangers, but this time I couldn’t wait to learn.
The classroom was set with four long tables, simple floral arrangements, pencils, erasers, sharpeners, and pretty folders. The women were relaxed and friendly. I took a seat near the front so I could see the board clearly—despite my aversion to front-row seats.
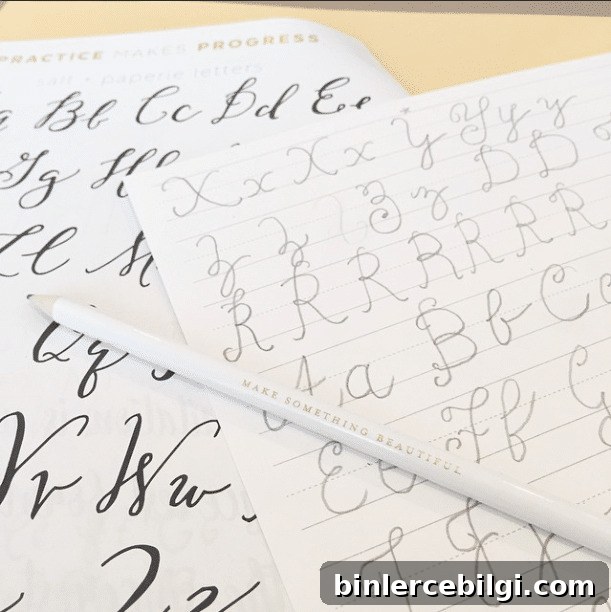
By the end of the session I was completely captivated. Hand lettering felt like coming home—something I’d practiced as a child by doodling my name and random words on every scrap of paper. Finally, I learned how to make those marks look beautiful and intentional.
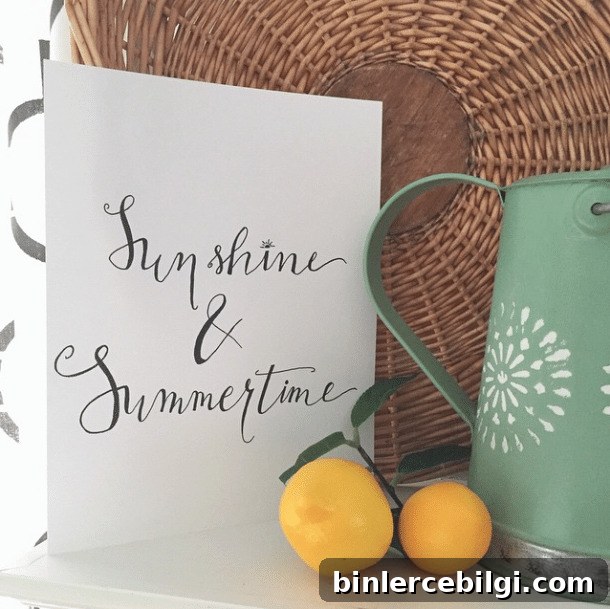
Although I still have a lot to learn, practicing hand lettering is relaxing and rewarding. One afternoon while the kids were occupied and the baby napped, I worked on a summery hand-lettered piece. I wanted to include it in my summer decor, but instead of framing it, I decided to stencil it onto a drop cloth pillow—one of my favorite easy decorating ideas.
A DIY Stenciled Drop Cloth Pillow Tutorial
I’ve stenciled drop cloth pillows before, but this version uses a personalized hand-lettered design and a simple stencil method. This project is affordable, beginner-friendly, and makes a great custom accent for summer decor.
This post contains an affiliate disclosure for transparency.
Supplies for Making a DIY Drop Cloth Pillow with Stencil
- Drop cloth (available at most home improvement stores)
- Needle, thread, or a sewing machine
- Stencil material or contact paper
- Fabric paint and a small foam brush
- Optional: electronic cutting machine and scanner for custom cut files
- Transfer tape (for moving the stencil)
1. Create Your Stencil
I wanted a stencil from my hand-lettering, so I scanned the design and converted it to a cut file. If you use an electronic cutter, scan your lettering and prepare the file for cutting. The resulting stencil keeps the unique character of your hand-lettering and gives your pillow a custom look.
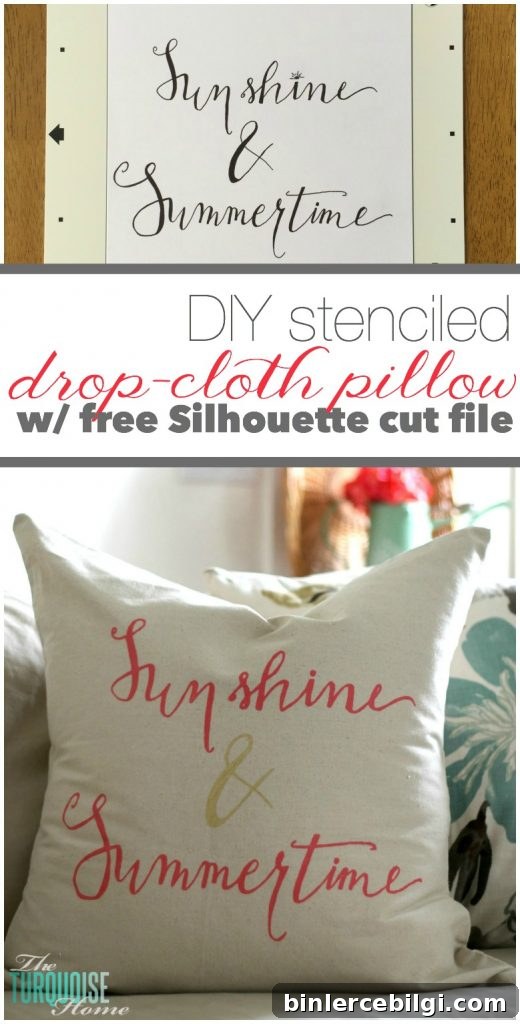
Sunshine and Summertime cut file available for personal use if you create your own stencil.
2. Cut the Stencil
If you cut contact paper with a machine, test your blade and speed settings on a scrap first. My successful settings for cutting contact paper were a medium blade, moderate speed, and a medium thickness—adjust as needed for your machine and material.
3. Construct the Pillow
To make the pillow cover, I followed a simple envelope-style drop cloth pillow method. I cut three pieces of drop cloth to these dimensions: one 26″ x 26″ for the front, one 20″ x 26″ and one 16″ x 26″ for the back overlap. I use a 26″ square pillow form and prefer the cover slightly smaller so the finished pillow looks full.
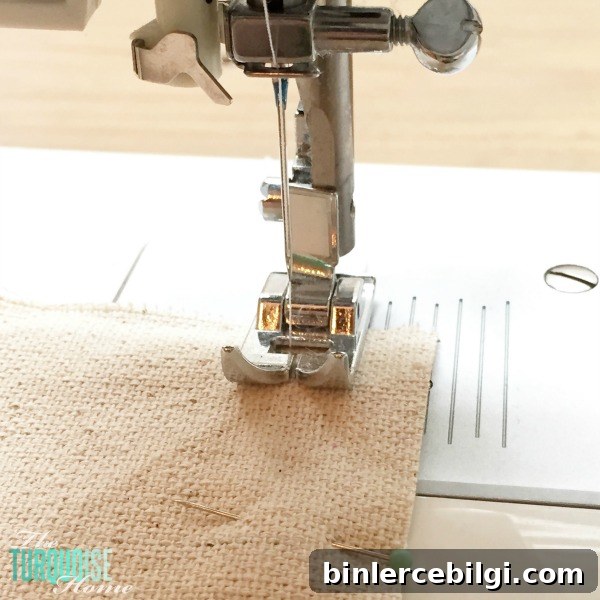
4. Stitch the Pillow Together
Layer the fabric pieces with right sides together and sew around the edges, leaving an opening for the pillow form if needed. Press seams flat for a cleaner finish. Because drop cloth fabric is forgiving, you don’t need perfect edges to get a charming rustic look.
5. Position the Stencil with Transfer Tape
Peel the backing off the cut contact paper and use transfer tape to move the stencil onto the front of the pillow cover, smoothing it down so the edges are sealed. Proper adhesion prevents paint from bleeding under the stencil.
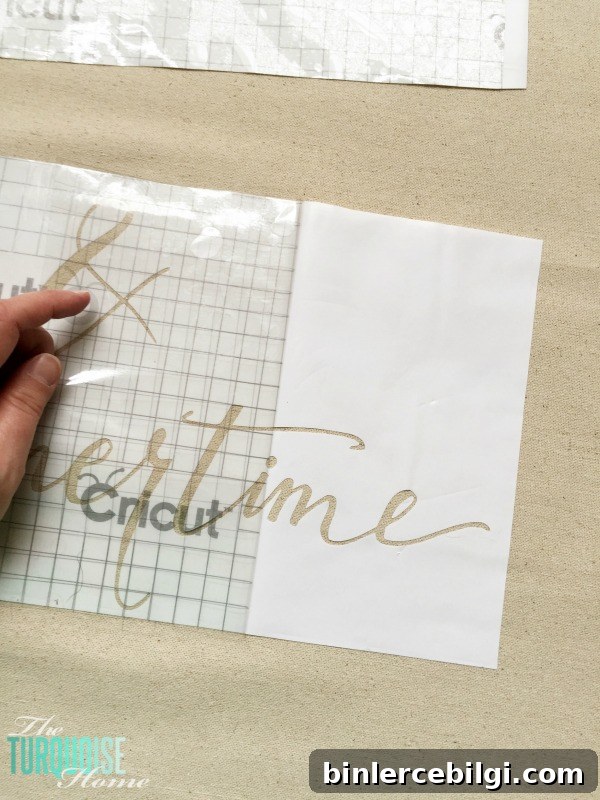
6. Paint the Stencil
Important: Place plastic or protective material between the pillow layers so paint doesn’t soak through.
Use a small foam brush and a light, dabbing motion—think dry brushing—so you apply just a little paint at a time. I used soft pink and metallic gold for a subtle summer palette. Build up color gradually to avoid bleeding and keep crisp edges.
7. Remove the Stencil and Finish
Once the paint is dry to the touch, carefully lift the stencil to reveal your lettering. Allow the paint to cure according to the paint manufacturer’s instructions before stuffing the pillow form.
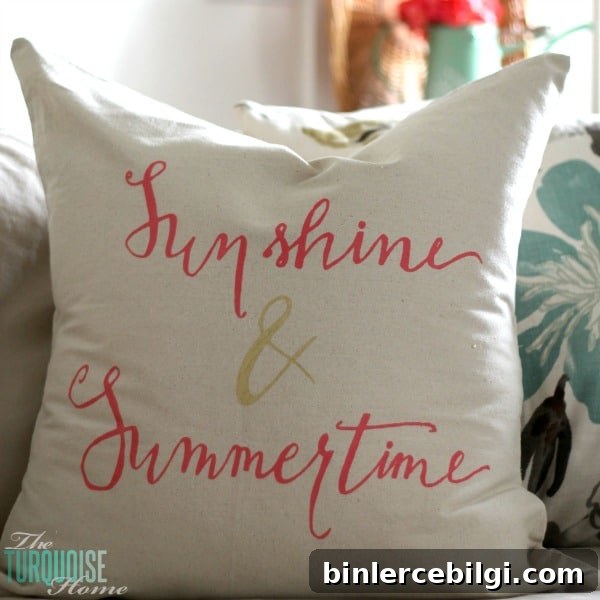
The finished pillow adds a personal, summery touch to the sofa and coordinates nicely with other seasonal decor like garden-inspired mantels or a lemonade-stand vignette. I’m excited to try more drop cloth pillow designs this season and share different lettering and color combinations.
More Posts You Will Love:
- Cute Summer Dresses
- How to Choose and Style Sofa Pillows
- How High To Mount A TV (Guidelines & Tips)
- How High to Hang Pictures {Top Tips for the Best Placement}
- The Best Summer Decorating Ideas