
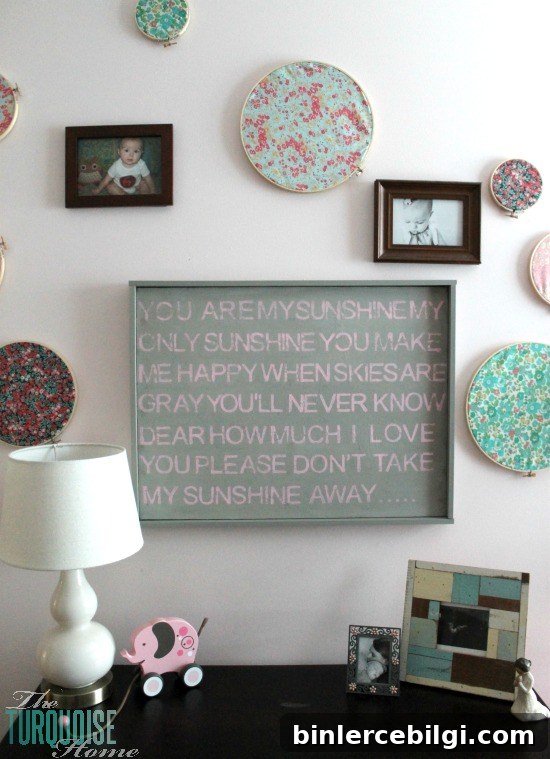
Even though my daughter is almost three and a half, I still rock her to sleep most nights. Even if her dad puts her to bed, I usually end up getting up once during the night to rock her for a few minutes. I’ve sung “You Are My Sunshine” to her every night since she was tiny, and now she knows the song by heart and often sings along. I love hearing my little one sing.
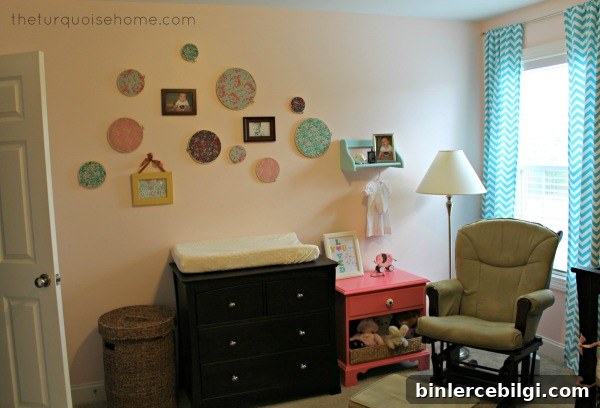
When we recently removed the changing pad from the top of the dresser, that empty space on the wall needed something meaningful. I wanted a piece that tied to our nightly song and fit the room’s look.
DIY Stamped Art (How To)
I’ll be honest: I’ve been in a creative slump lately. I’ve started more than a few projects and haven’t had the energy to finish them right away. That’s why this project — which could have taken a couple of days — stretched out over a couple of weeks. I worked on it a little at a time, stamping a word or two, then stepping away and coming back later. Once I set a deadline for myself, I pushed through and completed it. Standing back and seeing the finished piece is always worth the effort.
I began with a canvas I picked up at Goodwill. The canvas came with a nice frame around it, which I’d used in a previous project. The original painting was a small picnic scene, which was well-painted but not the right style for this room. I decided to paint over the scene and stamp a short love song on the canvas instead.
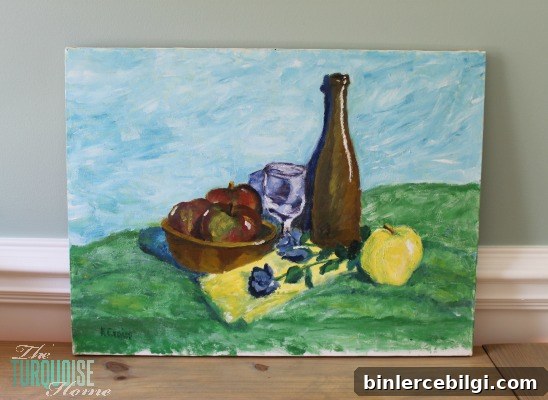
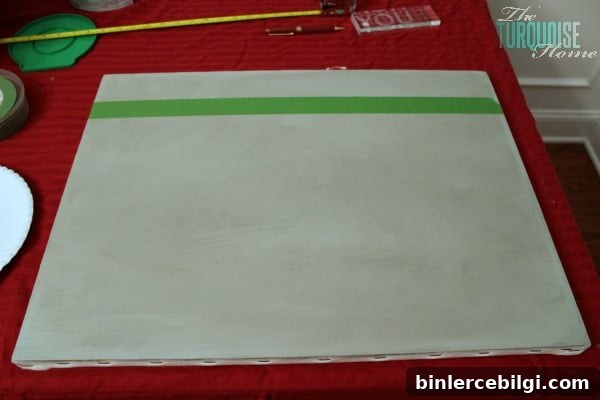
First, I sanded the raised paint areas on the canvas to smooth the surface. After wiping away the dust, I painted the canvas with Annie Sloan French Linen chalk paint, lightened slightly by mixing in some white and off-white. That neutral base felt just right for the stamped letters to stand out.
For the lettering, I planned the layout using Silhouette design software, which I like to use for both cutting and planning projects. Once I had the arrangement and font size set, I cut the alphabet letters from Silhouette stamping material so I could create custom-sized stamps for the canvas. Using the stamping material made it possible to achieve the exact scale and spacing I wanted.
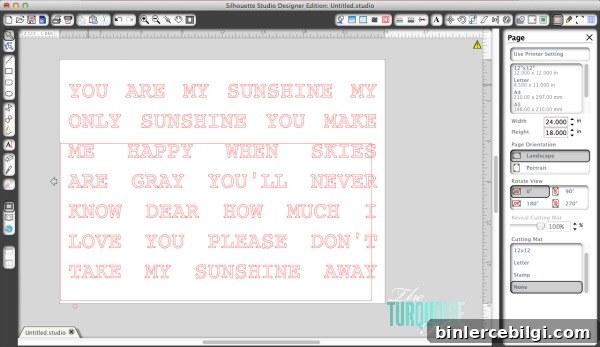
If you don’t have access to a cutting machine or stamping material, you can accomplish a similar result with premade alphabet stamps from craft stores or by hand-painting letters if you prefer. I chose the custom-cut stamping route so each letter would match the size I envisioned.
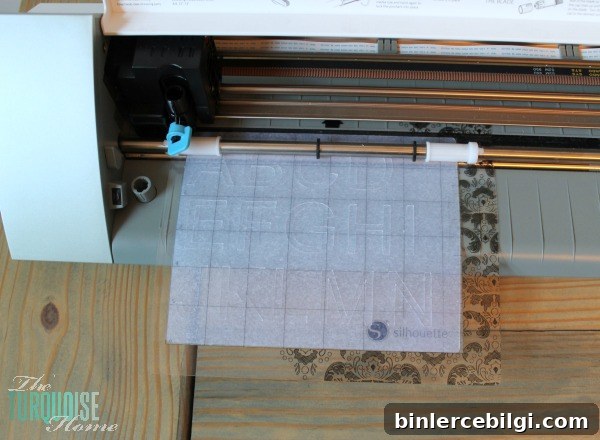
With all the letters cut, I worked one word at a time. I used painter’s tape to mark straight guide lines on the canvas, then arranged the letters for a single word and applied acrylic craft paint directly to each stamp with my fingers. I pressed each letter onto the canvas, then adjusted and repeated for the next letters and words. It’s a repetitive process, but the result looks handmade and charming.
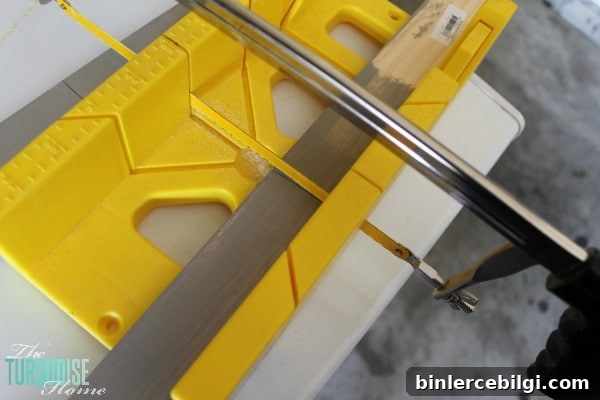
Once the stamping was complete, I built a simple frame from 2″ x 3/4″ wood strips from the hardware store. I’ll admit I used a mitre box and a hack saw to cut the pieces rather than breaking out my power miter saw. After painting the frame pieces in French Linen chalk paint to match the canvas, I attached them with my nail gun.
I haven’t applied a protective wax yet, but I plan to add clear wax in the near future to help preserve the finish and protect the paint. It’s a small extra step that adds durability.
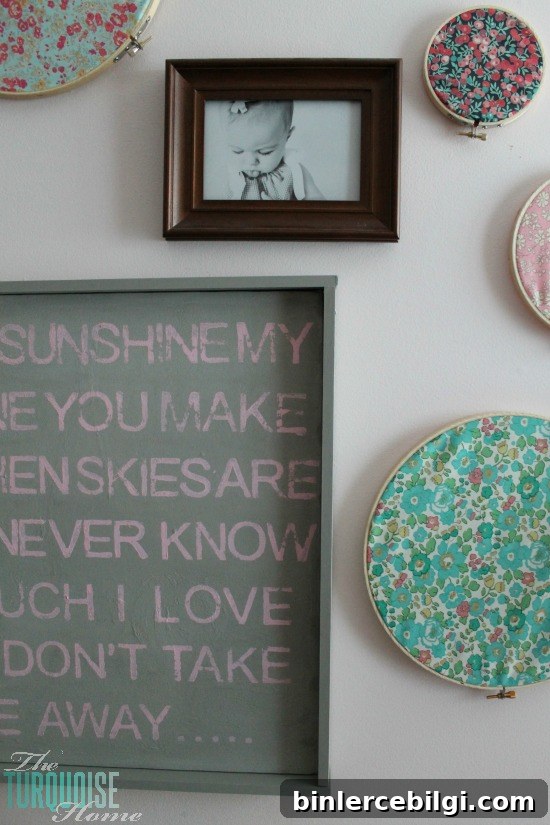
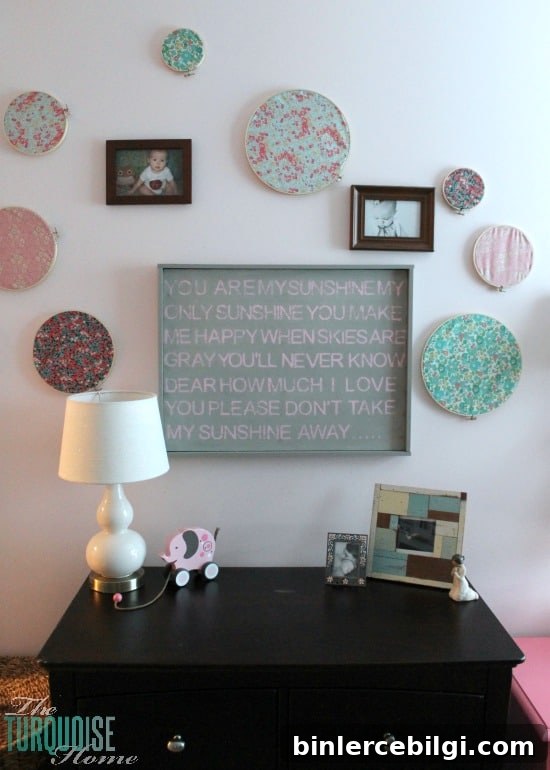
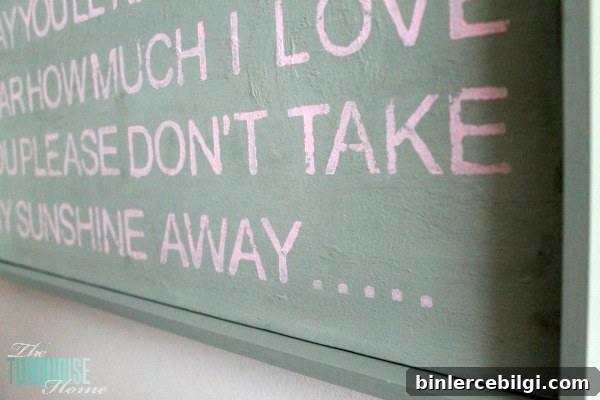
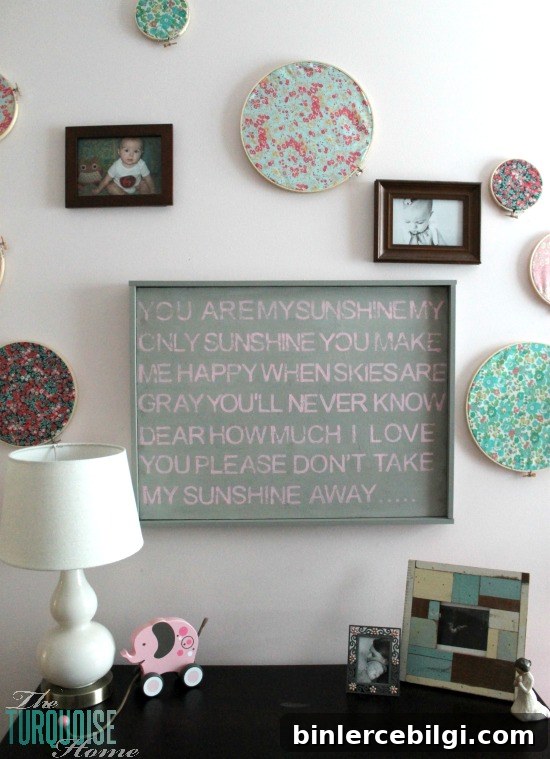
I love creating wall art that has a personal meaning, and this piece feels special because it reflects the nightly ritual I share with my daughter. It’s a simple project that combines thrifted finds, a neutral painted base, and custom-stamped letters to create a heartfelt statement piece.
Do you have a favorite meaningful piece of wall art in your home? I’d love to hear what inspires you and how you bring personal touches into your space.