
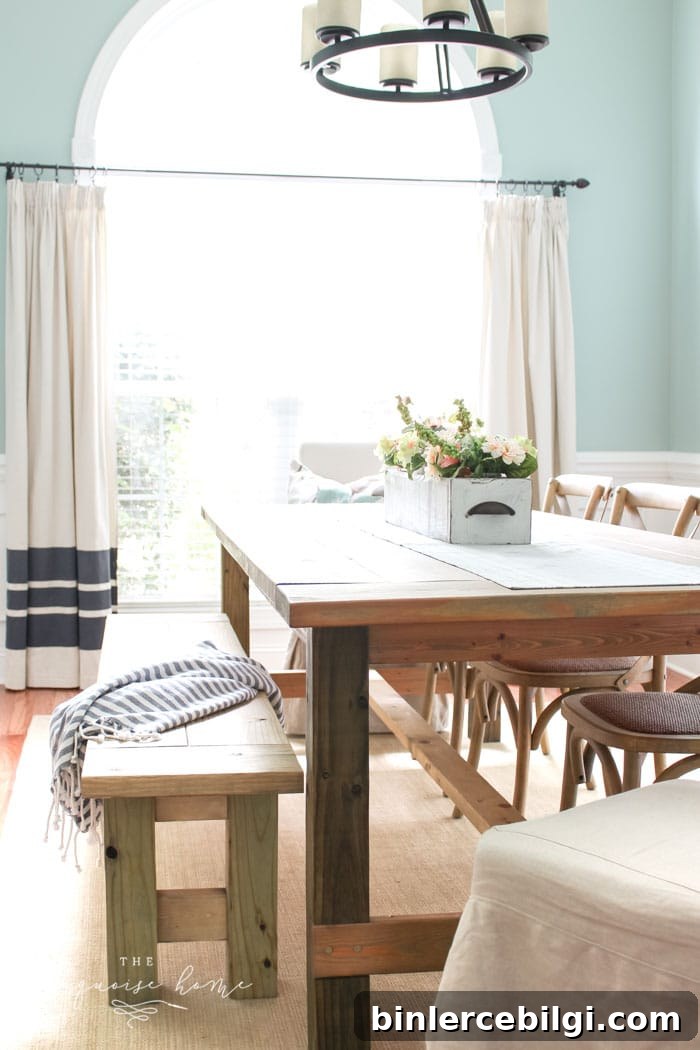
Large DIY Farmhouse Table Seats 8+ — Rustic Charm for Under $100 and Simple to Build with a Kreg Jig
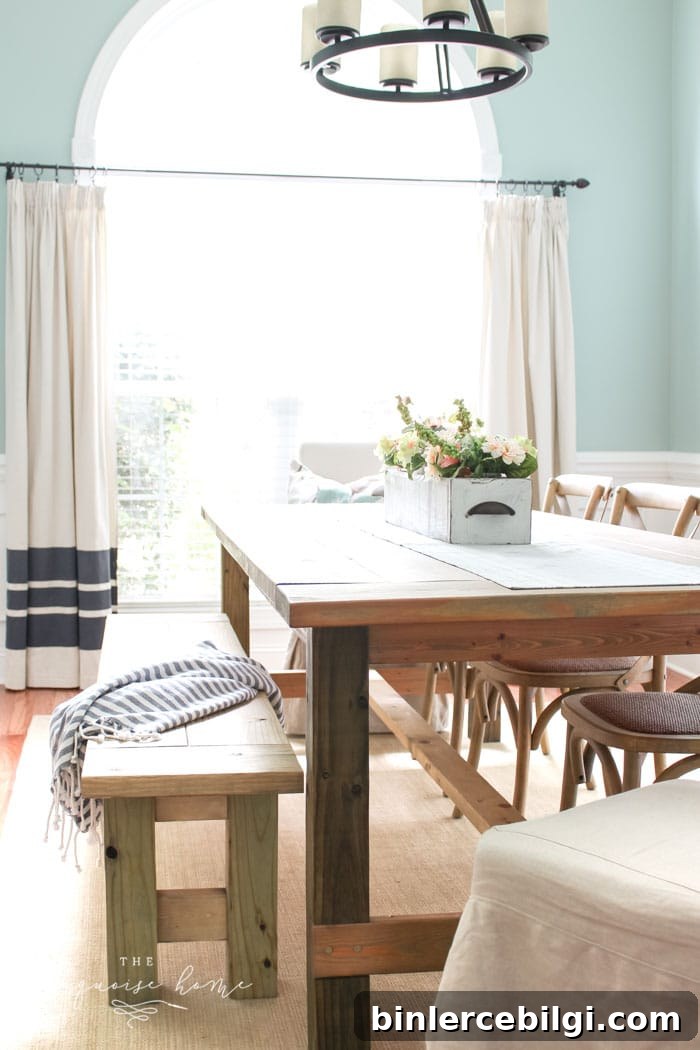
I’m thrilled to share my DIY farmhouse table project. This was my first time using a Kreg Jig and the result exceeded my expectations. The table is sturdy, spacious, and brings warm rustic character to our dining room — all for less than $100 in materials. I learned a few helpful lessons along the way and made some personal adjustments to the original plans, but overall the build was straightforward and highly satisfying.
I originally admired a hand-crafted trestle table priced well over $1,000, but that wasn’t realistic for our budget at the time. With the holidays approaching and family coming for dinner, I needed a solution that would seat a crowd without breaking the bank. Building this farmhouse table turned out to be the perfect choice: economical, durable, and beautiful.
If you’re planning to build a similar table, a pocket-hole tool like the Kreg Jig can make the process much easier. It simplifies joinery and creates clean, strong pocket-hole connections for aprons and stretchers. Having one on hand will speed up many woodworking projects and is worth considering if you plan to build more furniture in the future.
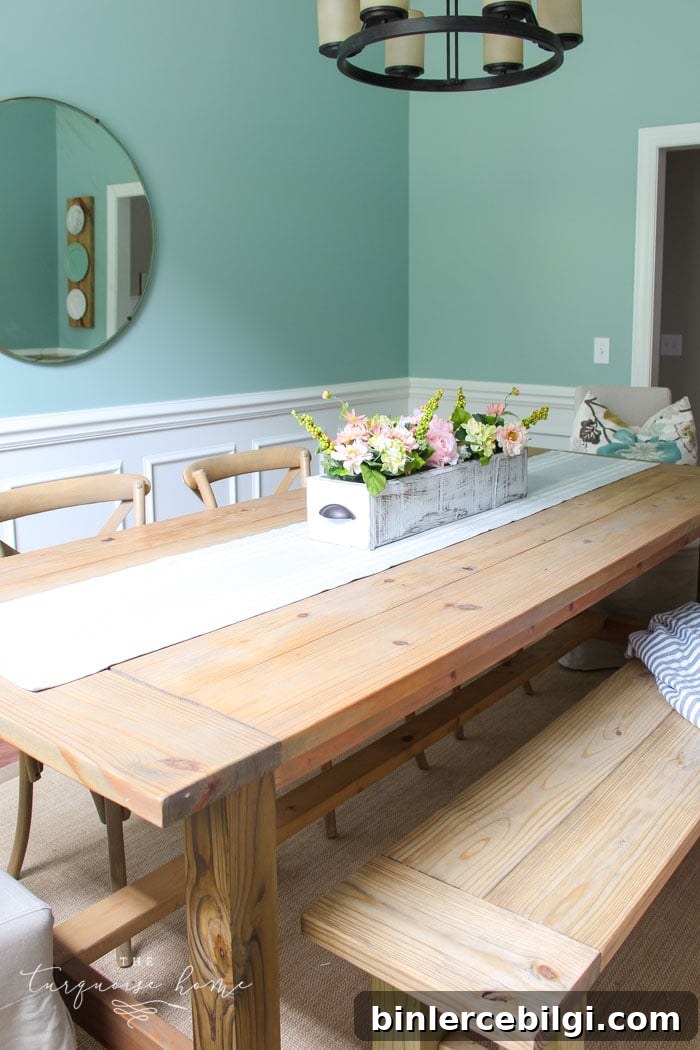
Related: How to Build a Farmhouse Bench
Tools Needed to Build a DIY Farmhouse Table
- Drill
- Kreg Jig (pocket-hole jig)
- Circular saw
- Miter saw (optional but helpful for accurate straight cuts)
- Orbital sander or sheet sander
- Drill bit set
- Tape measure
- Level
- Speed square
- Pencil
- Safety glasses
Supplies Needed to Build a DIY Farmhouse Table
I followed updated pocket-hole plans inspired by Ana White’s farmhouse table design and adjusted a few dimensions to suit our space. Below is the materials list I used for my larger table; if you prefer a smaller table, use the original plan dimensions instead.
- 4 – 2×4 @ 8 feet long (aprons and stretcher board)
- 1 – 4×4 @ 10 feet long (legs; I used a treated 4×4 post — the treatment slightly affected stain absorption, but the legs are still attractive and very durable)
- 4 – 2×8 @ 8 feet long (table top boards; I used 8′ boards to extend the table length by 11 inches compared to the original plan)
- 1 – 2×8 @ 8 feet long (breadboard ends)
- 1 – 2×12 @ 8 feet long (center board on the tabletop; I chose 2×12 to widen the top by a couple of inches)
- 3-inch wood screws
- 2-1/2″ pocket-hole screws
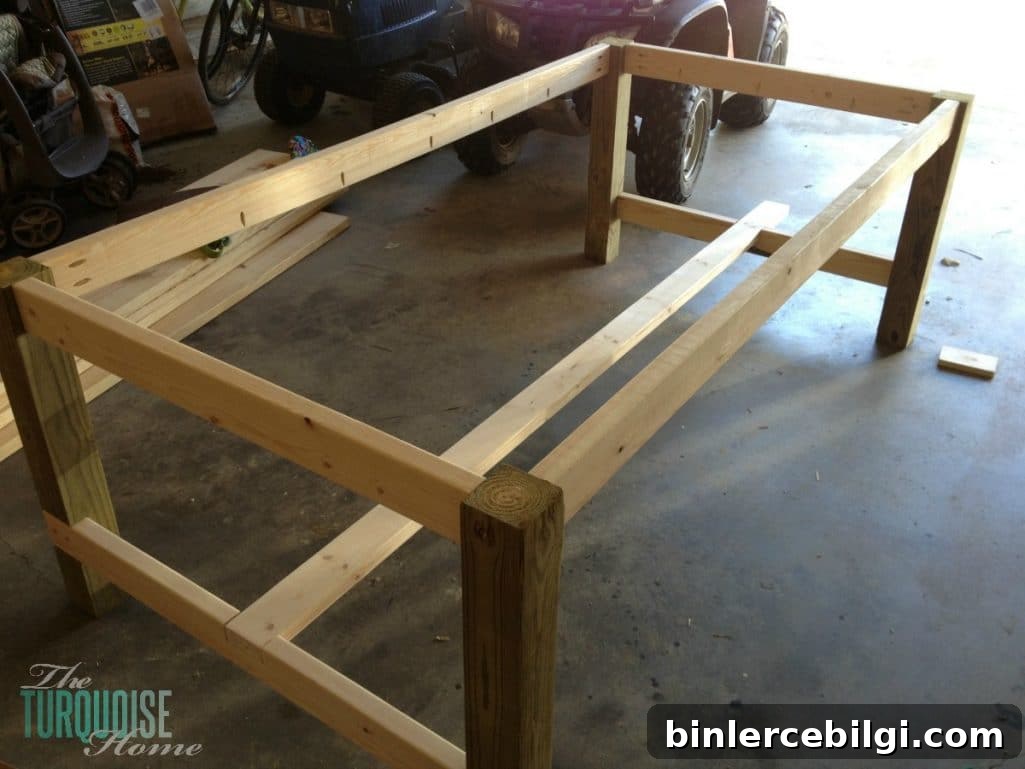
The build took me about a week, working during nap times and evenings. Pocket-hole joinery made assembly quick and reliable. I lengthened the tabletop by 11 inches and widened it slightly to better fit our dining area. These adjustments are easy to make in the plans if you prefer a custom size.
For finishing, I used Minwax Weathered Oak stain, which gave the top a soft, aged look that complements the farmhouse style. One sanding tip I learned the hard way: always sand with the grain to avoid streaks or rough patches. Take your time with sanding and test stains on scrap wood to confirm the look before finishing the whole table.
This table is now one of my favorite pieces in the house. It comfortably seats eight or more and doubles as a large workspace when we don’t have guests. I use it for crafts, wrapping gifts, and as a roomy home desk. The rustic farmhouse design blends with many décor styles and offers long-lasting functionality.
If you’re considering a DIY farmhouse table project, it’s a rewarding build that delivers a custom, high-quality result at a fraction of the cost of store-bought alternatives. Small adjustments to dimensions and finish let you tailor the table to your needs and style.
Below are some earlier photos from the project. As my photography improved, so did the final images—still, these pictures show the build progress and the finished table in everyday use.
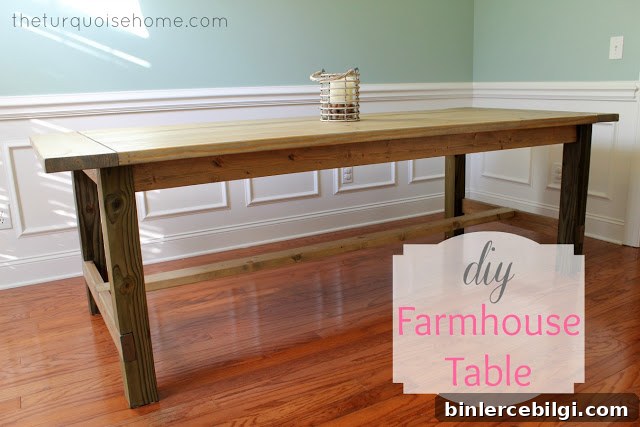
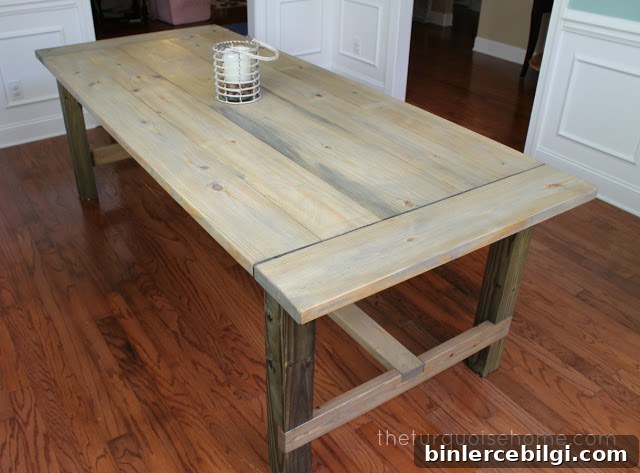
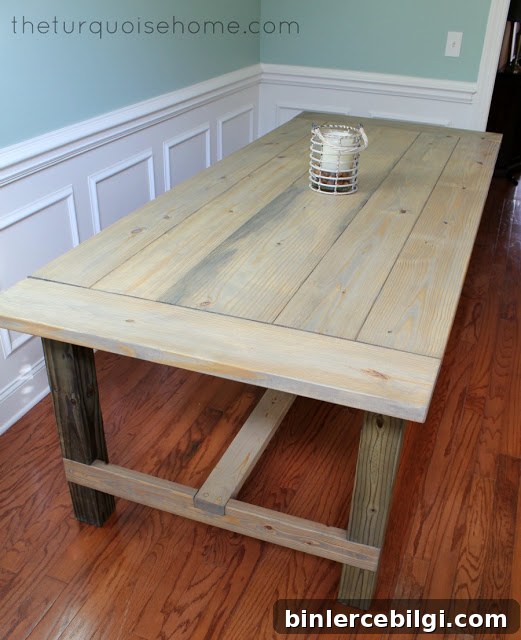
I hope this overview encourages you to take on your own DIY farmhouse table — it’s an affordable, practical project that adds timeless charm and lots of usable surface area to your home. If you build one, enjoy the process and the many gatherings it will host.