

This DIY twig Christmas tree ornament is quick, charming, and kid-friendly. Add a tiny bow or a glittering star at the top for extra flair. It’s an easy project the whole family can enjoy.
My daughters each made one (with a little help) and every single ornament turned out adorable and unique.
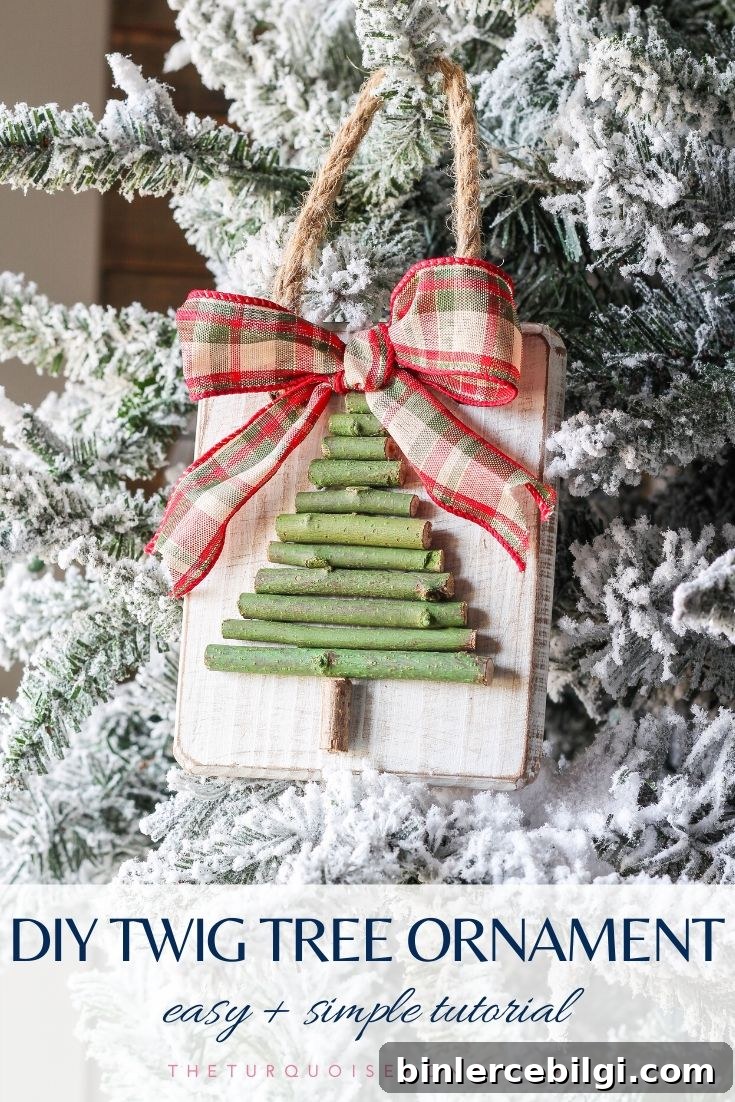
You can make this using a small piece of scrap wood: drill two holes near the top for twine or use a board with a built-in jute hanger. Gather twigs from the yard or purchase craft twigs—this project scales well whether you’re aiming for a natural, rustic look or a polished, painted ornament.
Add whatever embellishments you like: ribbon bows, painted wooden stars, a dab of glitter, or leave it plain for a simple farmhouse look. These ornaments also work beautifully as small wall hangings, in wreaths, or as part of a tabletop vignette.

Want to Save This?
Enter your email and get this project sent directly to your inbox.
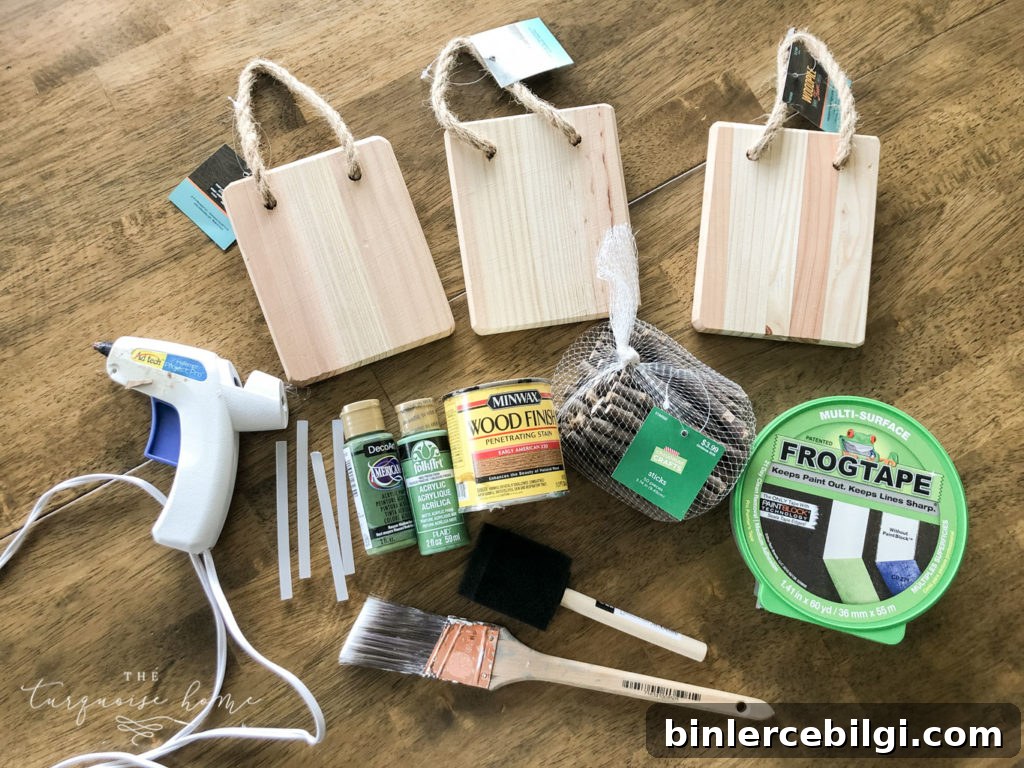
Supplies You’ll Need to Make a Twig Ornament
- Small natural wood plaque or scrap wood board with a rope hanger
- Wood craft twigs or small natural twigs
- Hot glue gun and glue sticks
- Wood stain (I used an Early American tone)
- White paint (I used Simply White)
- Fine-grit sandpaper
- Paint brush
- Foam brush
- Green craft paint for the twigs
- Hand saw or pruning shears to cut twigs
- Painter’s tape to protect the rope hanger
How to Make a Twig Tree Ornament
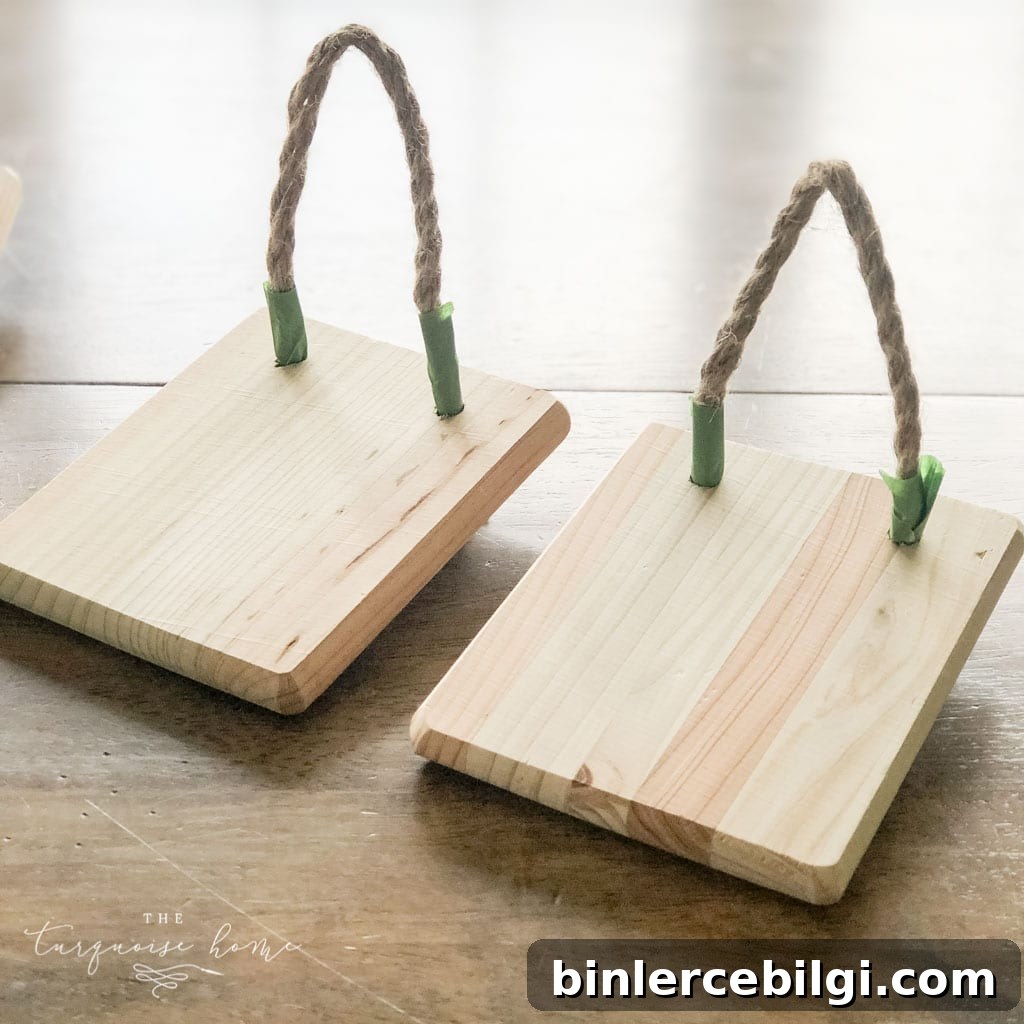
1. Tape off the jute rope
If your plaque has a jute hanger, protect it with painter’s tape where it meets the board. This keeps stain and paint from darkening the rope and keeps the finished ornament looking neat.
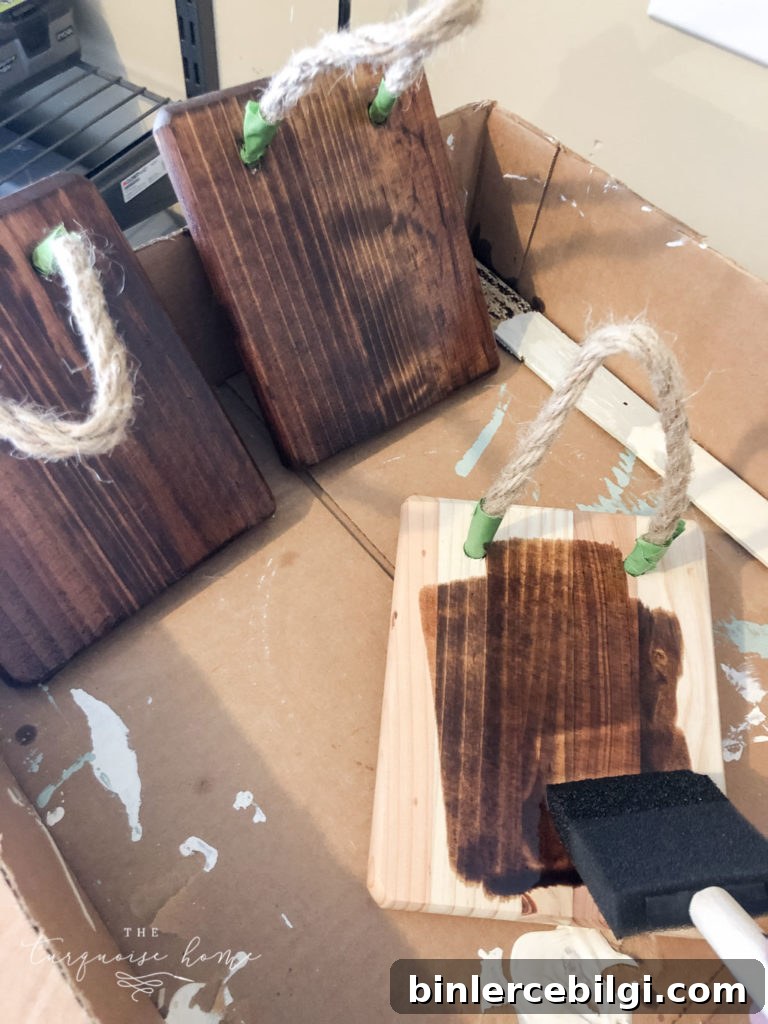
2. Stain the board/plaque
Apply your chosen wood stain and follow the manufacturer’s dry time when possible. If you’re in a hurry, you can often proceed once the surface is dry to the touch, but a full cure will give the best long-term result.
3. Cut the twigs
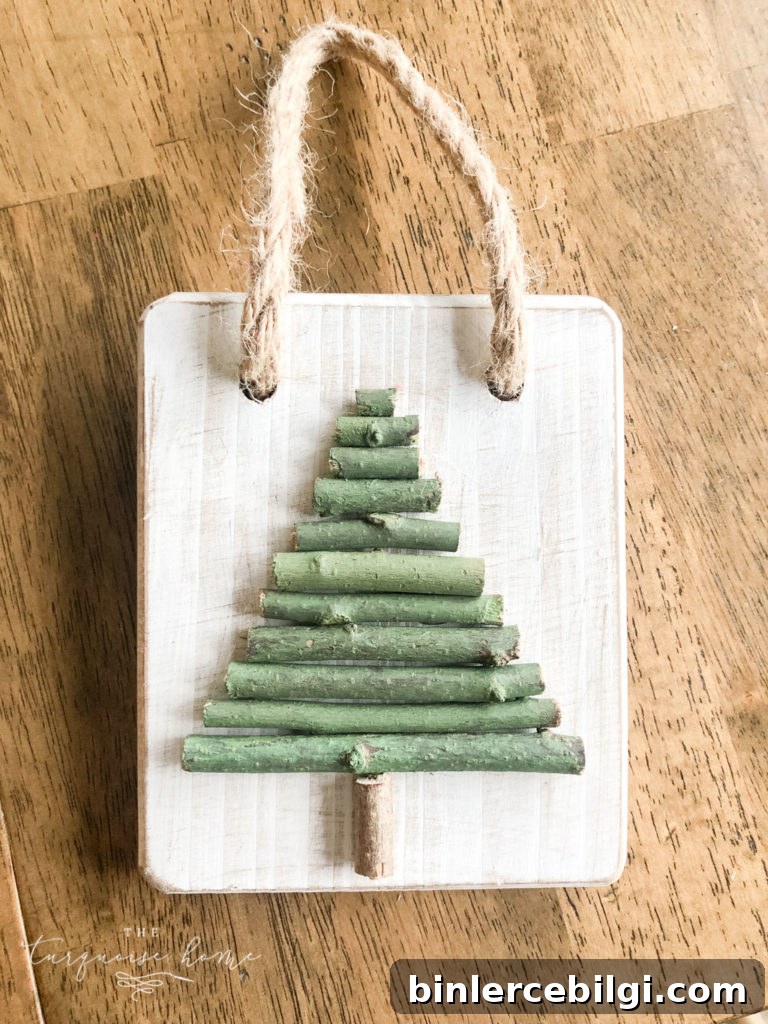
While the stain is drying, cut your twigs. I started with a base twig about 3.75 inches long and gradually decreased the length for each higher branch to create a triangular tree shape. Each ornament used eleven twig pieces plus a short piece for the trunk. Use a hand saw to make the initial cut, then finish with pruning shears or floral wire cutters for a clean edge.
4. Paint the board/plaque
Once the stain is dry, paint the board with white paint or your preferred background color. A single coat gives a fresh, clean backdrop for the twig tree. Allow at least an hour for drying, or follow the paint manufacturer’s guidance.
5. Paint the twigs
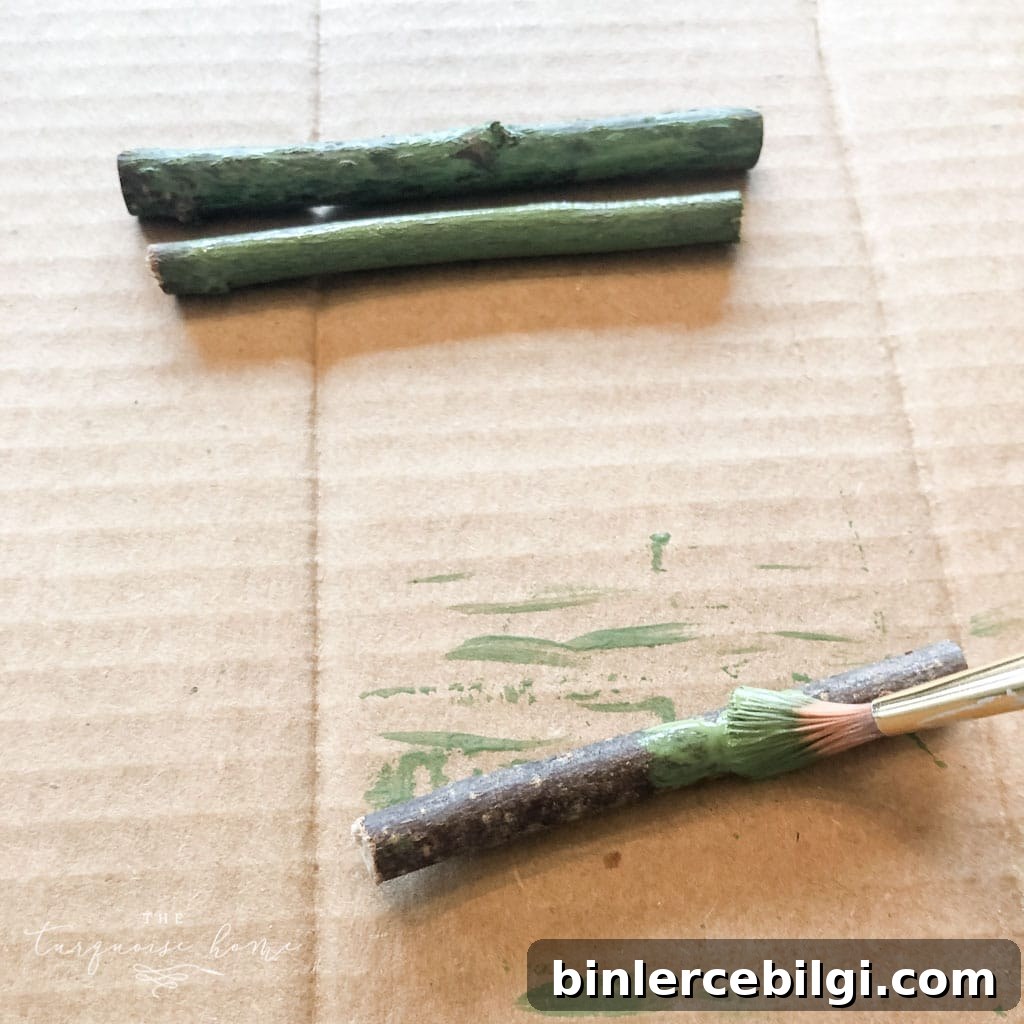
Paint the twigs while the board paint dries. I used a medium green craft paint and brushed it on lightly so some natural texture remained visible. Children can paint theirs fully for a more playful look—either style is charming.
6. Optional: Distress the board/plaque
Lightly sand the board edges with fine-grit sandpaper for a distressed, vintage look. Wipe away any dust with a dry cloth before continuing.
7. Glue the twigs to the board
Arrange the twigs on the painted board until you like the layout. Then glue each twig in place using a hot glue gun. Work from the base upward and press each twig firmly so it adheres well.
8. Add embellishments
Finish with small details: tie tiny ribbon bows, glue a small wooden star at the top, add a touch of glitter, or leave the tree minimalist. Little accents make each ornament feel personal and special.
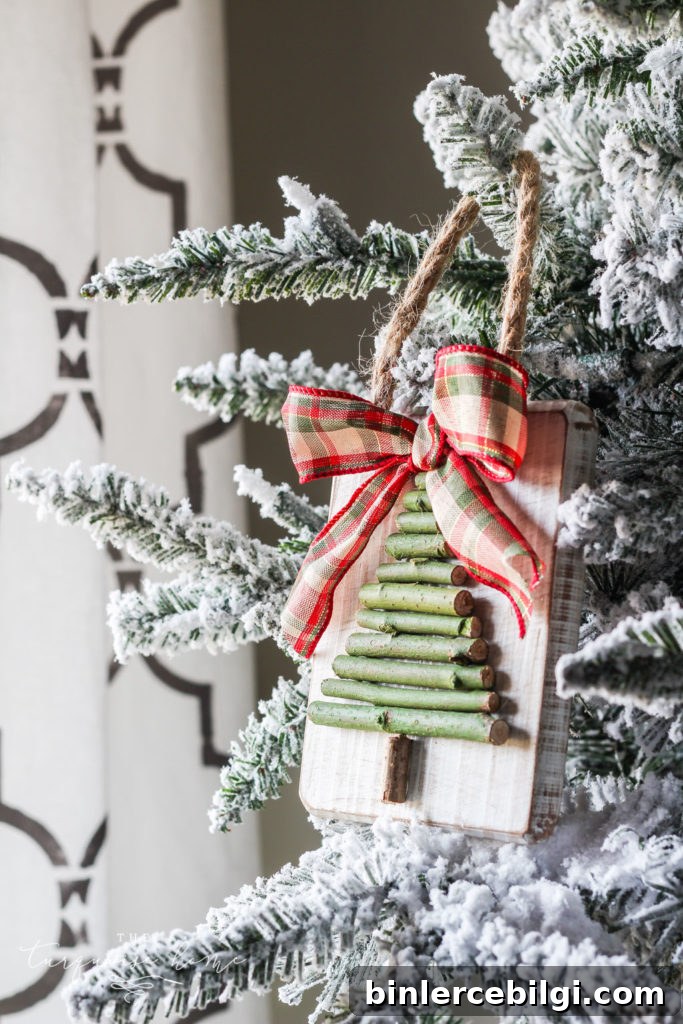
That’s all there is to it—your twig tree ornament is complete. These ornaments are substantial enough to hang on a wall, tuck into a wreath, or display on a mantel as part of a seasonal vignette. If you prefer not to hang them on a traditional Christmas tree, they still make lovely seasonal decor or heartfelt handmade gifts.
Happy crafting!
More posts you might enjoy:
- DIY Wood Finial Ornament
- DIY Mason Jar “Snow Globe” Ornament
- How to Dry Orange Slices for Decorations and Crafts
- Orange, Blue and Brown Christmas Tree
- Christmas Gift Wrapping Ideas