

This quick and easy DIY wooden finial ornament is endlessly customizable. With mostly items you likely already have at home, you can make a beautiful ornament using just four basic supplies.
Over the years I’ve made a wide variety of DIY ornaments. Some projects are elaborate and time-consuming, but this one is one of the simplest and most budget-friendly I’ve tried.

I needed a few light-colored ornaments to fill gaps on my tree, but I didn’t want to spend more on holiday decor this year. As I looked for options, I kept being drawn to the elegant look of wooden finial ornaments. Instead of buying them, I decided to make my own—and they turned out perfectly.
This post contains affiliate links for your convenience. See my full disclosure policy.
Supplies you will need to make a Wood Finial Ornament:
- Wood finials – Look for small turned wood finials at a hardware store, craft store, or lumber yard. I found mine for under $3 each.
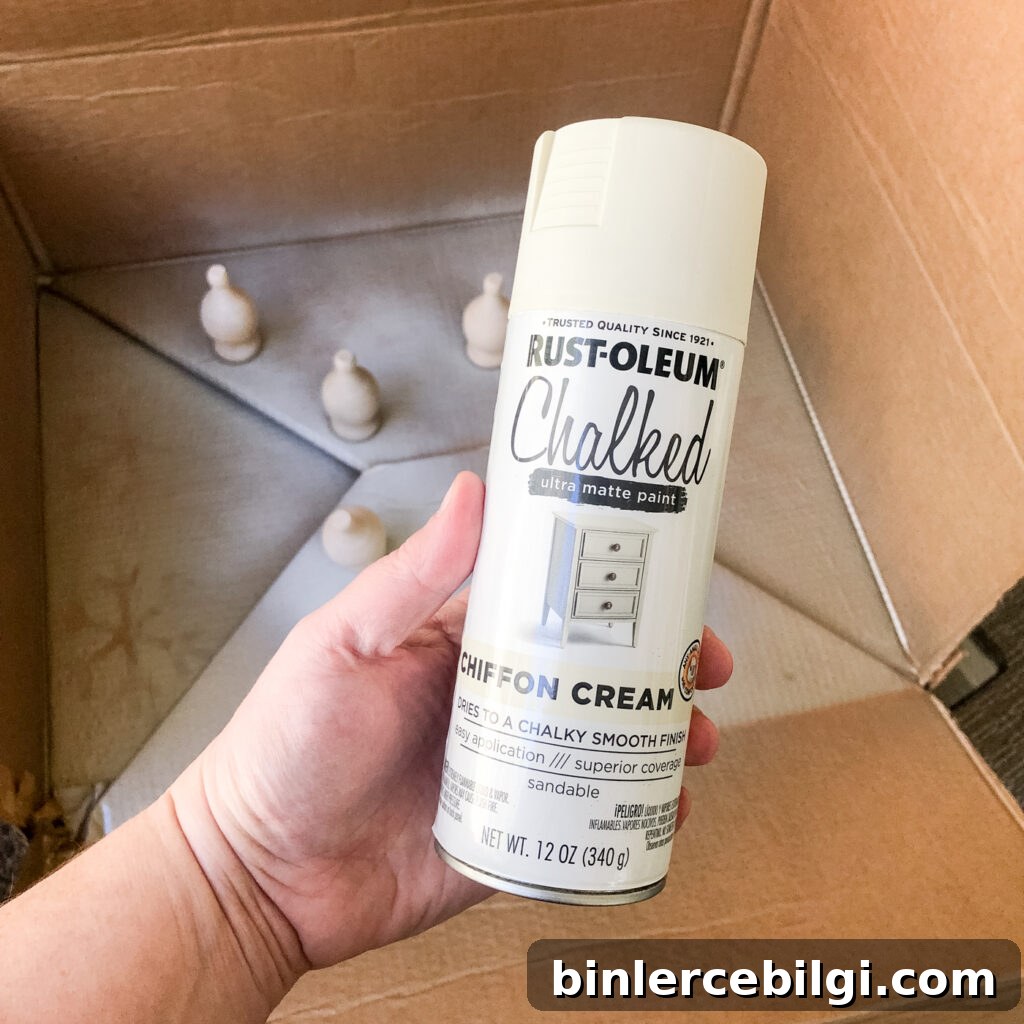
- Paint – Any paint you prefer will work. I used a chalk-style spray paint from my stash because it gives a smooth, matte finish that looks great on the tree.
- Ribbon – Any ribbon will do. I used 1.5-inch wired ribbon and removed the wire for a softer loop, but thinner satin or twine would work equally well.
- Hot glue gun and glue sticks – For securing the ribbon and any small embellishments.
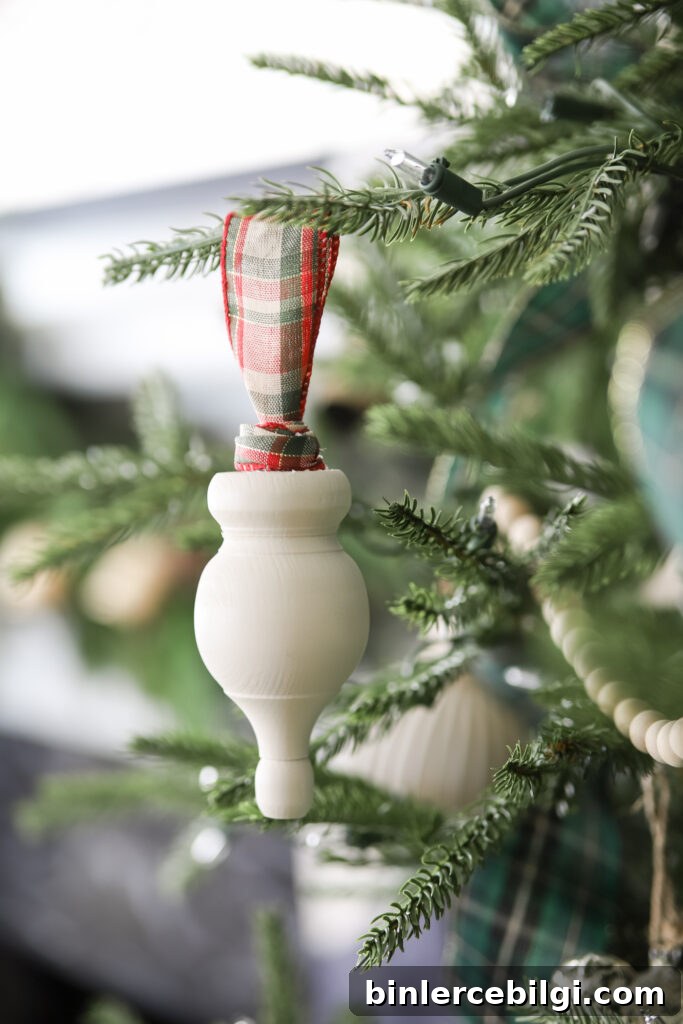
How to Make a Simple DIY Finial Ornament
Step 1. Choose your finial and decide on a finish.
You can leave a finial natural for a rustic look, or paint it to match your tree palette. For a soft, classic look on a neutral or lightly colored tree, white, cream, or ivory tones work especially well. I used a chalk-style spray paint in Chiffon Cream that dries to a matte finish.
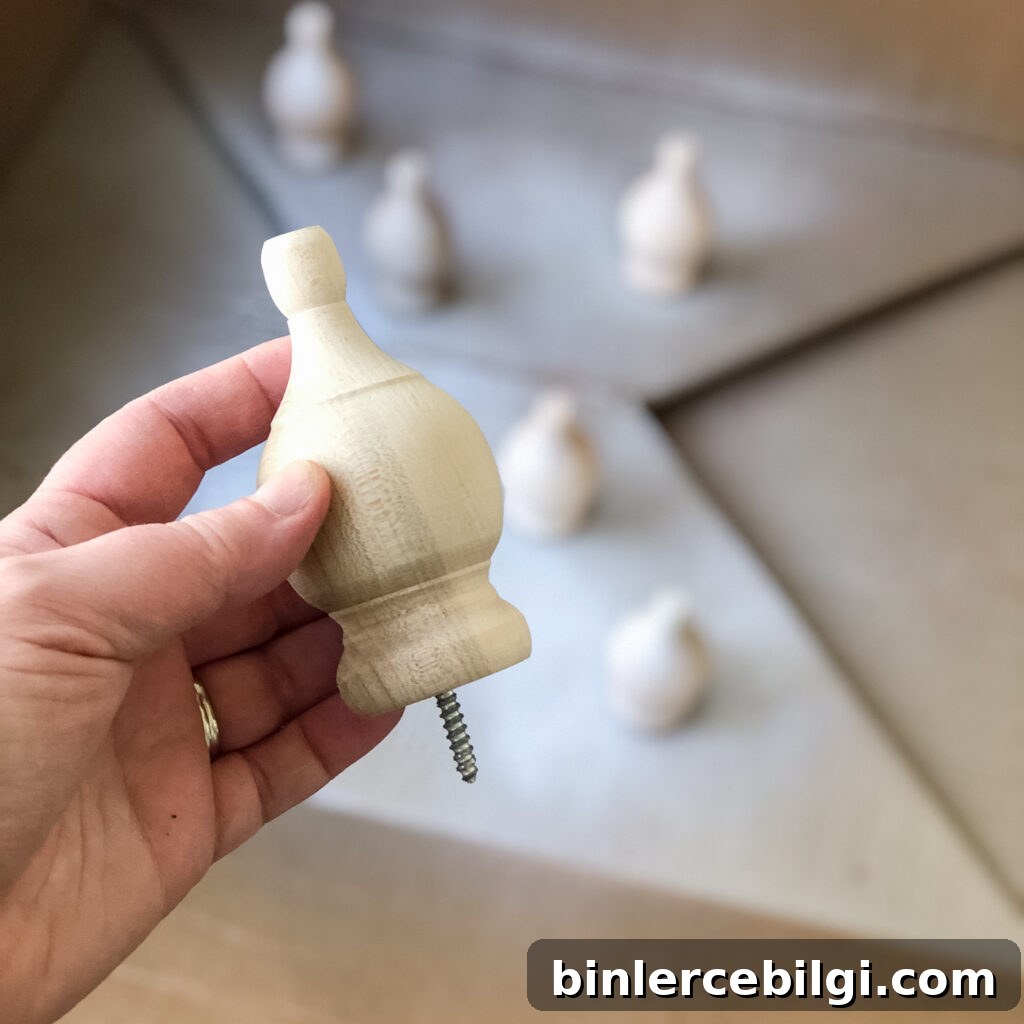
If you prefer a more polished sheen, use spray paint with a satin or gloss finish, or brush on acrylic paint and seal it with a clear coat. For a vintage look, paint and then lightly sand edges to reveal the wood beneath.
Step 2. Paint the finials.
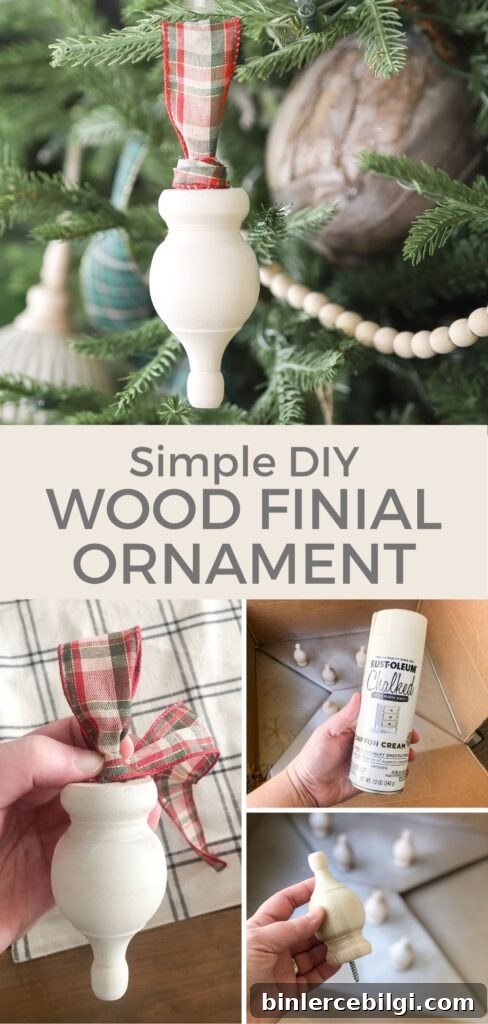
I pushed the screw ends of the finials into a large cardboard box to hold them steady while spray painting. The box sides protected nearby areas and provided a neat way to spray multiple pieces at once.
When spray painting, apply several thin coats instead of one heavy coat. Thin coats dry faster and provide smoother, drip-free coverage. Allow adequate drying time between coats, and let the pieces fully cure before handling.
Step 3. Attach ribbon to create a hanger.
After the paint dried, I cut a short tab of ribbon, folded it into a loop, and secured the ends with hot glue to the top of the finial. For a cleaner finish, wrap a small strip of ribbon around the base of the tab and glue it in place to hide the glued seam.
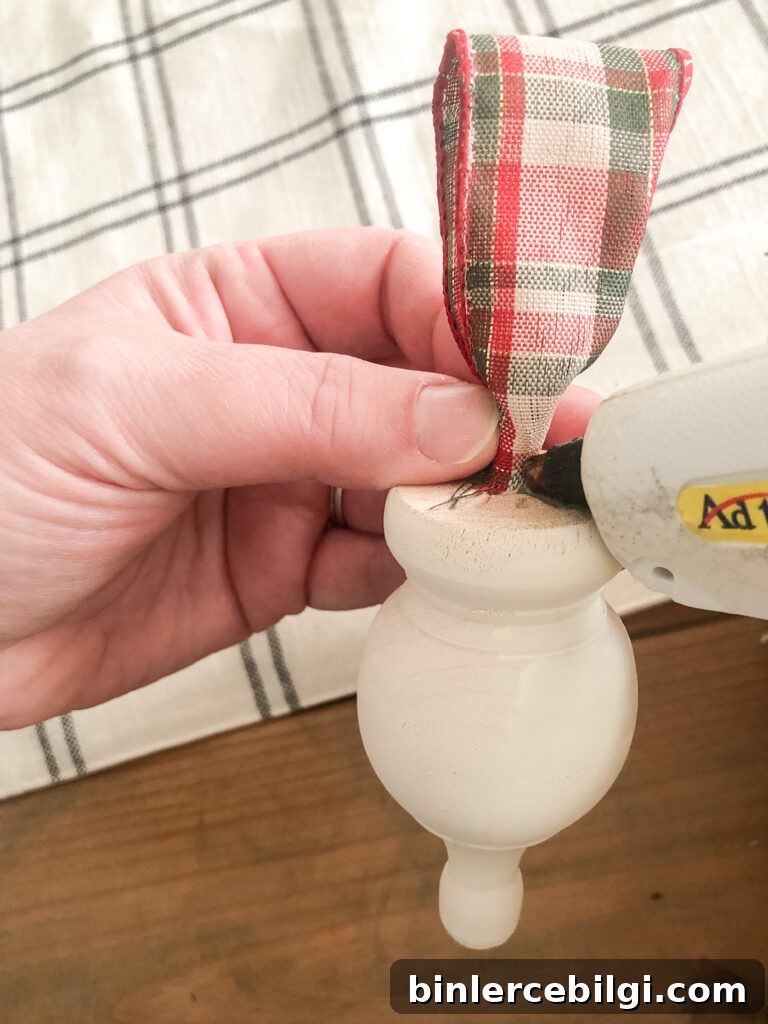
You can embellish further with a tiny bow, a dab of metallic paint on raised details, or a small bead or bell at the bottom for added charm. If you prefer a minimalist look, a simple unadorned ribbon loop is elegant and timeless.
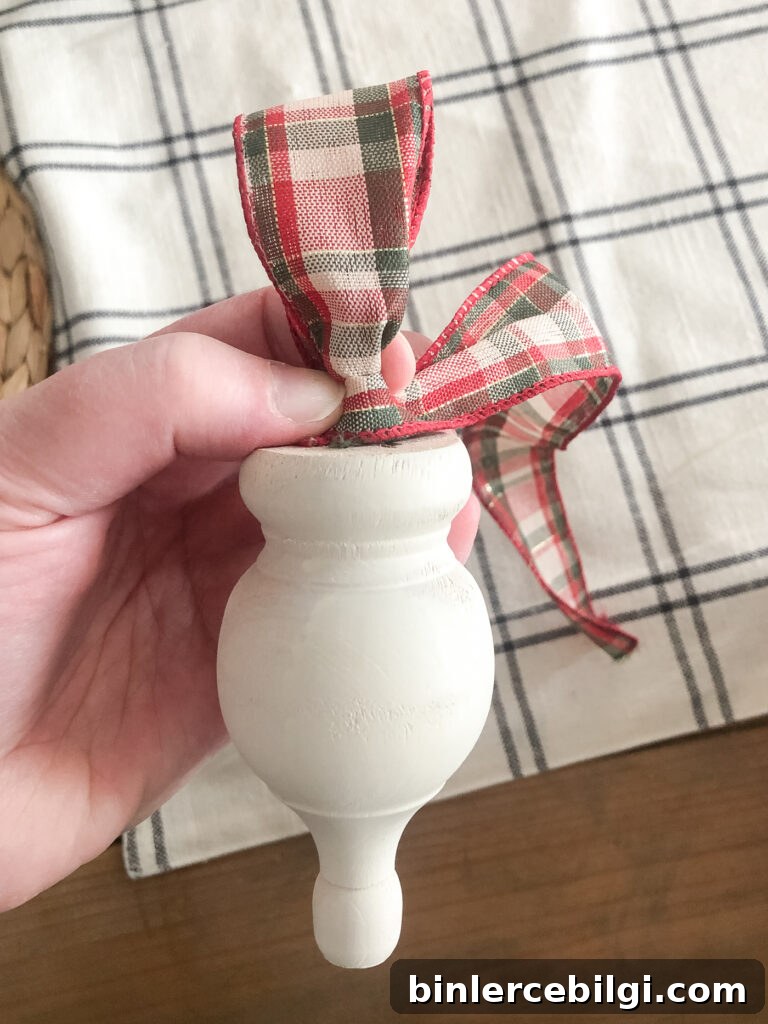
Once the glue is completely set, your ornament is ready to hang. These finial ornaments are quick to make, look sophisticated on the tree, and are perfect for filling in gaps or creating a cohesive color story across your decor.
I’d love to hear if you make them — feel free to e-mail me or tag me on Instagram to show how your ornaments turned out.
More DIY Christmas Ornaments
- Mini Wooden Christmas Sign Ornament
- Twig Christmas Tree Ornament
- Mason Jar “Snow Globe” Ornament
- DIY Paper Covered Ornament
- Bath Bomb Ornament (with printable tag)
- Chalkboard Wood Slice Ornaments