
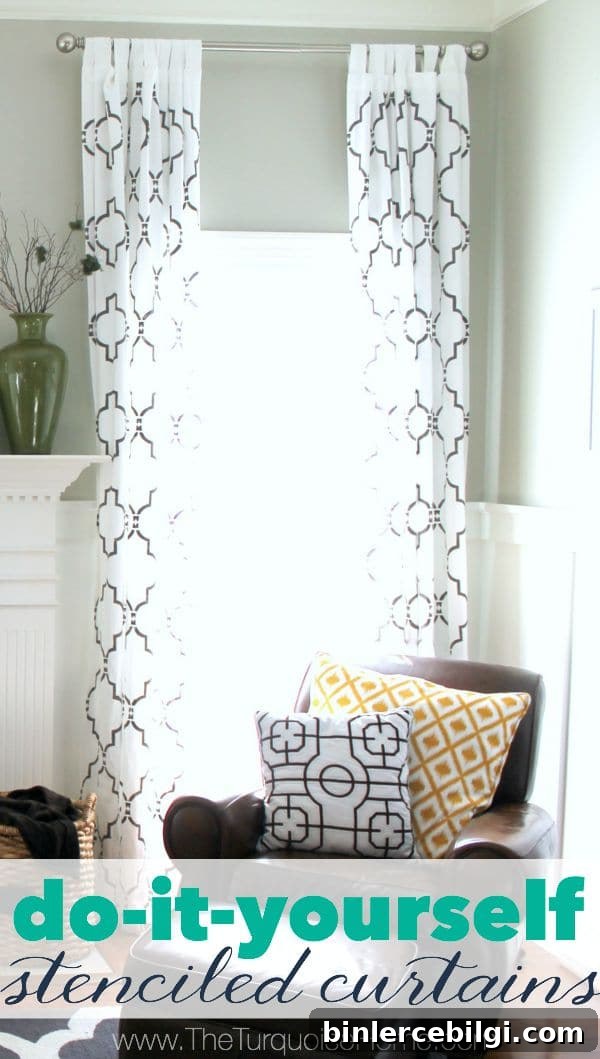
Learn how to make your own drapes! Finding curtains you love can be difficult—make them yourself by creating DIY stenciled curtains.
Hello! I spent almost a month slowly working on this project, and I’m excited to share how I made custom stenciled curtains for my living room.
This post contains affiliate links for your convenience. See my full disclosure policy.
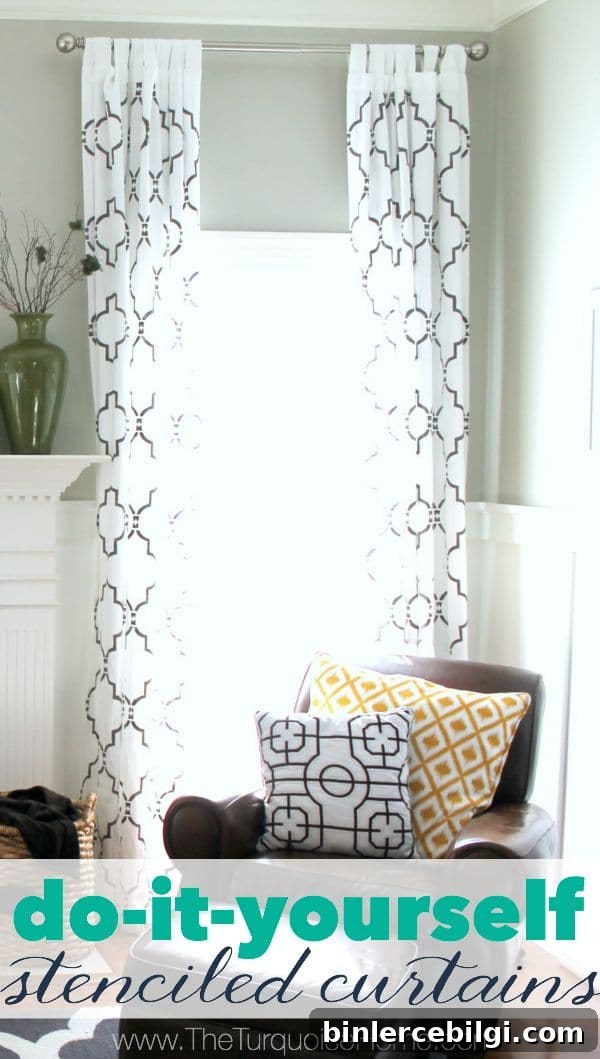
I had been searching for the perfect curtains for some time. With 12-foot ceilings, even plain fabric for four long panels can get expensive fast. Rather than paying a premium for patterned curtains, I bought plain panels and stenciled them myself to get the exact look I wanted.
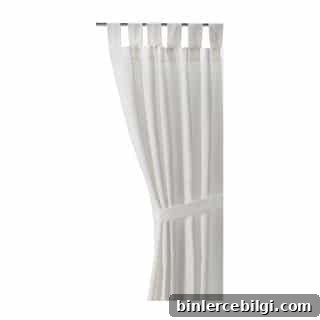
I’m a fan of the IKEA Lenda curtains and chose the bleached-colored Lenda in the 118″ length. At an affordable price for a pair, they made a great base for a DIY project.
I wanted a modern, geometric pattern, so I settled on a Moroccan trellis stencil. The Marrakech trellis motif is on trend and translates beautifully to large-scale textiles like drapes. I chose a stencil I could also reuse later on walls or other projects.
What You Will Need to Stencil Curtains
- About 8 oz. of craft paint per panel
- Fabric medium to mix with the paint
- Curtains – washed and ironed (I used IKEA Lenda 118″ panels)
- Stencil – a Moroccan trellis or allover pattern works well
- Foam stencil daubers for applying paint
- Large drop cloth or sheet to protect your floor
DIY Stenciled Curtains: How To
Below are the steps I followed to create these stenciled curtains, including helpful tips on paint, workspace setup, and technique.
1. Choose and Mix the Paint
I used craft acrylic paint mixed with fabric medium to ensure the paint adhered to the curtains and stayed flexible. Fabric absorbs paint, so plan on using more than you expect: roughly 8 ounces of mixed paint per panel proved necessary for my fabric and stencil density.
I blended several colors to reach a greige tone that would look neutral in the room. If you mix custom colors, write down the formula so you can recreate it if you run out mid-project.
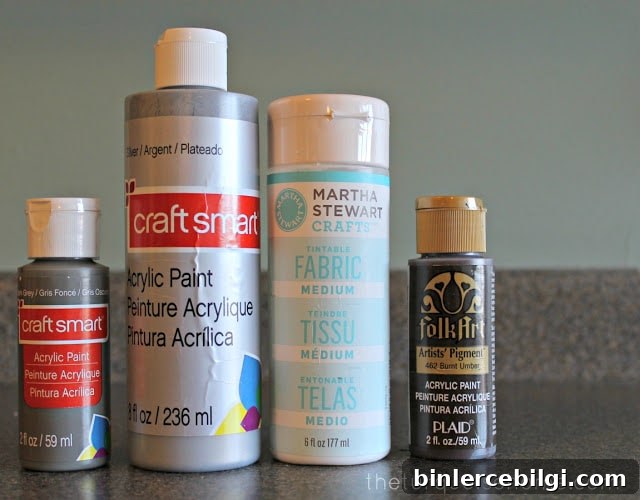
My mixing notes: I combined gray, a touch of silver, a small amount of burnt umber, and fabric medium to reach the tone I wanted. That mix covered nearly one panel; plan accordingly so you have enough.
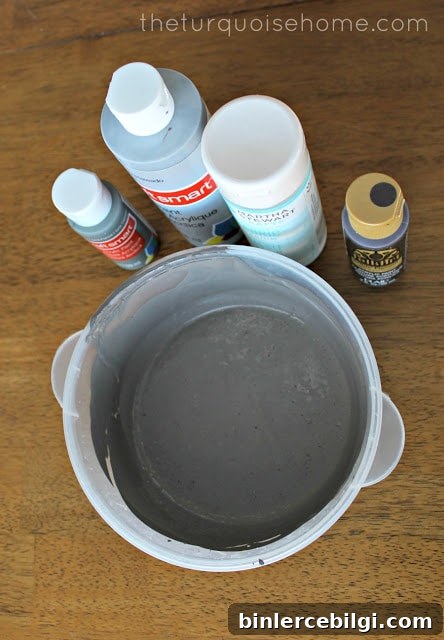
The color looked slightly different wet versus dry—wet it read more gray and once dry it had a warmer, greige look that blended nicely with my room’s palette.
2. Prepare the Workspace
Stenciling large curtains requires a lot of space. I cleared a section of my living room so I could work in the evening and let each panel dry overnight. Protect your floor with a sturdy drop cloth or an old sheet; a canvas drop cloth works best because it stays put and won’t shift as you work.
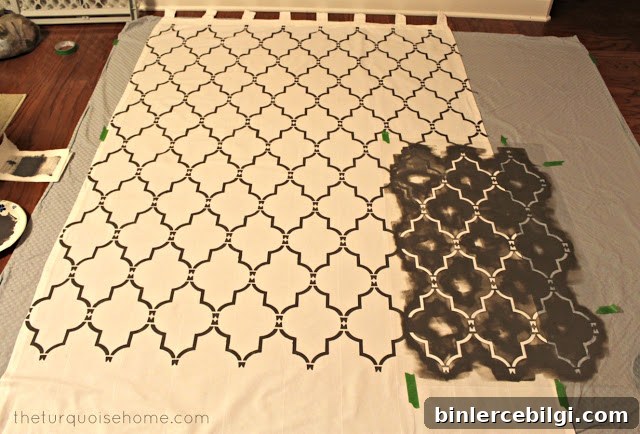
3. Stencil the Curtains One Section at a Time
Lay the stencil flat and square over the area you want to paint. I started at the top so the pattern remained even across the curtain width. Use foam daubers with a light amount of paint, and apply with an up-and-down tapping motion rather than brushing side-to-side to prevent bleeding under the stencil.
Allow each section to dry enough to handle, lift the stencil carefully, then align it and continue. Repeat this process until the entire panel is covered. Seams on some curtains can serve as helpful guides to keep the pattern straight.
The actual painting for one panel took about an hour. A soft cushion under your knees is a lifesaver—working on hardwood floors for extended periods will leave you feeling it the next day.
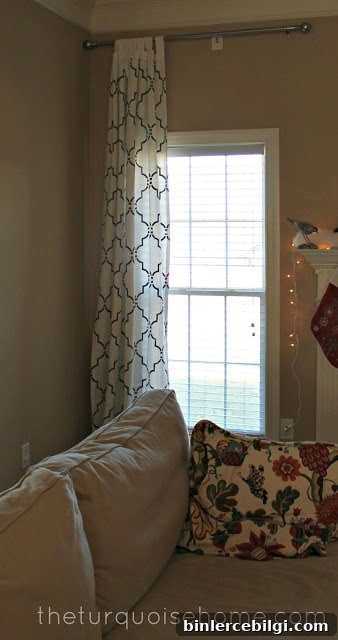
I finished one panel and loved the result. After getting more paint, I completed the remaining panels so they could hang cohesively across my living room windows. The stenciled curtains add a custom, designer feel without the designer price tag.
I plan to reveal the full set with a room update soon. The stenciled pattern also works well as an accent on pillows or even a feature wall if you want a coordinated look throughout a space.
Have you tried stenciling fabric before? If not, what pattern would you try first?

Update in 2022: We’ve since moved out of that home, but these stenciled curtains remained one of the most asked-about DIY projects I’ve done and are still a favorite of mine.
More posts you might enjoy:
- DIY Photo Transfer to Wood (Step-by-Step Tutorial)
- Easy DIY Throw Pillow
- How to Add Curtain Trim Tape for a Custom Look