
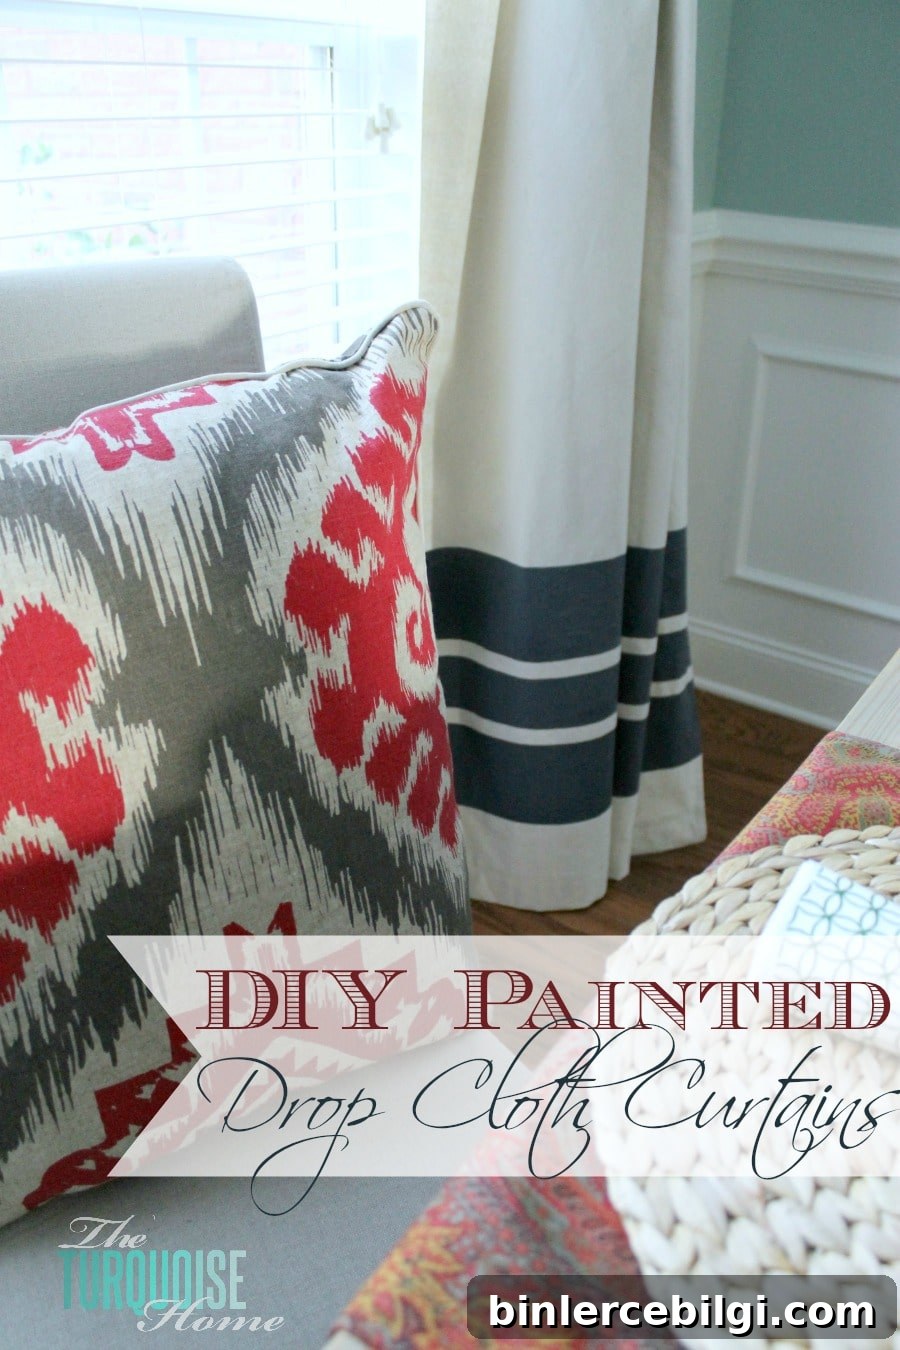
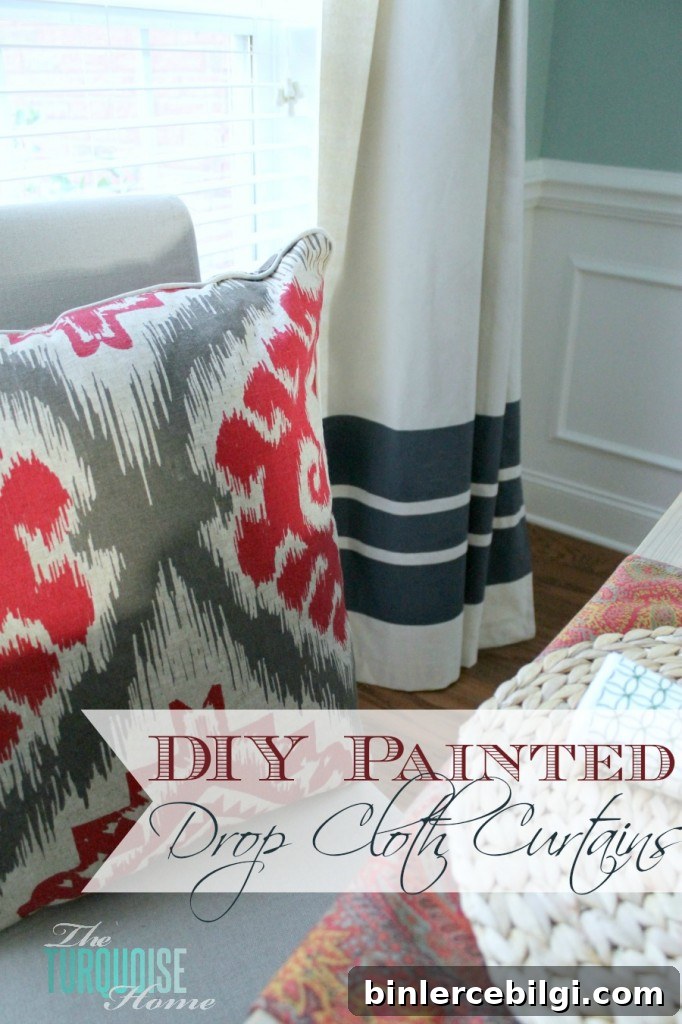
Make simple, budget-friendly no-sew drop cloth curtains with painted stripes for a personalized, modern look.
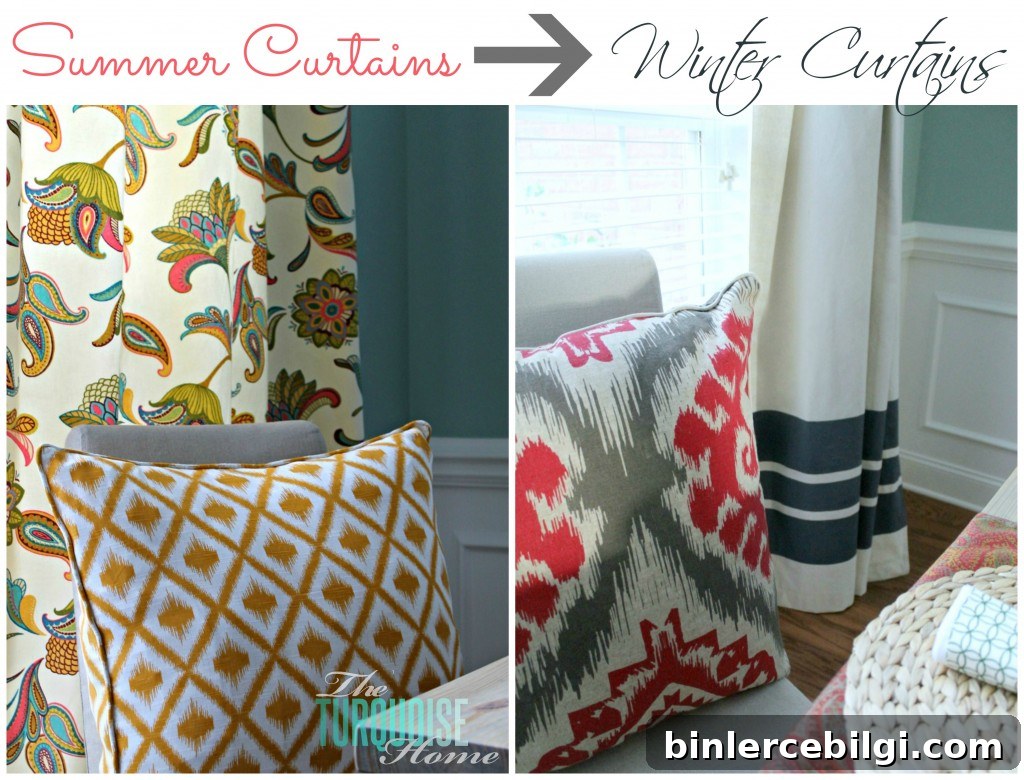
A few weeks ago I decided to replace the floral curtains in my dining room with something more neutral and versatile. While I love the floral set for summer, it didn’t suit the room’s seasonal styling and felt too bright for my winter decor. Instead of buying expensive ready-made panels, I made no-sew drop cloth curtains that are affordable, customizable, and surprisingly elegant.
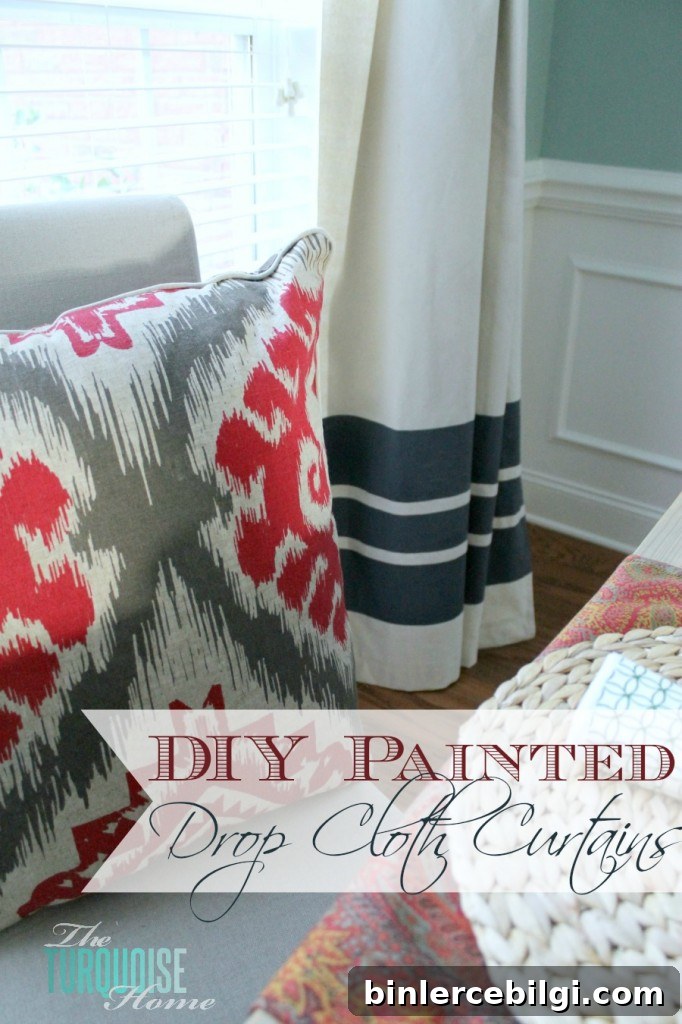
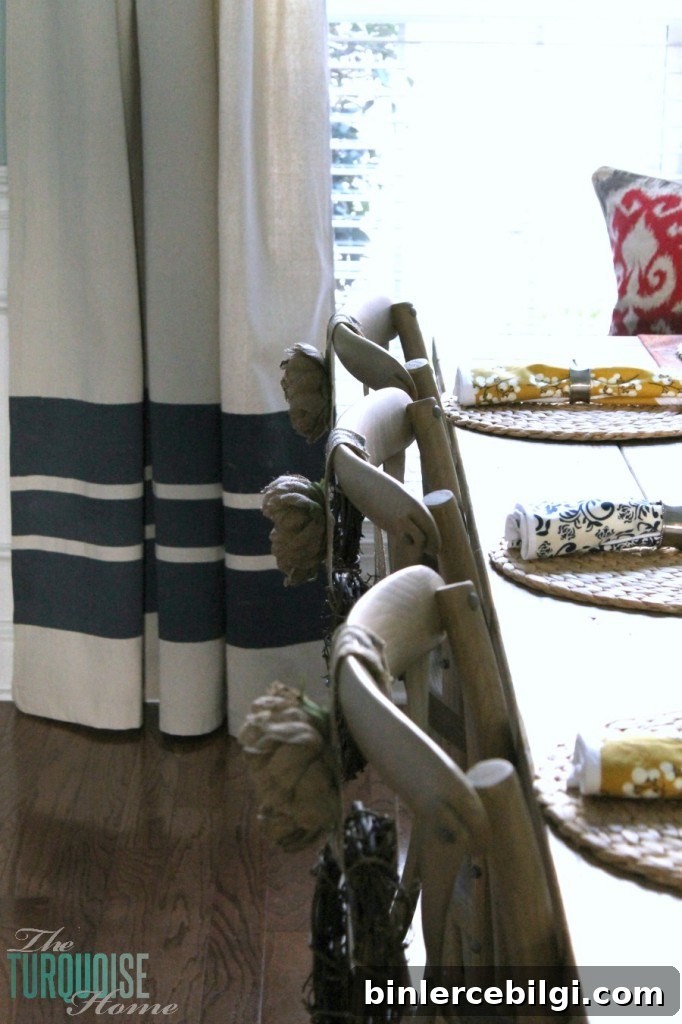
Drop cloths are an excellent base for DIY curtains: they’re inexpensive, sturdy, and come pre-hemmed on all sides, which makes them ideal for a no-sew approach. I bought two standard drop cloths from my local hardware store for about $10 each—an easy way to create two curtain panels for around $20. To add interest and tie the panels into the room, I painted navy stripes using leftover paint in the shade Hale Navy from another project.
Why use drop cloth curtains? They’re durable, give a relaxed farmhouse or modern-rustic feel, and can be customized with paint, trim, or dye. Plus, they soften with washing and drying, giving them a more linen-like texture. If you prefer not to sew, hem tape is a great no-sew solution for finishing any raw edges.
Supplies:
2 drop cloths (available in the paint section of hardware stores)
Hem tape (or a sewing machine if you prefer stitched hems)
Cardstock or a simple spacer to measure stripe spacing
Small paint roller or foam roller brush
Painter’s tape
Paint in your chosen color
Cardboard to protect the floor
I began by washing and drying the drop cloths to soften the fabric and remove factory coatings. After ironing them flat, I trimmed the excess length and hemmed the bottom edge. If you don’t sew, hem tape works well—just follow the product directions and press with a hot iron. Drop cloths are usually already hemmed on the sides, so the only hemming needed is the bottom if you cut away extra length.
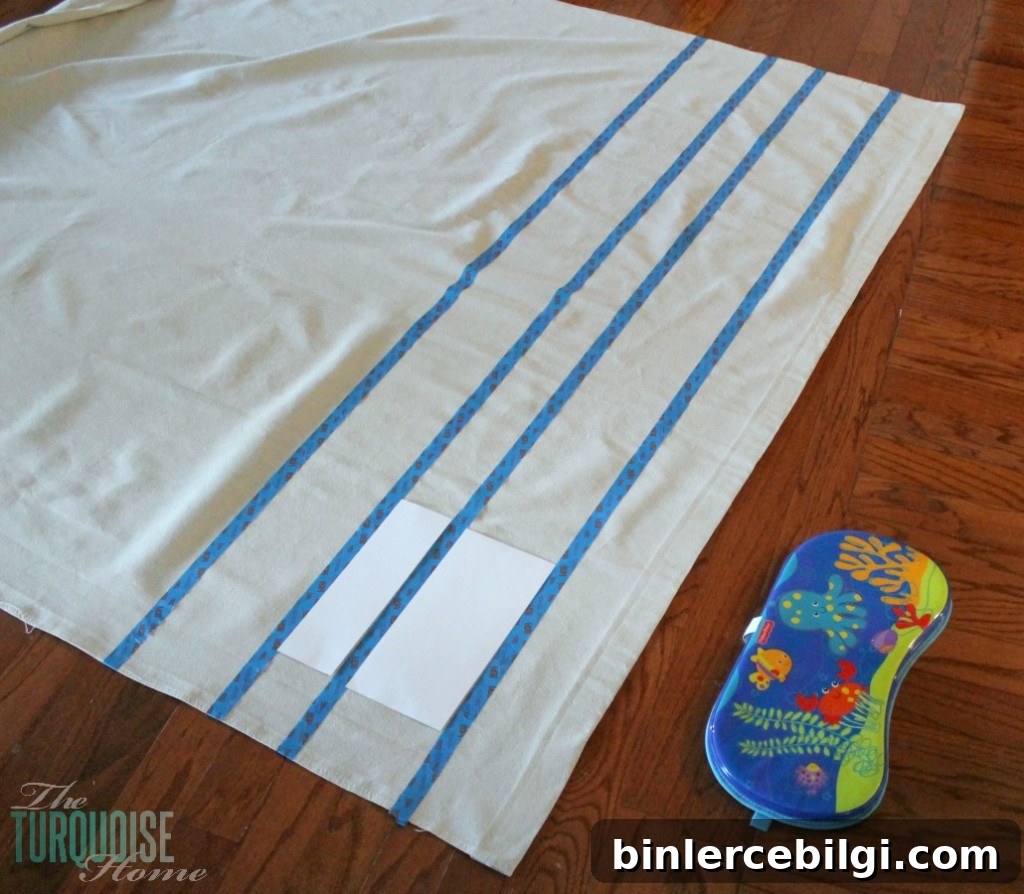
Painting stripes is straightforward but takes a little planning to get straight, even lines. I initially tried aligning the stripes by measuring from the top, but that proved unreliable because the tops of panels can sit at different heights on the rod. I found better results by measuring up from the bottom of each panel, which is more consistent and helps the stripes align across both curtains.
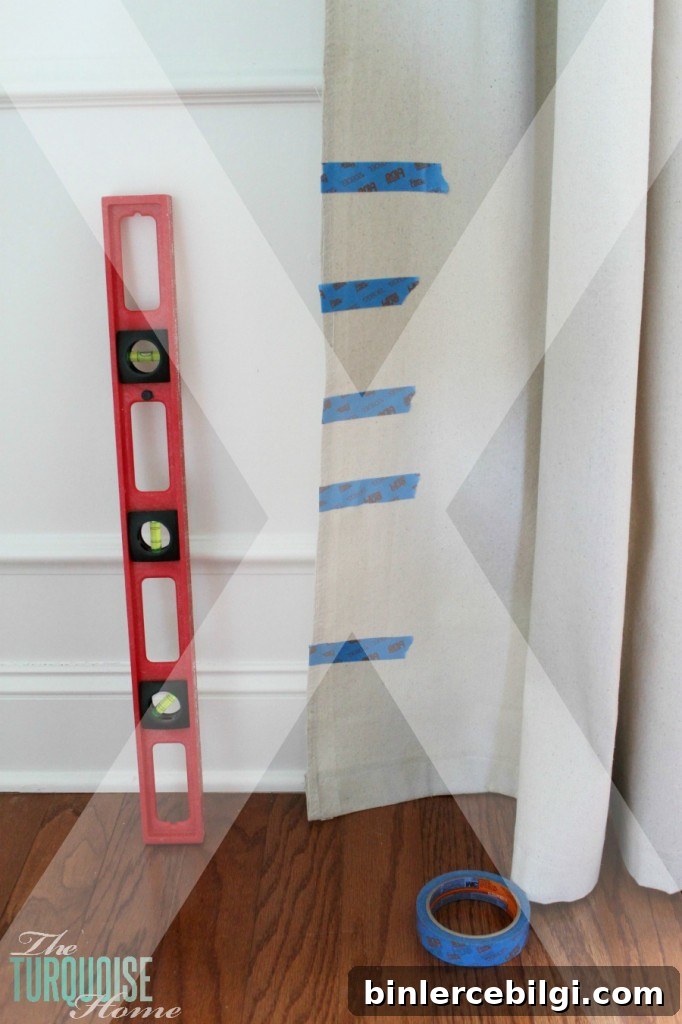
To keep the spacing even, I cut a simple spacer from cardstock and used it to shift the painter’s tape down the panel as I went. This made it easy to keep parallel lines without complicated measuring. For comfort, use a kneeling pad or small cushion when taping and painting on the floor—painting large panels on the floor can be hard on your knees.
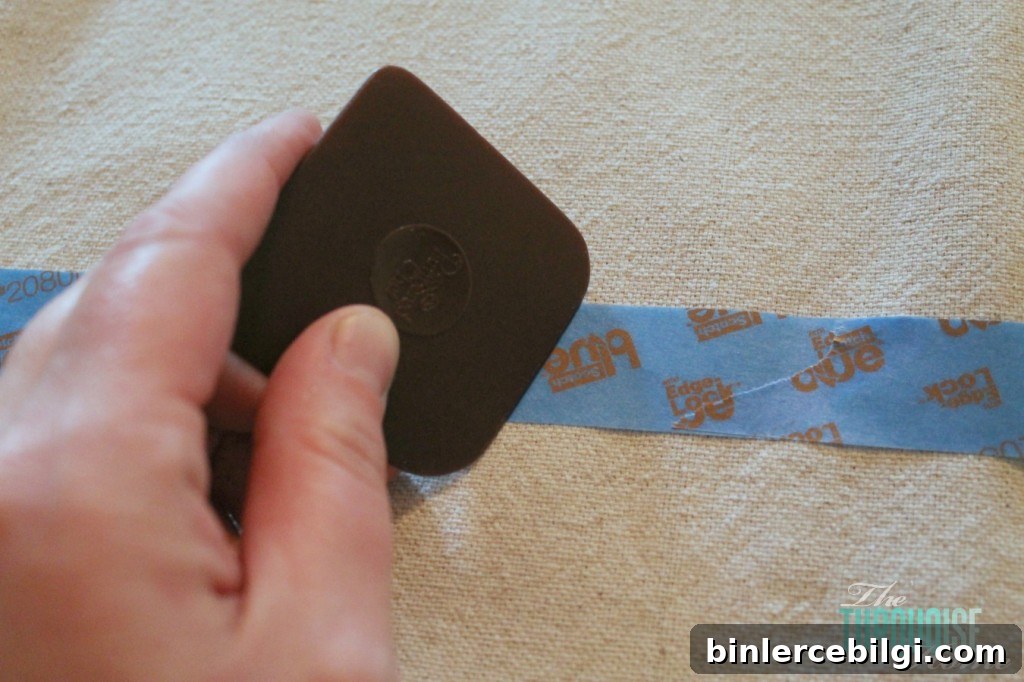
A key tip for crisp paint lines is to press the tape down firmly before painting. I used a small dish scraper tool to seal the tape edge, but a credit card or any flat, rigid plastic works well. When rolling paint, always roll away from the tape edge so you don’t force paint underneath. Place cardboard or kraft paper beneath the panels to protect your floor from paint bleed-through.
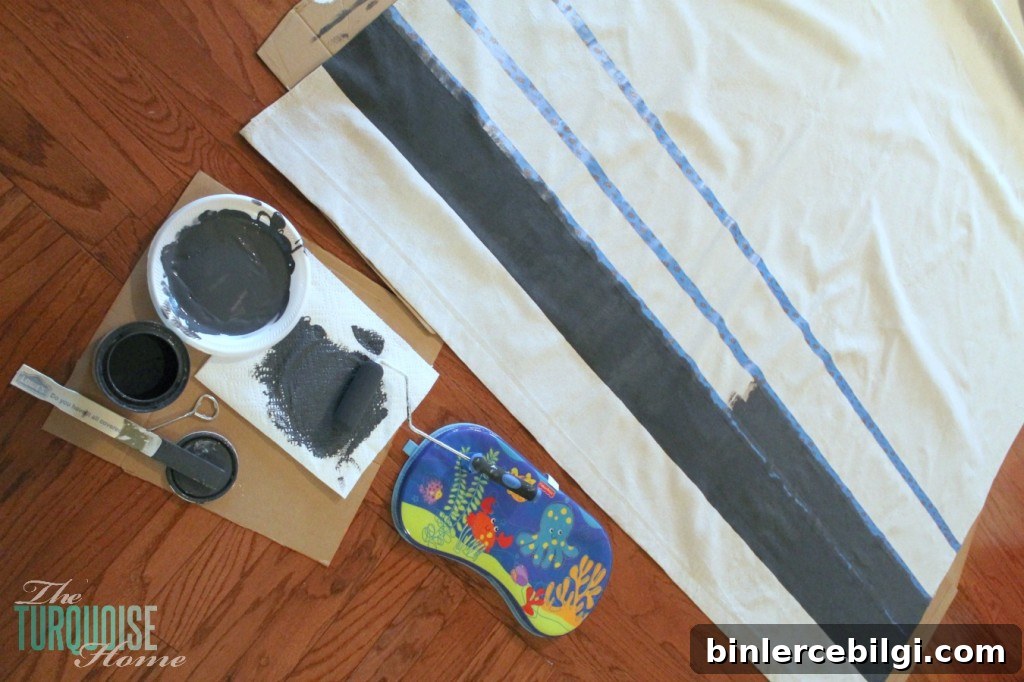
I chose fairly wide stripes for a bold, modern look, using the width of the painter’s tape to create the gap between painted bands. If you prefer a subtler or more refined look, you can make narrower stripes or increase the spacing. Two coats of paint may be necessary for full coverage, depending on the color contrast between your paint and the drop cloth’s natural color.
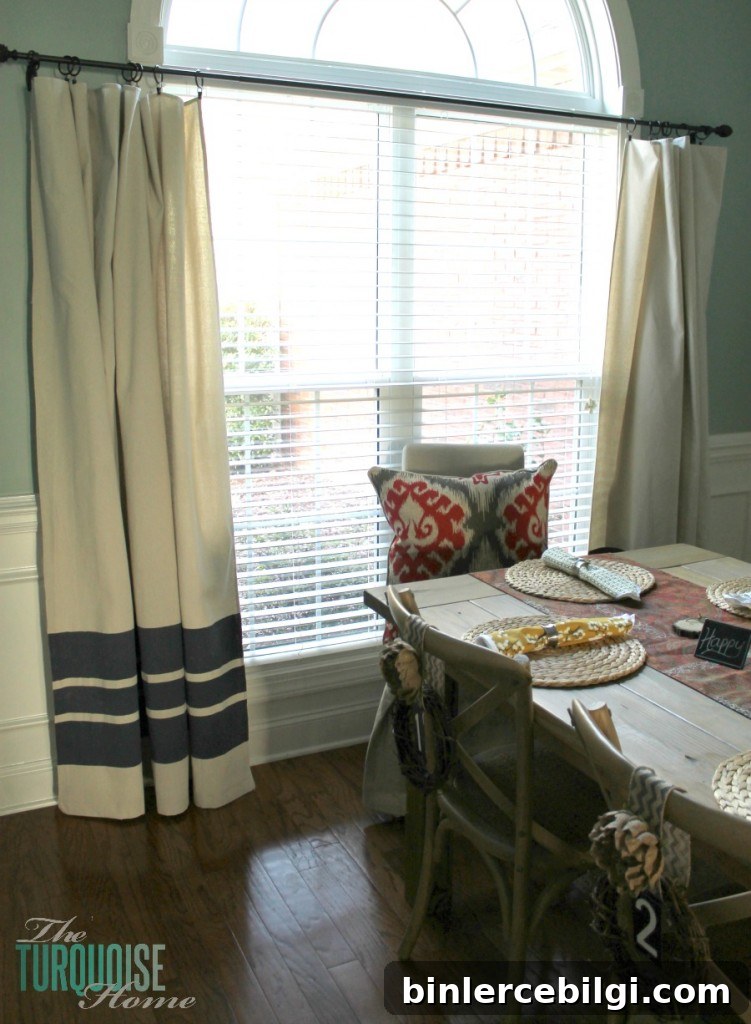
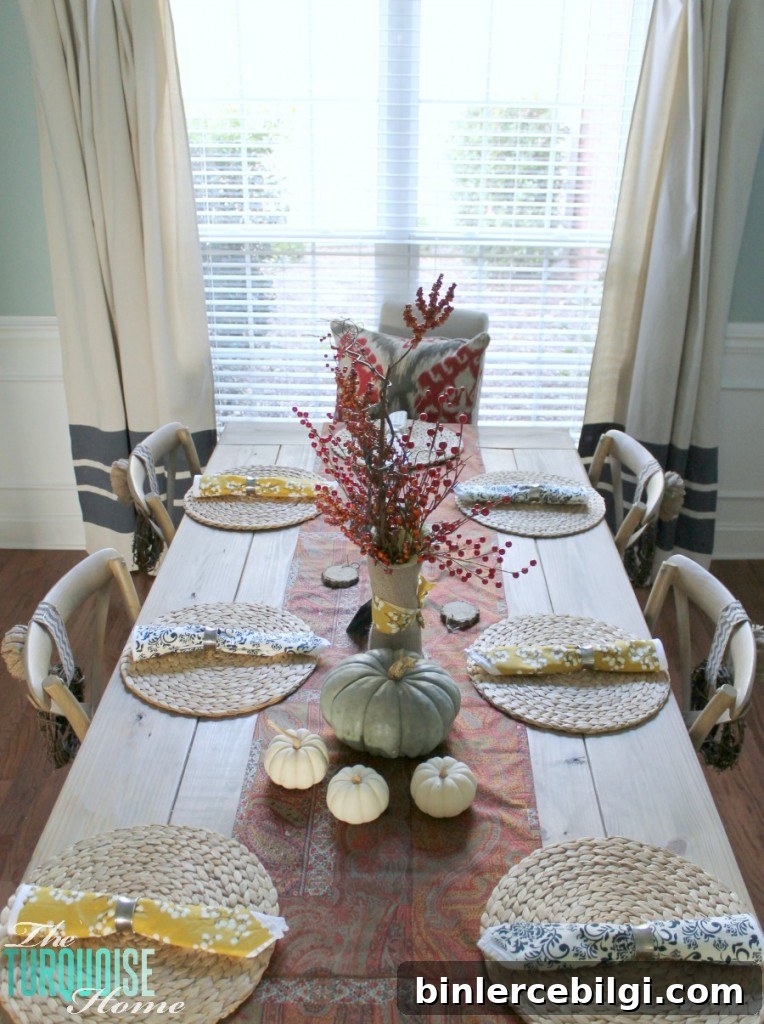
When everything was dry, I removed the tape carefully to reveal crisp, straight stripes. The finished panels look tailored but still relaxed—perfect as a backdrop for seasonal decor, or to anchor a room with a simple pattern. This whole project cost about $25 total when you include the drop cloths, tape, and a roller; I used leftover paint, so your costs may vary if you need to buy paint.
Care tips: wash your drop cloth curtains on a gentle cycle and tumble dry low or air dry to preserve the paint. If any stiffness remains after washing, ironing on a low heat setting will help relax the fabric. Because these curtains are custom painted, avoid harsh scrubbing over painted areas.
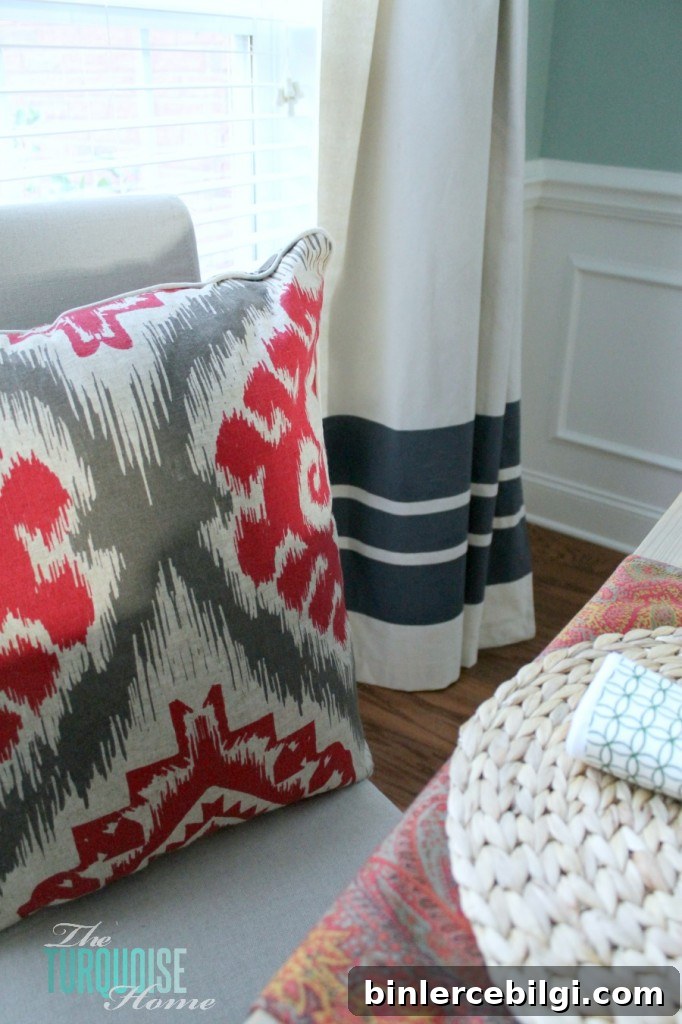
I’m pleased with how these panels turned out. They provide a neutral, textured backdrop that complements seasonal decor and makes the room feel cohesive. When the seasons change, I can easily swap back the floral curtains I love, but for now the navy stripes work beautifully with my winter styling.
Have you tried a project with drop cloths? They’re incredibly versatile—use them for curtains, slipcovers, tablecloths, or painted decor—and they’re a smart, affordable choice for many DIY home projects.