
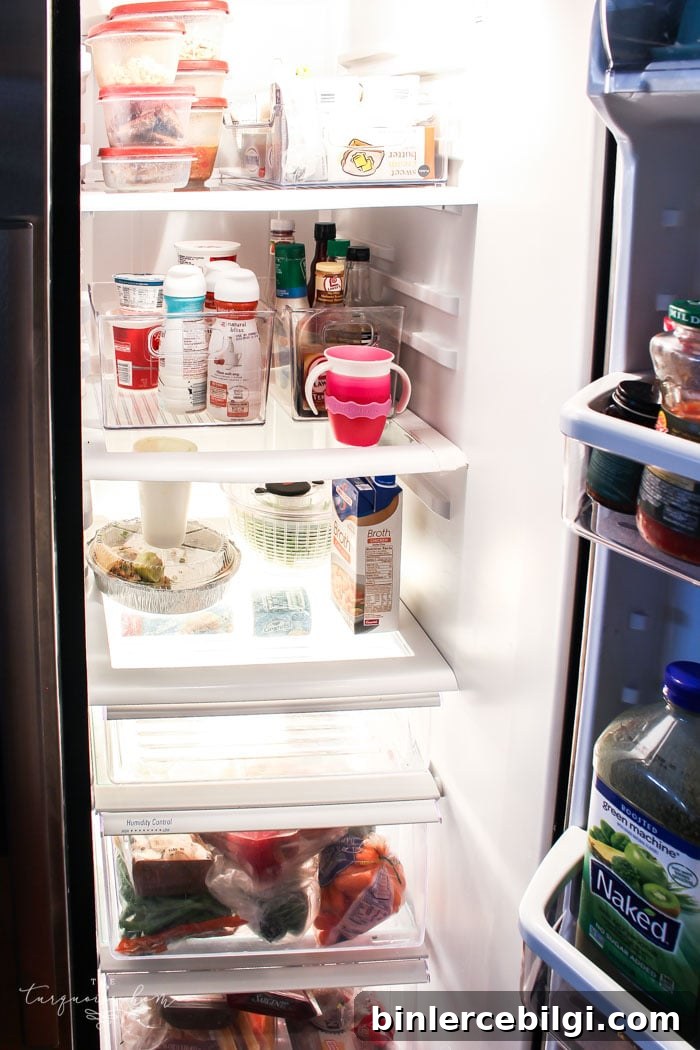
Welcome to Day 17 of the 30 Days to Less of a Hot Mess Challenge! Today we’re focused on refrigerator organization—decluttering, cleaning, and arranging your fridge so it’s functional and calm. If you’re new to the challenge, you may want to start here at the beginning. Affiliate links used for your convenience.
Today’s task is straightforward: organize your refrigerator. For years I simply put things where they fit and hoped for the best. But investing an hour or two to clean and reorganize makes a huge difference—less food gets lost, fewer forgotten leftovers, and it’s easier for everyone in the household to find what they need.
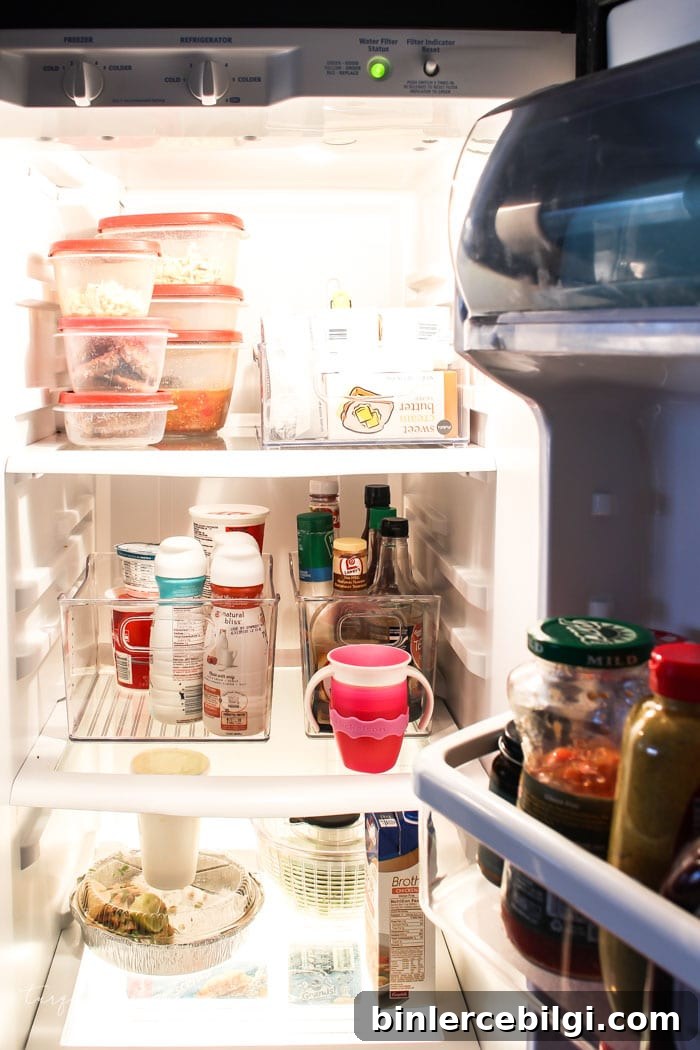
I have a side-by-side fridge/freezer and it works well for my family. No matter what type of refrigerator you have—top freezer, bottom freezer, or French door—the same organizing principles apply. The goal is to eliminate clutter, group like items together, and create accessible zones so you stop digging for things or buying duplicates.
Steps to Cleaning and Organizing Your Refrigerator
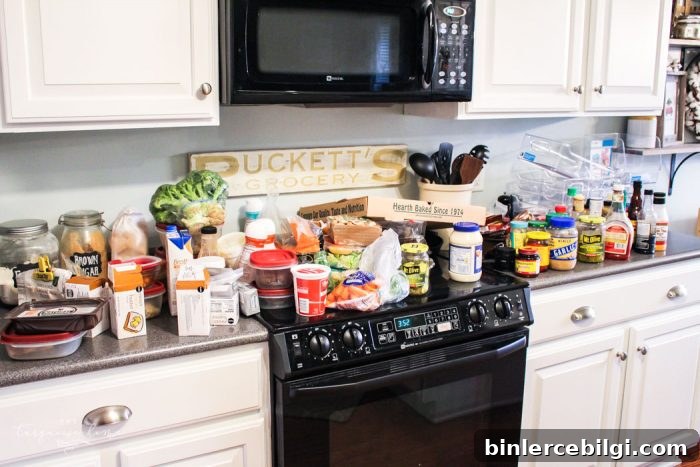
1. Remove everything from the fridge
Start by emptying your fridge completely. Taking everything out lets you see expired items, duplicates, and things you forgot about. This is the first and most important step for a successful fridge organization session.
2. Wipe down every surface
Clean the interior thoroughly. If you like, remove shelves and drawers for a deeper wash, or simply wipe everything down with a quality microfiber or envirocloth. I use Norwex Envirocloths because they cut cleaning time and leave the fridge fresh without harsh chemicals.
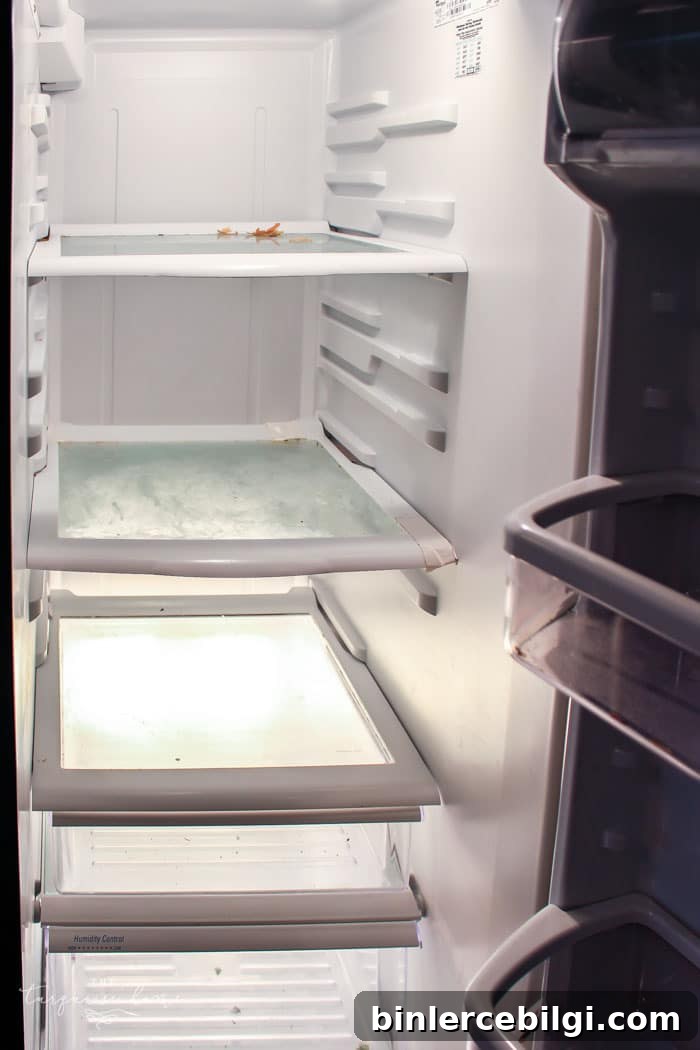
A good wipe down makes a surprisingly big difference—especially if spills have been building up.
3. Sort, consolidate, and discard
Group items by type as you take them out: condiments, dairy, drinks, produce, leftovers, baking items, and so on. Toss anything expired or that looks questionable. You’ll often find duplicates—multiple jars of the same sauce or three open dressings—so consolidate where possible.
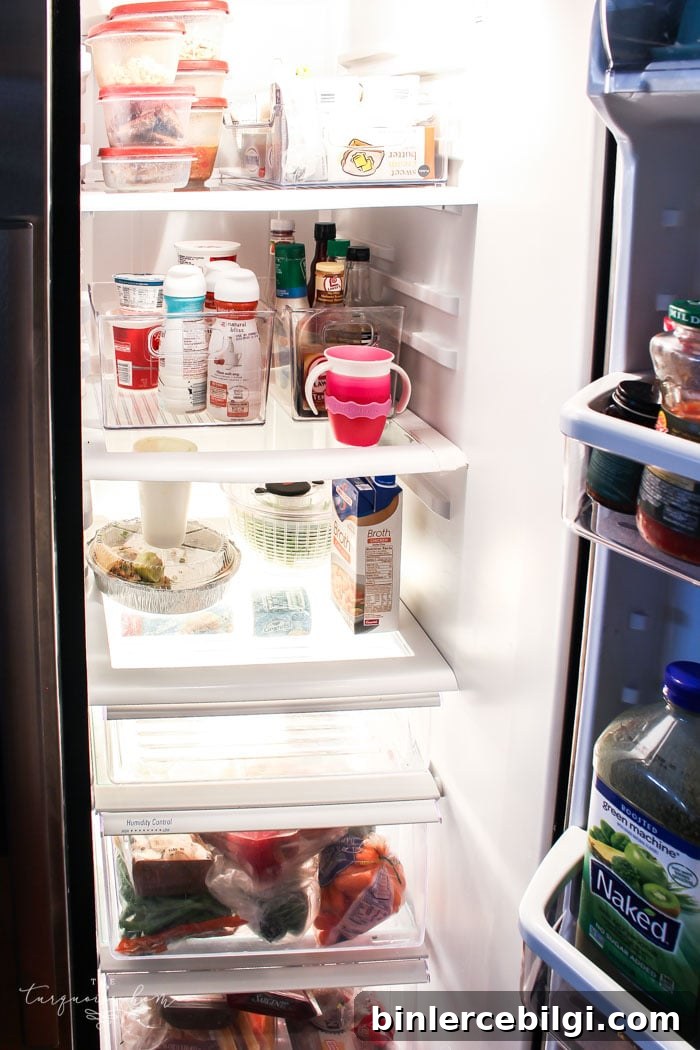
4. Put everything back with a system
Use clear bins or baskets to corral like items and keep things visible. I picked up clear bins and labeled or grouped items so the door and shelves aren’t a jumble. For example:
- Keep all drinks on the door so they’re easy to grab.
- Place dairy together—milk, creamers, yogurt, sour cream—in a single bin.
- Designate a bin for condiments and sauces so they don’t get scattered across shelves.
- Use drawers for produce and proteins—one drawer for fruit and veggies combined if that works for your family, and the other for bread, meats, and cheeses.
- Reserve top or front shelf space for leftovers so they’re visible and used quickly.
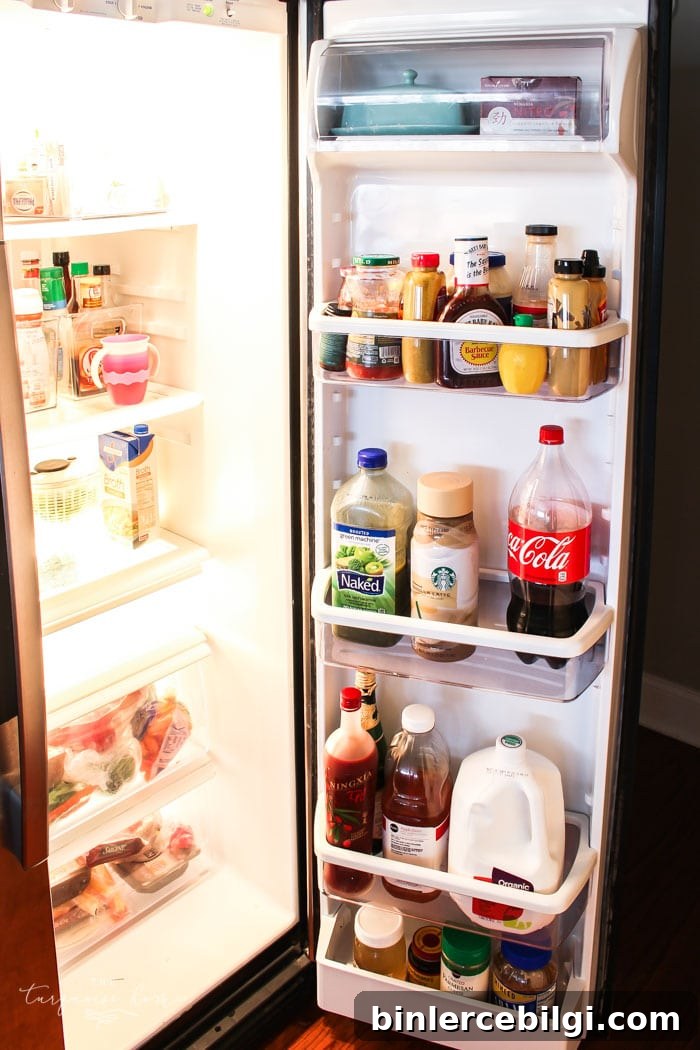
Small changes can free up a lot of space. I swapped a large lettuce keeper for a smaller salad spinner to reclaim shelf room while keeping produce fresh. Don’t be afraid to trade bulky containers for more compact versions when they make sense.
I also keep eggs and refrigerated doughs in a smaller middle drawer, while the two larger drawers below hold produce and refrigerated proteins. Arrange shelves so frequently used items are at eye level and easy for kids to reach—this encourages independence for simple snacks like string cheese.
Products I used for my fridge bins and organization include various clear fridge organizer bins and a salad spinner. Labels are a nice finishing touch—I plan to create vinyl labels for each bin to keep things tidy and easy to maintain.
RELATED: How to Organize a Pantry
The Messy Work: Tackle your fridge today—set aside an hour to empty, clean, sort, and re-shelve. You’ll save time grocery shopping, reduce waste, and make meal prep smoother. You can do this!
In the mess with you, Laura
More Posts You Will Love:
- How to Organize a Pantry
- Bedside Cord Organization Ideas
- How to Decorate Kitchen Counters {Decorating 101}
- How to Organize a Messy Garage
- How To Display Kitchen Cabinet Wreaths