
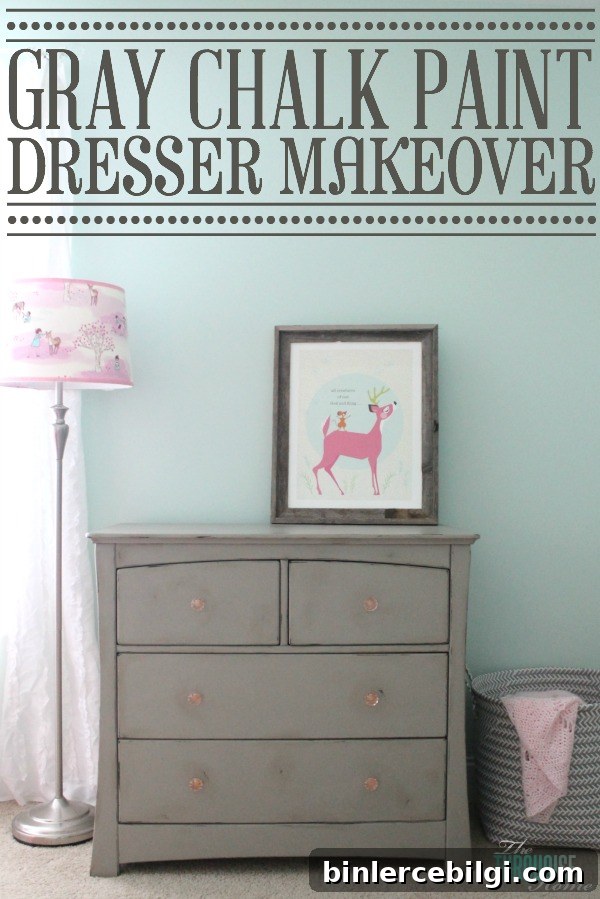
Learn how to transform a dresser with chalk paint for a fresh nursery makeover!
I finally finished another project for the baby’s nursery—a painted dresser—and I’m really pleased with how it turned out. It’s amazing how a single piece can change the feel of a room, and this makeover gave the nursery the soft, calming look I wanted.
Before the makeover, the changing pad was commandeering the dining room table and the baby’s clothes were scattered between three rooms. Now everything fits in the nursery, which makes daily life feel more organized. If you’re a DIYer, you know how projects can linger while life happens—especially with a newborn—but the payoff is worth it.
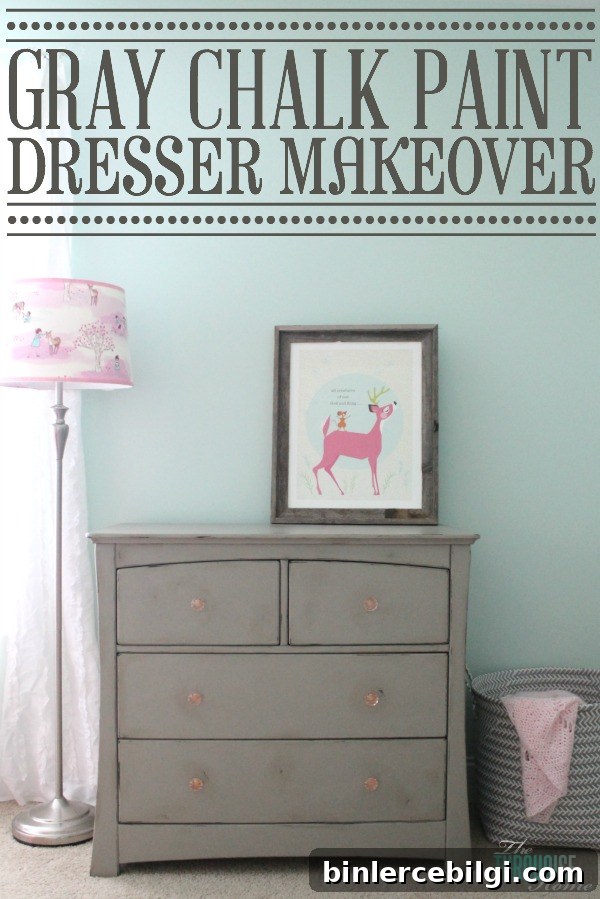
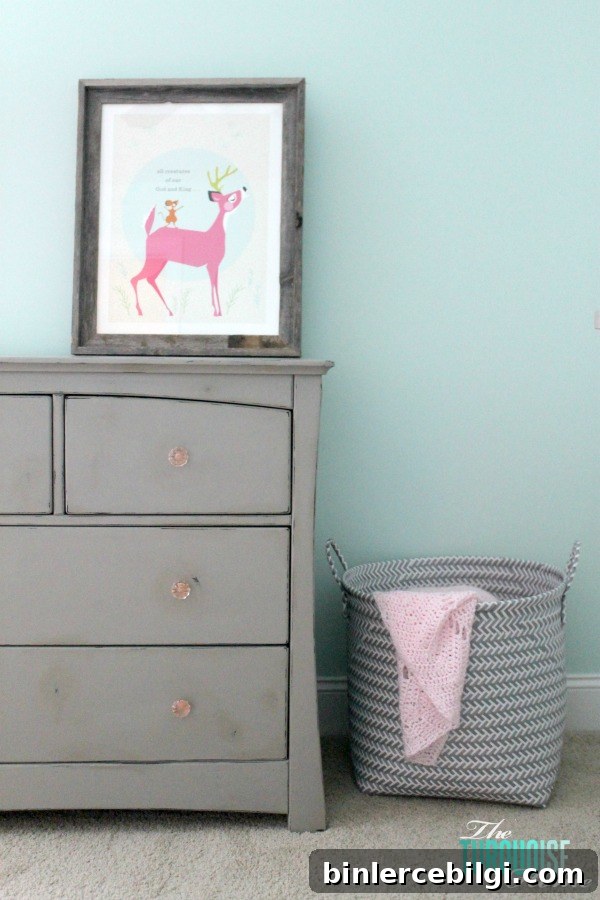
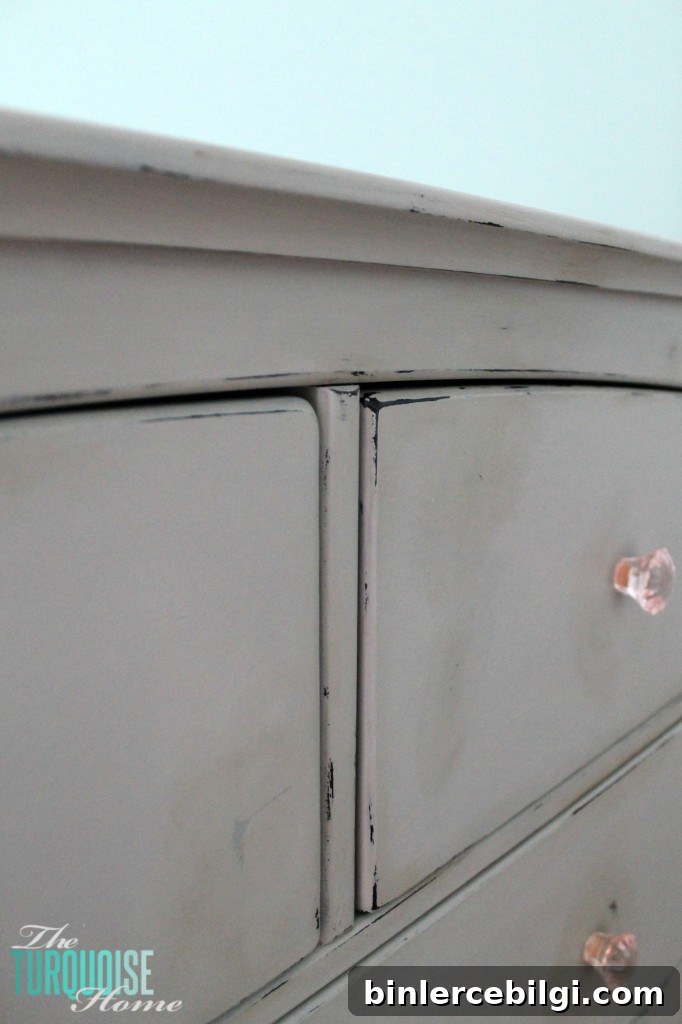
My approach was straightforward: two coats of Annie Sloan Chalk Paint, a light distressing on the edges and corners, then a layer of clear wax followed by dark wax to bring out depth and detail. The finish is a custom gray made by mixing six parts Paris Gray with one part Old White. The dark wax added subtle antiquing that photographs more strongly than it reads in person—I like that aged, soft contrast.
This wasn’t a difficult project, but it did take time. With a newborn and other responsibilities, the dresser ended up taking about three weeks from start to finish. If you’re planning a similar update, budget more time than you think—especially for drying time between coats and for waxing to fully cure.
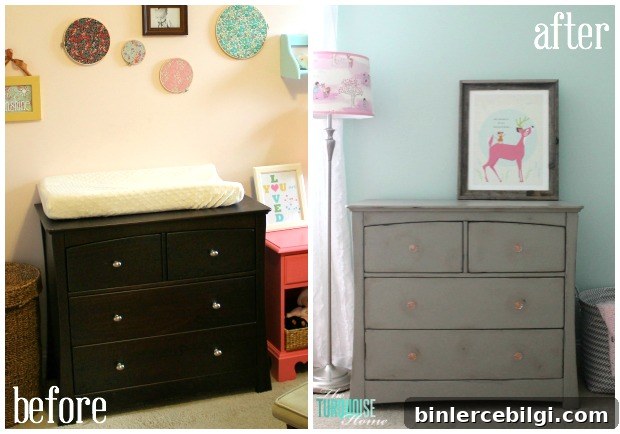
Here’s a before-and-after shot. The dresser was a well-made dark wood piece that I originally chose before settling on the nursery’s final style. For this room I wanted a lighter palette—soft gray contrasted against the wall color—so painting the dresser was an easy way to get the cohesive look I envisioned without replacing furniture.
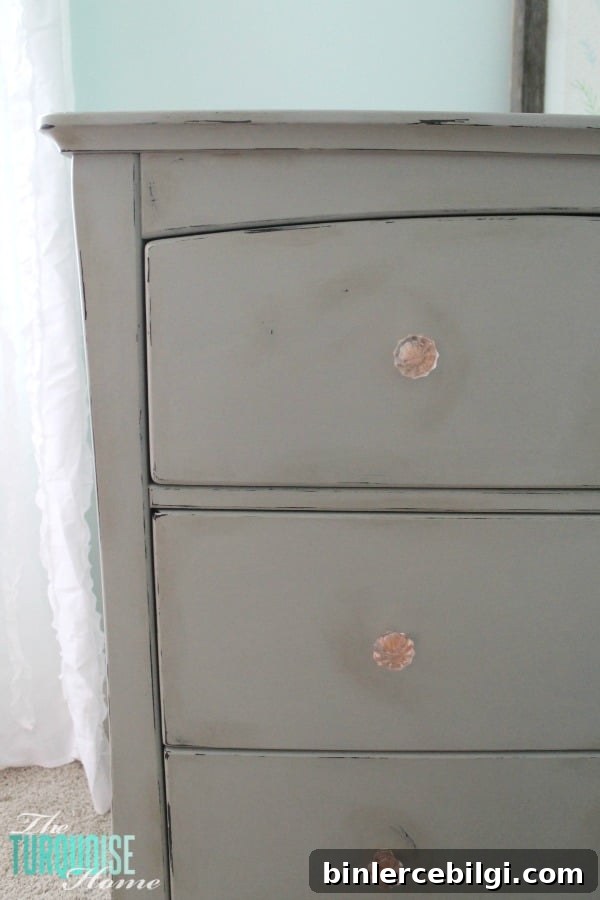
To complete the look, I swapped the original hardware for pretty crystal-like pink knobs I found at Hobby Lobby. They add a feminine, whimsical touch that fits the nursery’s vibe. I tried a different knob first, but returned it in favor of these because the color and sparkle were a better match for the room.
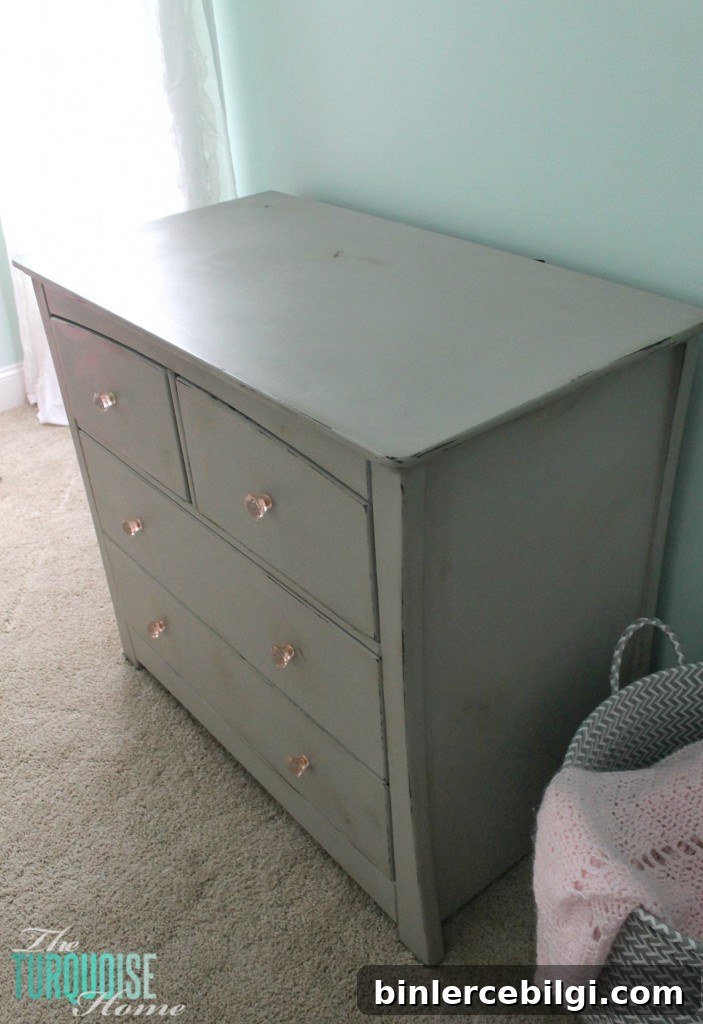
Practical note: the changing pad will stay on top of the dresser until the baby is potty trained, so the surface will get daily use for a few years. That’s why I focused on a durable wax finish rather than delicate decorative details on the top surface. When the changing pad eventually comes off, the dresser will be ready to style with nursery decor and keepsakes.
Next on my nursery list is faux taxidermy to hang above the dresser. I’ve already started hanging a few items on the wall and am down to the final details before the room reveal. Small finishing touches—like art placement, lighting, and soft textiles—really pull a room together.
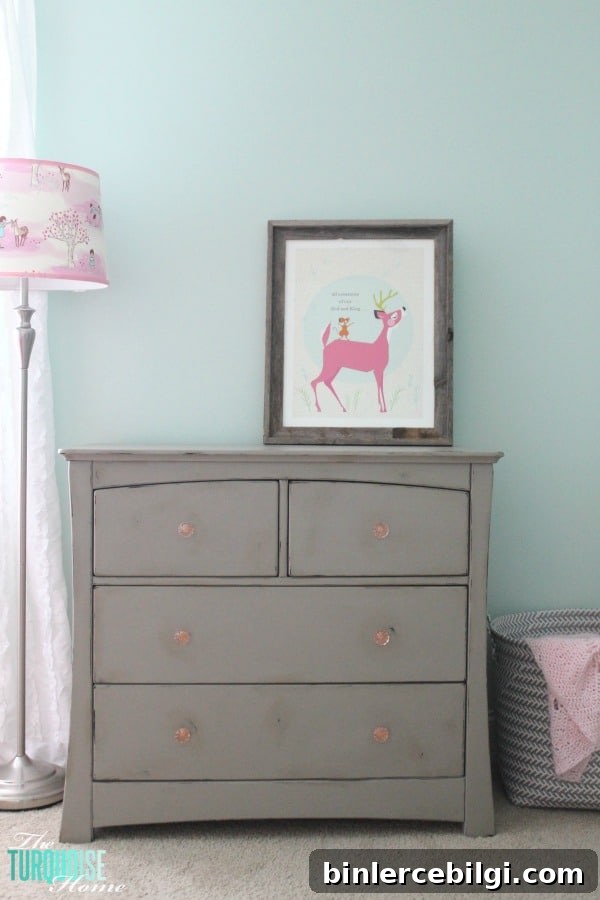
If you enjoy working with chalk paint, this project is a great example of how a simple paint and hardware change can refresh a piece and create a cohesive nursery look. Chalk paint is forgiving, easy to distress for a vintage feel, and works well with wax finishes to protect surfaces used daily in baby care.
More Posts You Will Love:
- DIY Bookshelf Ledges for the Nursery
- How to Use Annie Sloan Chalk Paint® {beginner tutorial}
- Beautiful Gray Crib Makeover with Annie Sloan Chalk Paint