
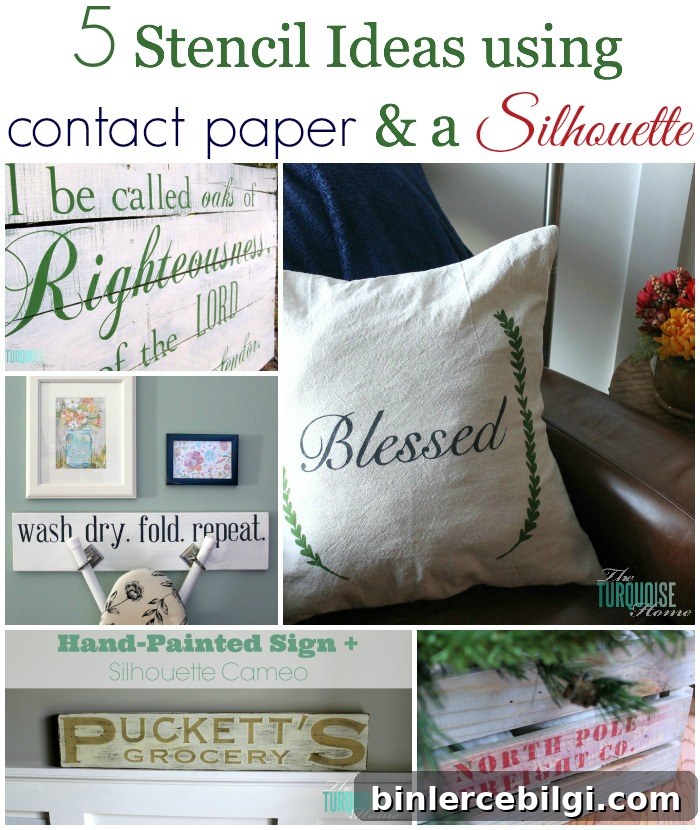
Discover five practical tips for creating clean, temporary stencils from contact paper using a Silhouette cutting machine. Shelf liner, also called adhesive contact paper, is inexpensive, widely available, and makes an excellent temporary stencil material for a variety of DIY projects.
I love crafting with my Silhouette Cameo because it makes precise cuts and speeds up stencil production. Contact paper is my go-to for most stencils: it’s affordable, sticky enough to hold in place during painting, and easy to remove when the job is done. Below you’ll find stencil project ideas, clear step-by-step tips for cutting contact paper on a Silhouette, and simple techniques to get crisp, professional-looking results.
5 Stencil Ideas with Contact Paper and a Silhouette
These five project ideas are great starting points for using contact paper stencils. With a Silhouette, you can scale designs, cut intricate shapes, and customize text or images to fit almost any surface.
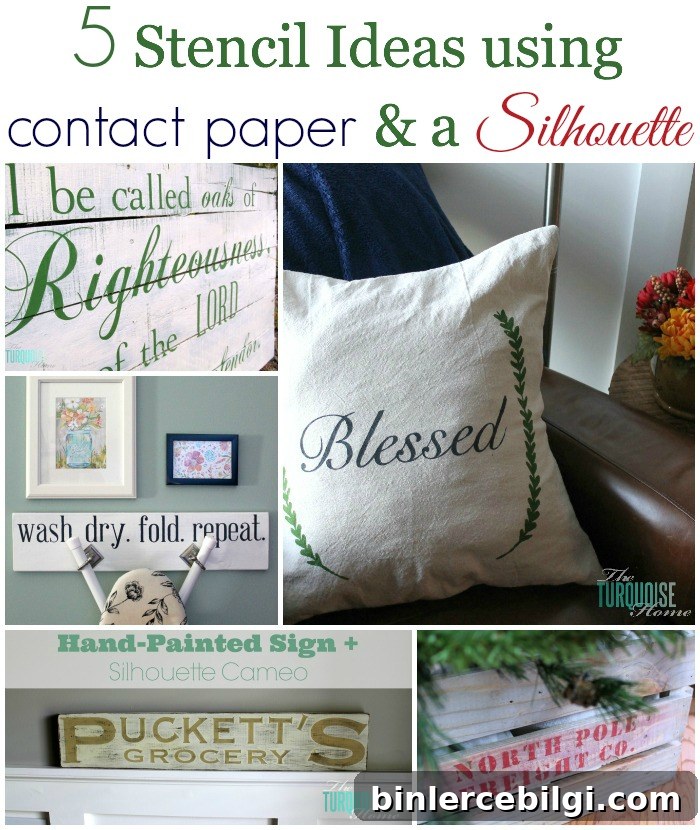
Pallet signs / Ironing board hanger / Stenciled pillow cover / Crate
I’ve used contact paper stencils to add graphics and lettering to pallet signs, fabric pillows, wooden crates, and home décor pieces like an ironing board hanger. The adhesive backing holds the stencil flat to the surface so paint doesn’t seep under the edges, and the material peels away cleanly afterward, leaving crisp lines. For very small or delicate details, transfer paper can help place designs precisely.
If you’re new to making stencils, try a simple project first—such as a small wooden sign—so you can refine settings and technique before moving on to fabric or larger surfaces. Use removable or craft paints appropriate for the surface you’re stenciling, and always test your technique on a scrap piece first.
5 Tips for using Adhesive Shelf Liner and a Silhouette
Here are five practical tips I’ve learned that will help you cut and use contact paper stencils more effectively with your Silhouette machine.
1. Adjust your settings for a clean cut. Use settings that cut through the top sticky layer while leaving the backing intact. That helps the stencil stay together until you’re ready to weed and apply it. In your Silhouette Studio software, make sure to de-select any option that indicates a cutting mat when you’re cutting roll or sheet contact paper directly.
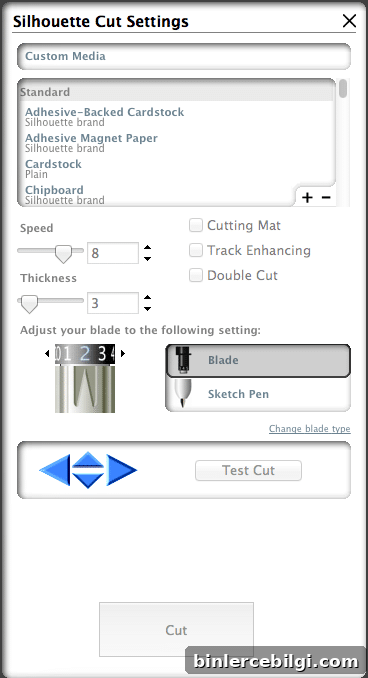
2. Skip the cutting mat when appropriate. Many adhesive shelf liners feed smoothly through the Cameo without a mat. Feeding the paper directly can reduce wrinkles and movement. If your material is thin or tends to shift, you can use a low-tack mat or secure the edges before cutting.
3. Keep the backing intact during placement. When you peel the backing from the contact paper, try to keep the stencil in one piece. Leaving the backing attached until you’re ready to apply helps you position and align the whole design, avoiding the need to space individual letters or shapes manually. For very intricate designs, transfer paper can make positioning easier.
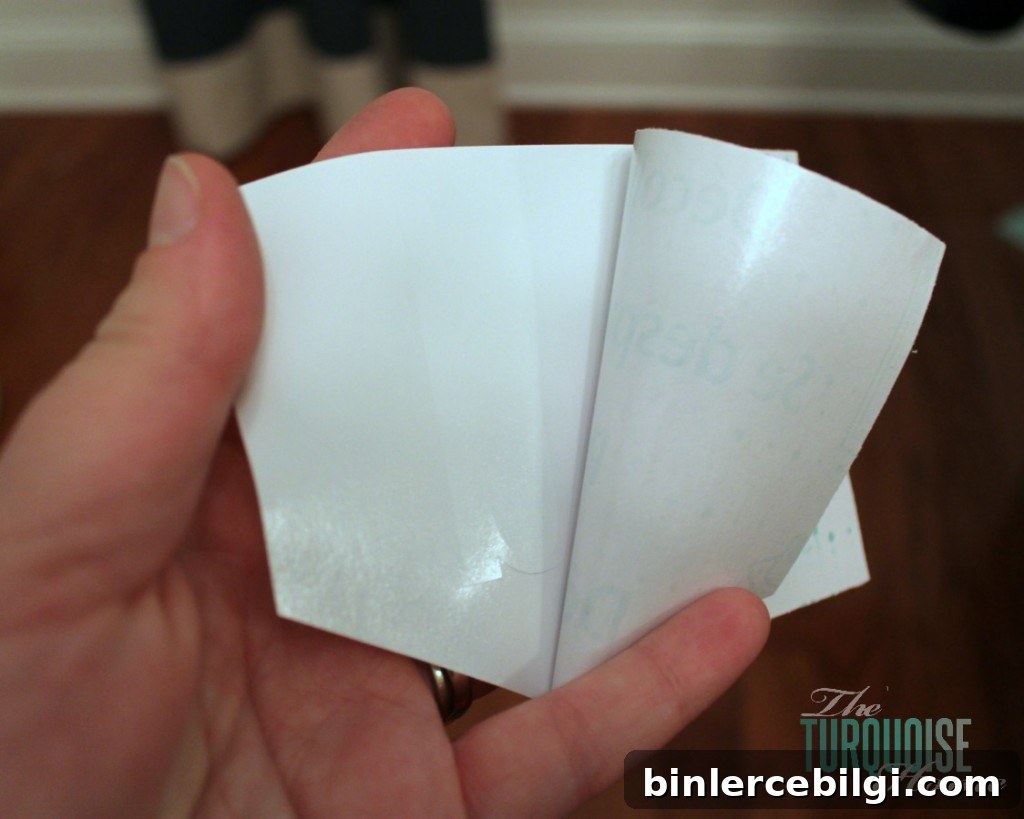
4. Weed carefully. “Weeding” means removing the excess material from around your design. Do this after the stencil has been cut and while the backing is still supporting the stencil, or after applying it to your surface. Use a weeding tool, tweezers, or a small hook designed for weeding to lift tiny pieces without stretching the stencil.
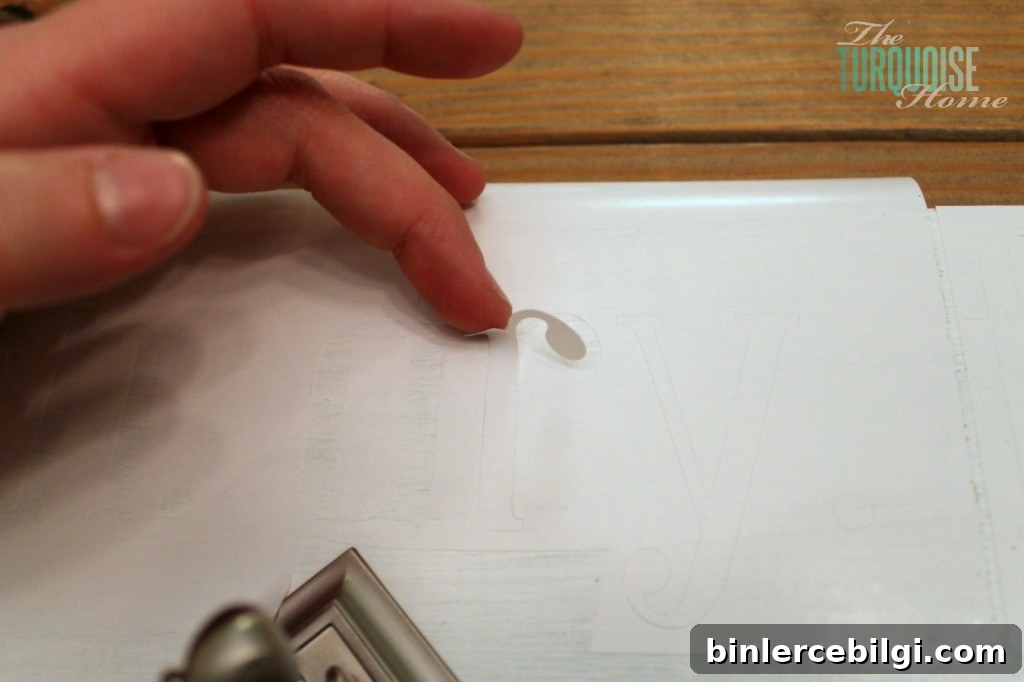
5. Seal edges with Mod Podge for crisper lines. Before painting, brush a thin layer of Mod Podge (or a clear-drying medium) along the stencil edges and over any areas where paint might seep under. The Mod Podge seals gaps and dries clear, acting as a barrier so only the paint applied afterward reaches the surface. This simple step helps produce the cleanest, sharpest stenciled edges possible.
Extra tips: use a stippling brush or a dry brush technique with minimal paint to avoid bleeding, and work in thin layers, building color gradually. When stenciling on fabric, pre-wash and iron the fabric, and use fabric paint or a fabric medium mixed with acrylic paint for permanent results.
I hope these tips help you confidently make and use contact paper stencils with your Silhouette. If you need to buy a Silhouette Cameo, this bundle is a great option for getting started with the tools and materials you’ll need.
More Posts You Will Love:
- DIY Stenciled Burlap Art + Free Silhouette Stencil Files
- Sunshine and Summertime: a DIY Stenciled Drop Cloth Throw Pillow
- Mason Jar Lid Pumpkin Craft
- How to Make a Felt Garland + Valentine’s Day Chalkboard