
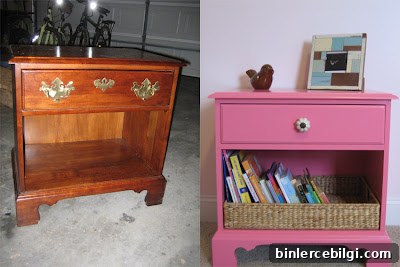
This hot pink nightstand makeover takes a simple, dated piece of furniture and transforms it into a bright, playful accent that instantly livens up a child’s room. The project is straightforward: remove hardware, sand, prime, paint, and restyle. Below I share the steps I followed, the products I used, and a few practical tips to help you get the same cheery result.
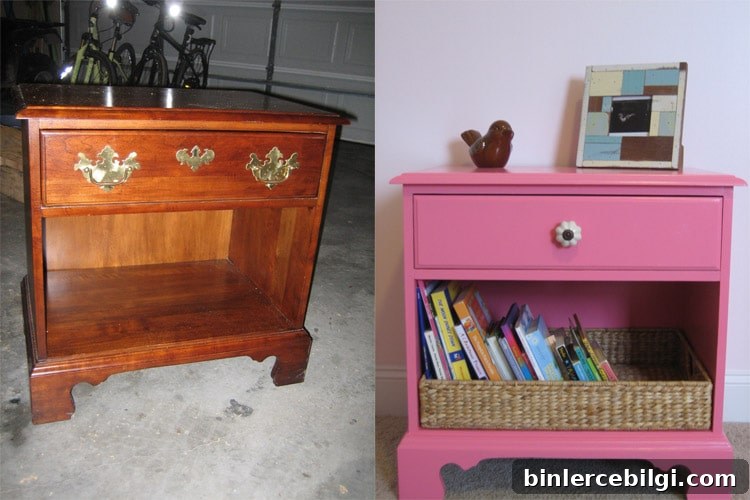
A few months ago my brother-in-law gave me some furniture: two nightstands and a desk. I had been searching for a nightstand or side table for A’s room, so this was the perfect opportunity to repurpose a secondhand piece and add a pop of color. The finished nightstand now serves as a functional bedside table and a colorful focal point.
I followed an online paint tutorial closely for technique and timing. The basic sequence—clean, strip or sand, prime, paint—worked well for this project. Below are photos and commentary documenting each stage of the process.
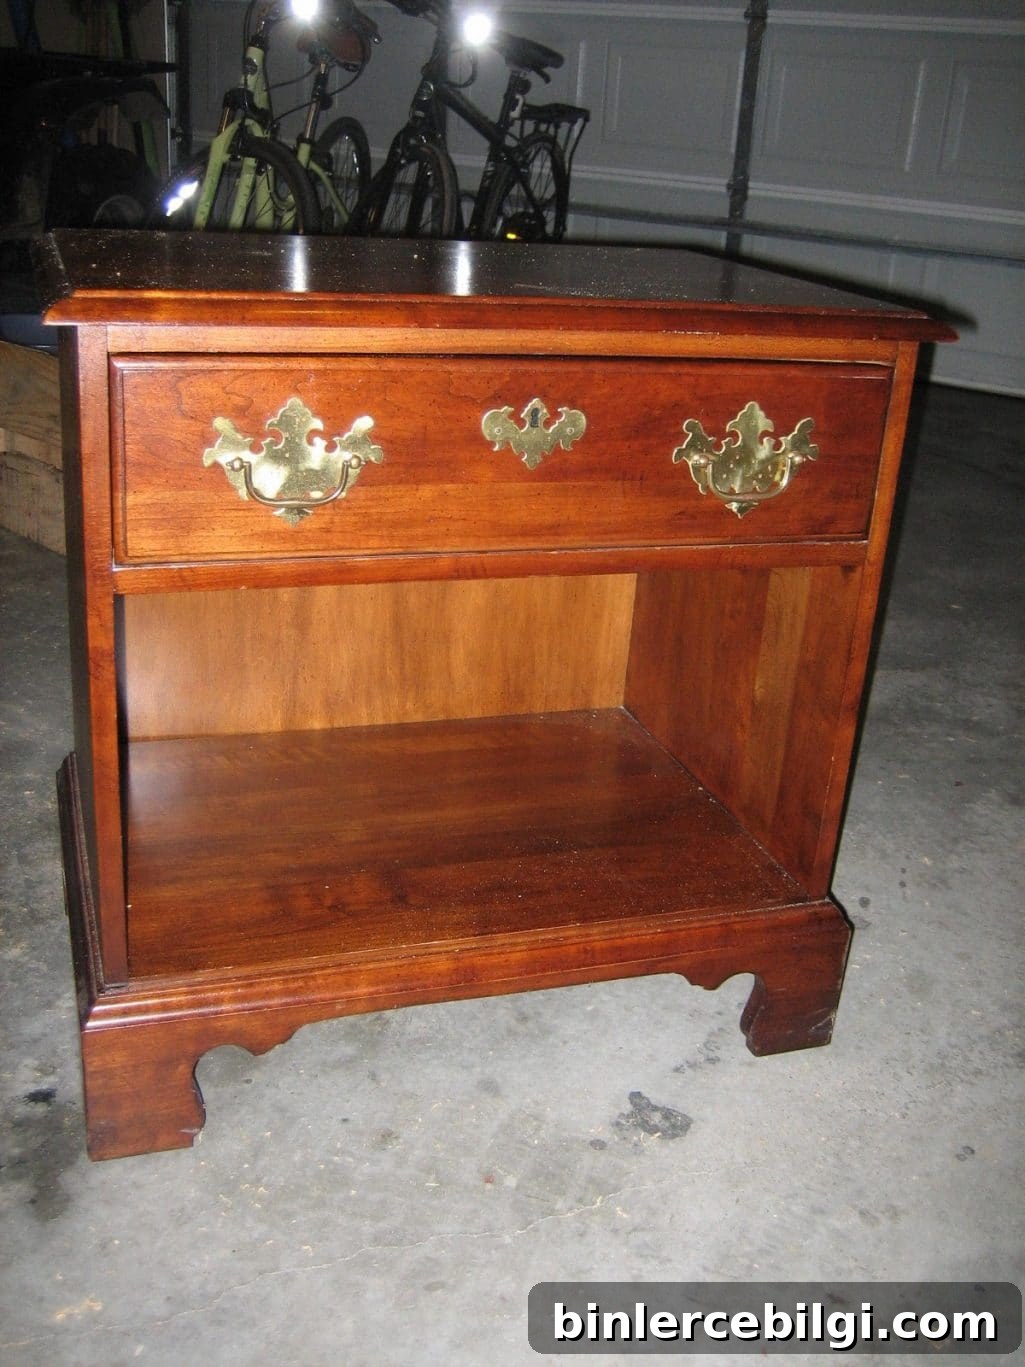
The original piece needed some attention but had good structure. Here’s what it looked like before I began.
The first step was simple: remove all the hardware. Taking off the knobs and pulls makes sanding and painting far easier and avoids messy masking later on.

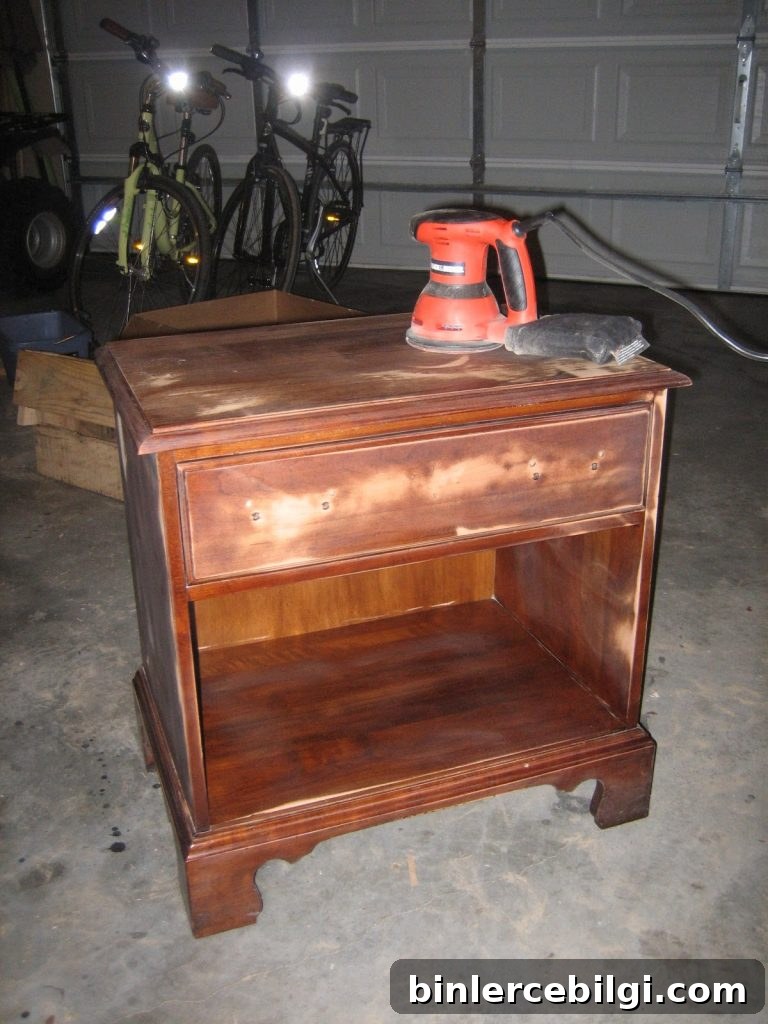
Next I sanded the surfaces to dull the original finish and provide tooth for the primer to adhere to. I used a new handheld sander—love how quickly it removes old finish—but be mindful of pressure and movement. As a beginner I learned that leaving the sander in one place too long can create circular marks; fortunately, those disappeared under primer and paint.
After sanding, I primed the piece. I applied two coats of primer to ensure even coverage and to block any previous stains or tannins from bleeding through the new paint.
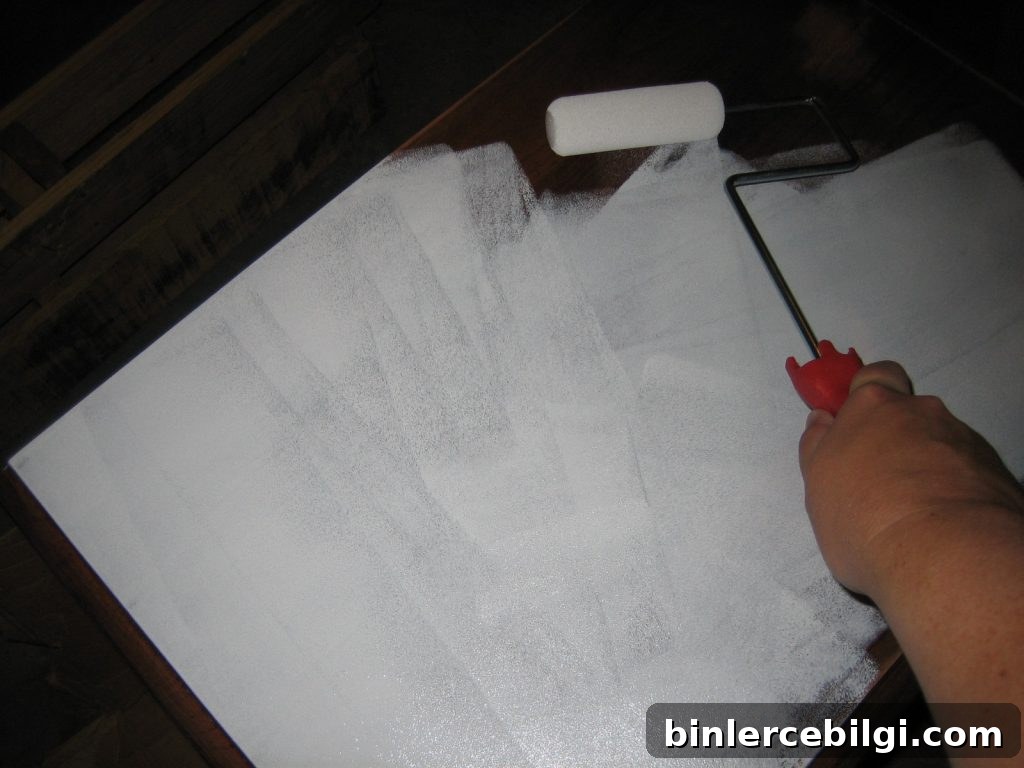
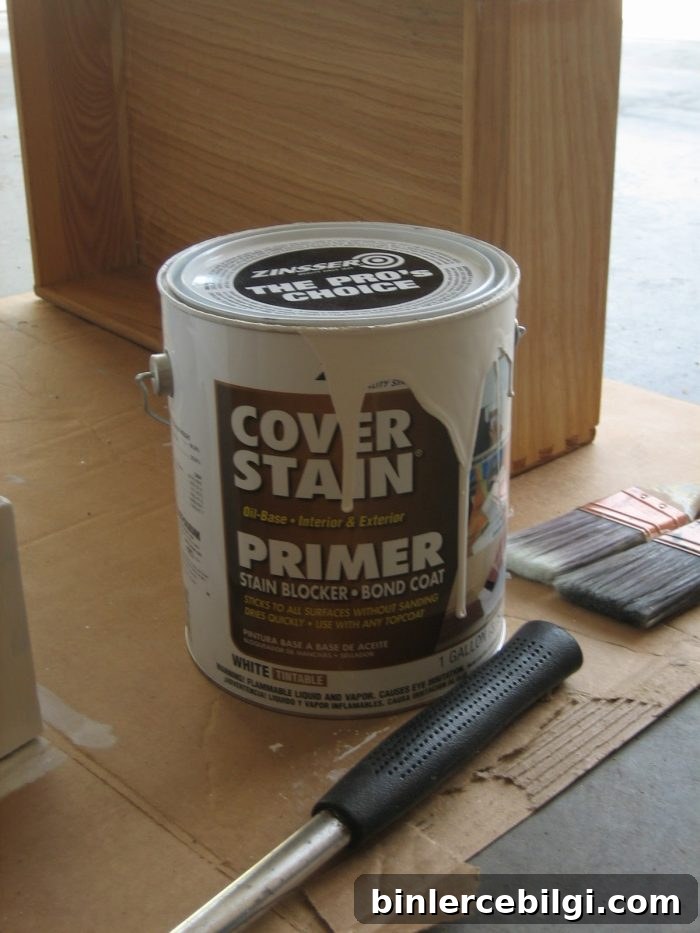
I used Zinsser Cover Stain Primer, which did an excellent job sealing the surface and creating a uniform base. This primer is a reliable choice for furniture makeovers when you need to cover darker finishes or repair marks.
With the primer dry, I filled holes in the drawer with wood filler and sanded the repairs smooth. Taking the time to correct imperfections at this stage makes the painted finish look much more professional.
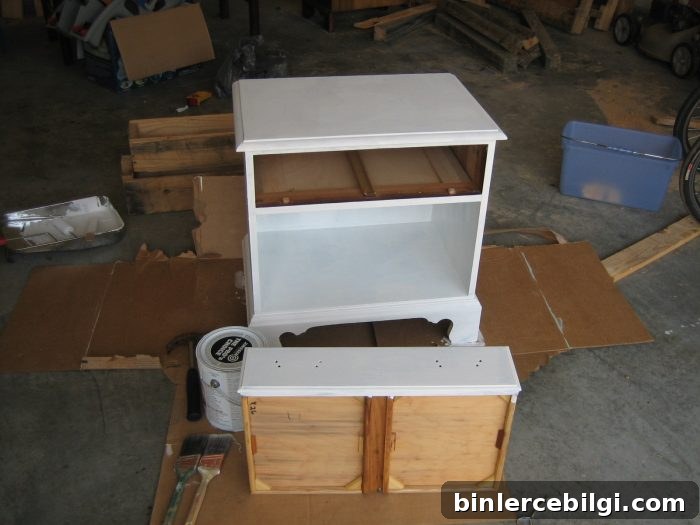
Then it was time to paint. I chose the color Grand Hotel Geranium Pink by Valspar (available at Lowe’s). I love both the name and the vivid, warm hue—perfect for a child’s room or any space that could use a cheerful accent.
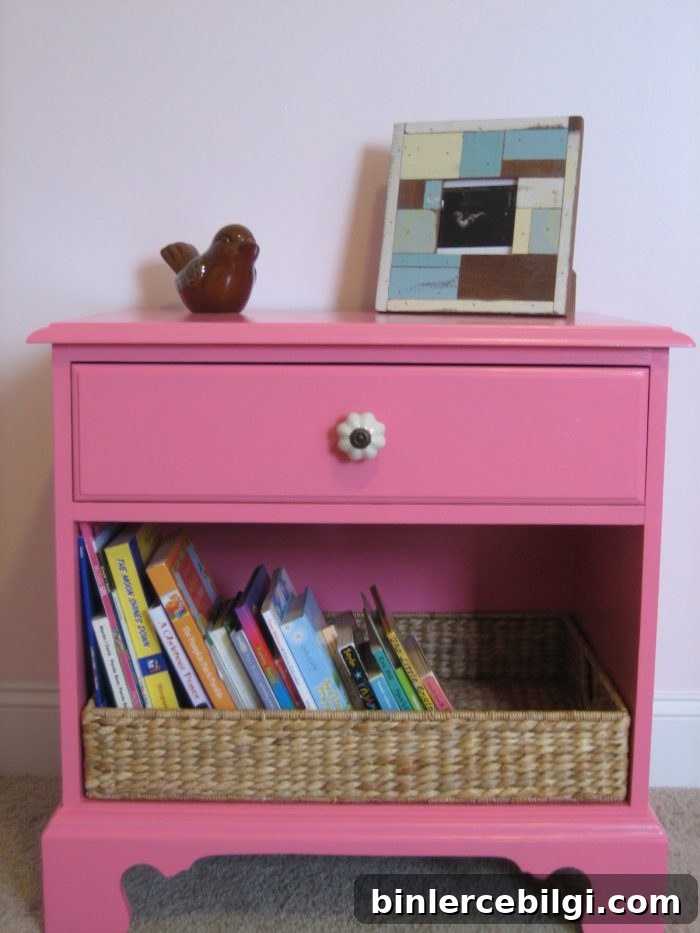
The final result made me really happy—the color reads bright but not garish, and the smooth finish gives the small piece a fresh, modern look. For hardware I selected a drawer pull from Hobby Lobby that complements the style without competing with the bold color.

I also repurposed an old basket as an inner drawer insert. This basket originally came from our kitchen before a renovation—previous owners had swapped drawers for baskets, and I’d saved one for a better use. It tucks neatly into the nightstand and helps keep books and small items organized.
Tips if you try this makeover: always clean the piece thoroughly before sanding, sand lightly between coats for the smoothest finish, allow adequate drying time for primer and paint, and consider a clear protective topcoat (polyurethane or furniture wax) if the nightstand will get heavy use. Small projects like this are an affordable way to refresh a room while giving a second life to pre-owned furniture.
Overall, this nightstand makeover was a fun, relatively quick project that turned a plain piece into a standout bedside table. The combination of careful prep, a reliable primer, and a joyful paint color produced a durable and charming result that fits perfectly in A’s room.