
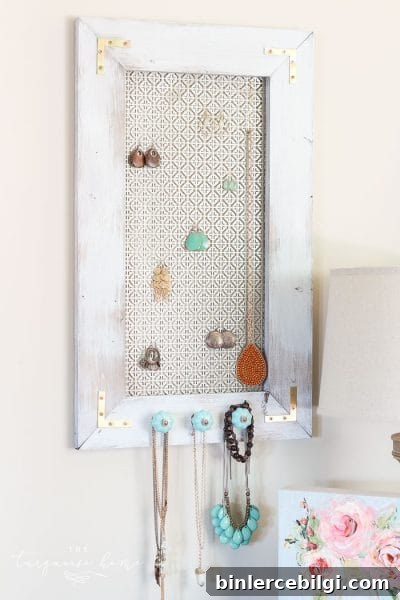
Do you ever finish a project that’s both useful and beautiful—made entirely from items picked up at the hardware store? Those are my favorites, and this DIY jewelry organizer is exactly that. It transforms basic supplies into a pretty, functional piece that’s perfect for displaying necklaces, bracelets and earrings.
This idea is so charming and simple to make. It also makes a thoughtful, handmade gift for a friend or for Mom. I took the inspiration I found and put my own spin on it—here’s what I changed and how it turned out.
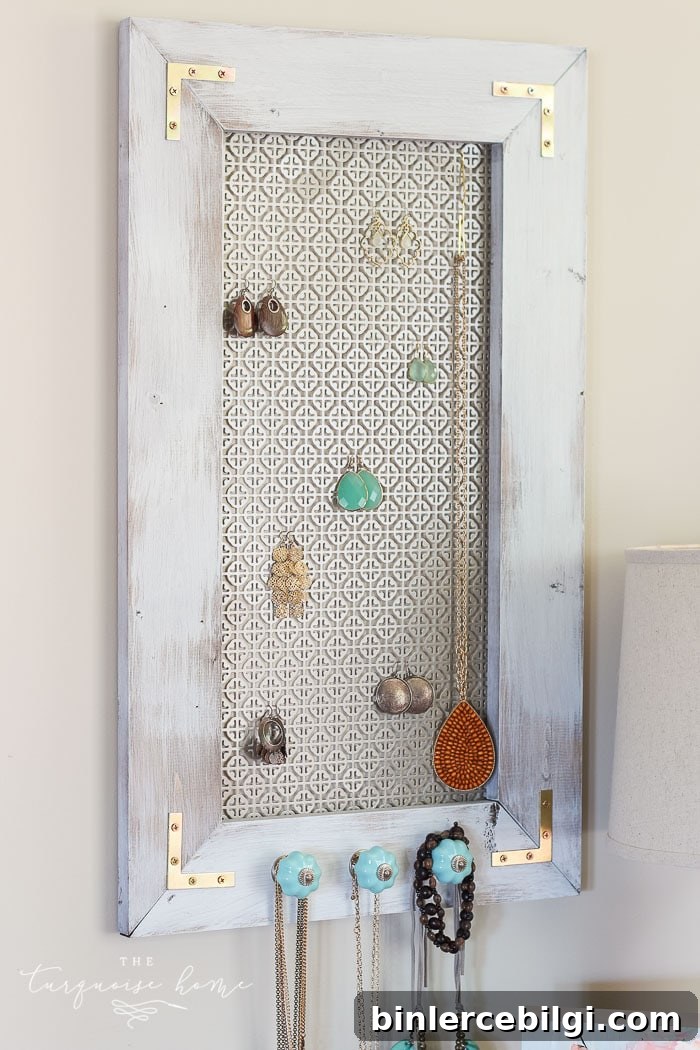
I chose turquoise knobs for hanging necklaces and altered the frame to have mitered corners for a cleaner, more tailored look. The original instructions suggested mounting the corner brackets on the back, but because I used mitered corners I decided to show the brackets on the front for a subtle industrial touch.
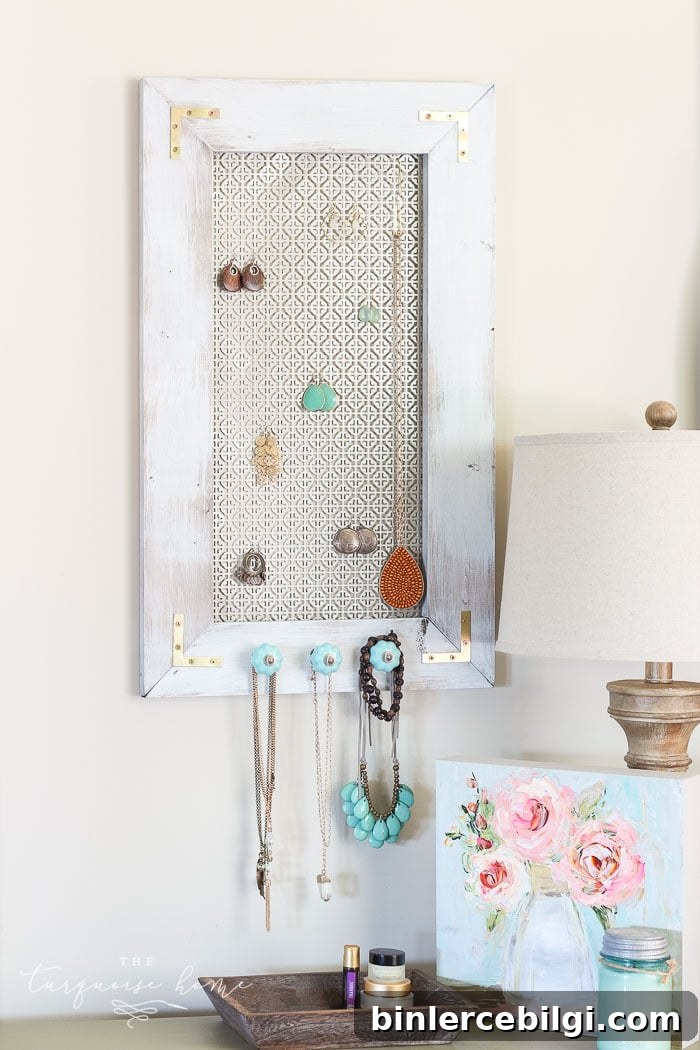
For the backing I swapped the Union Jack aluminum sheet from the original idea for a satin mosaic metal sheet that fits my style better. The frame got a rustic light-blue finish: I stained the wood first, then brushed a thin wash of paint over it and wiped some areas to let the stain show through. It creates a worn, vintage look that pairs nicely with the metal backing and bright knobs.
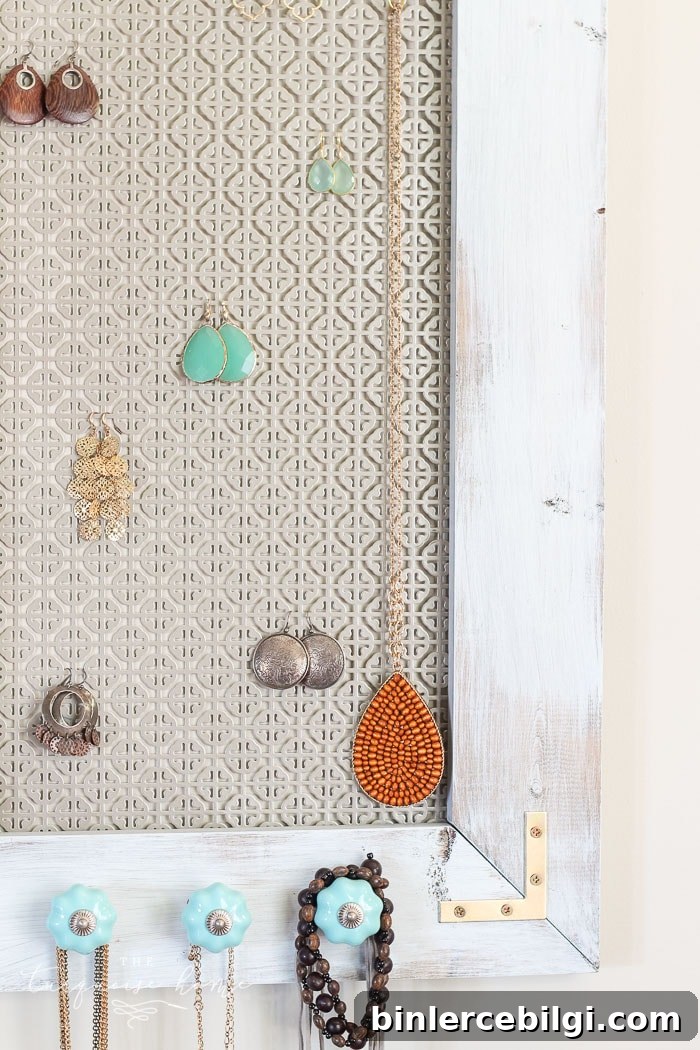
After assembling and finishing the frame, I attached the metal mosaic sheet to the back and installed the knobs at regular intervals so necklaces hang without tangling. I love how the finished piece looks—it’s functional, decorative, and made from materials anyone can find at a hardware store. I’m keeping mine, but they’re simple enough that I’ll be making a few more as gifts.
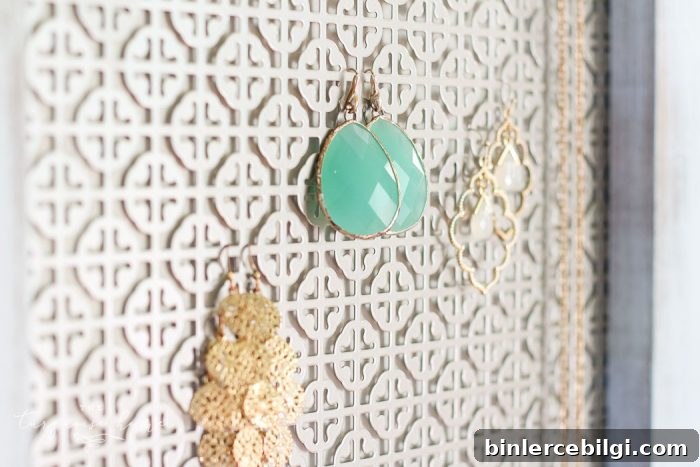
Tools and Materials Needed for a DIY Jewelry Organizer
- One 1″ x 4″ x 8′ common board (for the frame)
- Mosaic metal sheet (chosen as the backing)
- Miter saw (or a reliable saw for making clean 45° cuts for mitered corners)
- Wood glue and clamps
- Staple gun or small brad nails (for securing the backing)
- Wood stain (I used Early American) and rags for wiping
- Light paint wash for a rustic finish (optional)
- Turquoise knobs, hooks or decorative hardware for hanging jewelry
- Corner braces or decorative brackets (you can install these on the front or back)
- Large sawtooth hanger or other hanging hardware
- Hammer, screwdriver, measuring tape and pencil
- Drill with appropriate bits (for attaching knobs/hardware)
How to Build a DIY Jewelry Organizer
Below is a straightforward, practical process you can follow. Adjust measurements to match the size of the metal sheet or the space where you plan to hang the organizer.
Step 1: Measure and cut the frame pieces. Cut your 1×4 boards to match the outer dimensions of your mosaic metal sheet. If you want a visible inner reveal (a small lip around the metal), make the inside edge of the frame pieces about ½” to 1″ smaller than the outer edge of the metal sheet so the metal fits neatly behind or within the frame.
Step 2: Create mitered corners and assemble the frame. Cut 45° miters on the ends of the frame pieces for clean corners. Dry-fit all pieces, then apply wood glue to the joints and clamp until the glue sets. Reinforce the corners with flat corner braces or small finish nails if desired.
Step 3: Stain and finish the wood. Apply wood stain to the assembled frame and wipe off the excess with a rag. After the stain dries, lightly brush a thin coat of paint and use a damp cloth to remove some of it—this creates a rustic, layered look and allows the wood grain to show through.
Step 4: Attach the metal backing. Position the mosaic metal sheet behind or inside the frame. Secure it with staples, small nails or adhesive, depending on the backing and the look you want. If your metal sheet has a protective film, remove it before installing knobs.
Step 5: Install knobs and hardware. Mark evenly spaced locations for your knobs or hooks. Pre-drill holes if needed, then attach the knobs so necklaces and bracelets hang freely without overlapping too much. Add a sawtooth hanger or other hanging hardware to the back so the organizer hangs flush against the wall.
Step 6: Final touches and styling. Check that everything is level and secure. Hang a few favorite pieces to test spacing and adjust knob placement if necessary. Consider grouping similar finishes (gold with gold, silver with silver) for an organized appearance.
More Inspiration for Jewelry Organizers
If you want variations, try different backings (fabric, patterned paper, cork or decorative metal), paint techniques, or hardware finishes. You can scale the design up for a full wall display, or down into a small tabletop version. Personalize the finish and knob style to match your room decor.

This DIY jewelry organizer proves that simple materials can create something both practical and pretty. With a few basic tools and an hour or two of work, you’ll have a handmade piece that keeps jewelry tangle-free and on display—perfect for your own home or as a heartfelt gift.