
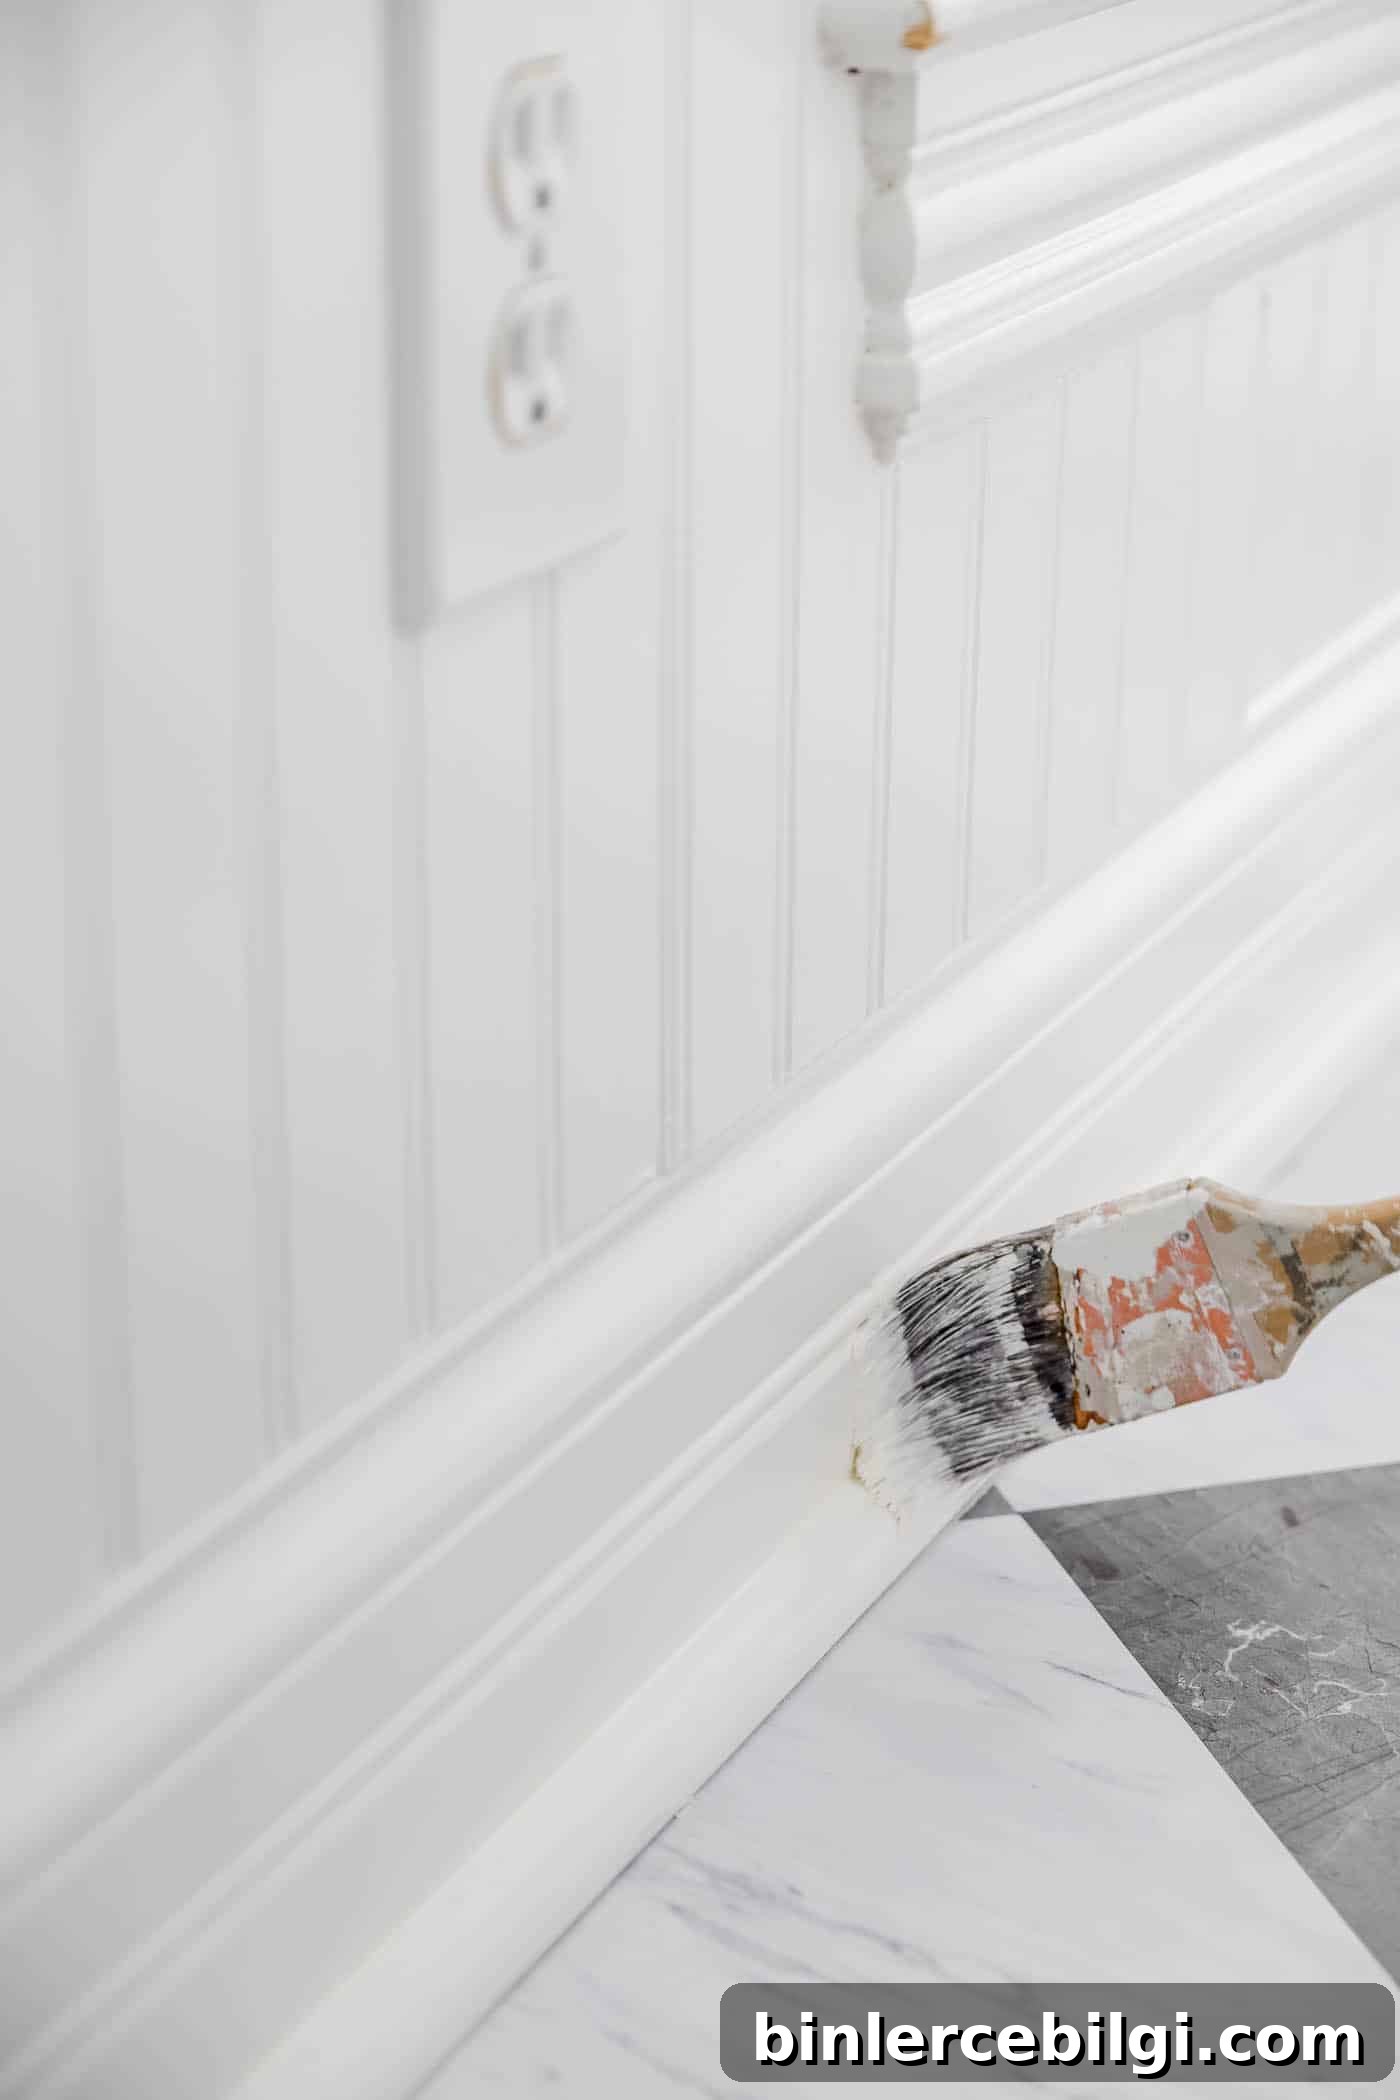
When transforming a room, painting the trim is a frequently overlooked step that can dramatically elevate the finished space.
I’ve written about paint colors, favorite painting tools, and simple how-to guides for painting walls. For the biggest visual impact, consider painting the trim first. A fresh coat of trim paint immediately brightens a room, sharpens the overall look, and makes the space feel refreshed. Below are practical tips for choosing trim paint colors and a straightforward, step-by-step guide to painting trim like a pro.
Why Trim Color Matters
Trim is often ignored during renovations, but the right trim color can be the difference between a room that feels tired and one that looks crisp and finished. Painting trim refreshes the space, provides contrast or continuity with wall colors, and improves perceived room size and light. Because trim frames windows, doors, and architectural details, a careful color choice elevates the whole design.
Choosing the Right Paint Color for Your Trim
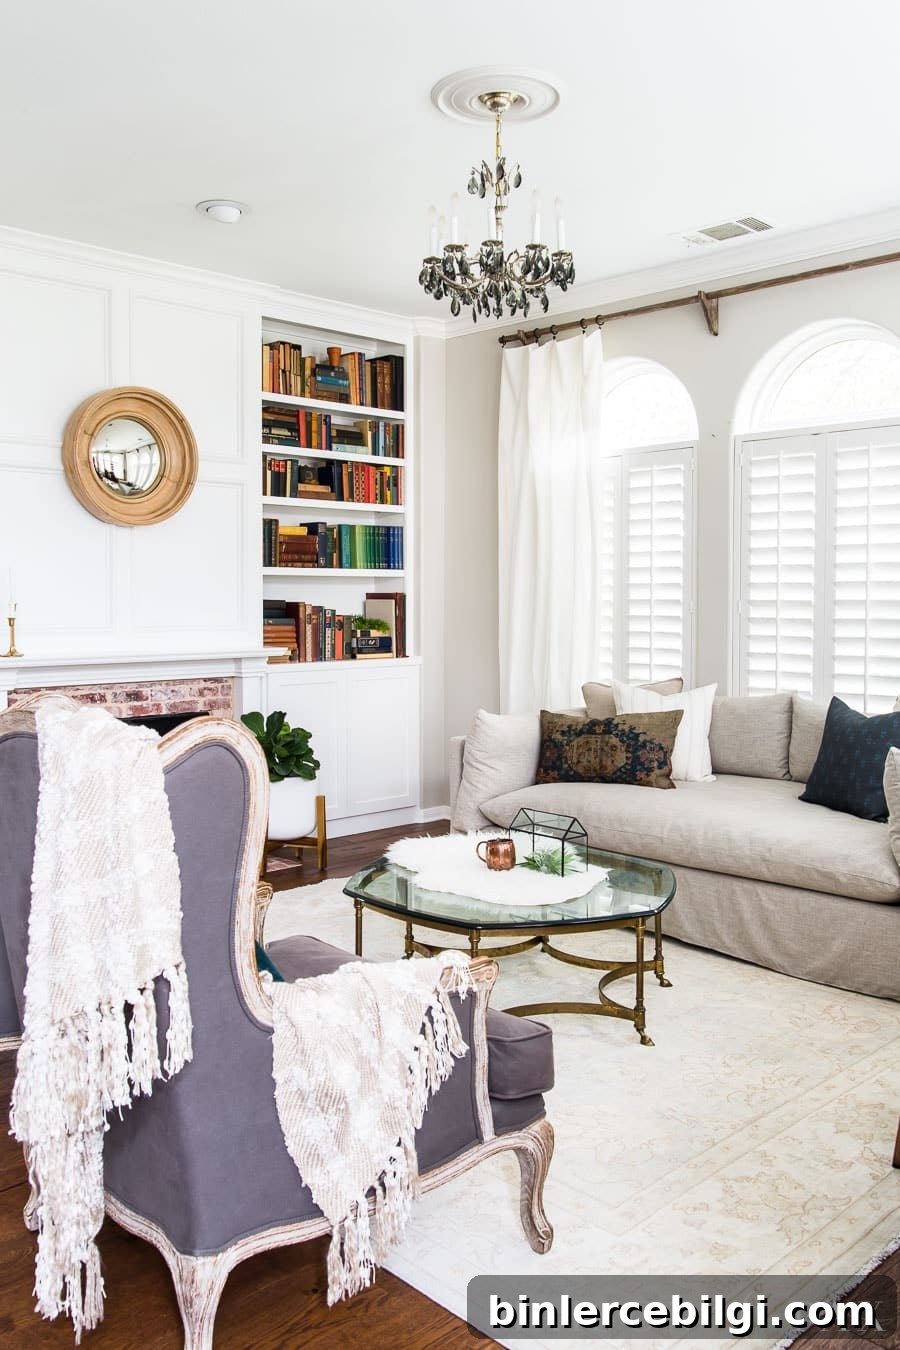
Picking the right trim color is essential to achieving a polished, cohesive look. While greiges and other subtle shades can work, white and off-white are the most versatile choices. White trim tends to make rooms feel larger and pairs well with nearly any wall color. Within whites, you’ll choose between warm and cool tones depending on the atmosphere you want to create:
Warm White Paint Colors for Trim
Warm whites add a welcoming, cozy feel and blend well with warm-toned walls and natural wood. Popular warm whites for trim include:
- Benjamin Moore Simply White: A favorite for cabinets and trim, this white reads slightly warm and softens the room without looking yellow. It’s a go-to for many designers.
- Benjamin Moore White Dove: A soft, understated warm white that creates a gentle, classic trim tone.
- Sherwin Williams Alabaster: A creamy warm white that adds depth and warmth to trim and moldings.
- Sherwin Williams Pure White: Slightly warm and bright, this white complements cool walls while avoiding a stark, clinical feel.
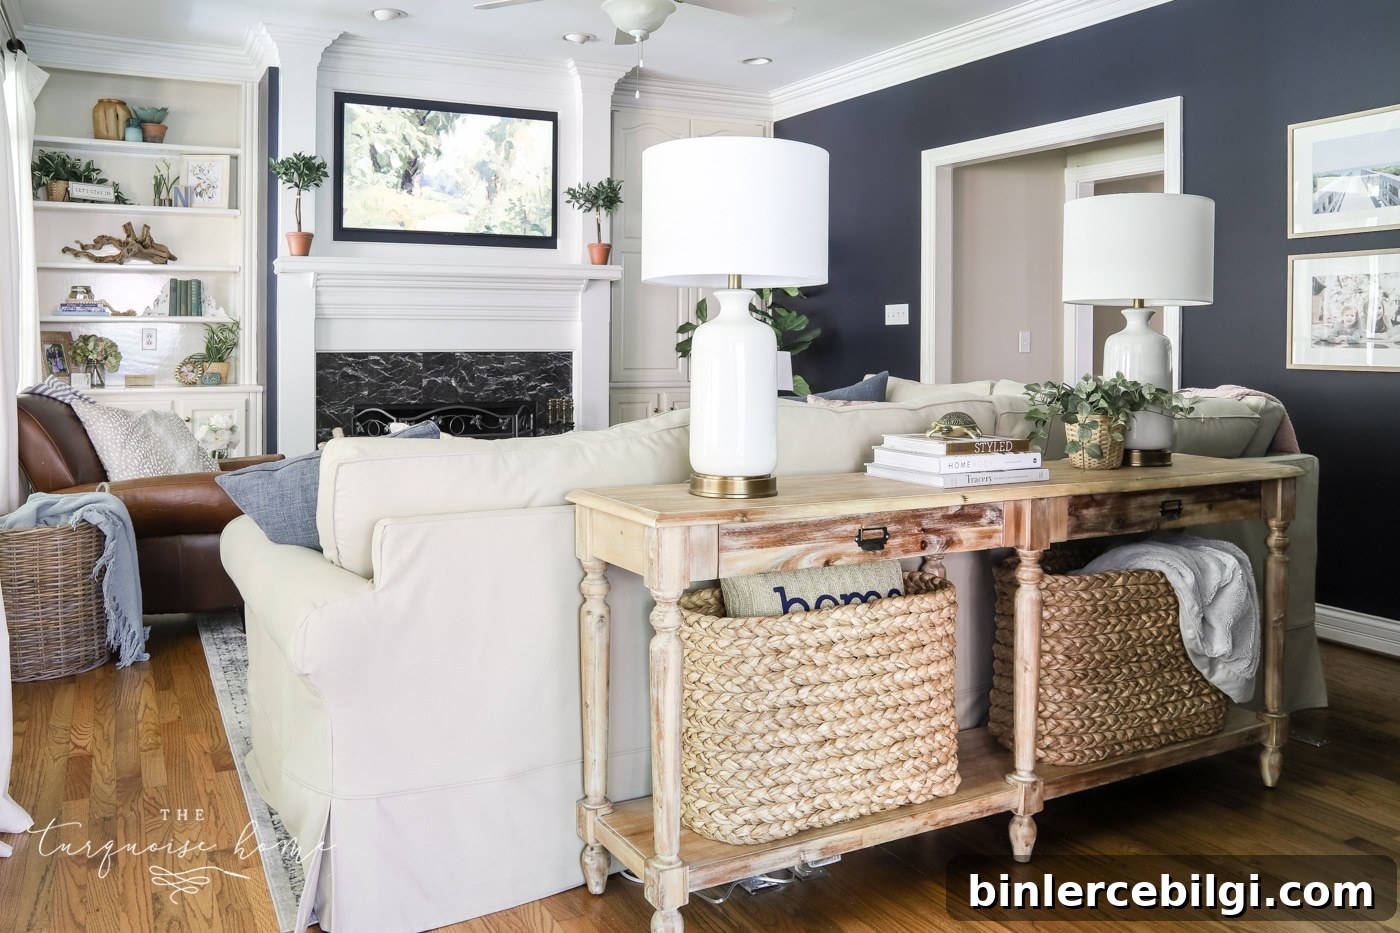
Cool White Paint Colors for Trim
Cool whites give a crisp, contemporary feel and can make rooms look bright and spacious. They pair well with cool-toned walls and modern palettes. Some reliable cool whites for trim are:
- Benjamin Moore Chantilly Lace: A crisp, bright white that works beautifully on ceilings and trim for a clean, seamless look.
- Sherwin Williams Extra White: A clear, bright white that enhances natural light and pairs well with both warm and cool wall colors.
- Benjamin Moore Decorator’s White: A white with a hint of cool gray that pairs nicely with blues, grays, and greens.
Step-by-Step Guide to Painting Trim
1. Prep the trim
Start by cleaning the trim with a damp cloth or sponge to remove dust and grime. Inspect for dents, nail holes, and cracks; fill imperfections with spackling compound or wood filler and smooth them with 120-grit sandpaper once dry. Sanding helps primer and paint adhere, especially over glossy finishes—your goal is a clean, slightly dull surface rather than a slick one.
2. Protect surrounding areas
Lay down drop cloths and use painter’s tape to protect floors, walls, and fixtures. Where you tape depends on how precise you need the edge to be. For baseboards I often tape the floor and freehand the top edge with an angled brush; for crown molding, tape the ceiling and wall if you’re not painting them next. When in doubt, tape—especially on carpeted floors or intricate profiles.
3. Prime the trim
If the trim is raw wood, stained, previously unpainted, or you’re changing colors dramatically, apply a high-quality primer. Let the primer dry fully—often 24 hours for ideal adhesion and leveling. If you see brush strokes or drips, lightly sand with fine-grit paper and wipe away dust before painting.
4. Paint the baseboards
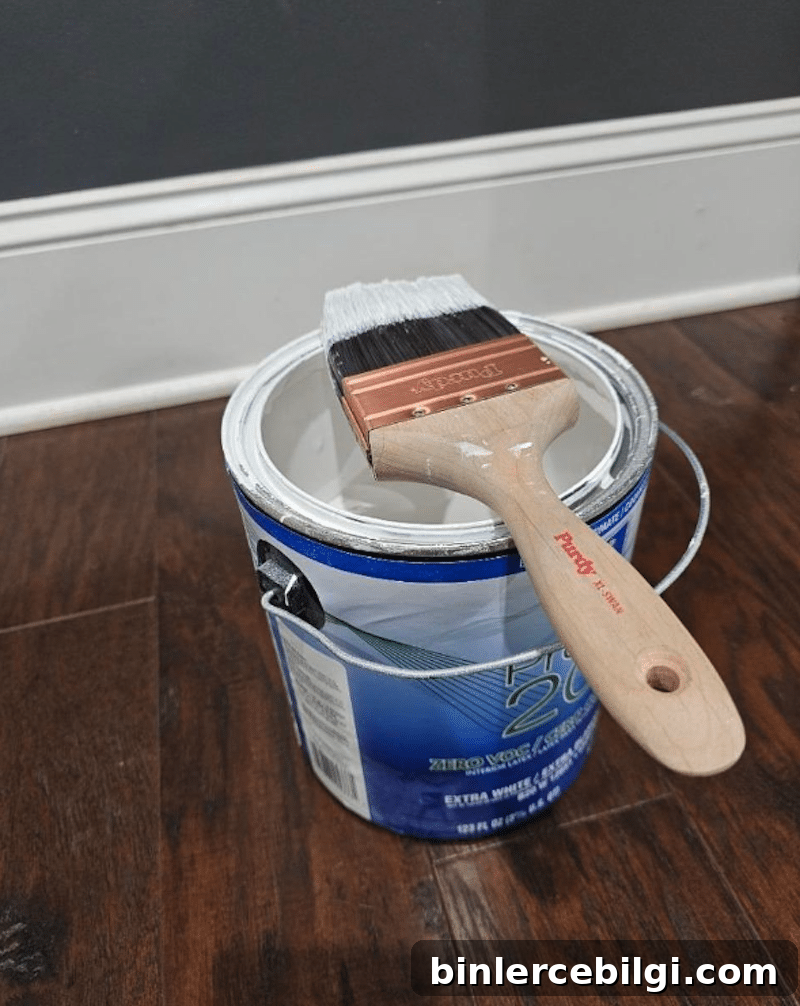
Use an angled sash brush and apply paint in short strokes along the trim’s profile, moving with the grain or direction of the molding. Without reloading your brush, long-swipe in one direction to smooth the paint and remove brush marks. A small foam or nap roller can also help create an even finish on flat faces of the trim.
5. Paint the door and window frames
Tape edges if you want razor-sharp lines between frame and wall, then paint from the top down. Apply the paint with short, controlled strokes and finish with a long sweep to smooth the surface. A narrow roller is optional for wider flat sections.
6. Paint crown molding (if present)
For crown molding, tape both the ceiling and wall edges for the cleanest lines—unless you plan to paint those surfaces immediately afterward. Work in small sections and keep a wet edge to minimize visible overlaps and brush marks.
7. Allow the paint to dry and recoat
Drying times vary: oil-based paints typically need about 24 hours to cure sufficiently for a second coat, while quality water-based (latex) paints often dry in 6–8 hours. Make sure the trim is fully dry before applying another coat or removing painter’s tape to avoid smudging or lifting the finish.
More Helpful Information
If you’d like additional guidance for your painting project, here are a few related resources that cover tools, finishes, and room painting techniques:
- My Favorite Painting Tools, Tips and Tricks
- Paint a Room Like a Pro in 5 Easy Steps
- Popular Paint Colors
- How to Paint Countertops to Look Like Marble
- Beautiful Interior Door Paint Colors
Painting trim is a relatively small investment of time that yields a big visual payoff. With the right prep, primer, and technique, your refreshed trim will frame your rooms beautifully for years to come.