
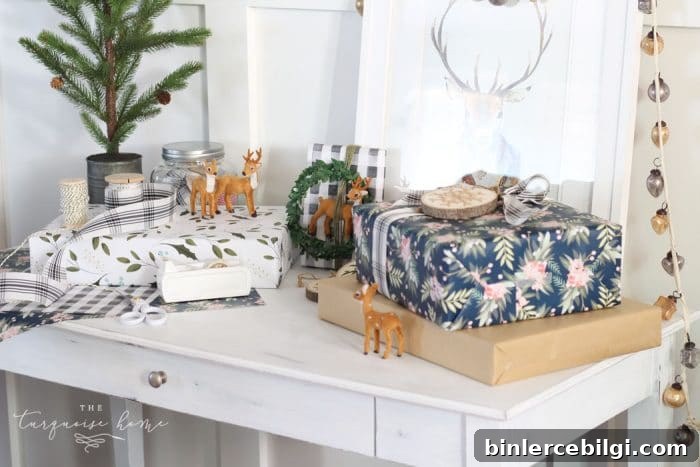
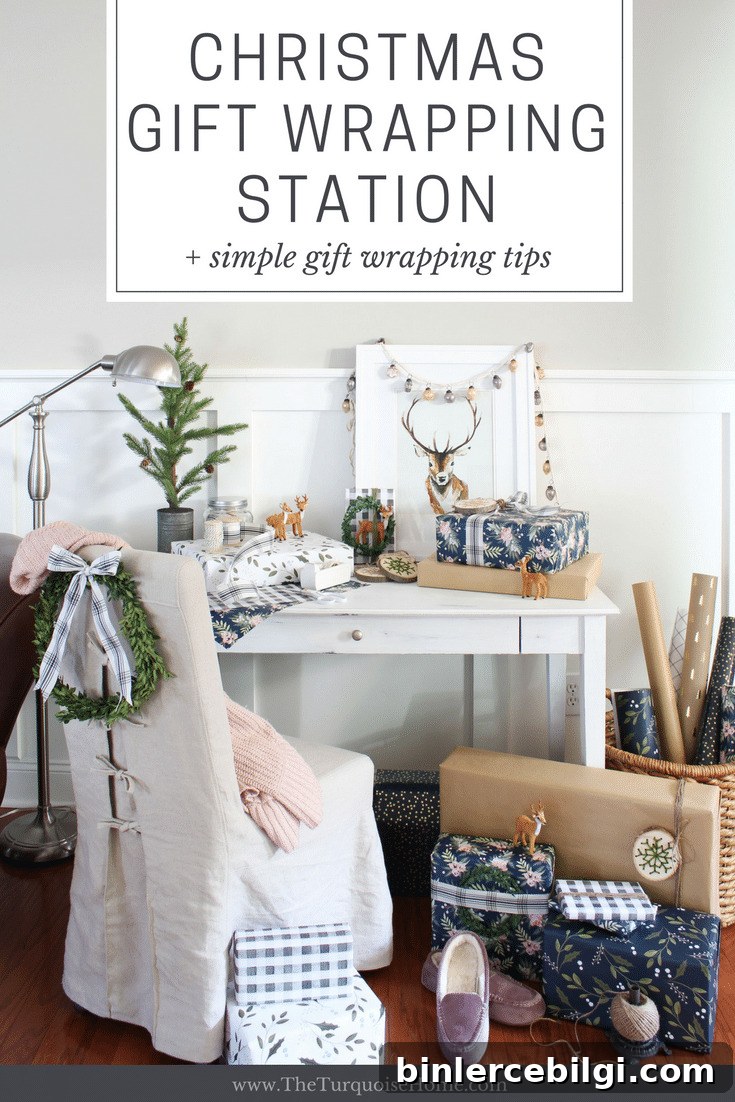
After years of wrapping gifts on the floor and on the bed, I finally turned an old college desk into a dedicated Christmas wrapping station. The transformation took about an hour, and my back is already grateful. It’s amazing how a small change can make holiday prep feel both prettier and more practical.
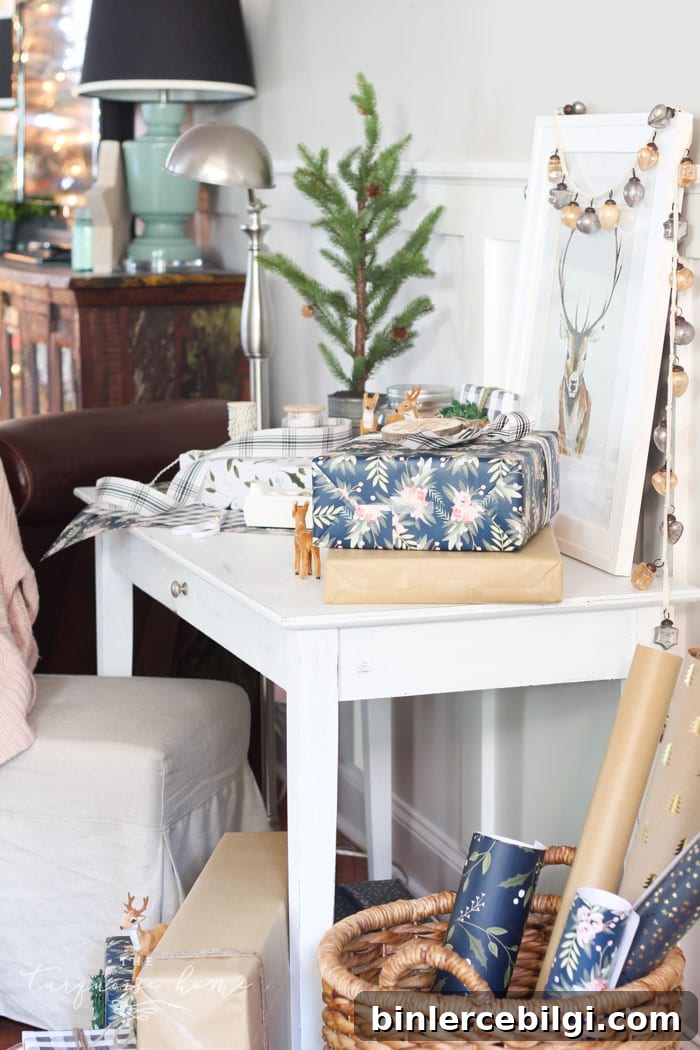
Hello friends! I’m excited to share this easy Christmas DIY project: converting an old desk into a wrapping station. I’ll also share simple gift wrapping tips and plenty of inspiration to help you make your packages look like part of your holiday décor.
This post originally included product links for convenience.
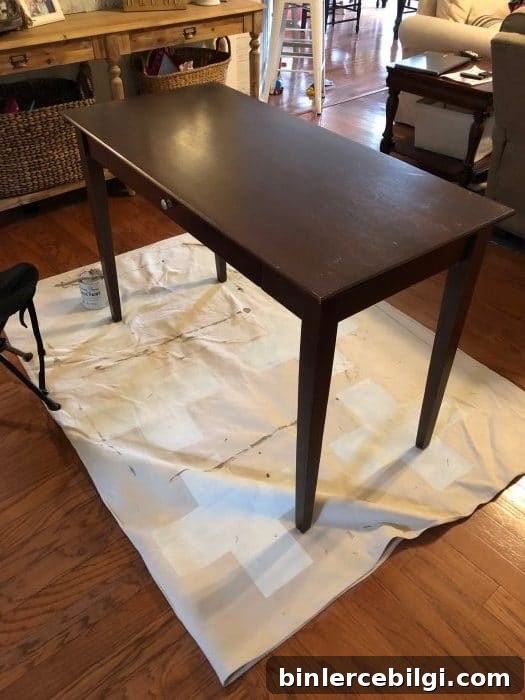
I started with an old desk I’d kept from college. For a while it had been pushed into the corner of the master bedroom, waiting for its next purpose and buried under wrinkled laundry. Instead of selling or donating it, I decided to repaint and repurpose it. Now it fits perfectly in the room as a crisp white wrapping station.
To refresh the desk I applied two coats of chalk-style paint in pure white, then sanded the edges lightly to give it a softly worn, vintage look. Finally, I sealed the finish with clear wax for durability. The result is a fresh, understated piece that works beautifully for wrapping and organizing holiday supplies.
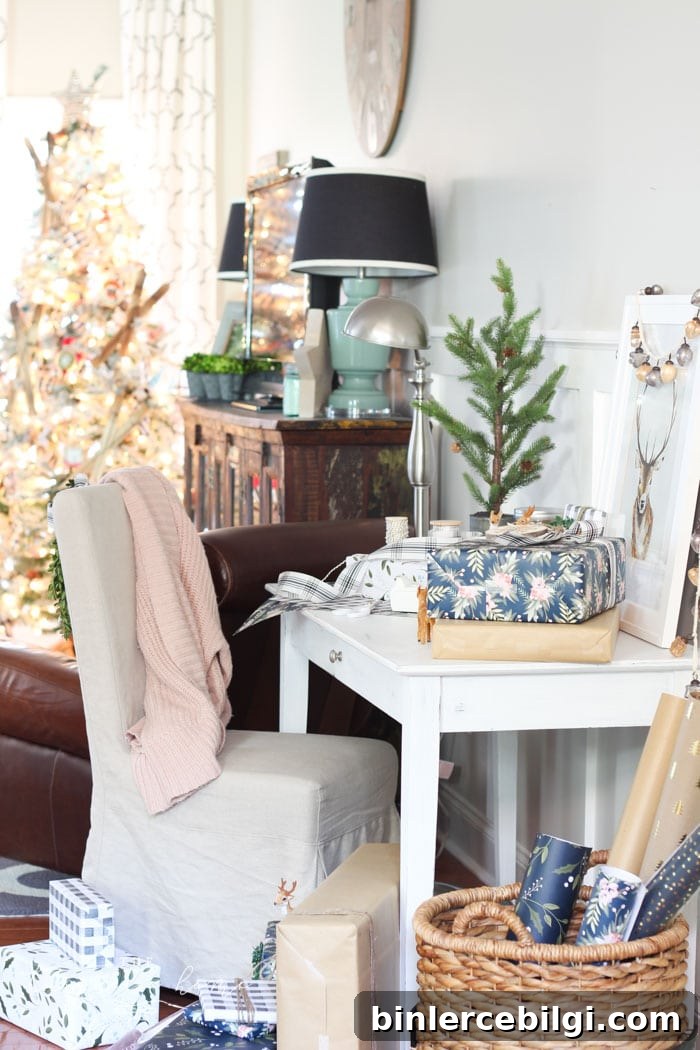
Now that the desk looks great, let’s focus on the fun part: the paper, ribbon, and finishing touches. I’ll admit it—I really dislike wrapping gifts. But I’ve found an approach that makes it feel more like decorating than a chore.
I treat wrapping like decorating. When the gifts under the tree coordinate with the room, the whole space feels intentional. I choose papers and embellishments the same way I pick fabrics and accessories for a room, which turns gift wrapping into a creative task instead of a tedious one.
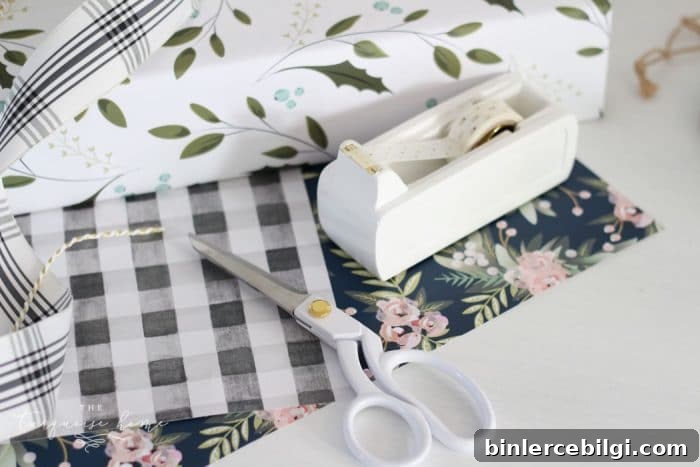
This year I chose a palette of navy, green, blush, and mint to match my holiday decor. I picked a few unique designs from independent artists to keep things special and different from mass-produced store paper.
Some of the patterns I used include:
- Holly & Vines in navy and mint
- Watercolor gingham in gray
- Floral wallflower in navy
These papers are artistic, unexpected, and work together effortlessly under the tree.
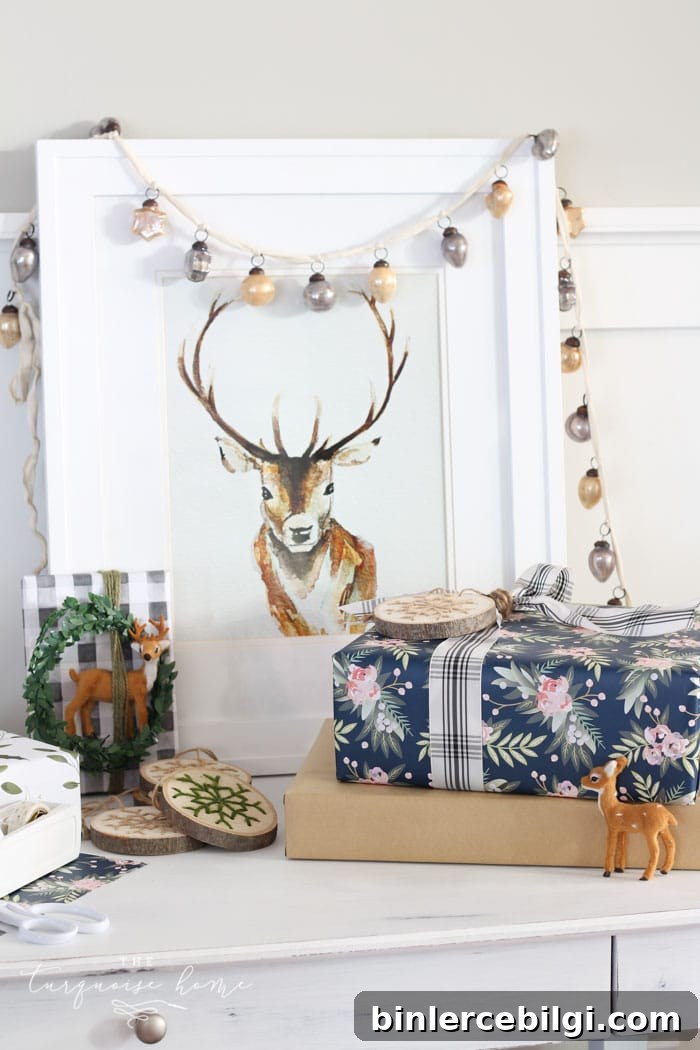
Simple Gift Wrapping Tips
1. Use a variety of coordinating papers. Choose papers that complement each other in scale and color—one large pattern, one small pattern, and a solid or neutral like kraft paper. Keeping a roll of kraft on hand is useful for larger boxes or when you want a more rustic look without using expensive specialty paper on bulky gifts.
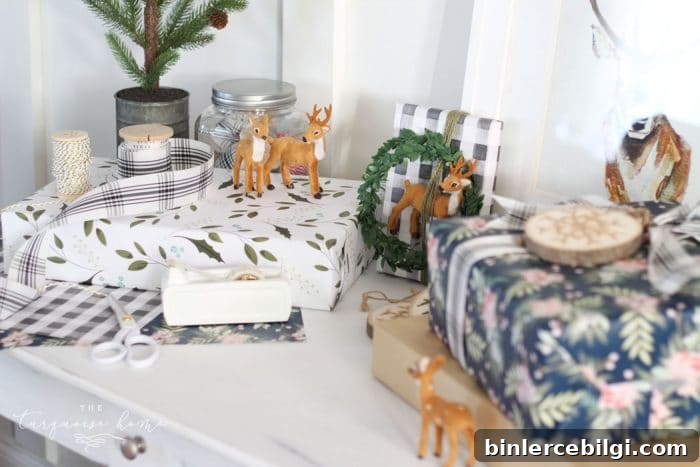
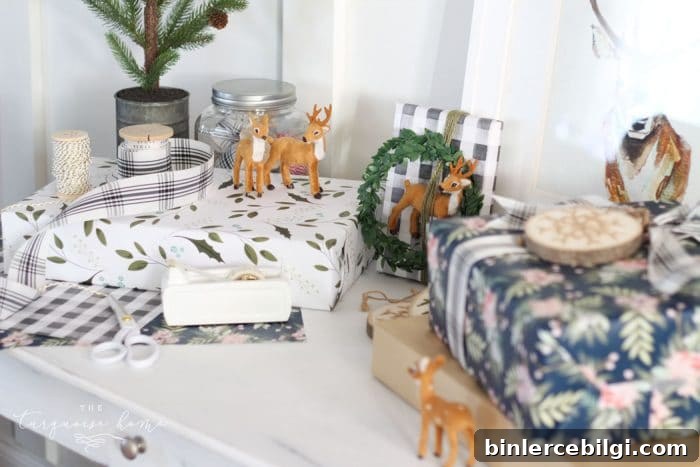
2. Don’t be shy with ribbon and twine. Invest in a few beautiful ribbons and spools of twine. Wrapping multiple layers of twine or ribbon gives parcels depth and personality. Mix textures—cotton twine, satin ribbon, wired ribbon—to create visual interest. Finish with generous bows when appropriate.
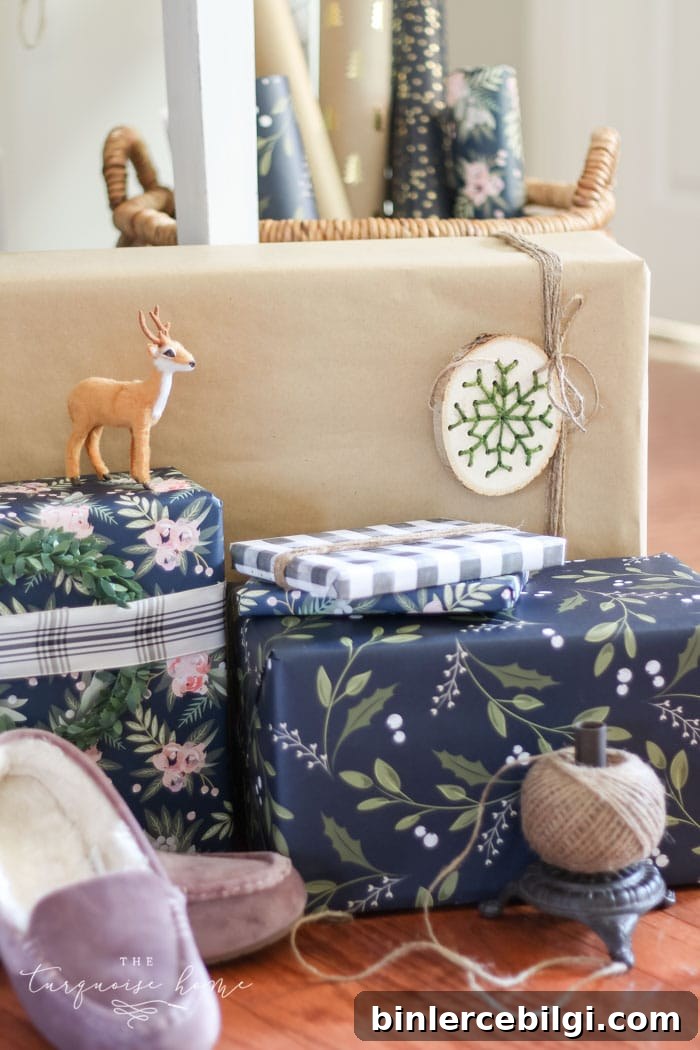
3. Add playful embellishments. Use ornaments, small figurines, sprigs of greenery, or mini wreaths as gift toppers and tags. These extras make the unwrapping experience memorable and allow the recipient to reuse the decoration year after year—keeping the memory of your gift alive.
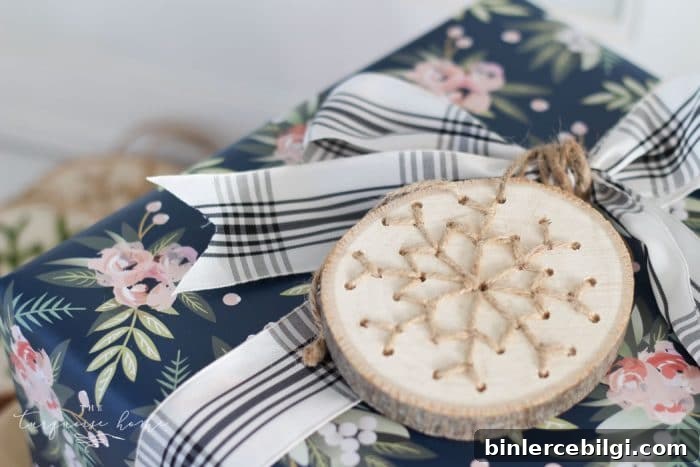
4. Use attractive gift tags. Personal, well-designed gift tags complete the look. Printable tags or hand-lettered options add a thoughtful touch and are an easy way to reinforce your theme or color palette.
With a simple, dedicated space for supplies and a few creative tricks, wrapping becomes faster and more enjoyable. Think of your packages as part of the room’s holiday design—then wrapping is decorating, not drudgery.
More Posts You Might Enjoy
- How to Decorate the Dining Room for Christmas
- Fun Free Printable Gift Tags
- DIY Bath Bombs + Printable Gift Tag