
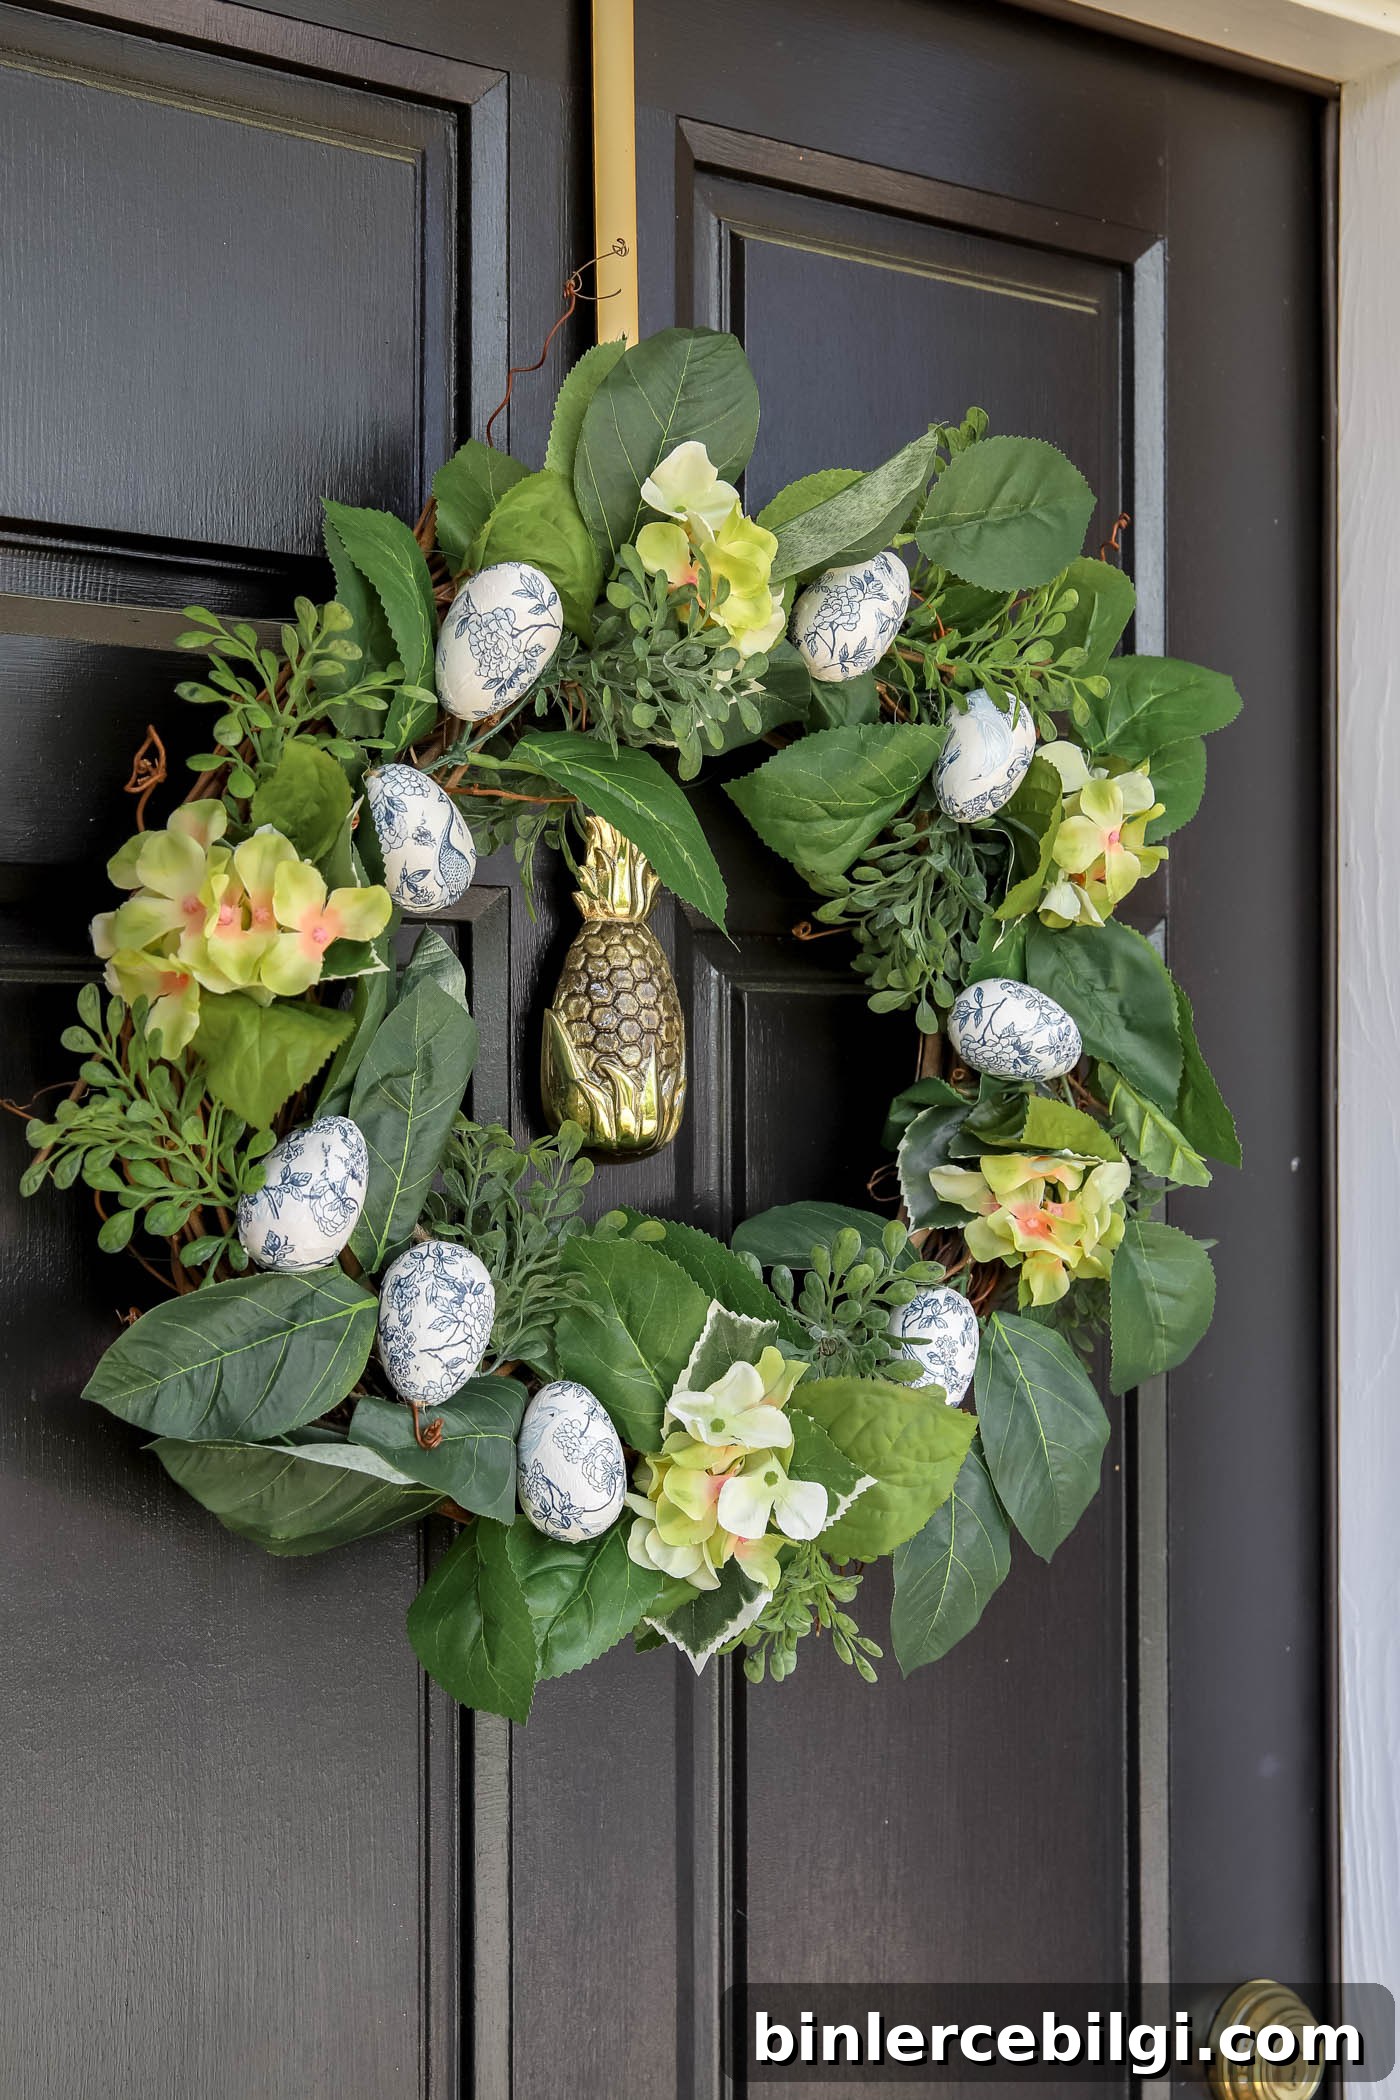
A fresh twist on the classic Easter egg wreath: decoupaged chinoiserie-style eggs in blue and white. This elegant wreath works beautifully for Easter and throughout the spring months.
Instead of a typical plastic-egg wreath, I created delicate blue-and-white eggs using paper napkins and decoupage, then arranged them on a grapevine wreath. The result is a light, timeless spring wreath that’s easy to make from items you may already have at home.

I started with materials from my craft stash: an old wreath form, faux greenery and flowers, and a set of wooden eggs that had been in a drawer for years. I also had leftover blue-and-white napkins from a previous chinoiserie project, and they were perfect for decoupaging the eggs. The process is simple: paint the eggs a light base color, decoupage sections of the patterned napkin onto each egg, then secure the finished eggs to the wreath.
The finished wreath is subtle, charming, and versatile — it looks lovely on a front door or hung inside as seasonal decor from March through May.
What You’ll Need to Make a DIY Easter Egg Wreath
- Wooden or faux eggs (about nine eggs, though you can use more or fewer)
- Blue and white paper napkins with a chinoiserie or similar pattern
- Drill bit long enough to pass through the eggs
- Drill
- Light or white paint for a neutral base coat
- Small craft paintbrush
- Hot glue gun and glue sticks
- Mod Podge or other decoupage medium
- Floral wire to attach the eggs to the wreath
- 18-inch grapevine wreath form
- Faux greenery stems and faux flowers for filling the wreath
How to Make an Easter Egg Wreath
1. Drill a Hole Through the Center of Each Egg
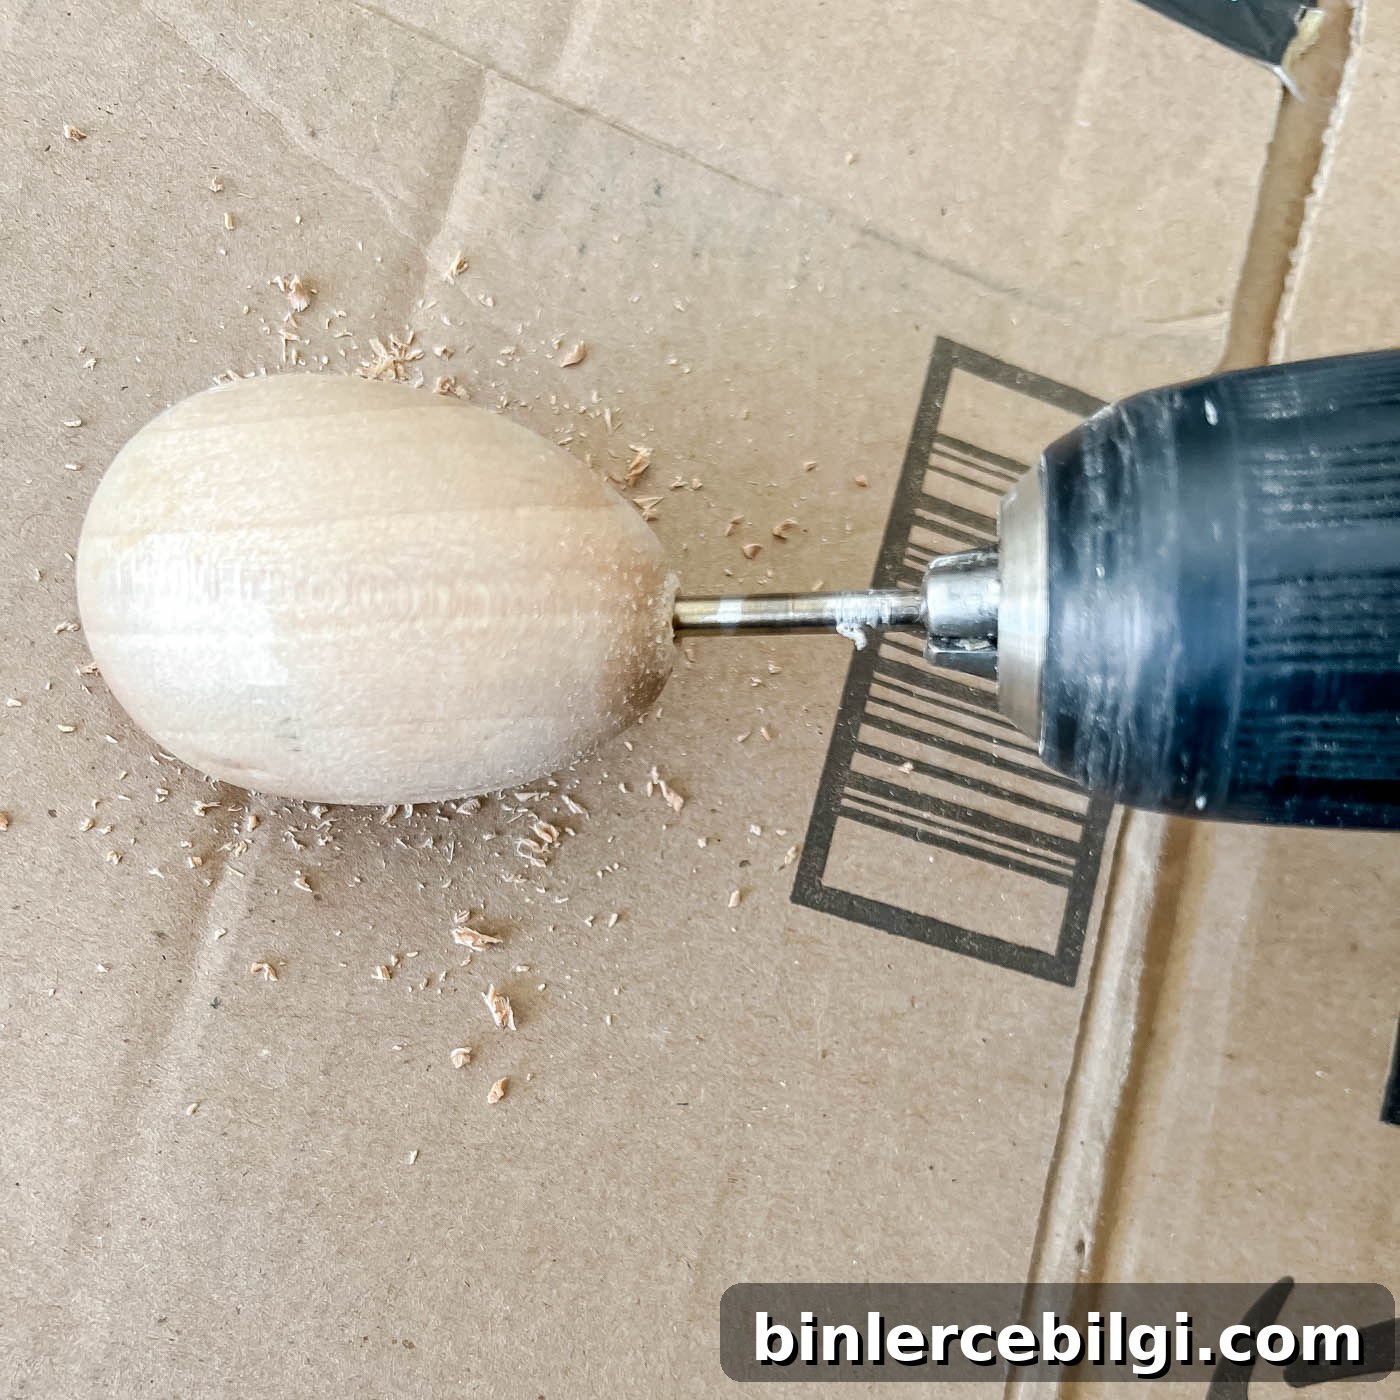
Begin by drilling a straight hole through each wooden egg. Use a drill bit that is longer than the egg so you can pass the bit cleanly from one end to the other. Trying to drill from both ends with a short bit can make it difficult to meet in the middle, so a longer bit ensures a neat, centered hole.
2. Paint the Eggs a Light, Neutral Color
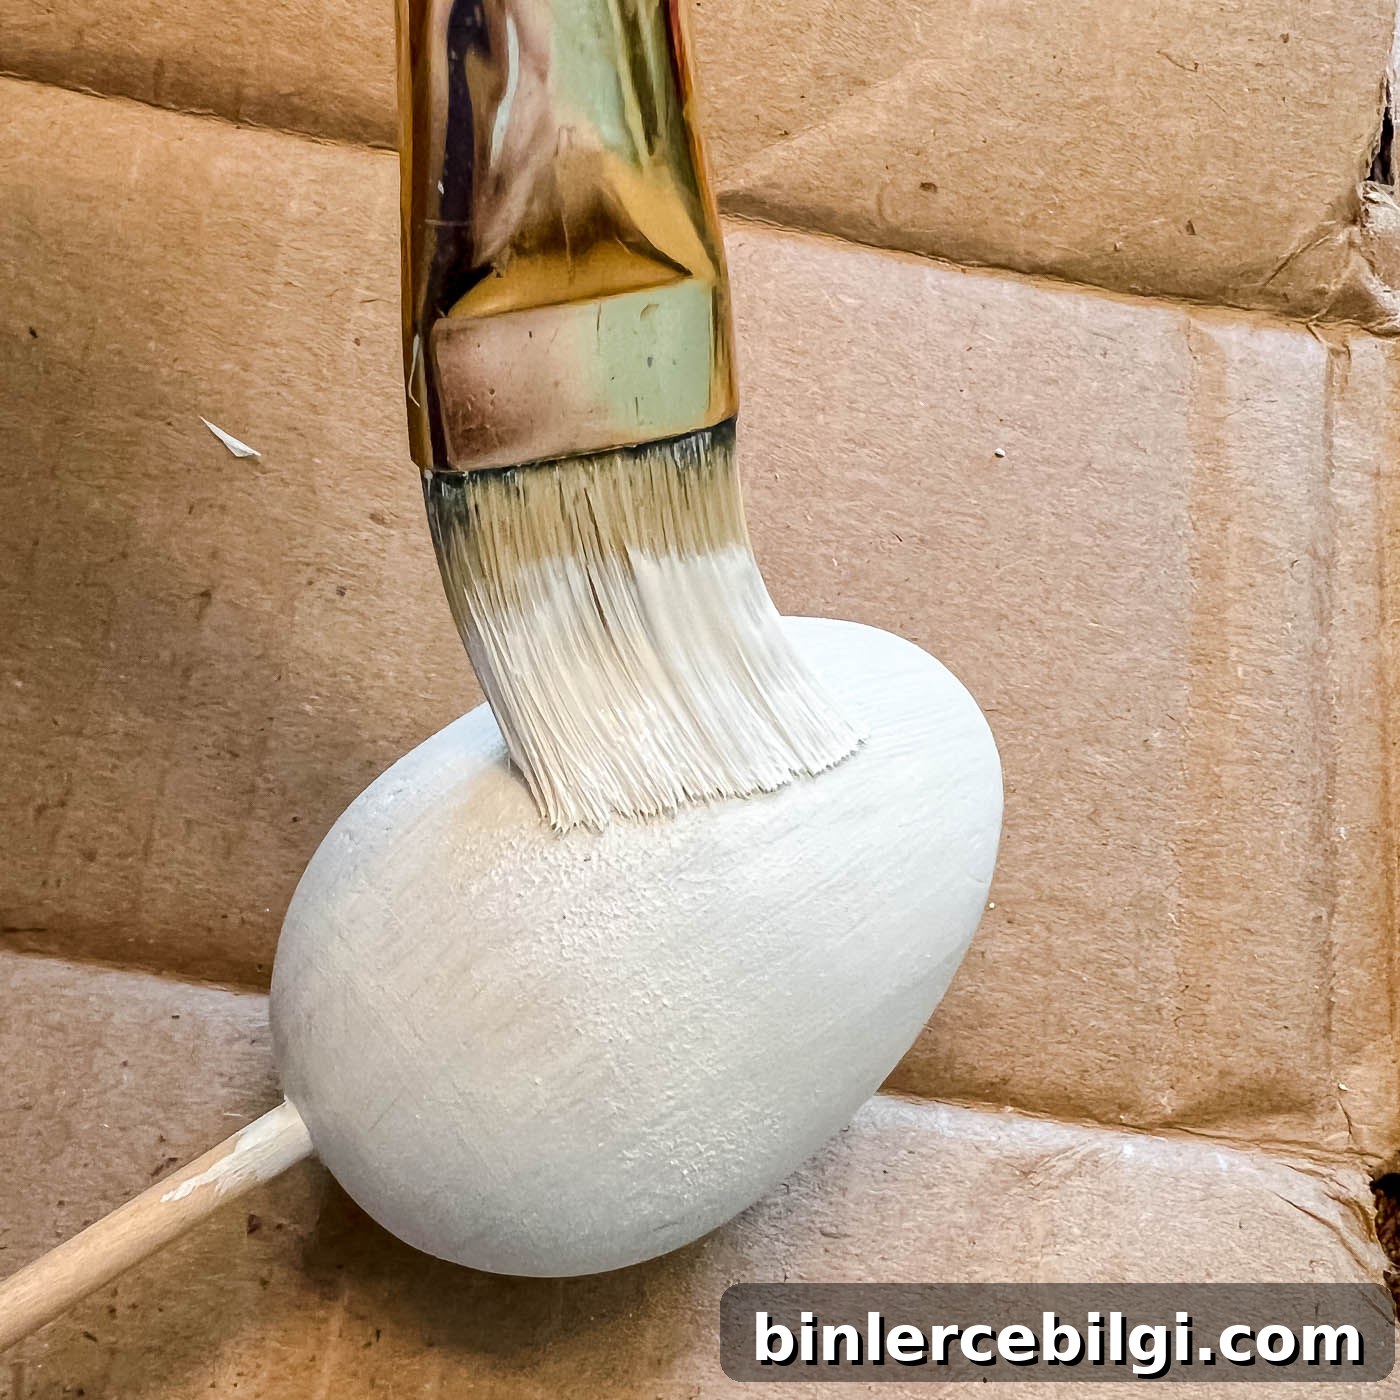
Wood tones can show through delicate napkin patterns, so paint each egg with a single coat of light or white paint. Insert a skewer or similar tool into the drilled hole to hold the egg while painting. Let the paint dry completely before decoupaging.
3. Decoupage the Eggs with Paper Napkins
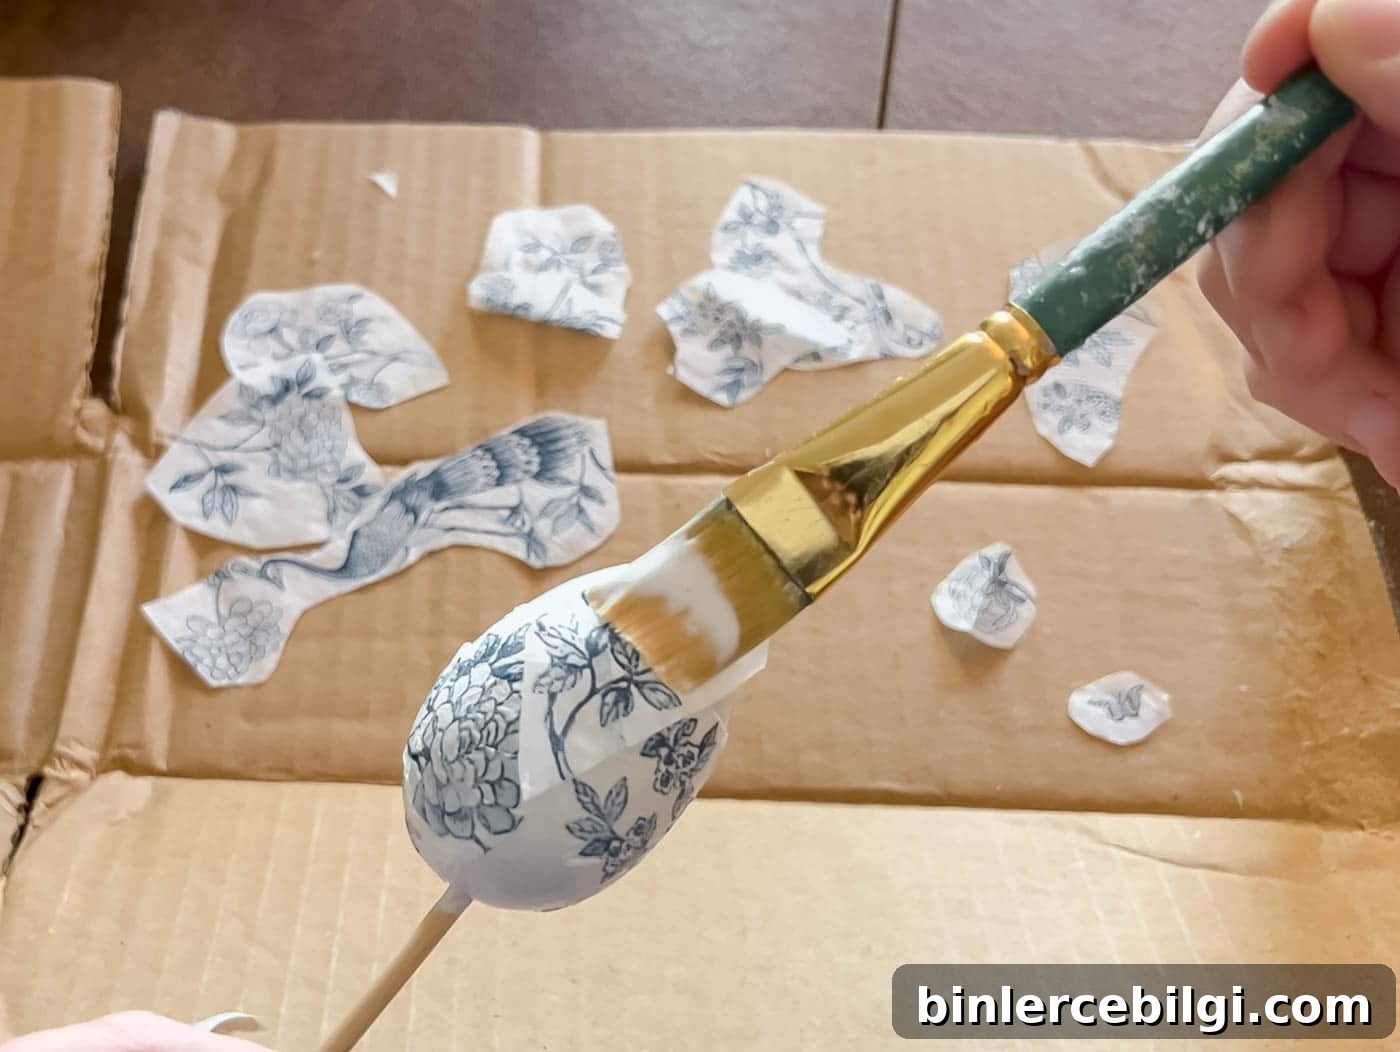
Separate the layers of a 2-ply napkin to a single ply. Cut the pattern into manageable pieces rather than trying to cover an egg with a whole napkin, which can bunch. Brush a thin layer of Mod Podge onto an egg, then carefully apply pieces of napkin, smoothing them gently. Add a light coat of Mod Podge over the napkin pieces to seal them. Work in small sections and allow the eggs to dry thoroughly between steps.
If you’d like, the finished eggs also look beautiful displayed in a bowl as a simple spring vignette.
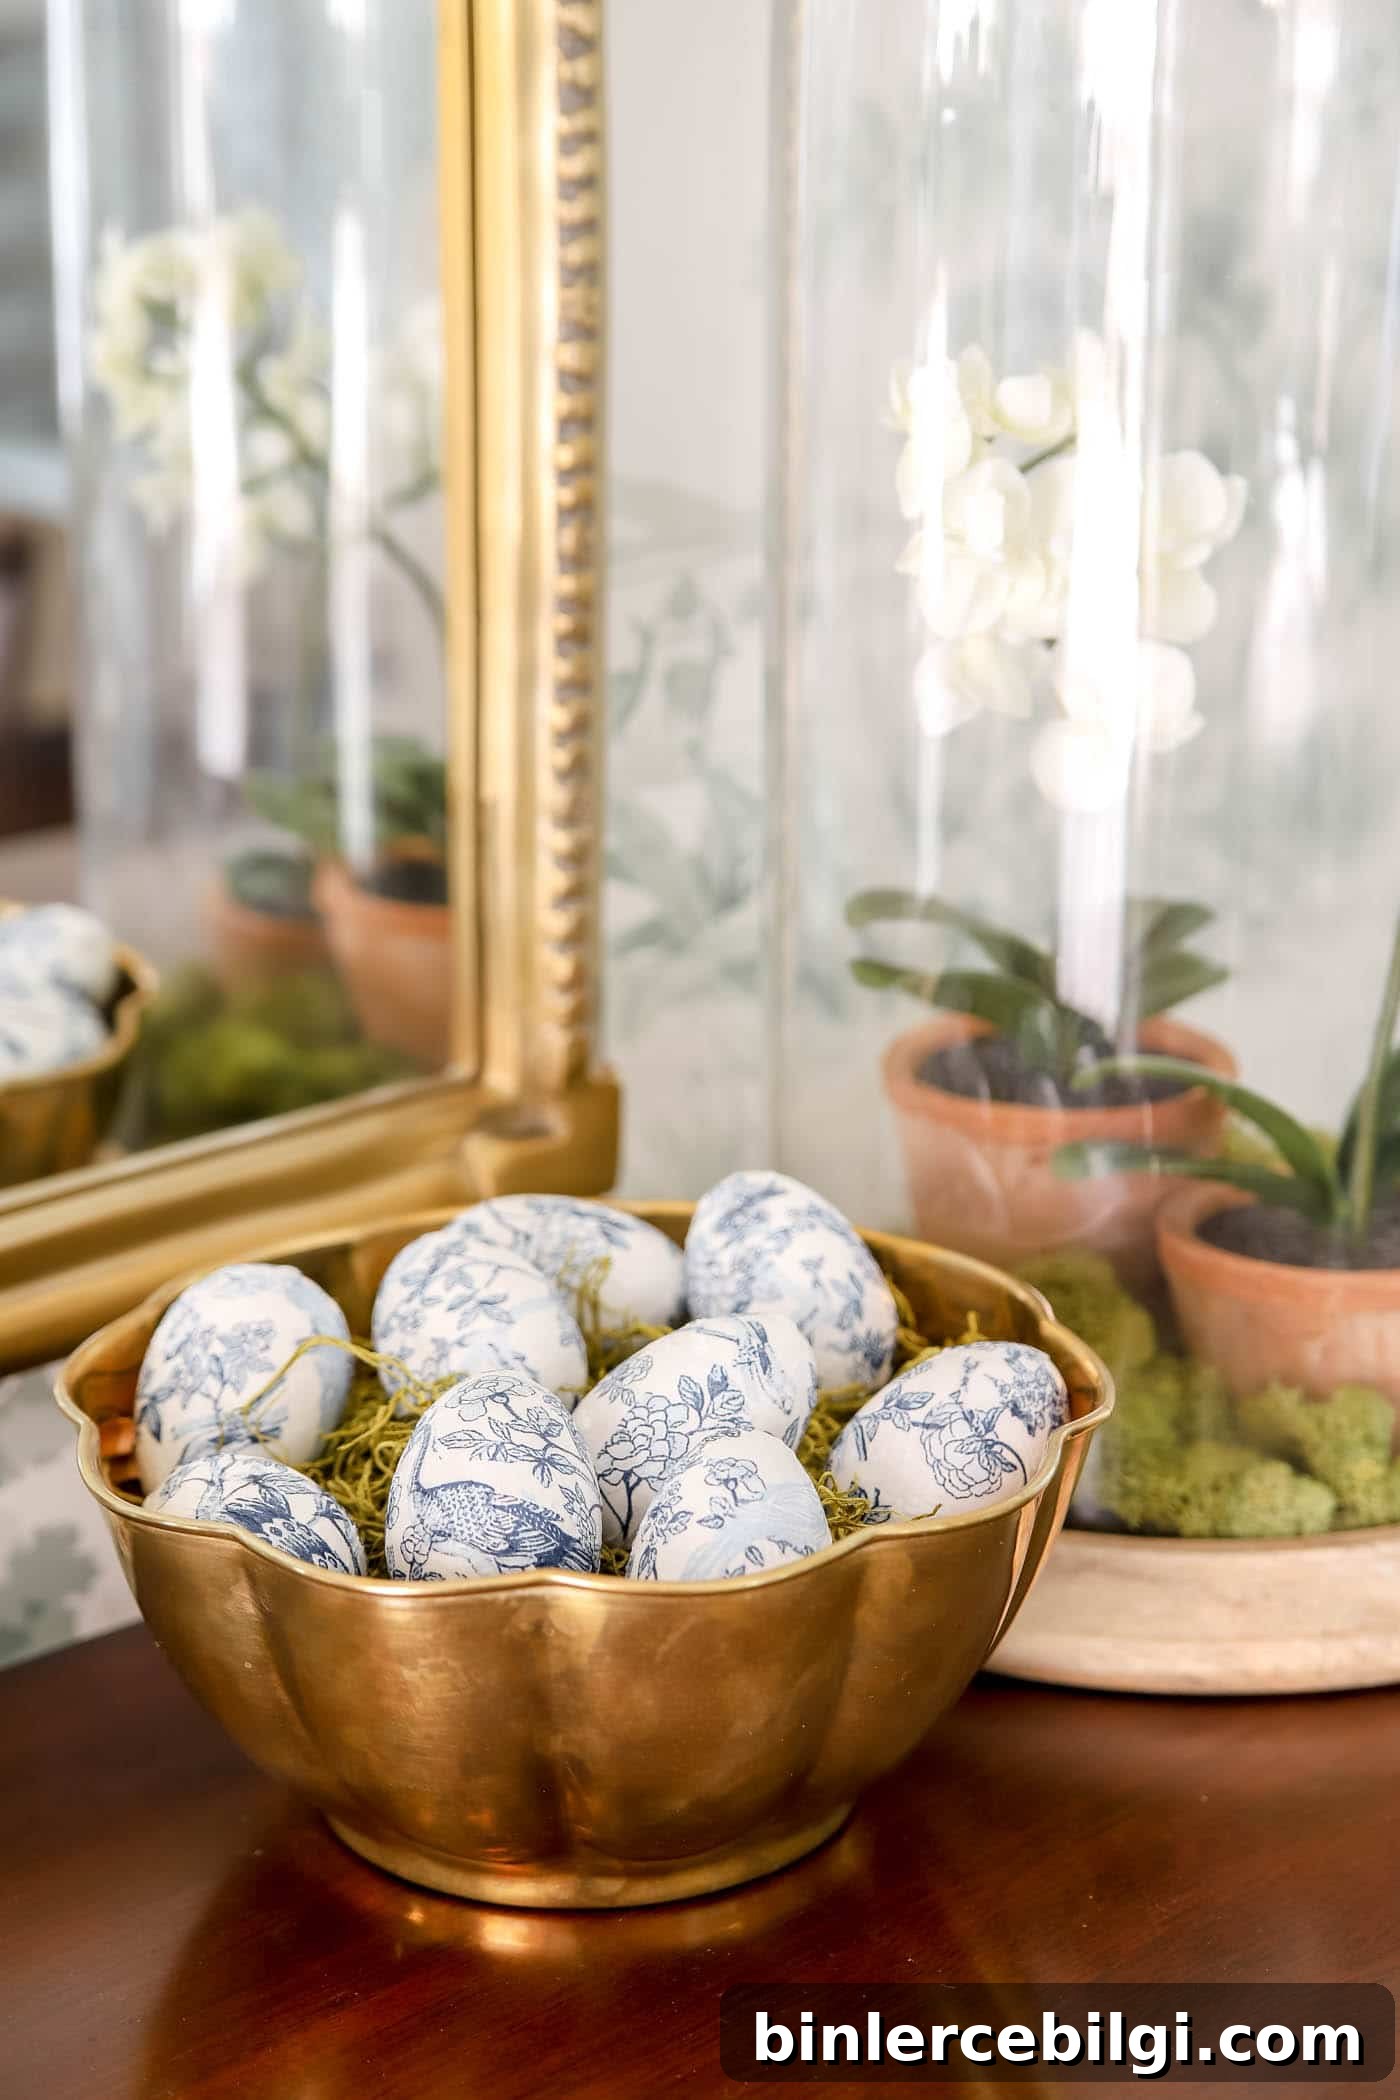
4. Add Greenery and Faux Flowers to the Wreath Form
Arrange faux greenery and flowers around the grapevine wreath until you’re happy with the balance and fullness. Tuck stems into the vine and secure them with hot glue where needed. Take your time arranging different textures and shapes for a natural, layered look.

5. Attach the Eggs to the Wreath
Thread floral wire through the drilled hole in each egg and secure the wire to the wreath so the eggs sit snugly among the greenery and flowers. Bend and twist the wire on the backside of the wreath to hold each egg firmly in place. Add a ribbon or any additional embellishments if you like.
Hang your wreath, step back, and enjoy the light, refined look of the blue-and-white eggs against the natural grapevine and greenery.

This decoupage egg wreath is a simple project with a classic look. The eggs are reusable year after year, so once you make them you can switch wreaths or use them in other spring displays. Small changes in greenery, ribbon, or the number of eggs let you adapt the style from traditional to modern farmhouse or coastal chic.
More posts and ideas you might enjoy:
- Spring table decorations and centerpieces
- Popular paint colors for spring interiors
- Fun spring doormats and front porch styling
- Creative mantel decor ideas for spring
- Simple ways to refresh your home for the season