
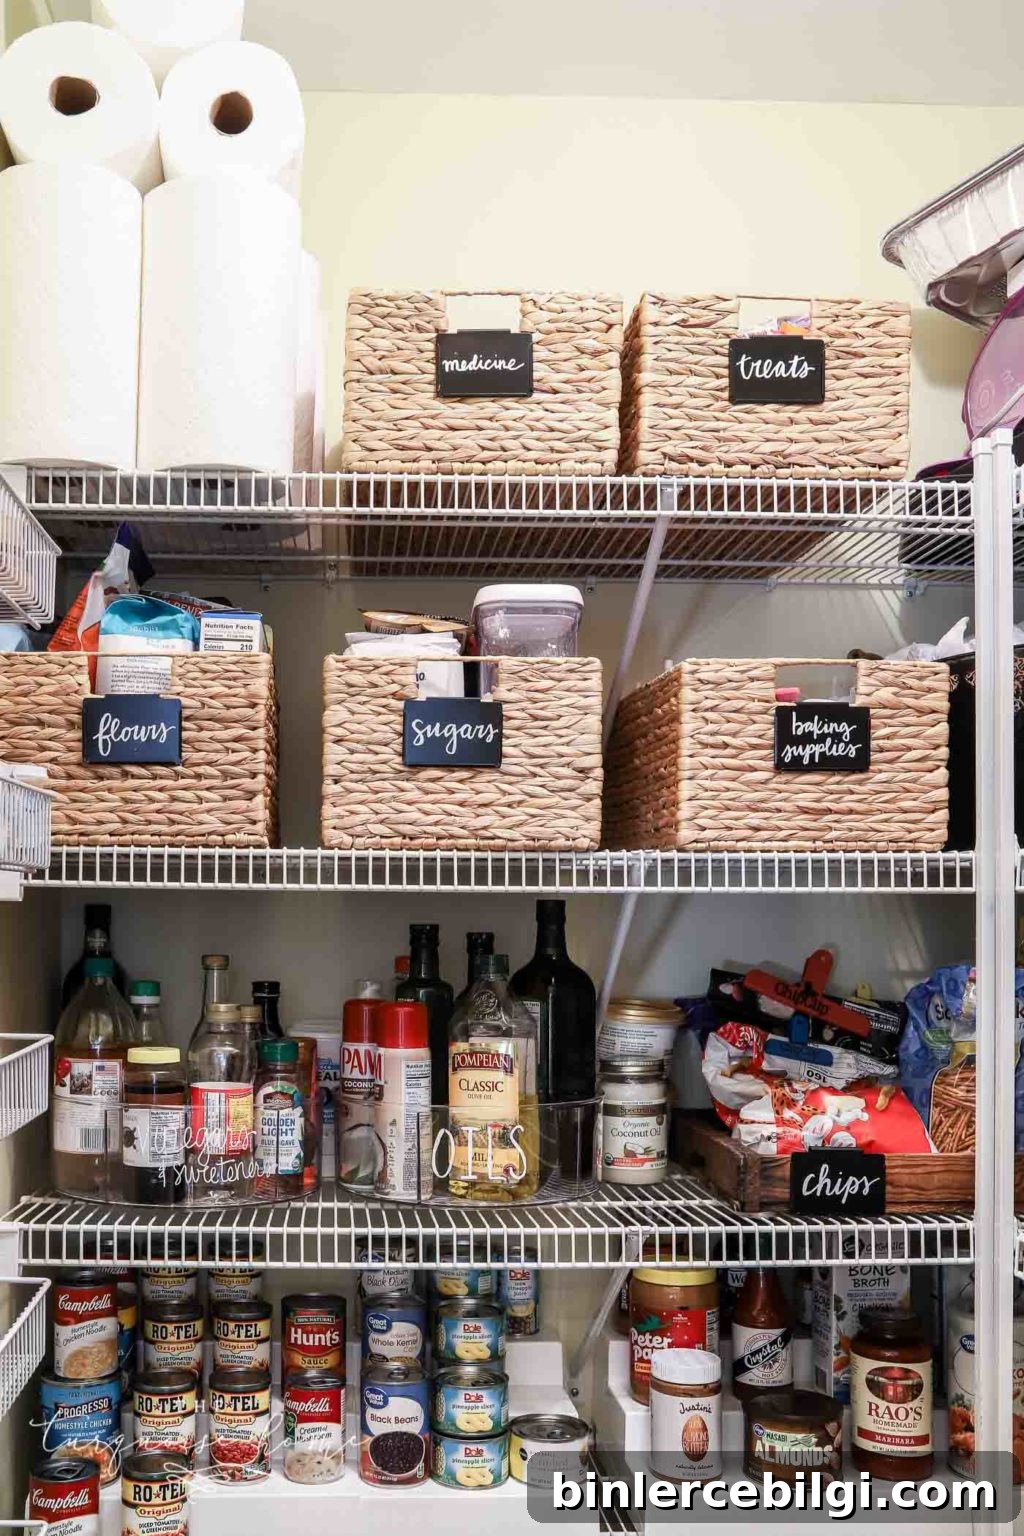
Learn how to organize a pantry with practical tips and tricks to make it feel larger and run more efficiently.
An organized pantry saves time and money and prevents the frustration of searching for items you know you have—or accidentally rebuying things you forgot were already on the shelf.
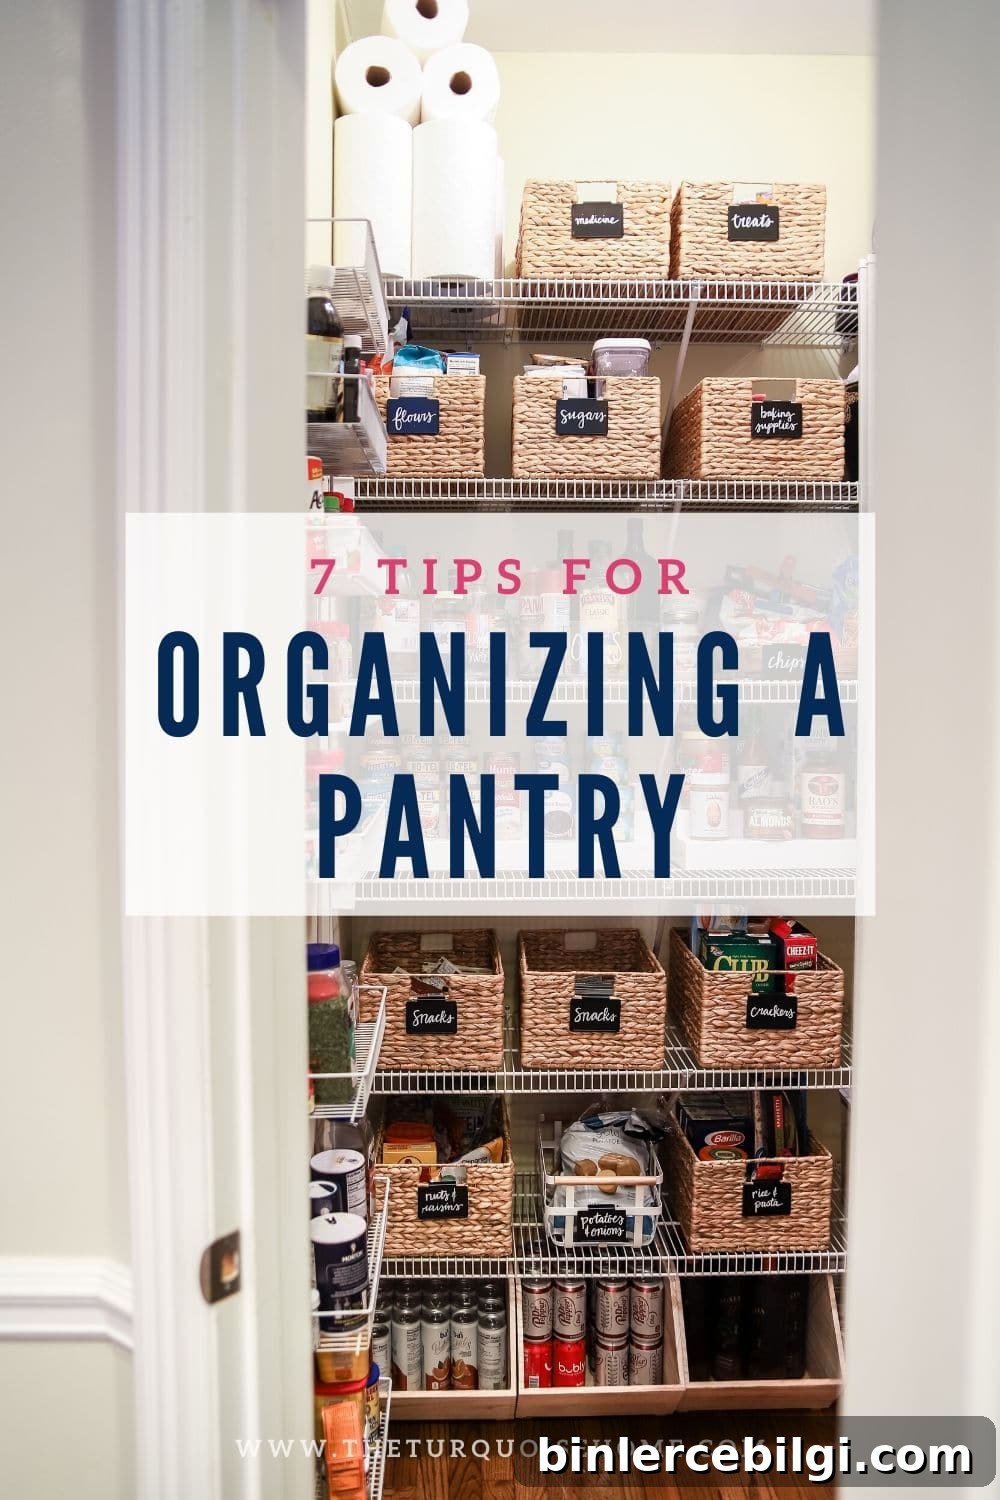
I nearly cry tears of joy every time I walk into my newly organized pantry. At 38, this is my first walk-in pantry, and I underestimated how transformative it would be. Whether your food is stored across cabinets like I once did, or you have a generous walk-in pantry, the tips below will help you make the most of your space.
We moved into this house last month, and the pantry was the first project I tackled. It was chaotic at first—I even tried reorganizing with everything still inside, but that didn’t work. Clearing the space and starting fresh made all the difference.
Our Family Pantry Stats:
- Family of four: two adults and two young children
- No pets
- We cook dinner about five nights a week and pack lunches daily
- We shop bulk stores occasionally for snacks, pasta, and pantry staples
- Walk-in pantry with two walls of wire shelving and an additional spice storage area; 9-foot ceilings
- Replacing wire shelving is a someday project, not a priority right now
Note: Read through all the steps before starting. Measure your space and order organizing bins and baskets in advance so you’re ready when you begin decluttering.
How to Declutter a Pantry
Before organizing, decluttering is essential. You can’t effectively organize when everything is still in place. Clearing the pantry first lets you see what you truly need and what should be discarded or relocated.
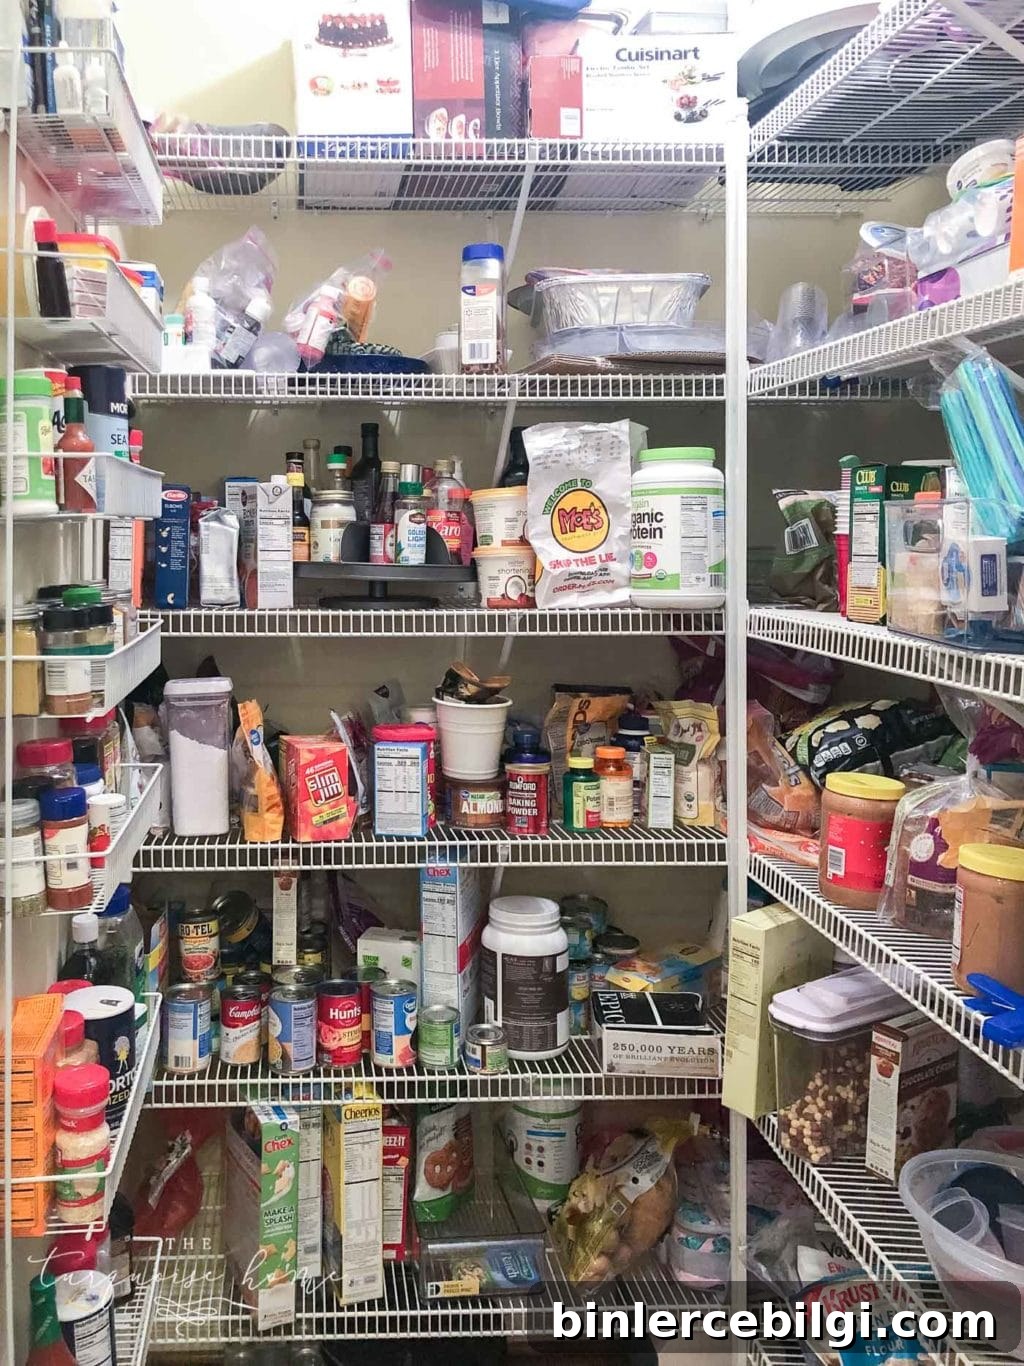
Step 1. Remove Everything from the Pantry
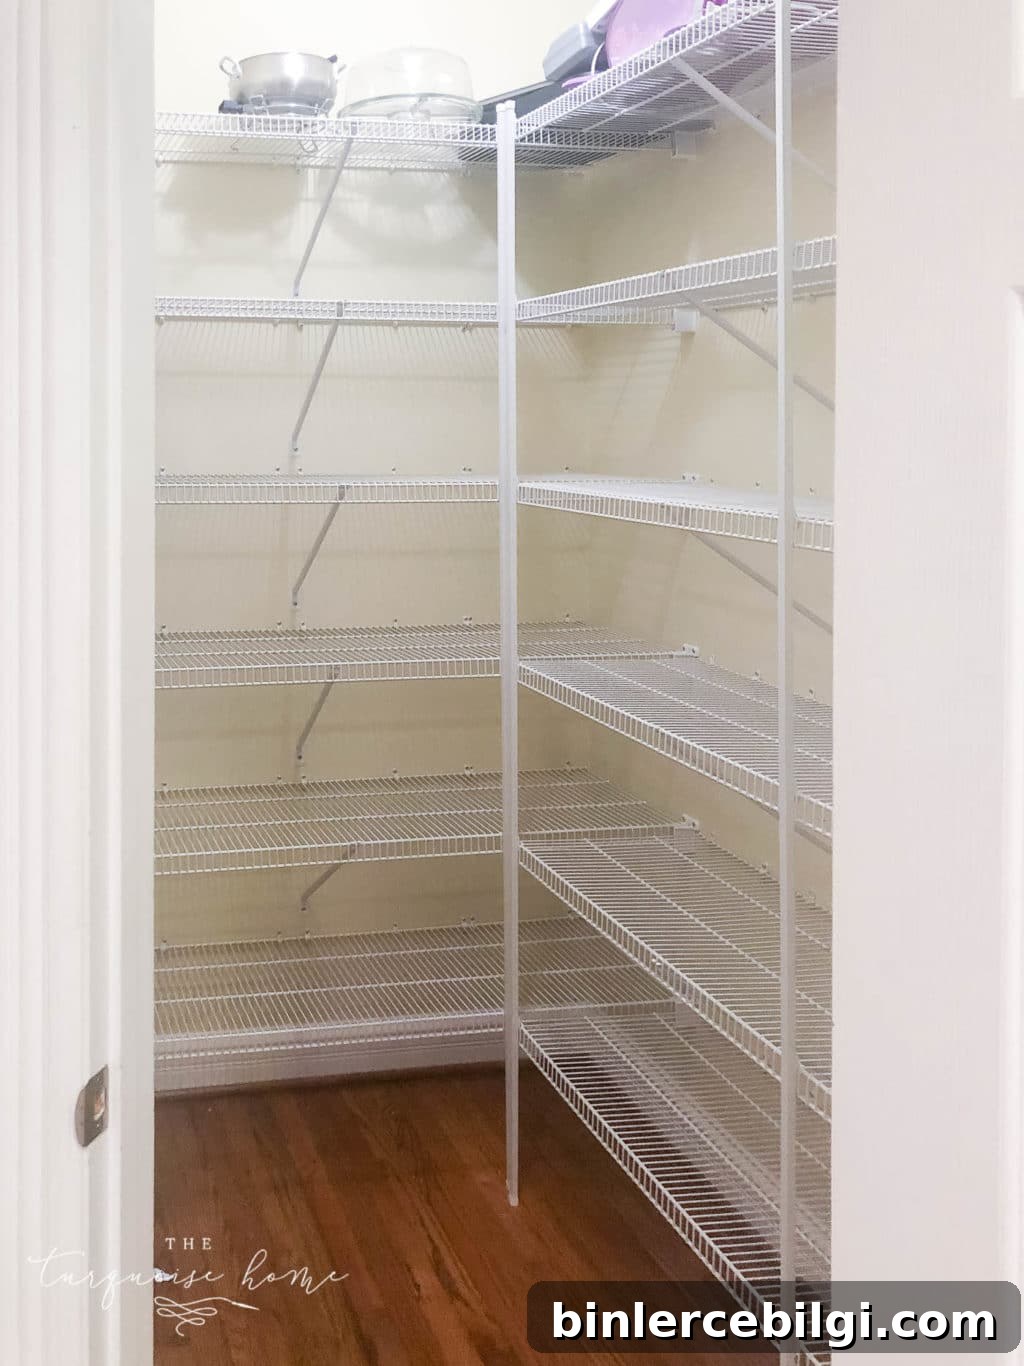
Take everything out except any items you know will stay—like serving dishes you plan to keep on a top shelf. Emptying the shelves gives you a clear picture of what you have and what can go.
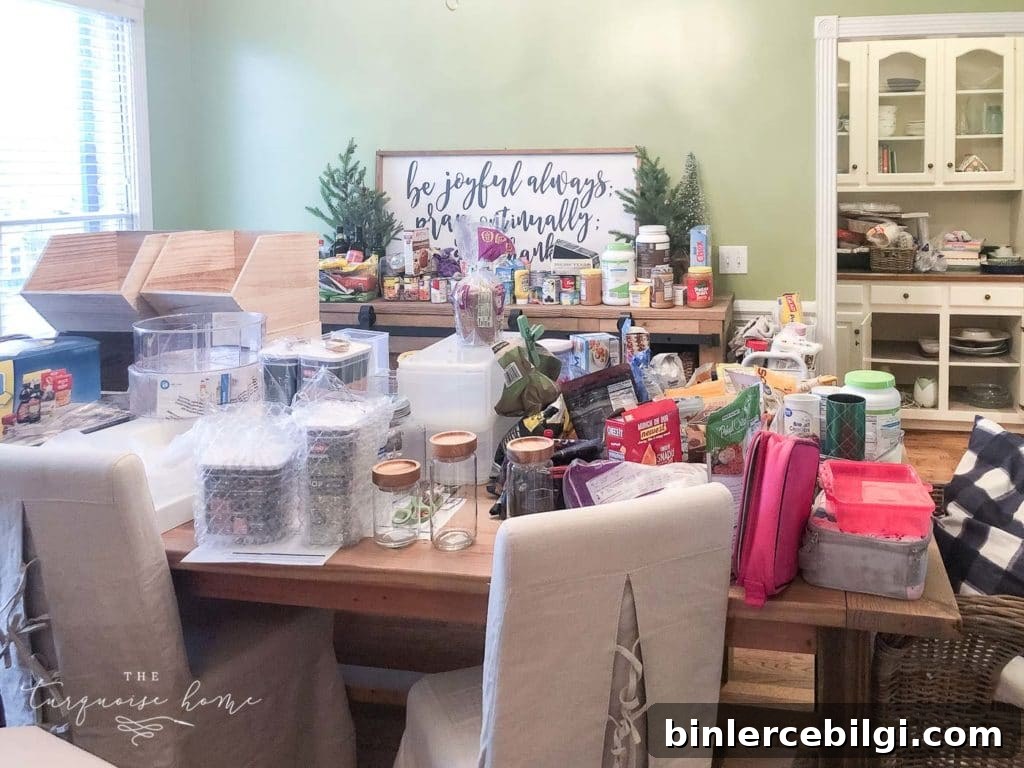
Expect the process to feel messy for a while. It’s normal to wonder how it all fit before—just stick with the steps and it will come together.
Step 2. Sweep and Wipe
With everything out, sweep the floor and wipe down all shelves. Dust, crumbs, and spills hide in corners—cleaning creates a fresh base for your new system.
Step 3. Group Similar Items & Discard Expired Foods
As you group items—flours, sugars, oils, baking goods, snacks—check expiration dates and discard anything expired. Grouping now makes it easier to decide what storage solutions you’ll need.
Step 4. Donate Usable Items You Won’t Use
If you have unopened, unexpired items you won’t use—donate them. This reduces clutter and helps others. It’s a simple way to pare down what stays in your pantry.
Step 5. Move Items That Belong Elsewhere
Relocate items that make more sense in another area of your home. I moved serving pieces to my butler’s pantry to free up space and improve access. Use the most sensible storage spot for each item.
Walk-in Pantry Organization Ideas
Once decluttered and grouped, it’s time to organize. Think about visibility and accessibility, and choose storage that suits your shelving and inventory.
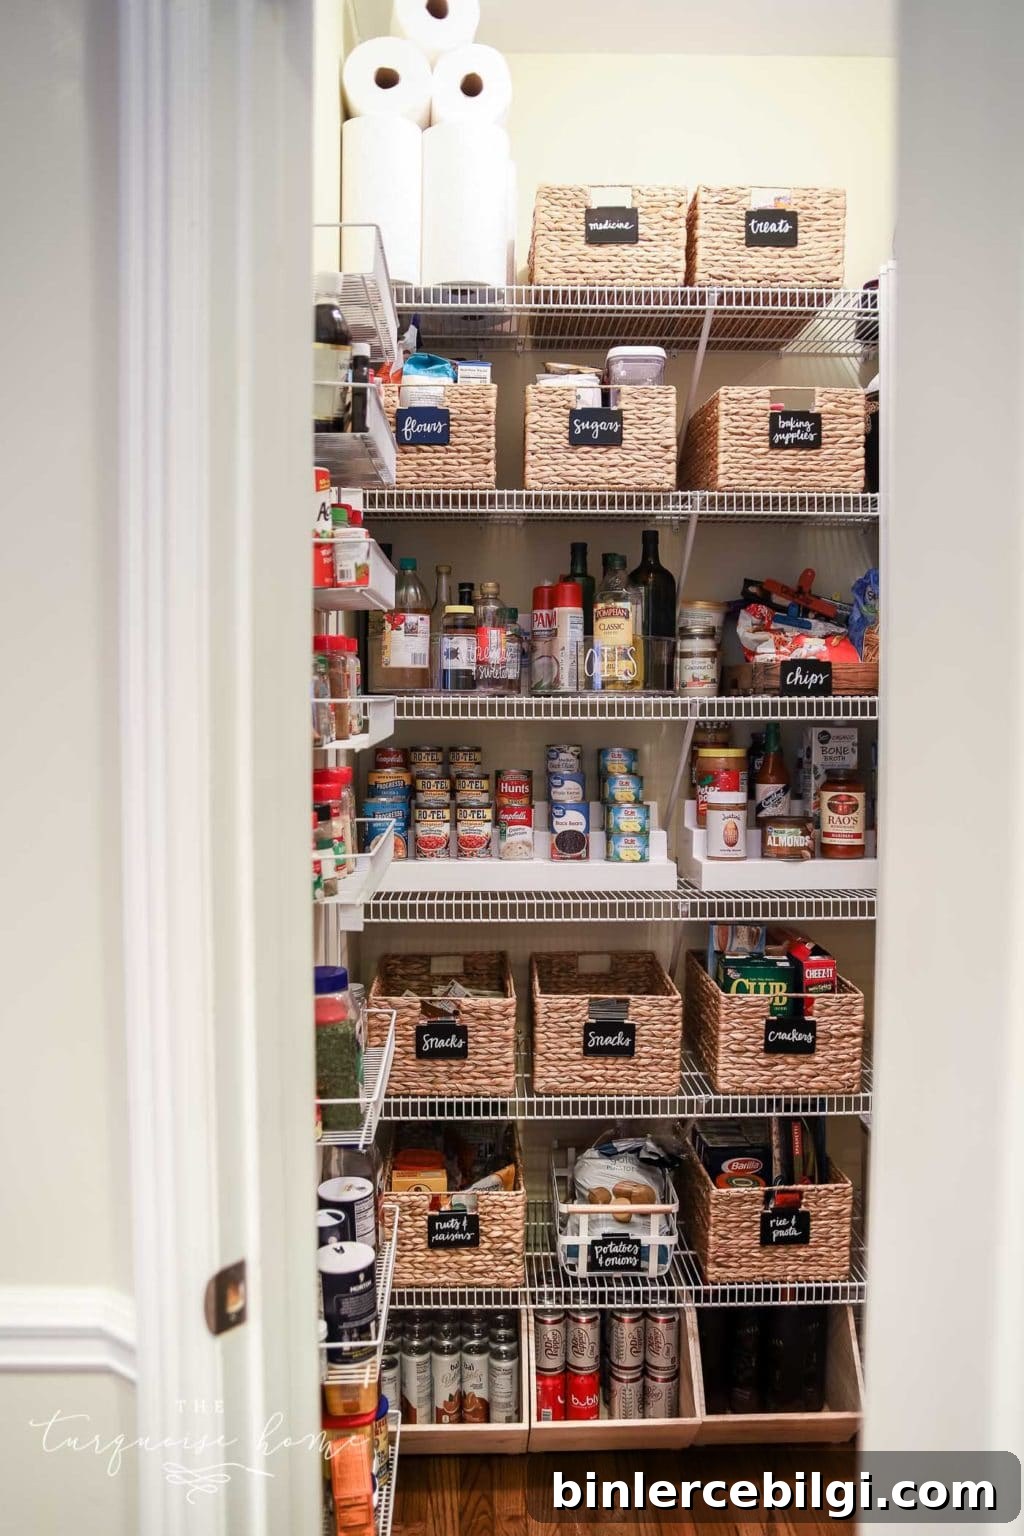
If you can invest in quality baskets and bins, it’s worth it for both function and aesthetics. A visually pleasing pantry is easier to maintain and makes cooking and meal prep more enjoyable.
Step 1. Measure Your Space
Measure shelf width, depth, and height before purchasing organizers. Note obstacles like supports or uneven shelving so you select baskets and risers that fit perfectly. Standard closet shelving sizes often make it easier to find compatible baskets.
Step 2. Decide What You Need to Store
Do you need can storage, large canisters for staples (flour, sugar, rice), snack baskets, or lazy susans for oils and small bottles? Plan based on what you use most to avoid buying unnecessary solutions.
Step 3. Buy Containers—and Extras
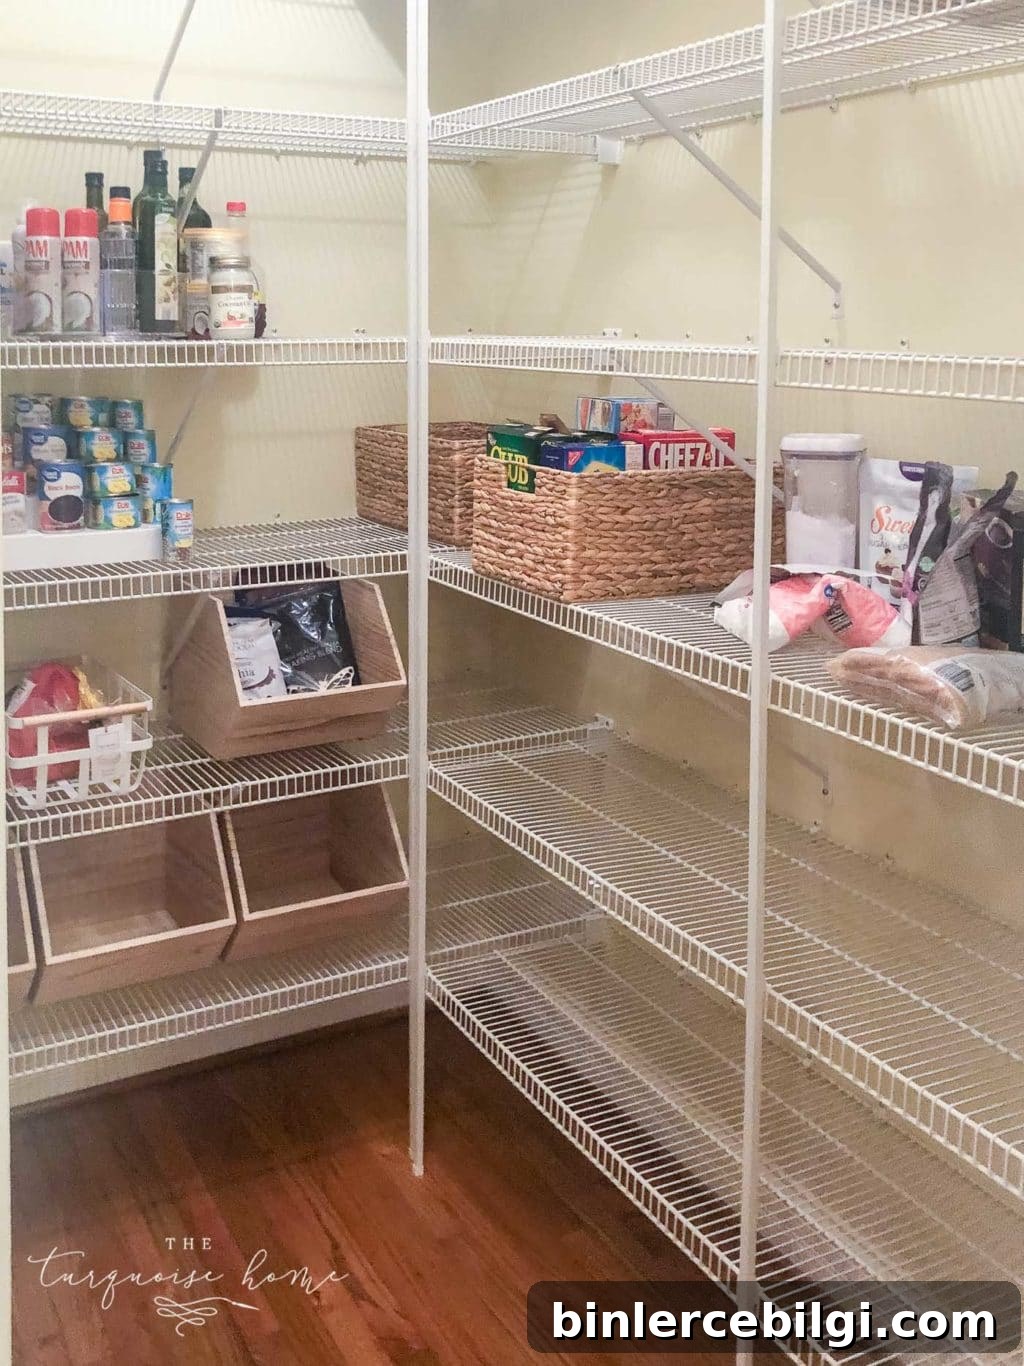
Order containers sized to your shelves and your needs. Choose opaque bins for a uniform look or clear containers to see contents at a glance. Buy a few extras—you can always return them, but it’s inconvenient to reorder halfway through your project.
Step 4. Organize Systematically
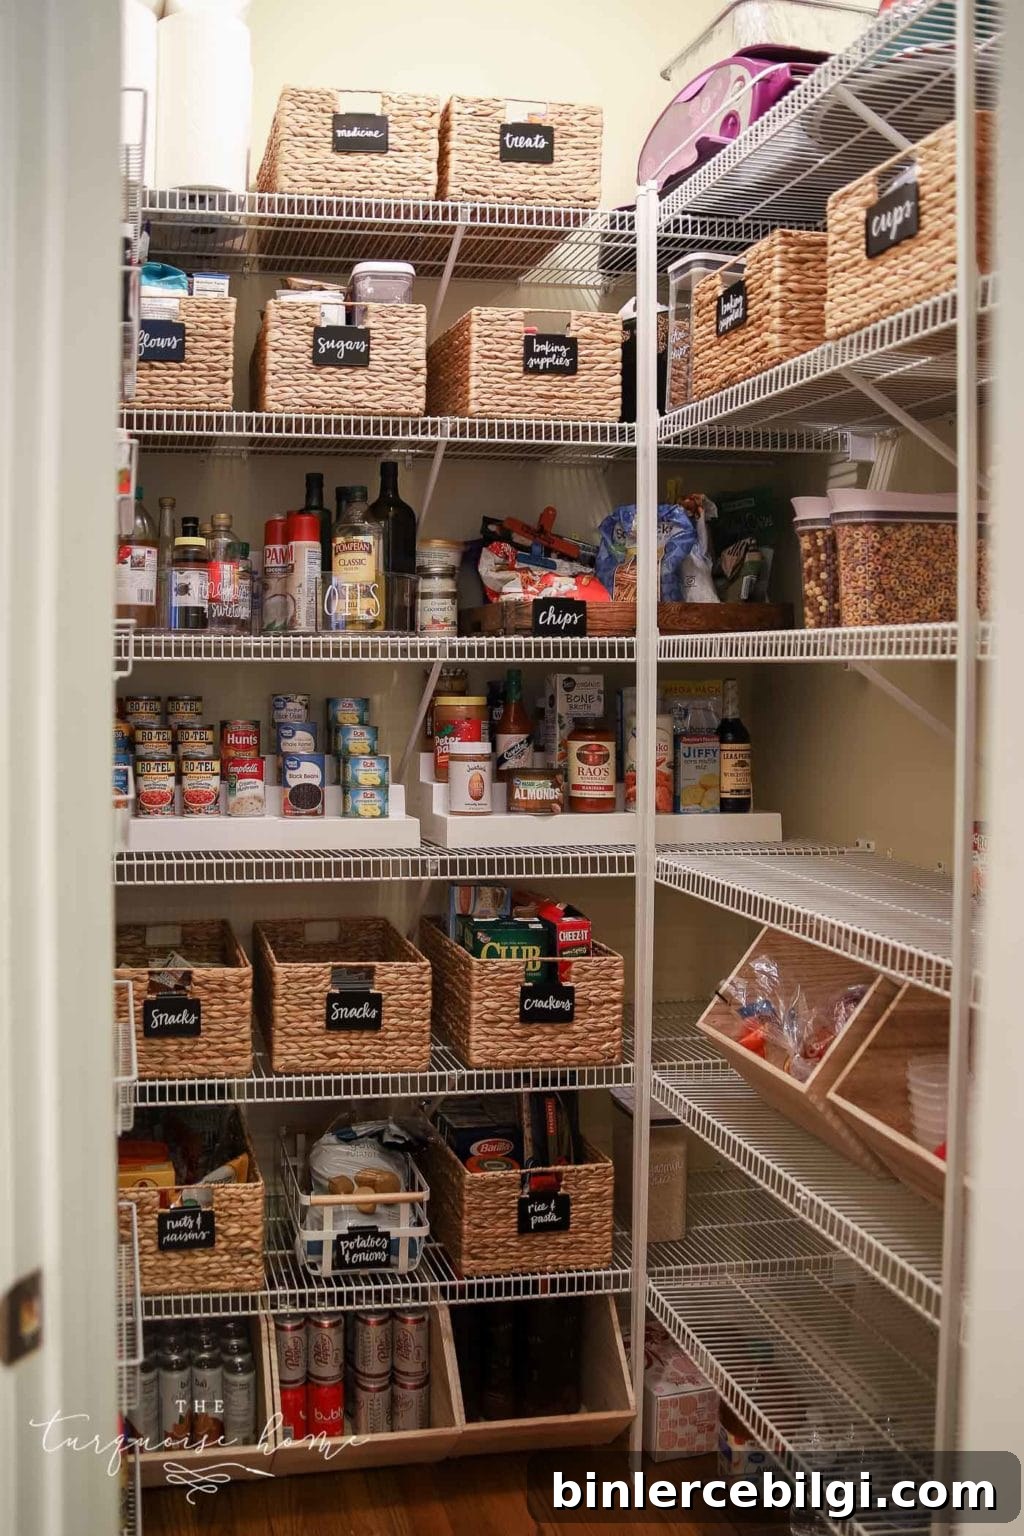
Arrange items in a logical pattern that suits your household. Place daily-use items at eye level, heavy items on lower shelves, and infrequently used items higher up. Keep like items together so meal prep is faster and easier.
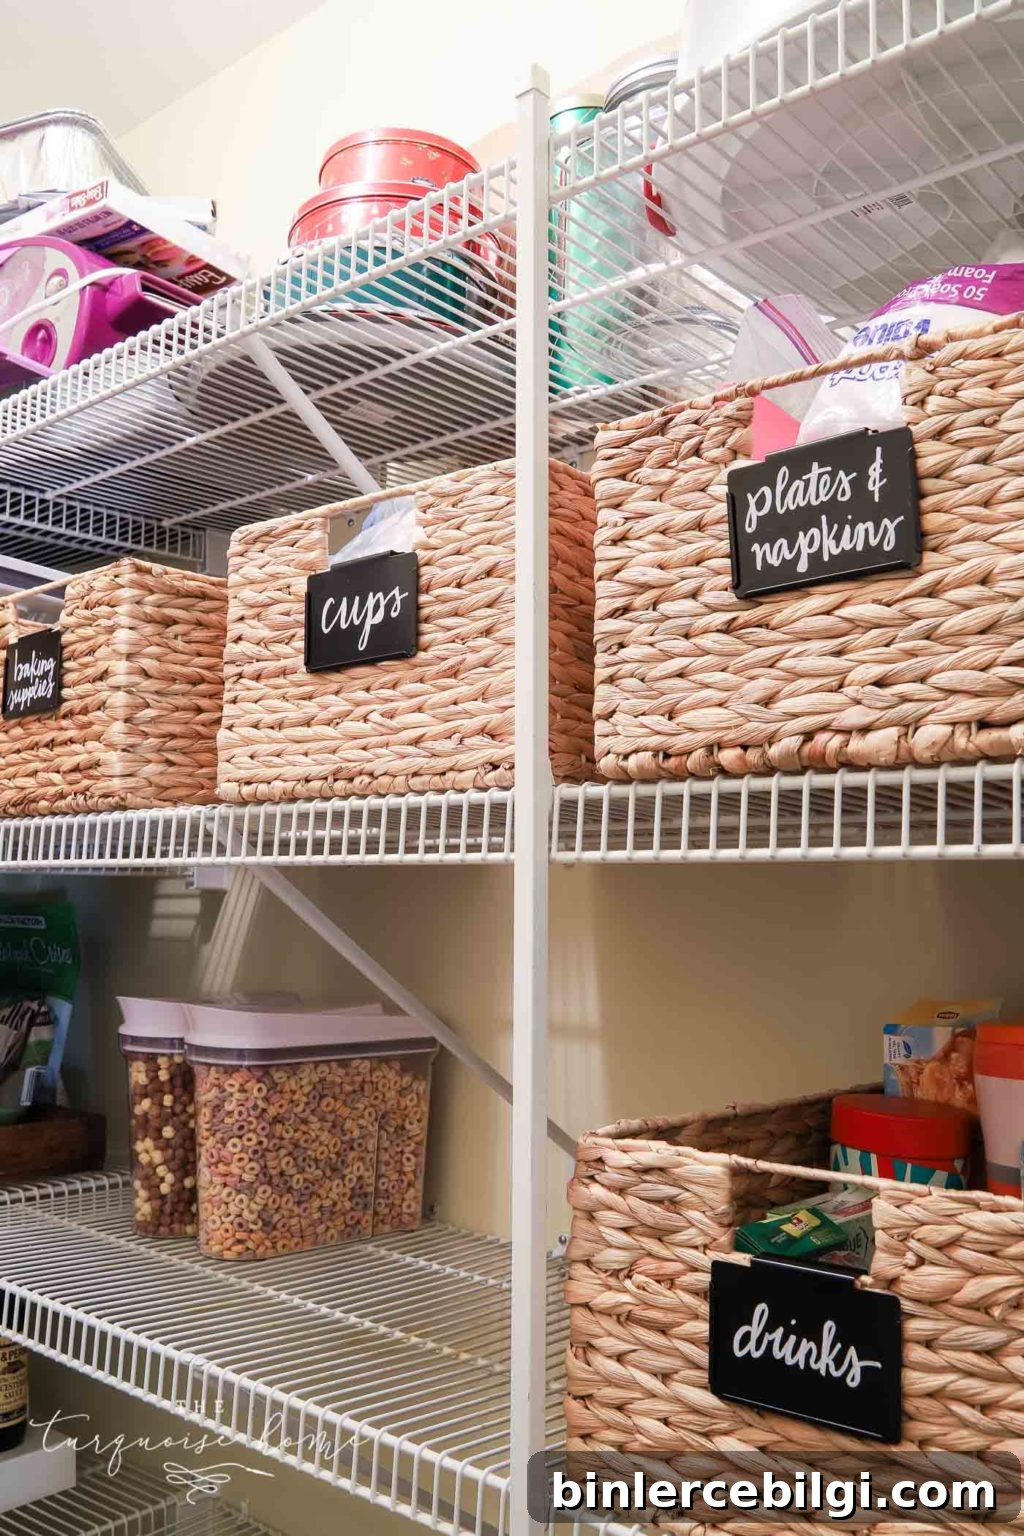
How I Organized My Pantry
Below are the specific tactics I used that worked well for my pantry. Use what fits your needs and adapt as necessary.
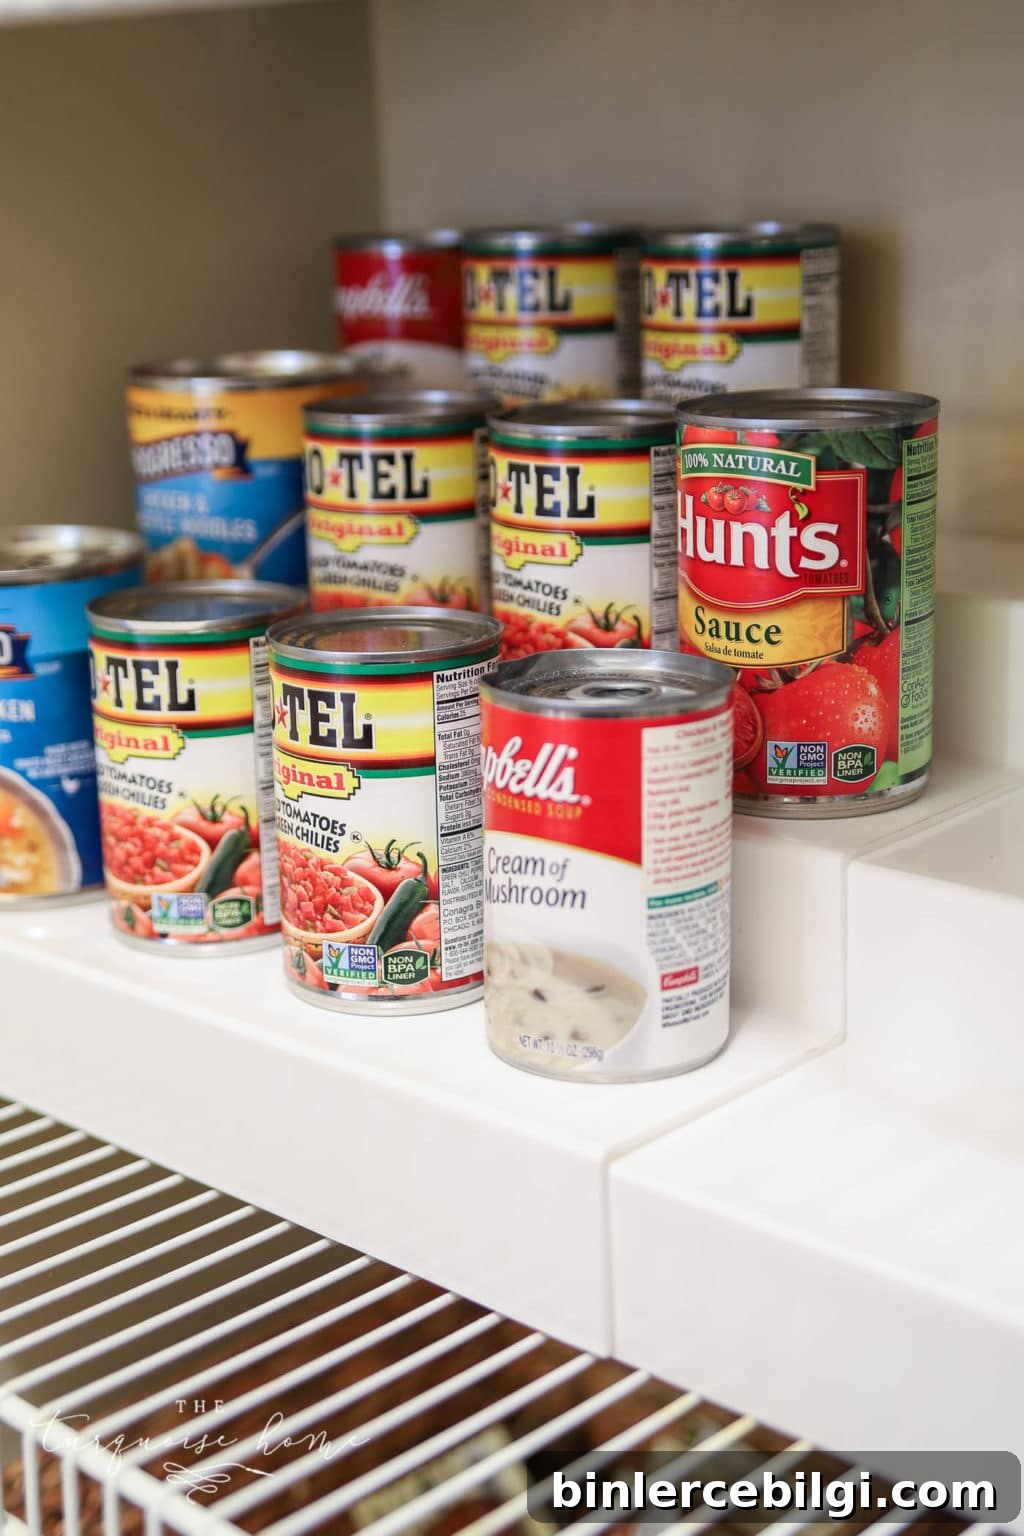
1. Use Can Risers for Backstock
Can risers make stacked cans and jars visible and accessible. Choose risers sized for full-sized cans so everything fits neatly and is easy to find.
2. Label Aggressively
Labels are a game-changer. I used chalkboard-style labels on baskets so anyone in the family can quickly locate items. Labeling reduces guessing and helps keep the system consistent over time.
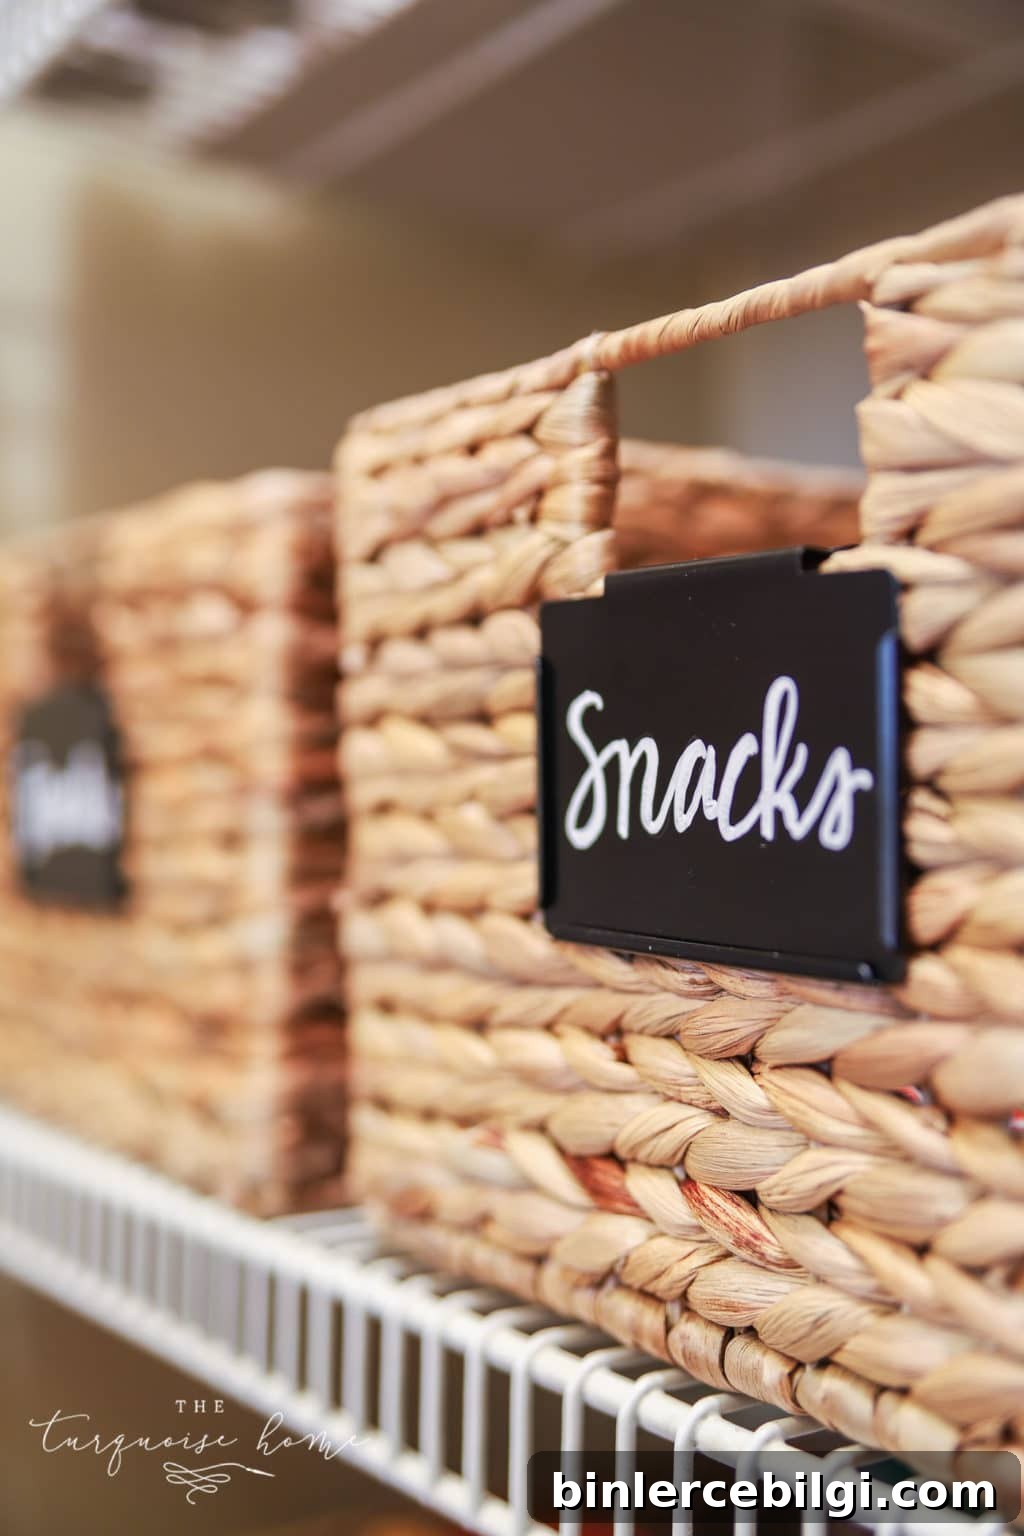
3. Categorize in a Way That Works for You
Group foods by use—dinner, lunch, breakfast, snacks—or by type—baking, pasta, cereals. Choose categories that simplify your routine and shopping habits.
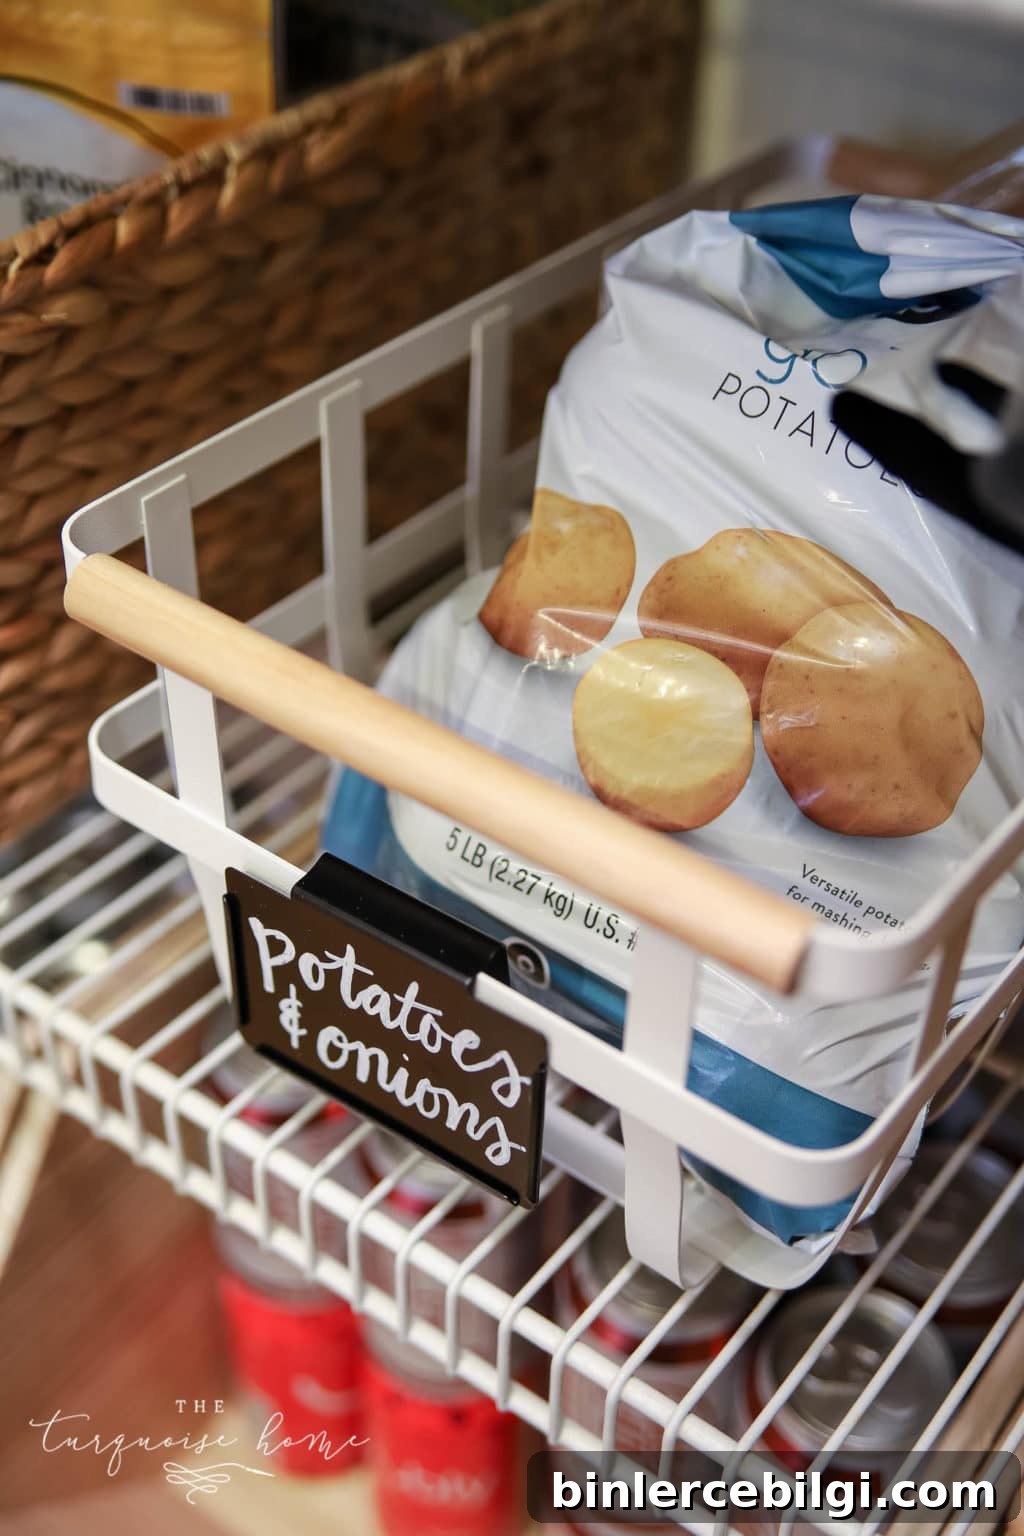
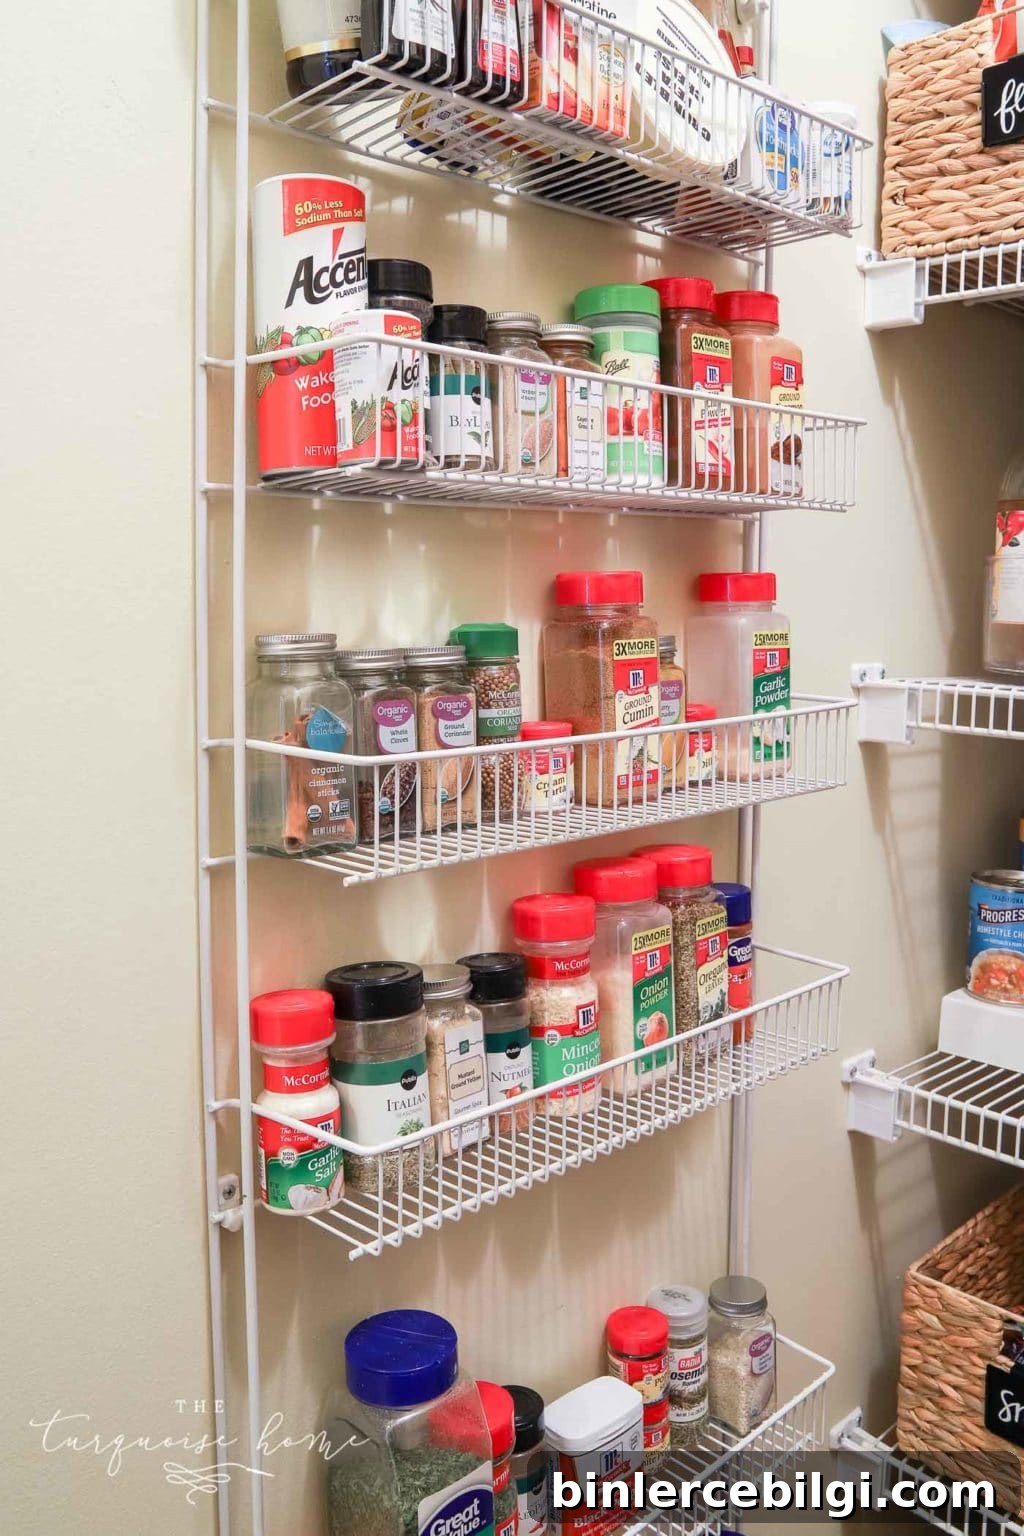
4. Use Wall Space and the Back of the Door
Install racks or hooks on walls or the back of the door for spices, wraps, or grocery bags. Extra vertical space is often overlooked but can add valuable storage.
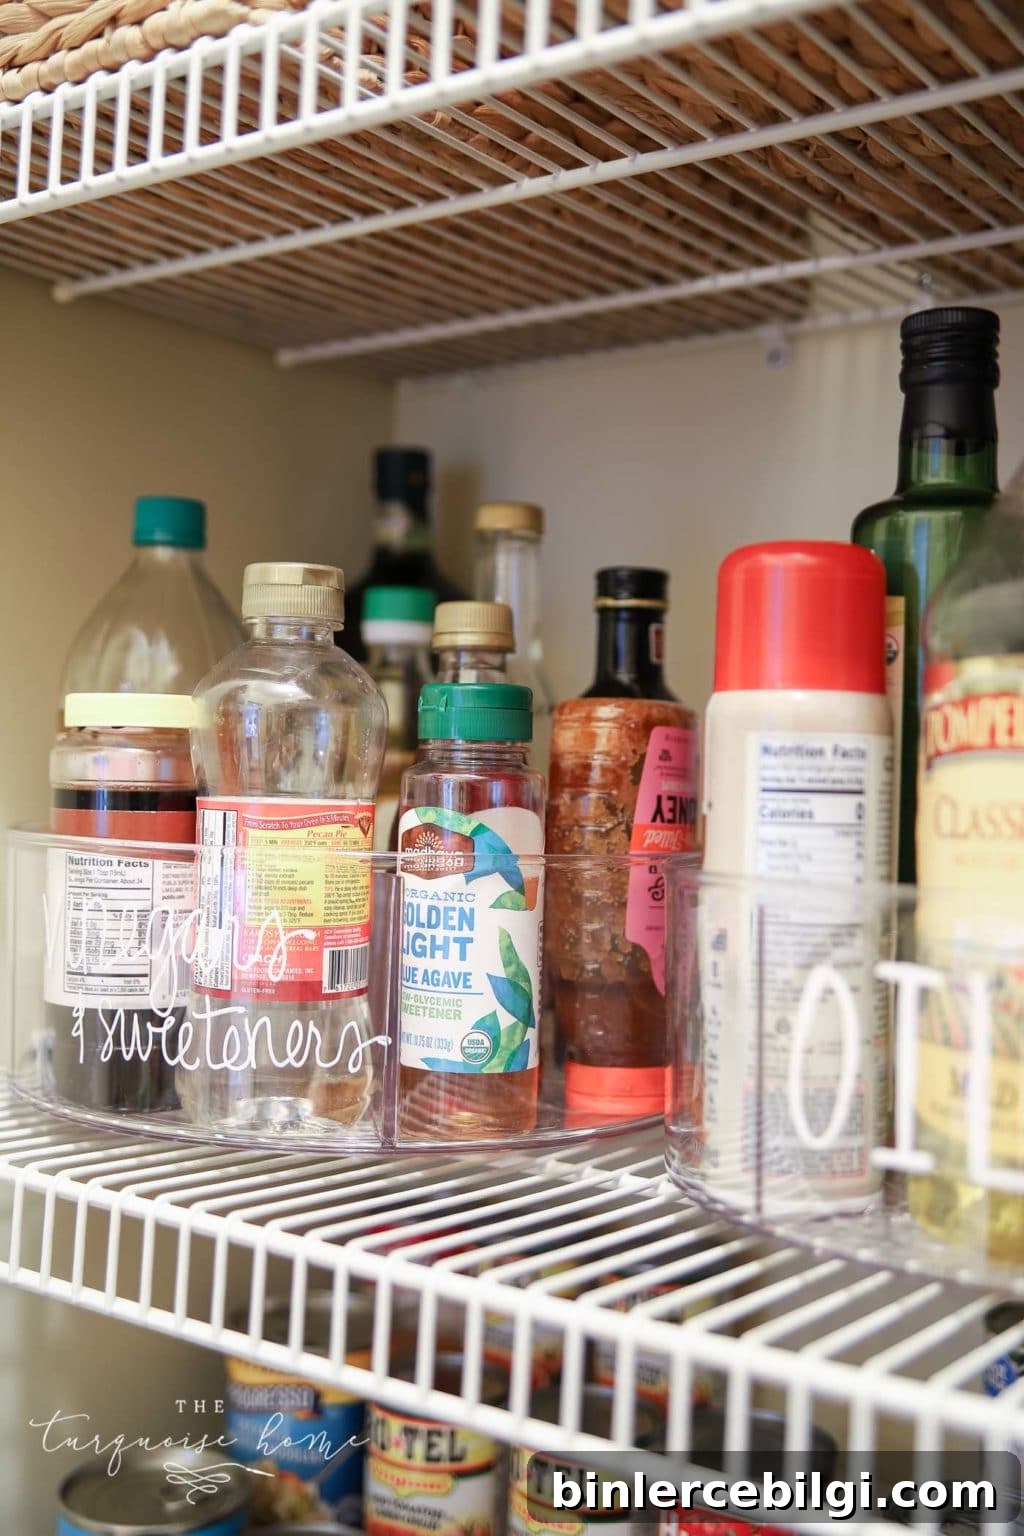
5. Use a Lazy Susan for Small Round Jars or Corners
A lazy susan keeps oils, vinegars, and small jars from toppling and makes hard-to-reach corners usable.
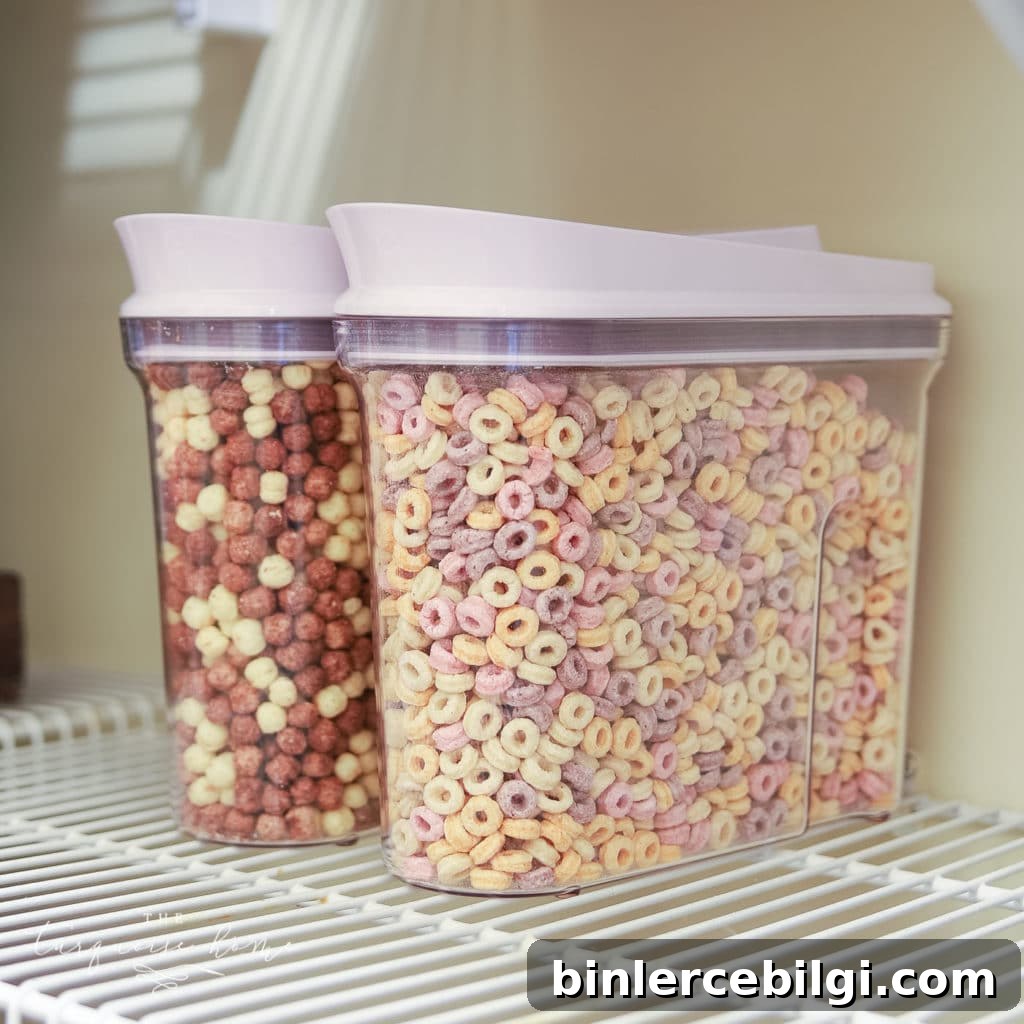
6. Store Frequently Used Items in Canisters
For staples you use daily—cereal, rice, chocolate chips—store them in airtight canisters or dispensers. It saves space, reduces packaging waste, and looks neat.
7. Use Reach-In Bins for Large Items
Stackable bins on the floor corral drinks, bulk items, or plastic containers so they don’t roll around or get lost in the back.
Final Thoughts
A well-organized pantry makes daily life easier. Start by decluttering, measure and plan, then invest in storage solutions that suit your needs. Keep categories clear, label thoughtfully, and tweak the system until it fits your routine. Share any tips that worked for you—I’d love to hear them!
More Posts You Will Love:
- How to Decorate Kitchen Counters {Decorating 101}
- How to Organize a Messy Garage
- How to Declutter an Entire Room in 5 Simple Steps