
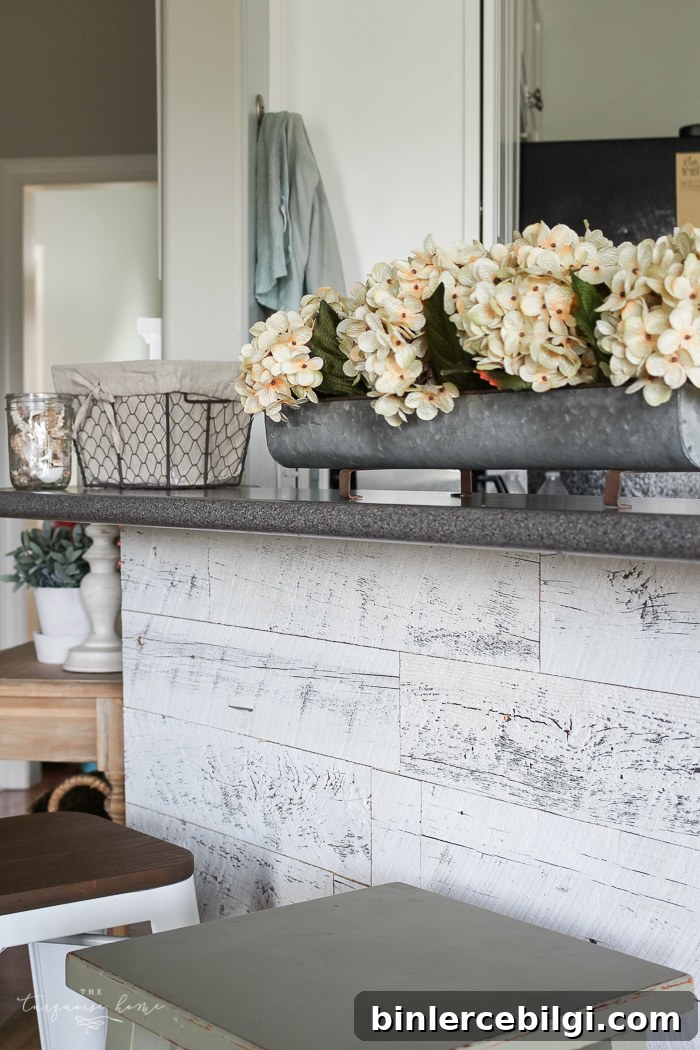
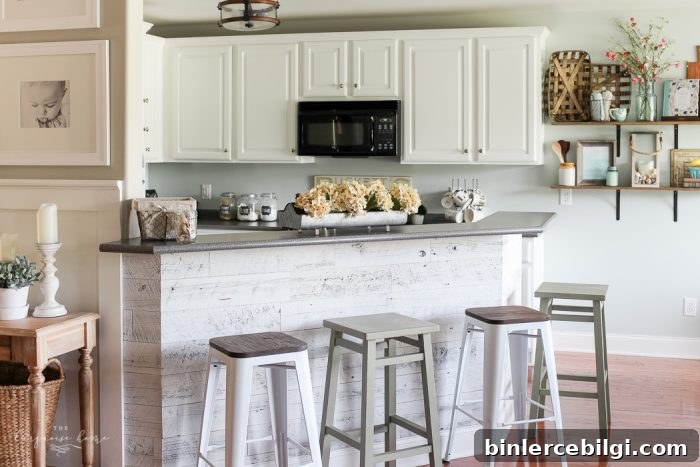
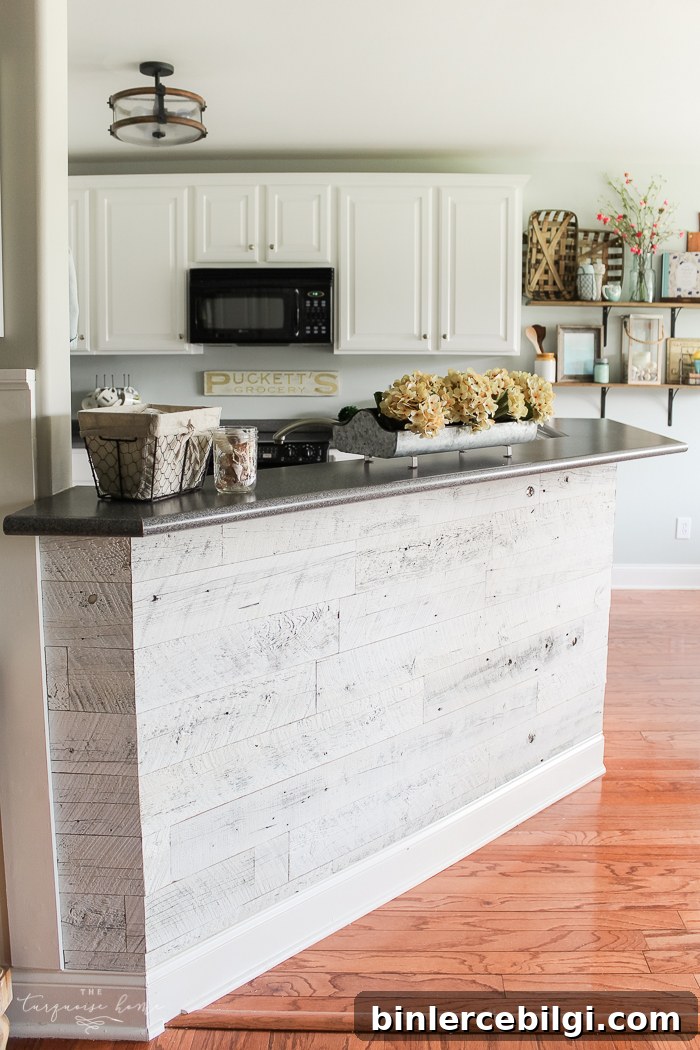
This weathered reclaimed wood project was quick and simple, and it adds instant character and charm to my kitchen. I absolutely love my new weathered reclaimed wood kitchen bar.
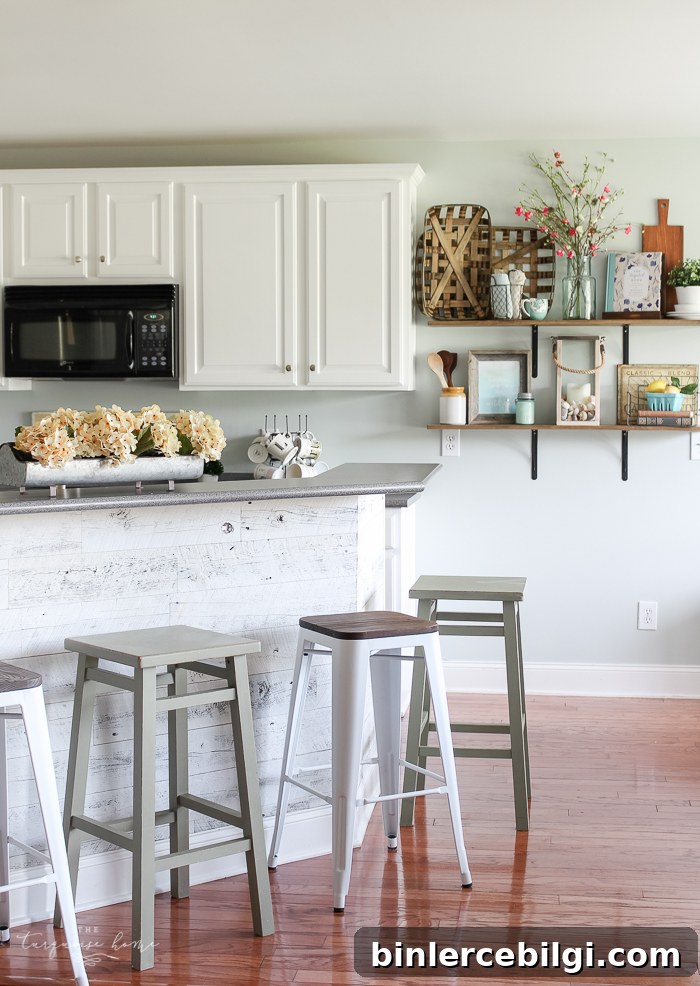
A few months ago I shared my vision for this bar wall in my kitchen. I’d been imagining reclaimed wood planking on the bar for years but wasn’t sure how to make it work without an overwhelming amount of effort. Then I found an image on Pinterest that showed exactly the look I wanted and a similar layout to my space—so I finally knew how to proceed.
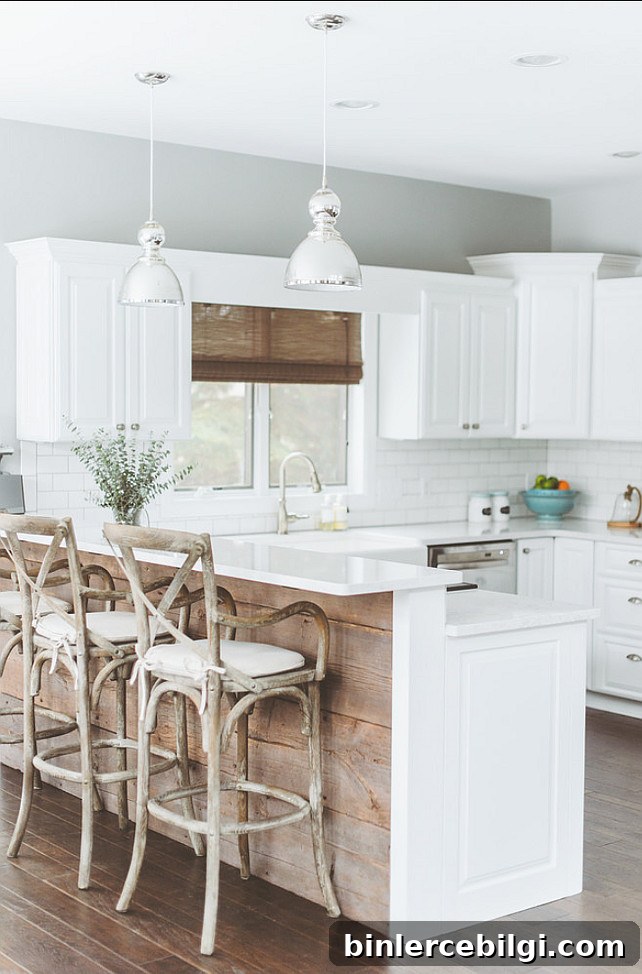
Deluxe Design Studio
Around that time I connected with Stikwood, a company that sells peel-and-stick reclaimed wood panels. These are real reclaimed wood boards with a peel-and-stick backing, so they’re one of the easiest ways to bring authentic reclaimed wood texture into a home without the hassle of full-scale carpentry.
I expected to like the result, but I’m genuinely thrilled with how my weathered reclaimed wood kitchen bar turned out. The boards bring so much depth and charm to the space that it feels like a whole new kitchen.
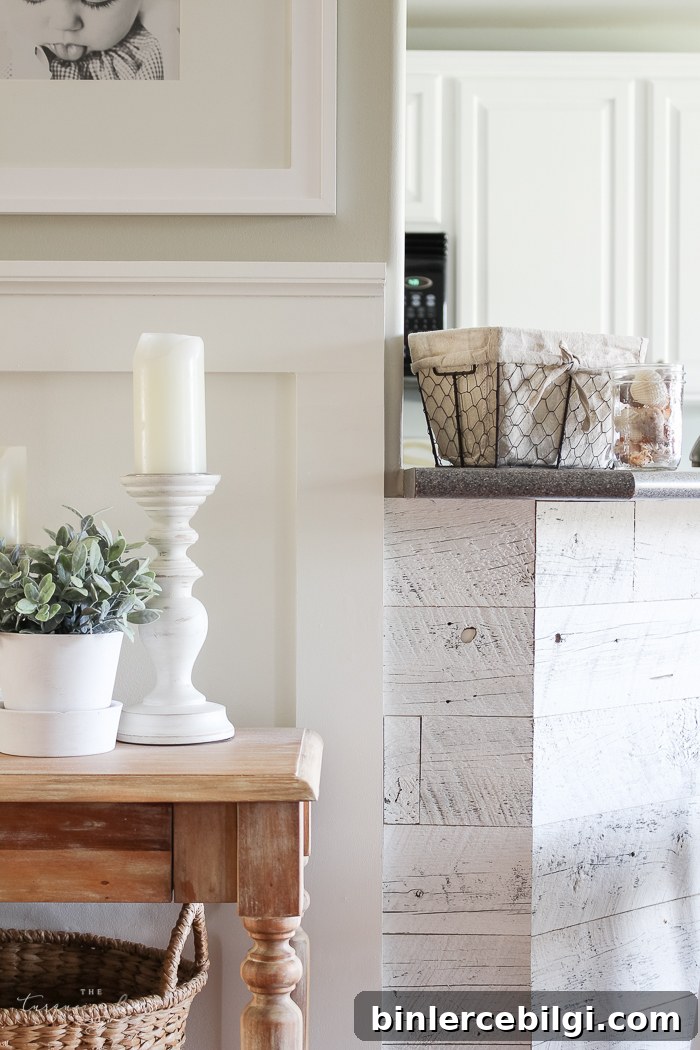
If you’ve been thinking about adding reclaimed wood to a bar, an island, or an accent wall, peel-and-stick reclaimed planks are a low-effort, high-impact solution. Below I outline the tools I used and the steps that made the project straightforward and manageable.
Tools Needed for DIY Reclaimed Wood Wall
- Stikwood in Weathered White
- Saw — I used my miter saw, but a handsaw works fine for straight cuts.
- Rubber seam roller
- Level
- Pencil
- Tape measure
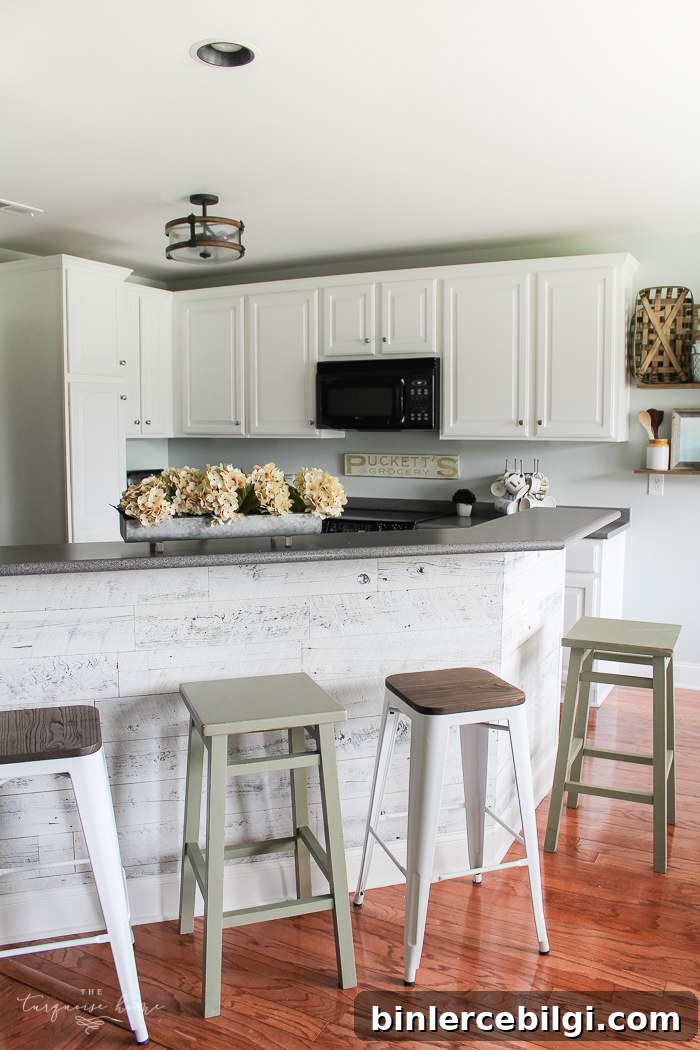
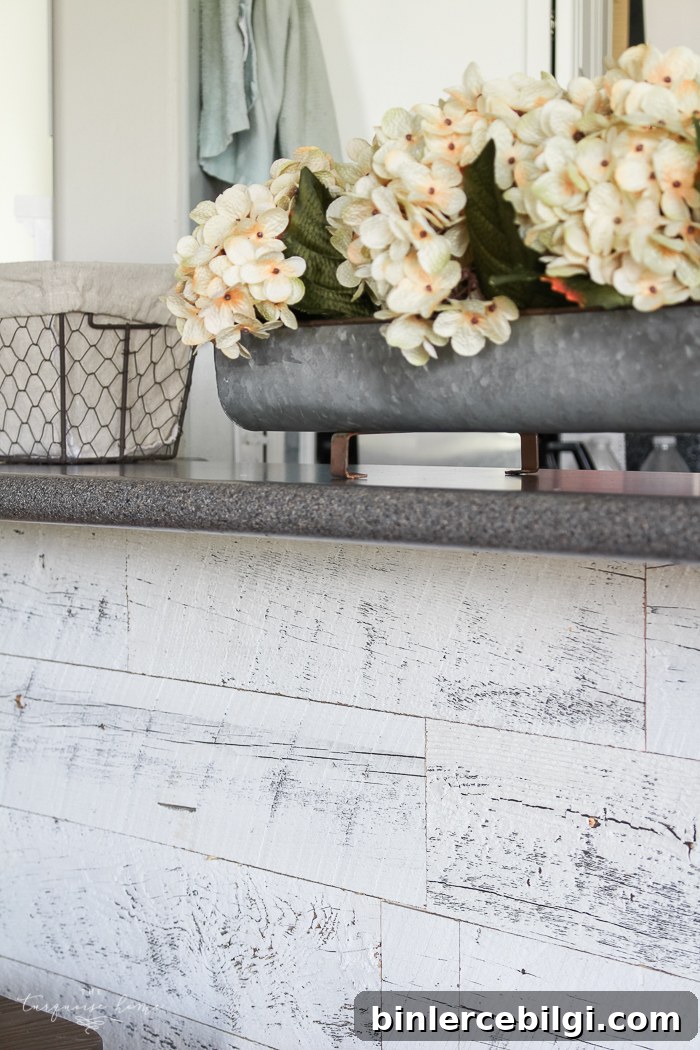
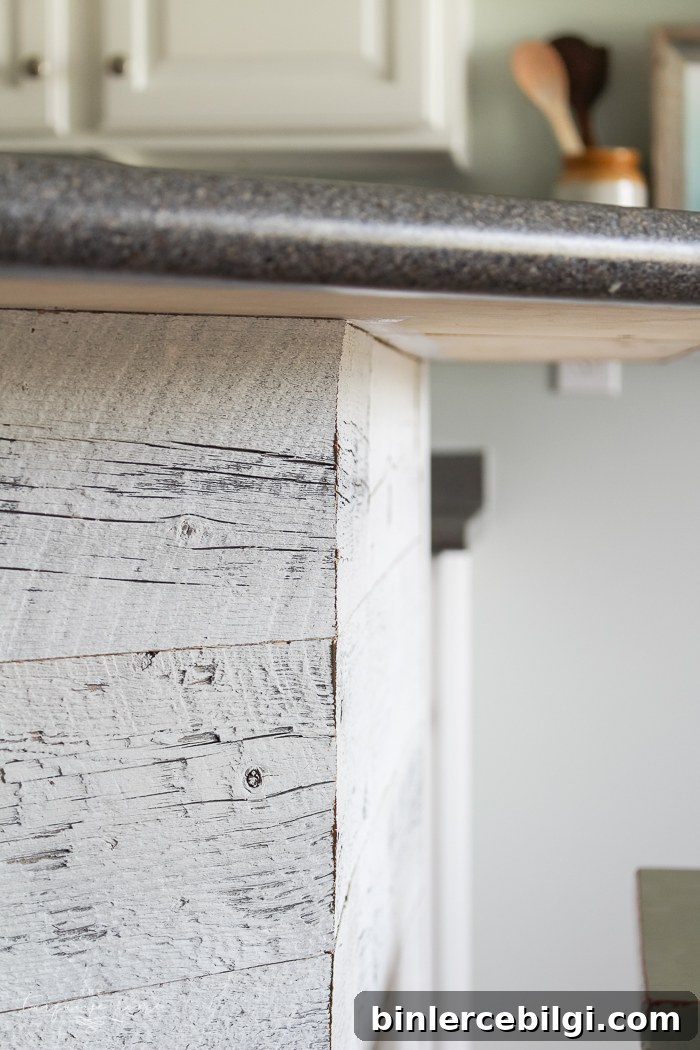
When I opened the box, I was delighted: these boards are authentic reclaimed wood with real knots, imperfections, and a beautifully weathered finish. I polled readers about color choices earlier and many recommended weathered gray, but I chose weathered white and it ties beautifully into my white cabinets and gray countertops.
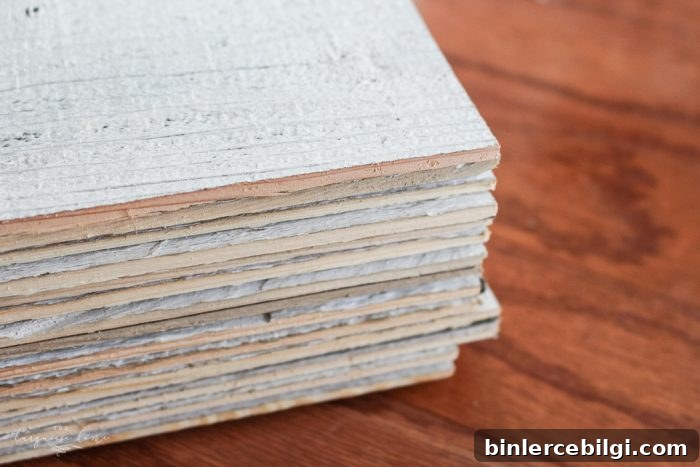
My second surprise was that the amount of wood in the kit turned out to be plenty to cover the bar — with a little left over for another small project.
Before You Start
A few preparatory decisions made the installation much easier:
- I removed the trim beneath the countertop because I never liked it and it gave the reclaimed boards a cleaner start.
- Since some gaps and knots are semi-transparent, having a painted surface behind the boards matters. My bar was already painted white, which works well. If your wall color will show through, paint it first.
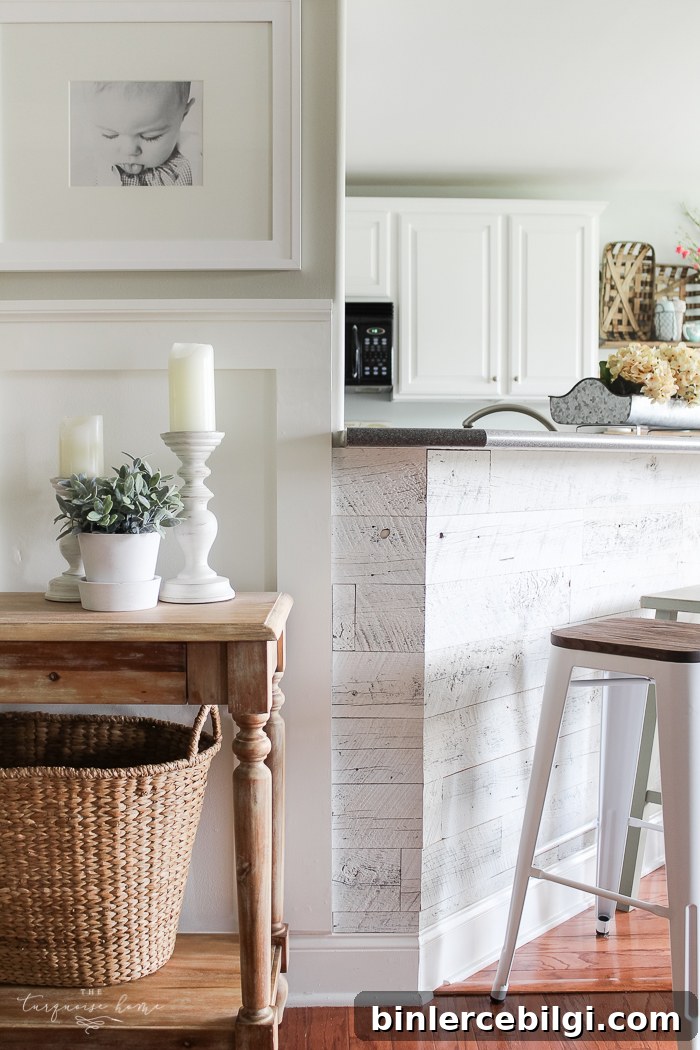
- Plan your starting and stopping points. I began on one end next to existing board-and-batten. The opposite end didn’t provide a clean edge, so I added a small trim piece to finish that side. Stikwood sells corner and edge trim, but sometimes a simple wood trim from a hardware store is the right fit.
- Lay out all the reclaimed pieces beforehand to find a pleasing mix of light and dark boards and varied lengths so the final look is balanced.
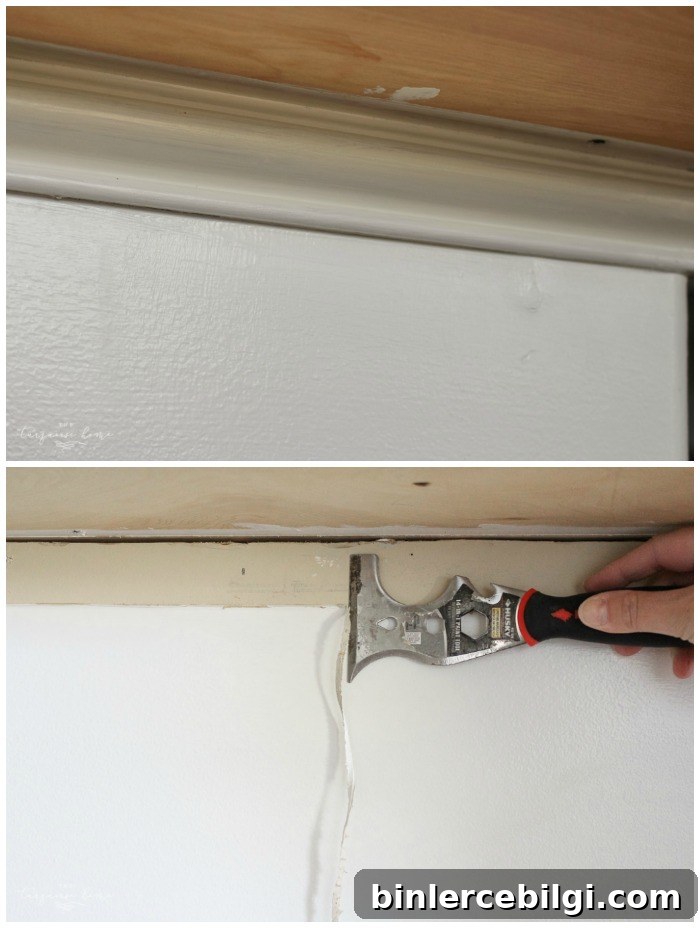
Getting Started
If I had to do it again, I would start at the bottom. I ended up trimming several boards lengthwise at the bottom to fit under the overhanging countertop. Because the top rows are less visible, it’s often smarter to put pieces that may need trimming at the top.
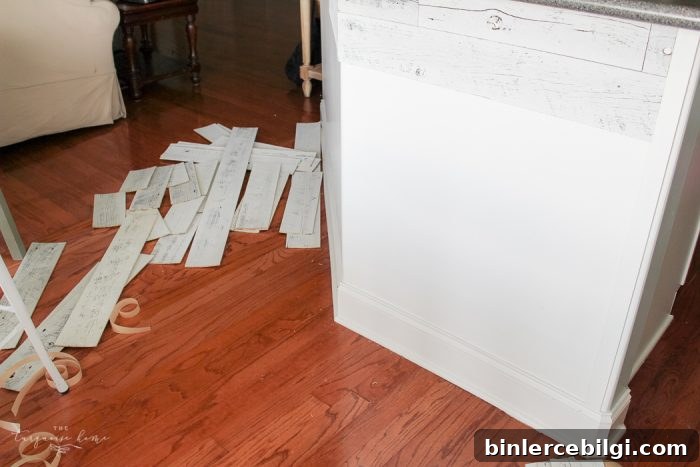
Installation is straightforward: measure, cut, peel the backing, and stick each board to the wall. Because my bar had angled edges I had to miter cut some boards, which added a little time, but most installations will be much faster. Keep each row level as you go.
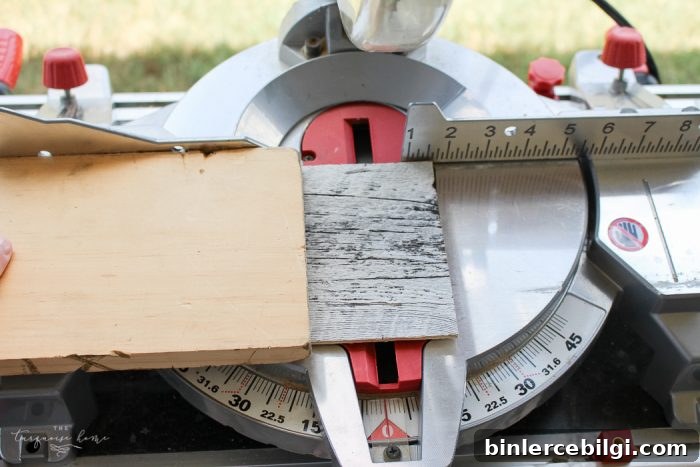
I used my miter saw and placed a heavy board over the thin reclaimed planks while cutting to keep them flat — that produced clean, even cuts. The adhesive on these boards is very strong, so use a rubber seam roller to press each plank firmly into place. Removing a board after it’s set is possible but can damage the finish or the wall, so double-check orientation and fit before sticking.
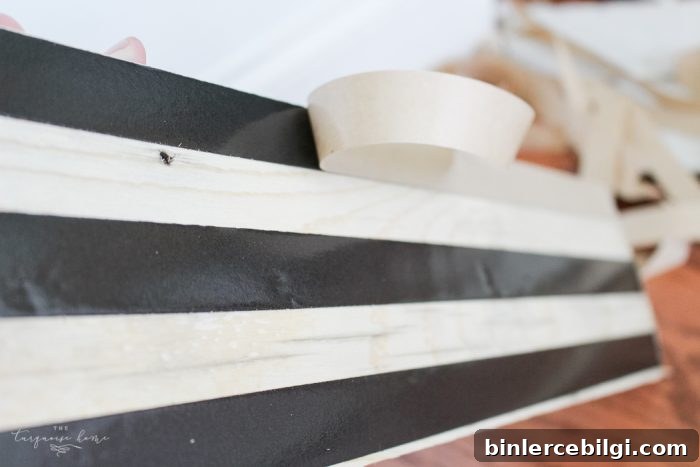
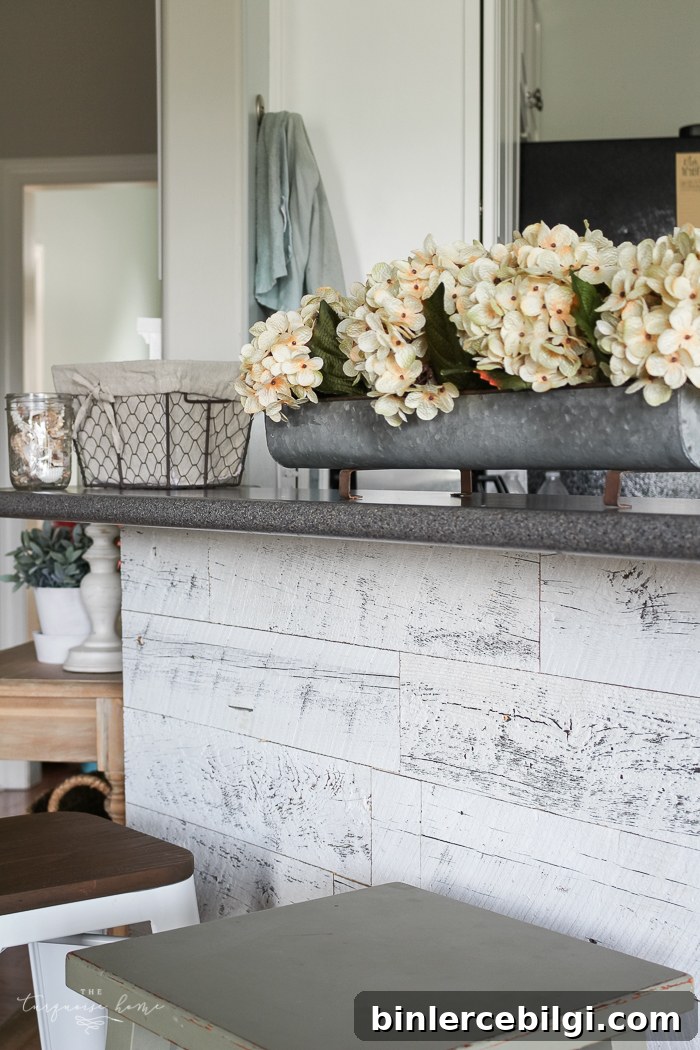
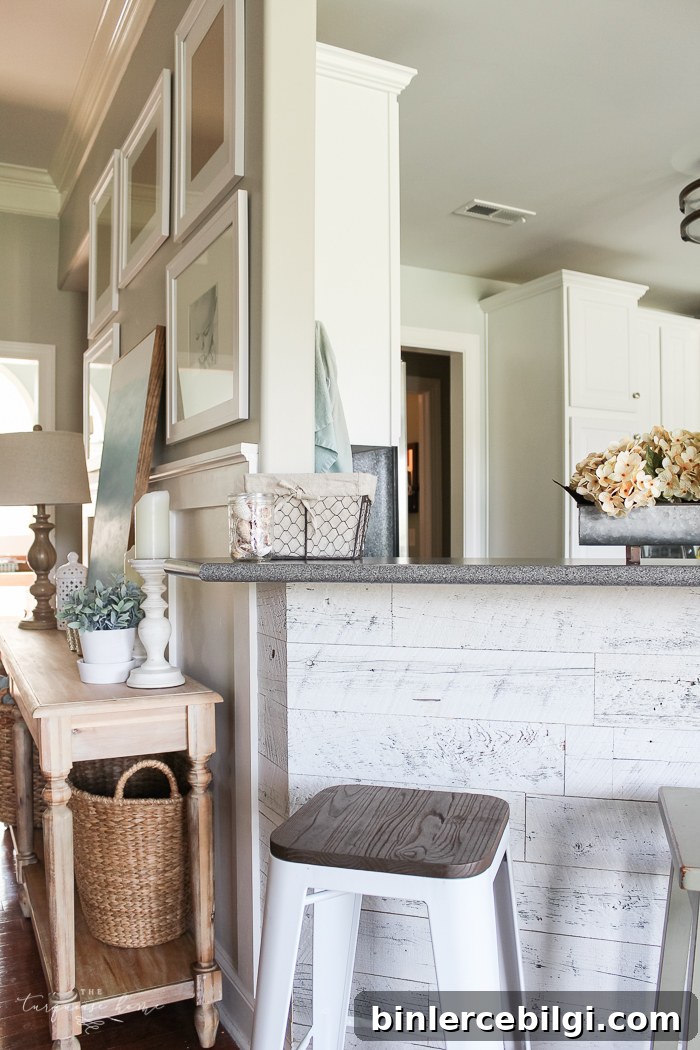
Once I settled into a rhythm, the rows went up quickly. Below is the “before” photo of the bar and a few shots of the finished look — the reclaimed wood adds so much character that the space feels warmer and more layered.
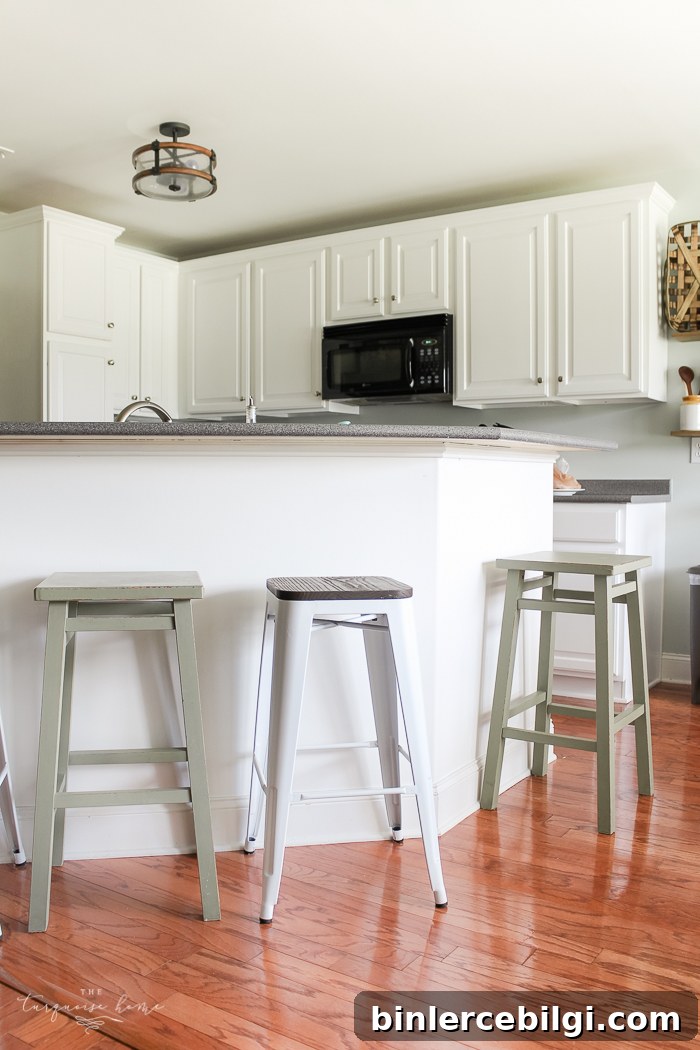
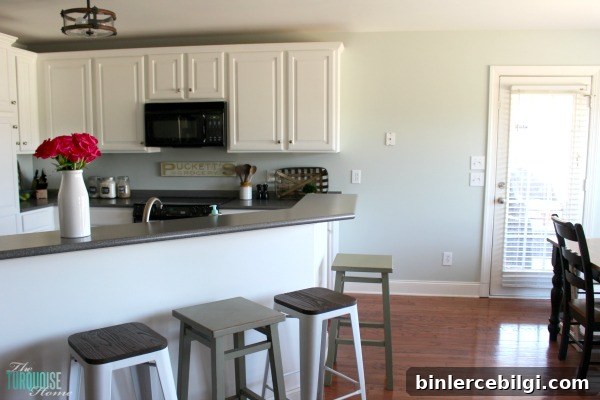
And now the bar is full of texture and personality — it adds depth to the kitchen and makes me smile every time I walk in.
Shop This Post:
I could share more photos, but I’ll stop the picture parade here. Where would reclaimed wood work best in your home?
More Posts You Will Love:
- Large DIY Wall Decor Ideas
- How to Make a Large Wooden Sign
- 10 Large Round Mirrors We Love