
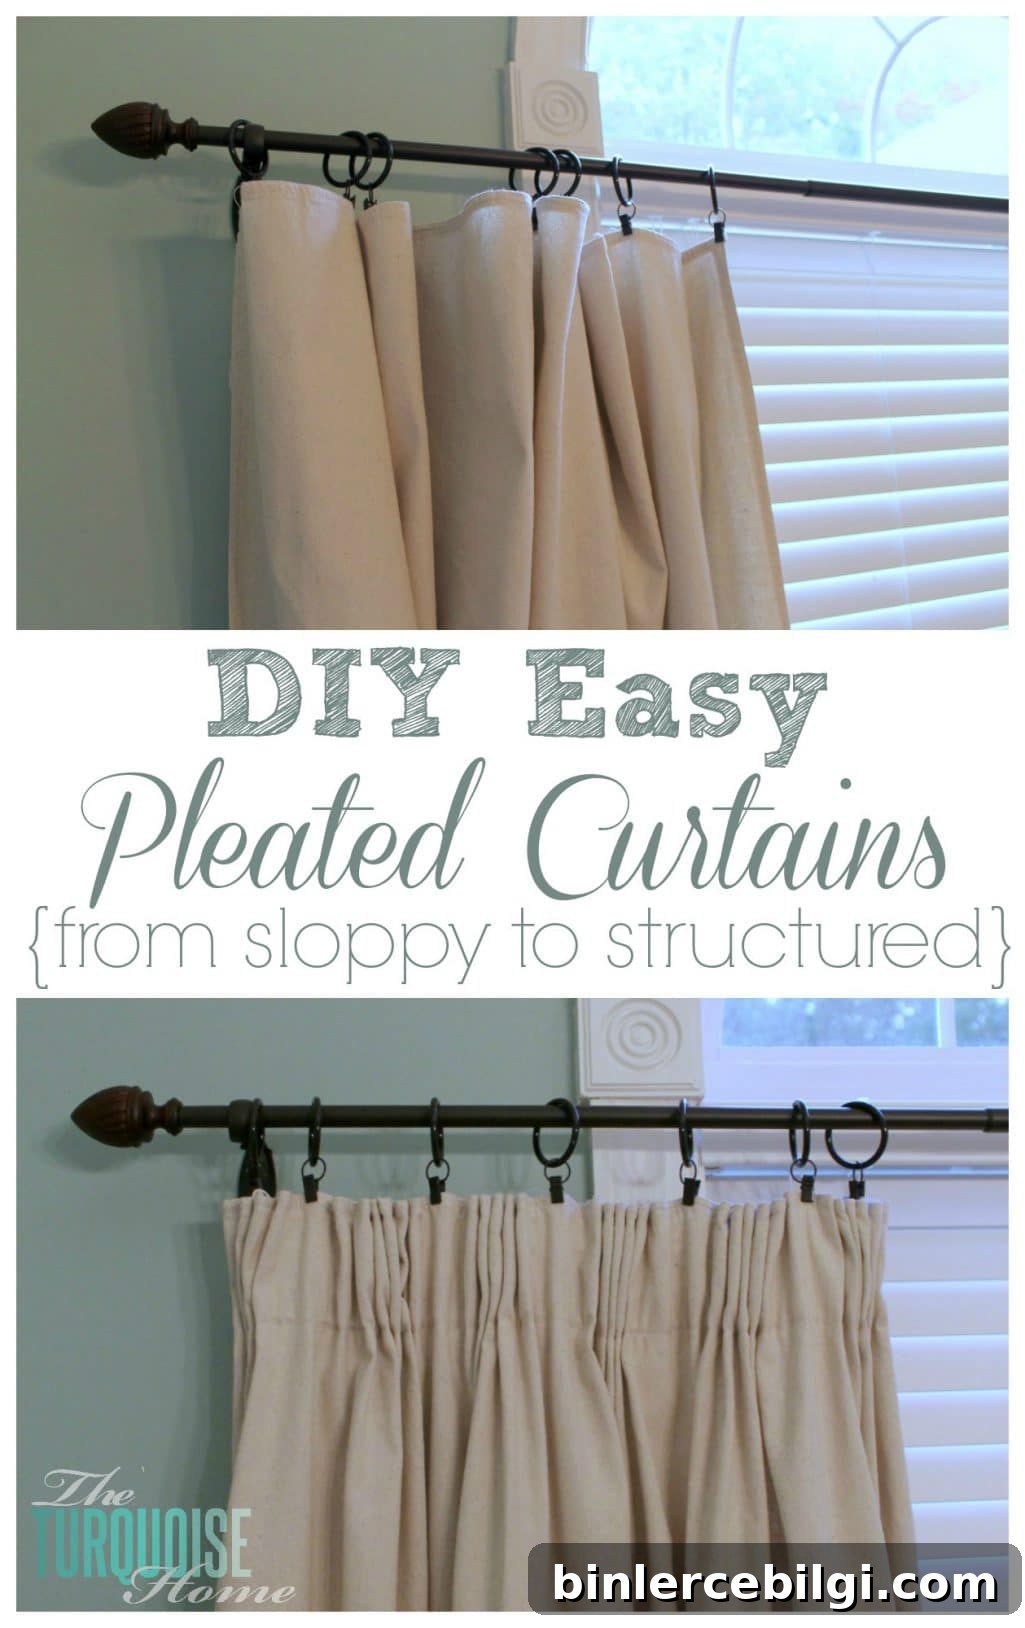
This simple, inexpensive pleater tape will turn your DIY curtains into neat, custom pleated curtains in no time.
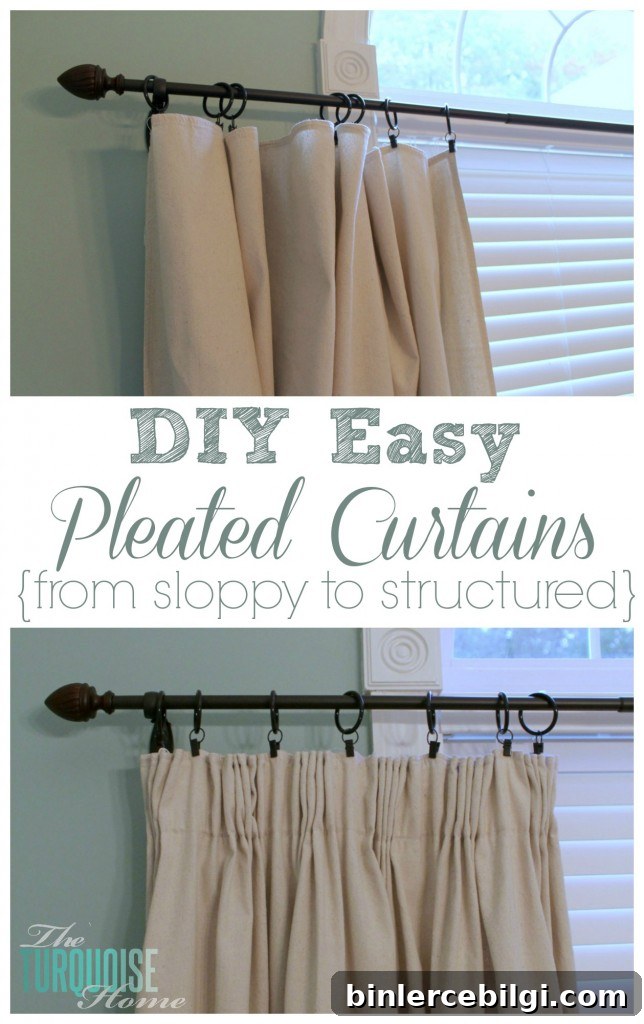
Quick overview: pleater tape for easy, professional-looking curtains
After I made my drop cloth curtains, I wanted a little more structure at the top. The canvas drop cloths are fairly heavy but a bit limp for clip rings, and I wanted a neat, tailored appearance without a lot of complicated sewing. That’s when I tried pleater tape — a narrow fabric tape you sew onto the curtain header that creates instant pleats when you pull the cords through. It’s affordable (I bought mine at Joann’s for about $1–$2 per yard) and simple to use.
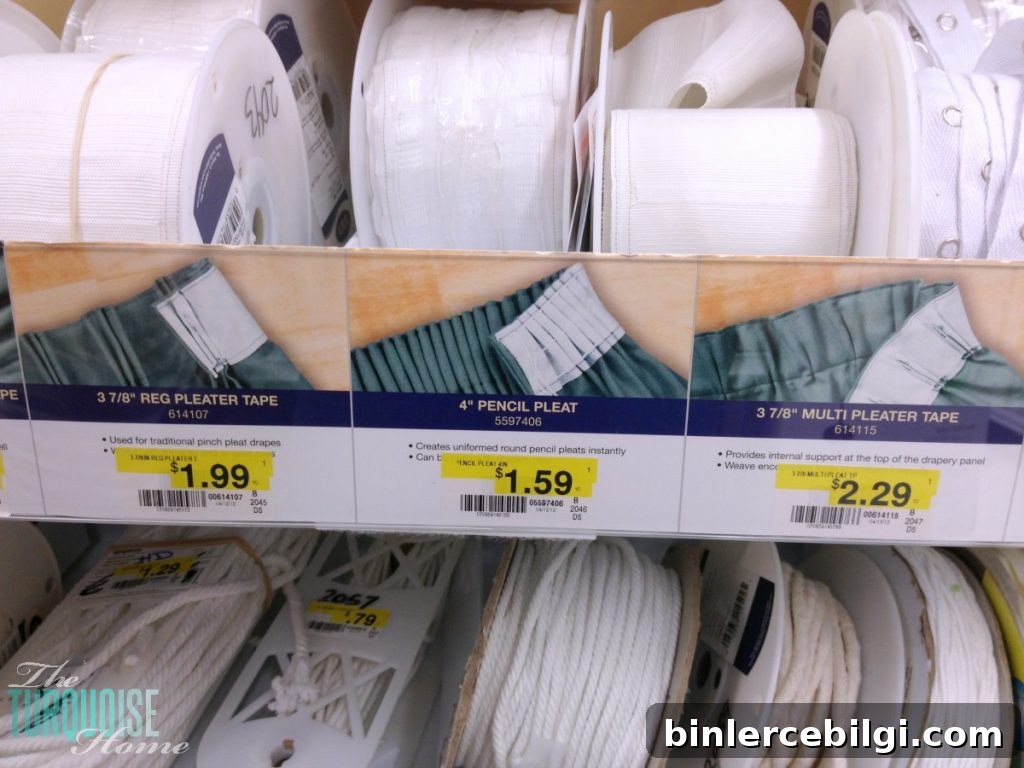
Materials you’ll need
- Pleater tape (choose the style and pin spacing you prefer)
- Sewing machine or needle and thread for a straight stitch
- Pins and scissors
- Curtain rings or heading hooks
Step-by-step: how I added pleats
1. Position the tape along the top edge of your curtain, keeping it below the top hem so the tape is fully supported. Pin it in place and trim any excess at the ends.
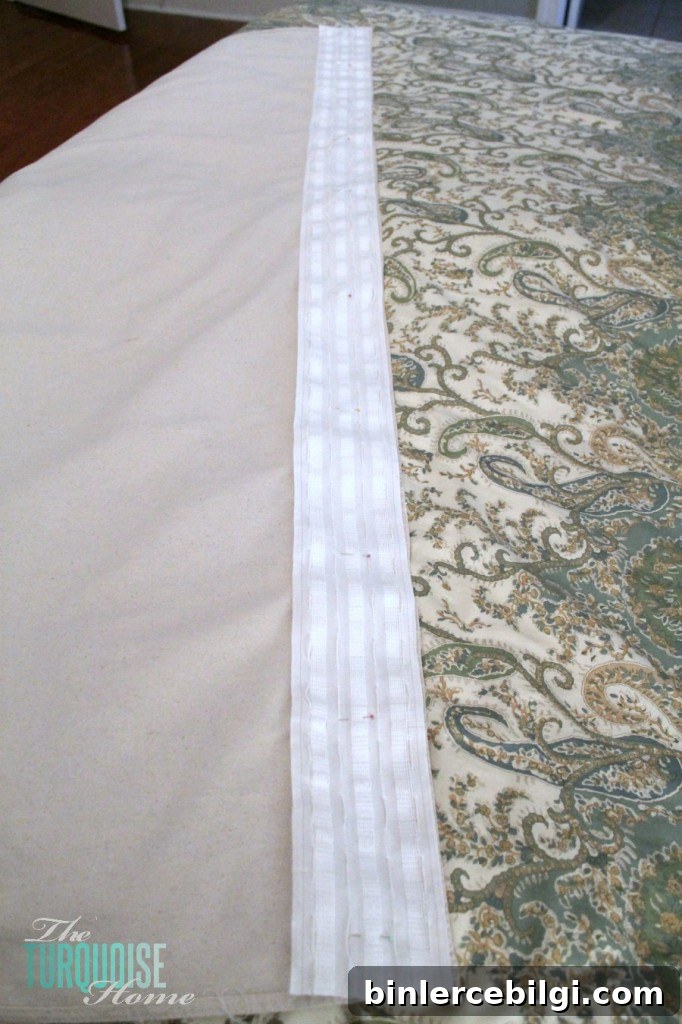
2. Secure the cords inside the tape by tying or anchoring them at each end so they won’t slip while you sew.
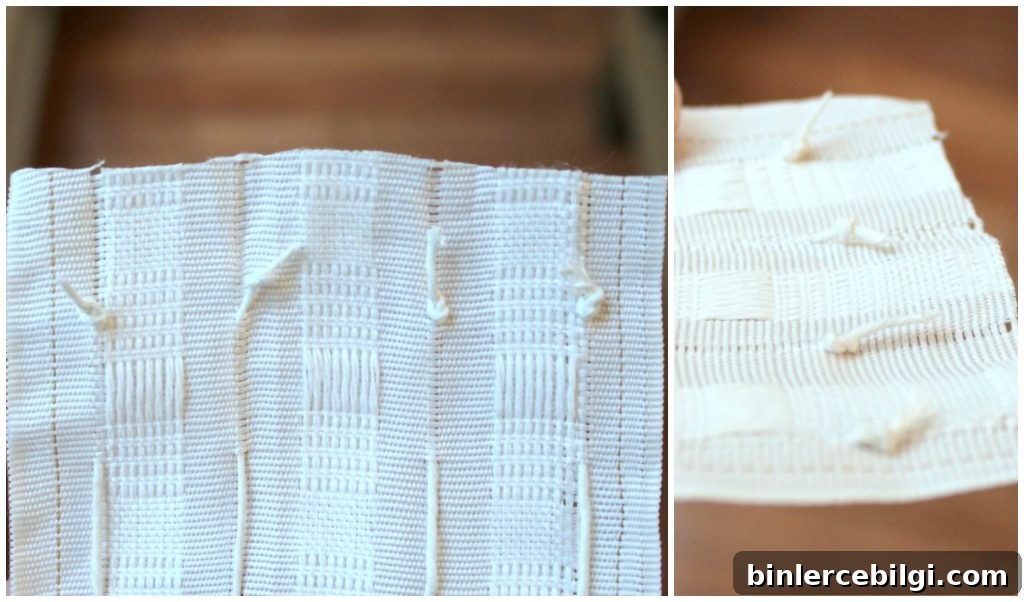
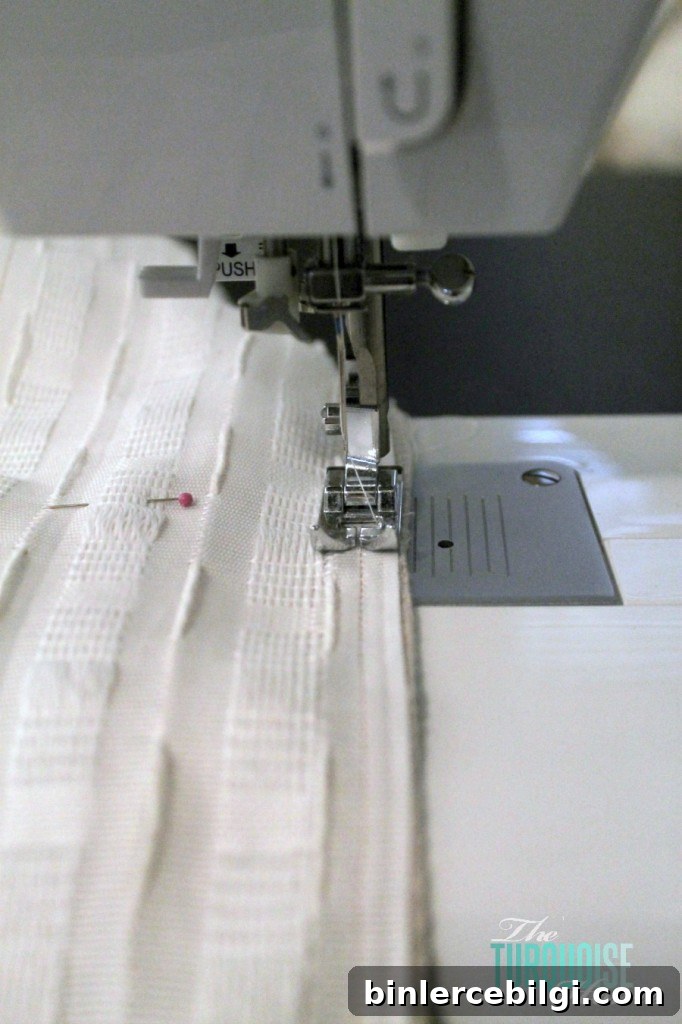
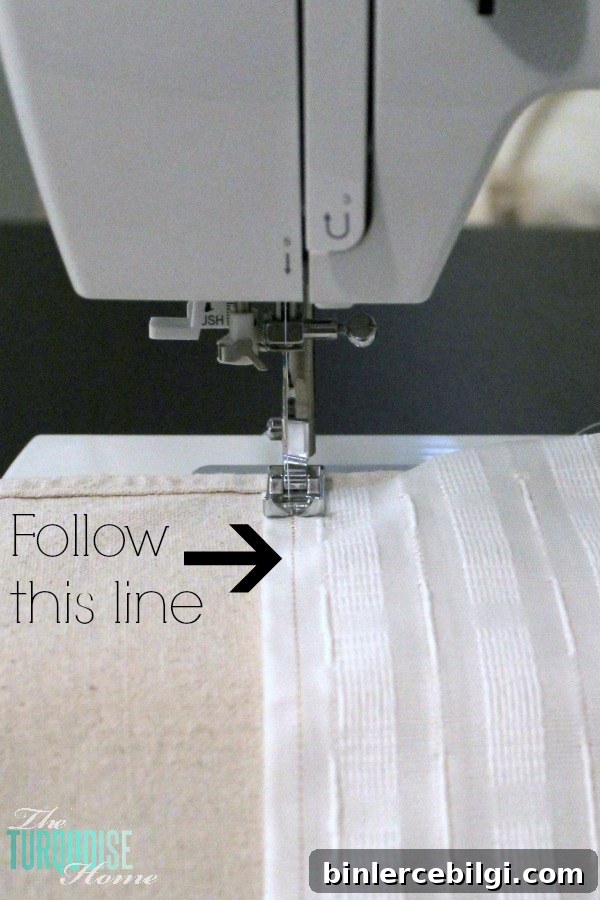
3. Sew the tape to the curtain along the marked guide lines on both the top and bottom edges of the tape. There are stitched lines on most pleater tapes to help you follow a straight path. I aimed for a straight line, though my sewing wasn’t perfect — and that’s fine.
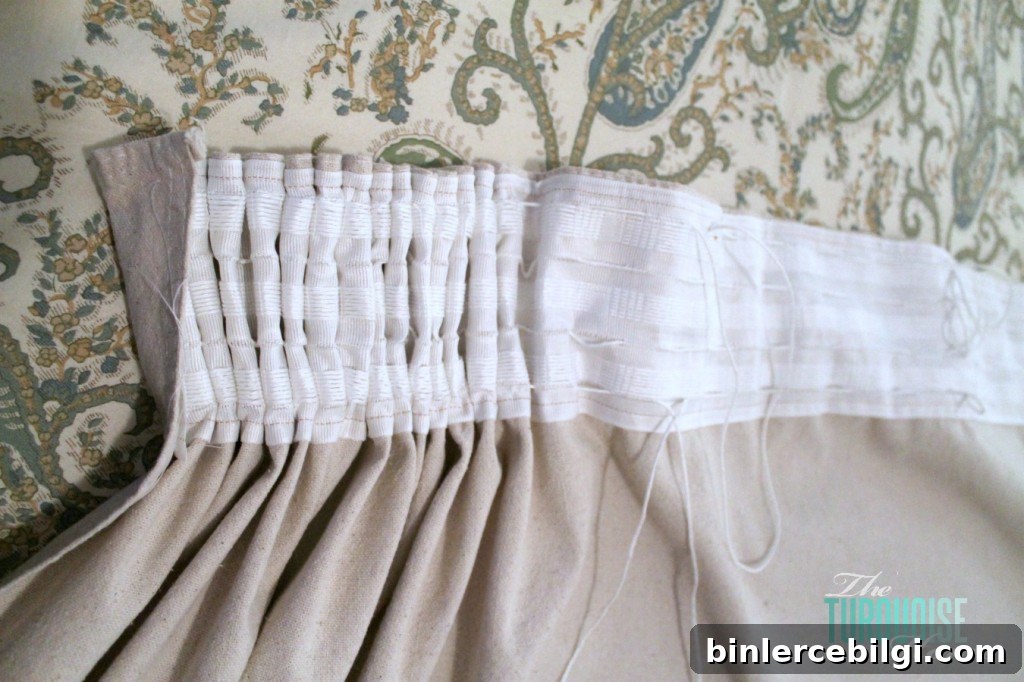
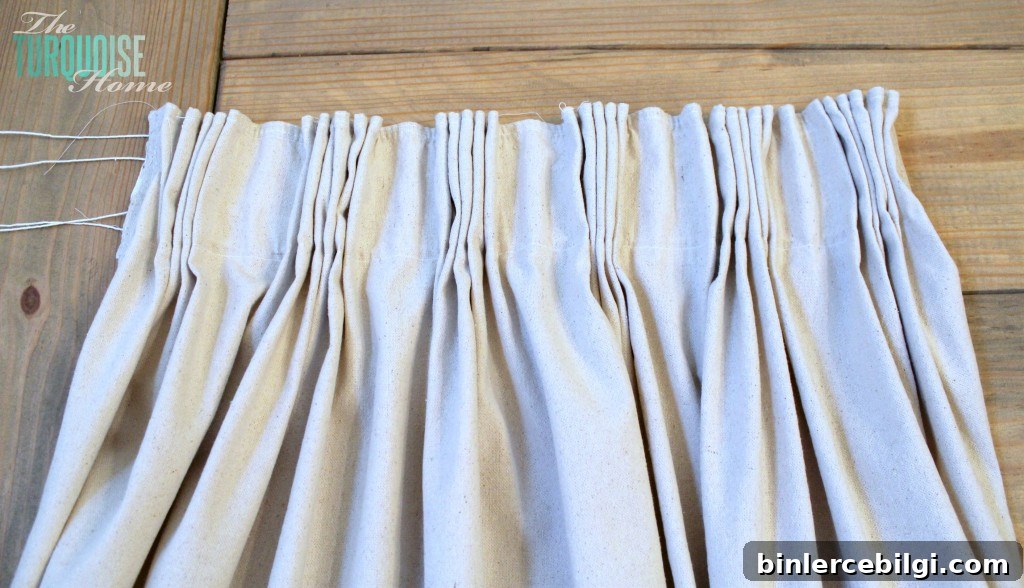
4. Pull the cords through the tape to form the pleats. Work from one end to the other so the gathers form evenly. My tape had four cords and I pulled each one carefully until the fabric folded into pleats.
5. Adjust the spacing of the pleats by sliding and smoothing them along the tape until you reach the look you want. If the pleats are too dense, loosen the cords slightly; if they’re too sparse, tighten them a bit more.
Fine-tuning and hanging
Once the pleats were formed, I re-hung the curtains with the rings to check how they fell. I realized I might have chosen a different style of pleater tape from the same bin at the store — one with slightly wider spacing would have matched the final look I ended up creating — but the tape I used worked well after a bit of adjustment. The slightly imperfect, hand-adjusted pleating is exactly what I wanted: tailored but with a relaxed, lived-in feel.
Tips for best results
- Match tape weight and style to your fabric: heavier fabrics benefit from stronger tape and more secure sewing.
- Keep the tape below the top hem to hide the stitching and maintain a neat header.
- Use pins and a few basting stitches if your fabric shifts while sewing.
- Don’t worry about perfectly straight machine stitching; small imperfections are hardly noticeable once the pleats are formed.
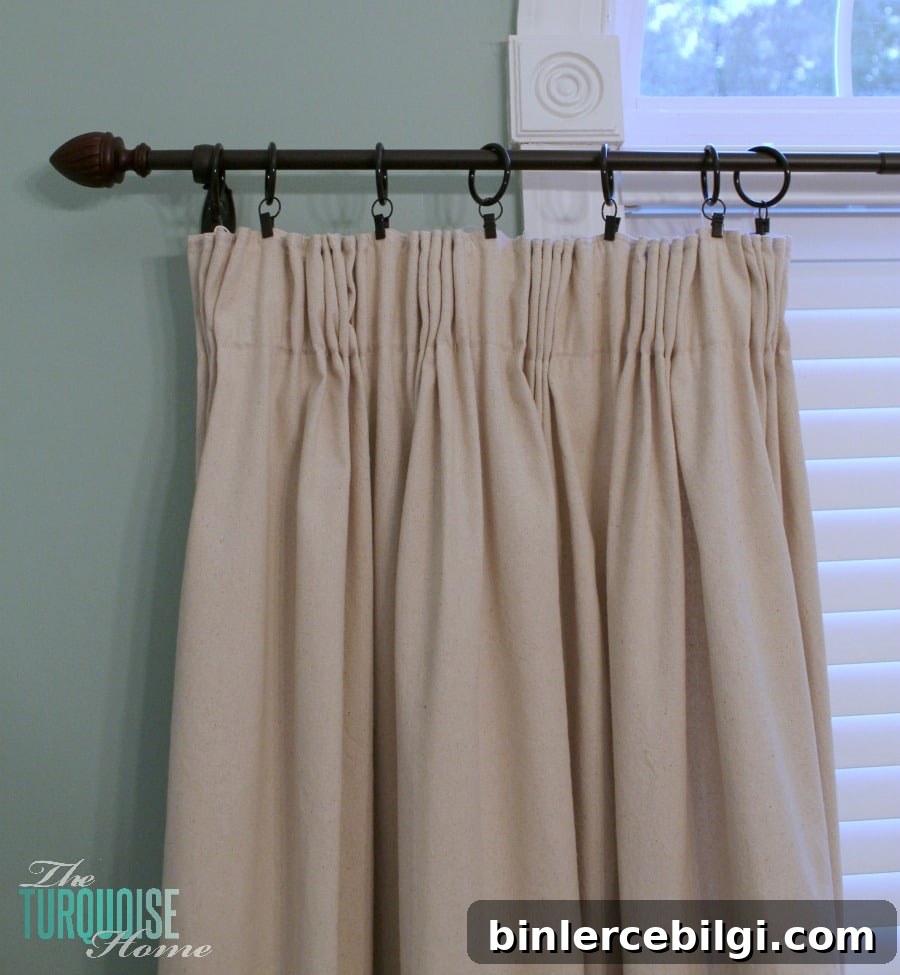
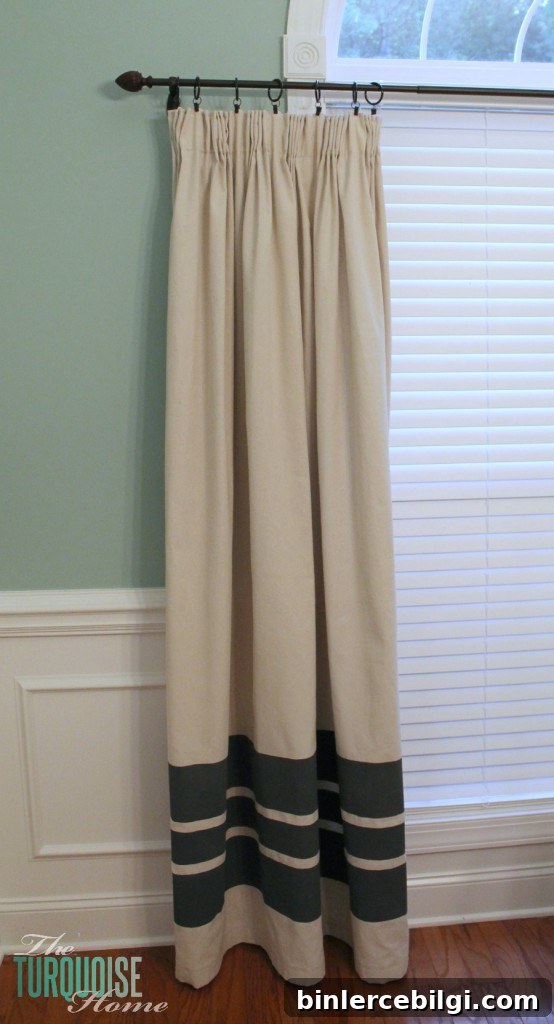
I love the finished look. The curtains now have structure and a custom, tailored appearance without a complicated pattern or extensive sewing. If you’ve never used pleater tape before, it’s a great, low-cost way to upgrade ready-made or DIY curtains and achieve a polished window treatment.
Have you tried pleater tape on your curtains? Share what worked for you and any tips you picked up along the way.