
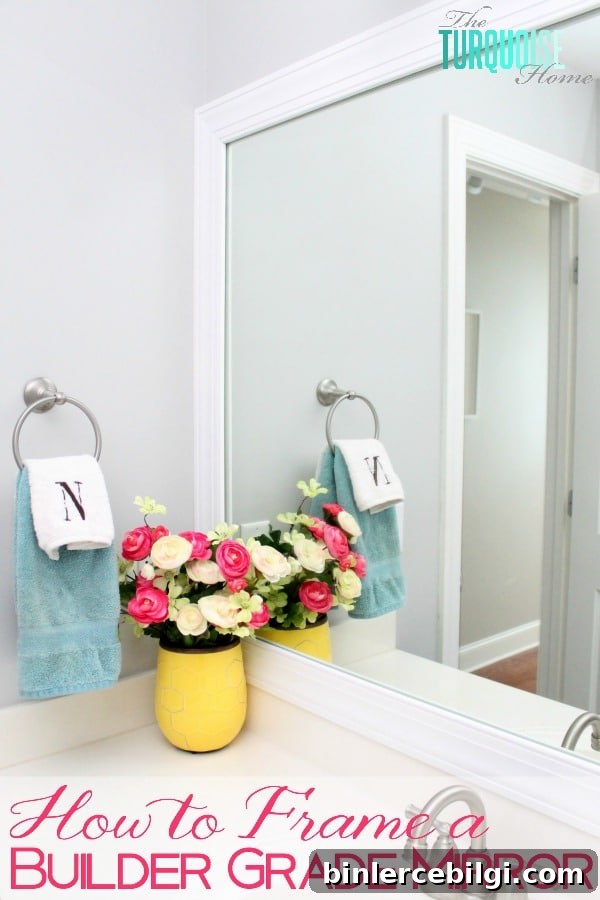
Turn a plain builder-grade mirror into a stylish focal point with a DIY mirror frame for under $20 and about two hours of work.
Happy day! I finally tackled a mirror framing project that had been on my to-do list for years. The kids were busy, the weather was perfect, and I spent a productive morning in the garage finishing this simple, high-impact update.
This is a straightforward, budget-friendly project anyone can do. The materials have been sitting around for months while I worked through other things, but I decided to finish the small projects first—and this was the perfect start. If you have a builder-grade mirror stuck to the wall, framing it transforms the space instantly.
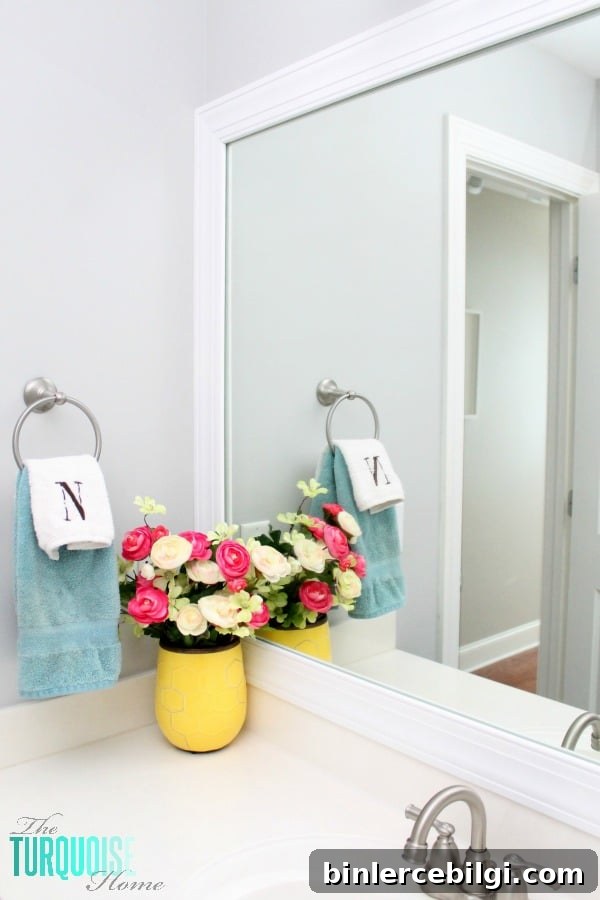
I know this DIY is basic and many people have done it before, but for a reason: it’s simple, inexpensive, and dramatically improves the look of plain mirrors. Below I’ll walk you through how I framed a builder-grade mirror and the small troubleshooting tips that helped along the way.
Tools and materials you need for a DIY mirror frame
- Interior trim molding (the total length should cover the perimeter of your mirror)
- Miter saw or a hand saw with a miter box for 45° cuts
- Wood glue
- Duck tape or painter’s tape to act as temporary clamps
- Spray paint in the finish color you want
- Chisel and hammer (for notching to clear mirror clips)
- Measuring tape, pencil, utility knife
How to frame a mirror
Step 1. Measure the mirror perimeter
Measure each side of the mirror carefully. Decide whether your frame will sit on top of the mirror edge or slightly overlap it. If the mirror runs right up against the wall on one or both sides, the frame will likely need to sit completely on top of the glass, so add a couple of inches to the length of each trim piece to accommodate overlap if desired.
Step 2. Choose interior trim molding
Pick a trim profile you like—anything from a simple flat board to a more decorative casing will work. The important detail is that the back of the molding is flat so it sits flush against the mirror or wall. Wood, MDF, or primed casing are all common affordable choices.
Step 3. Cut the trim to length and miter the corners
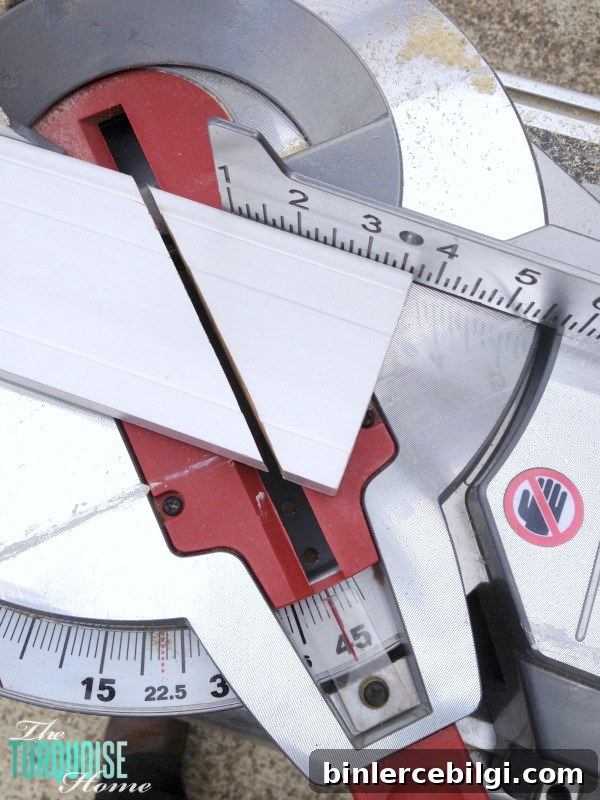
Measure and mark each piece, then cut the corners at 45° so the pieces form clean mitered joints. A miter saw makes this quick and accurate, but a hand saw with a miter box works well if you don’t have power tools. Double-check measurements and dry-fit pieces before final assembly.
Step 4. Mark where the mirror clips are located
If your mirror is held by clips, you need to avoid pressing the frame where those clips sit. A simple way to locate them is to rub a little chalk or pencil on the clip, press the trim piece against the mirror, and note where the chalk transfers. That tells you where to create a notch so the frame will sit flush.
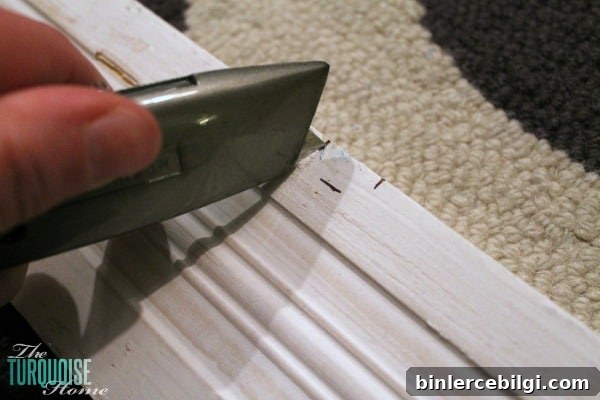
Step 5. Notch the back of the trim for clips
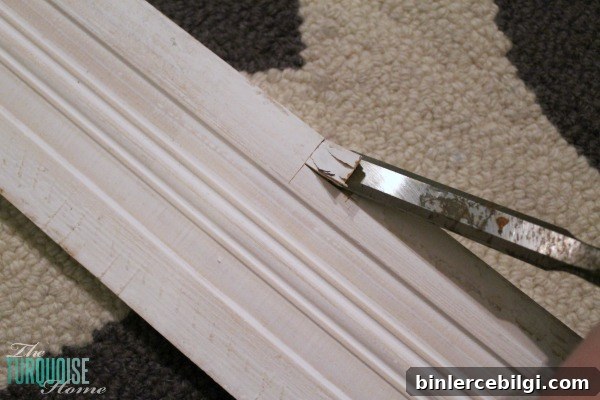
Score a rectangle on the back of the trim with a utility knife where the clip will sit. Use a chisel and hammer to remove the wood inside that scored area until the clip fits comfortably. Make the notch slightly larger than the clip so the trim will sit flat against the mirror or wall.
Step 6. Assemble the frame corners
For lightweight trim, wood glue and a temporary clamp made from duck tape or painter’s tape work well. Apply glue to the miter joints, align the corners, wrap tape around them to hold the joint tightly, and set heavy objects on the corners overnight while the glue dries. If your trim is thicker, pocket screws or clamps can be used instead, but for thin casing glue and tape are usually sufficient.
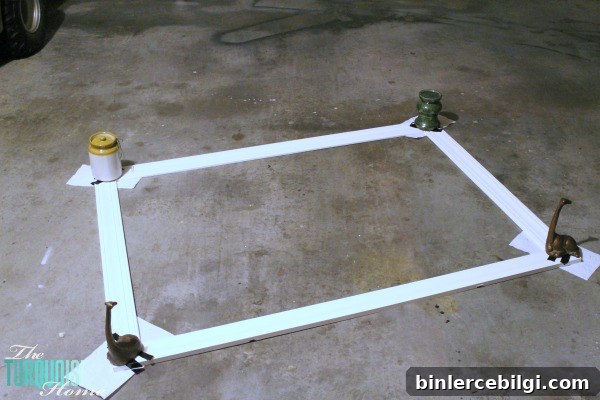
If glue fails to hold, check that the mating surfaces are clean and that the joints are tightly fitted. Clamp pressure or tight taping is key for a good bond.
Step 7. Paint or finish the frame
Spray paint gives a smooth, even finish quickly. Paint the inner back edge first (this may be visible reflected in the mirror) and then paint the front and outer edges. Allow the paint to dry fully before installing. Use a finish color that complements your bathroom hardware and decor—for example, white for a clean look, black for contrast, or a metallic for a modern touch.
When installing, be mindful of the fit. If your mirror spans the wall width and the frame is the same size, it may be very tight to fit in place. I made mine almost the same size as the mirror and had to carefully force it into position. If your frame will be squeezed in, consider making it slightly narrower so it slides into place without pressure.
For a non-permanent install, use heavy-duty removable mounting strips (Command-style) or small dots of hot glue in discreet spots. Some people use liquid nails or construction adhesive for a permanent hold—choose the method that fits your needs and whether you want the option to remove the frame later.
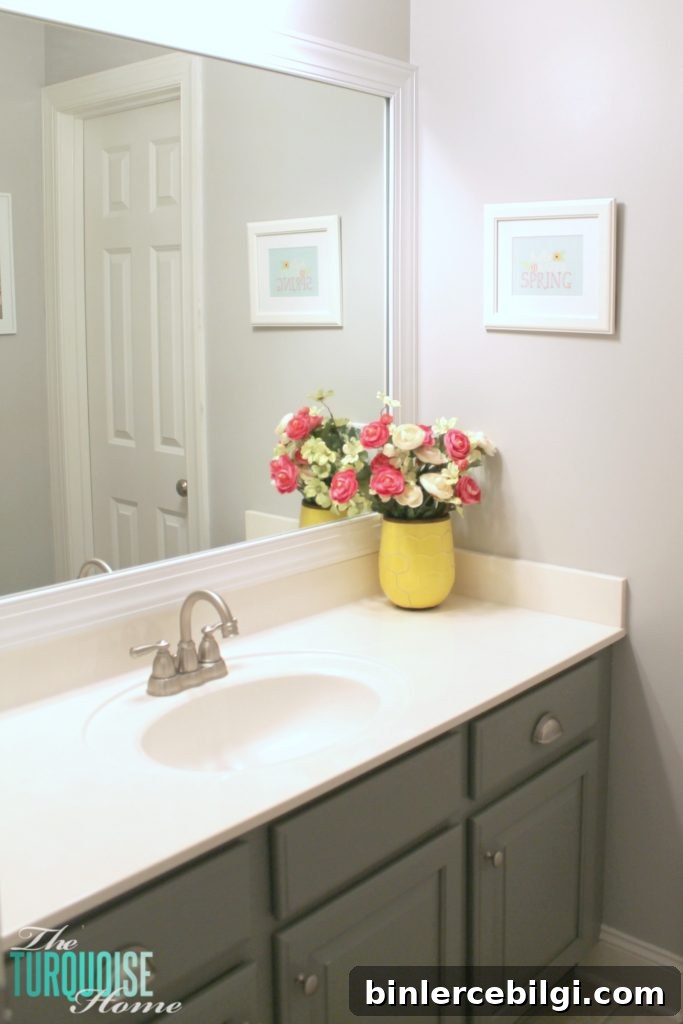
Have you framed a mirror before? If not, this is an easy weekend project that can completely change the look of a bathroom or entryway. It’s inexpensive, customizable, and a satisfying DIY that yields a big visual payoff.
More projects you might like:
- 5 Must-Have Tools for the DIYer
- DIY Frame for a TV
- DIY Picture Frame Molding