
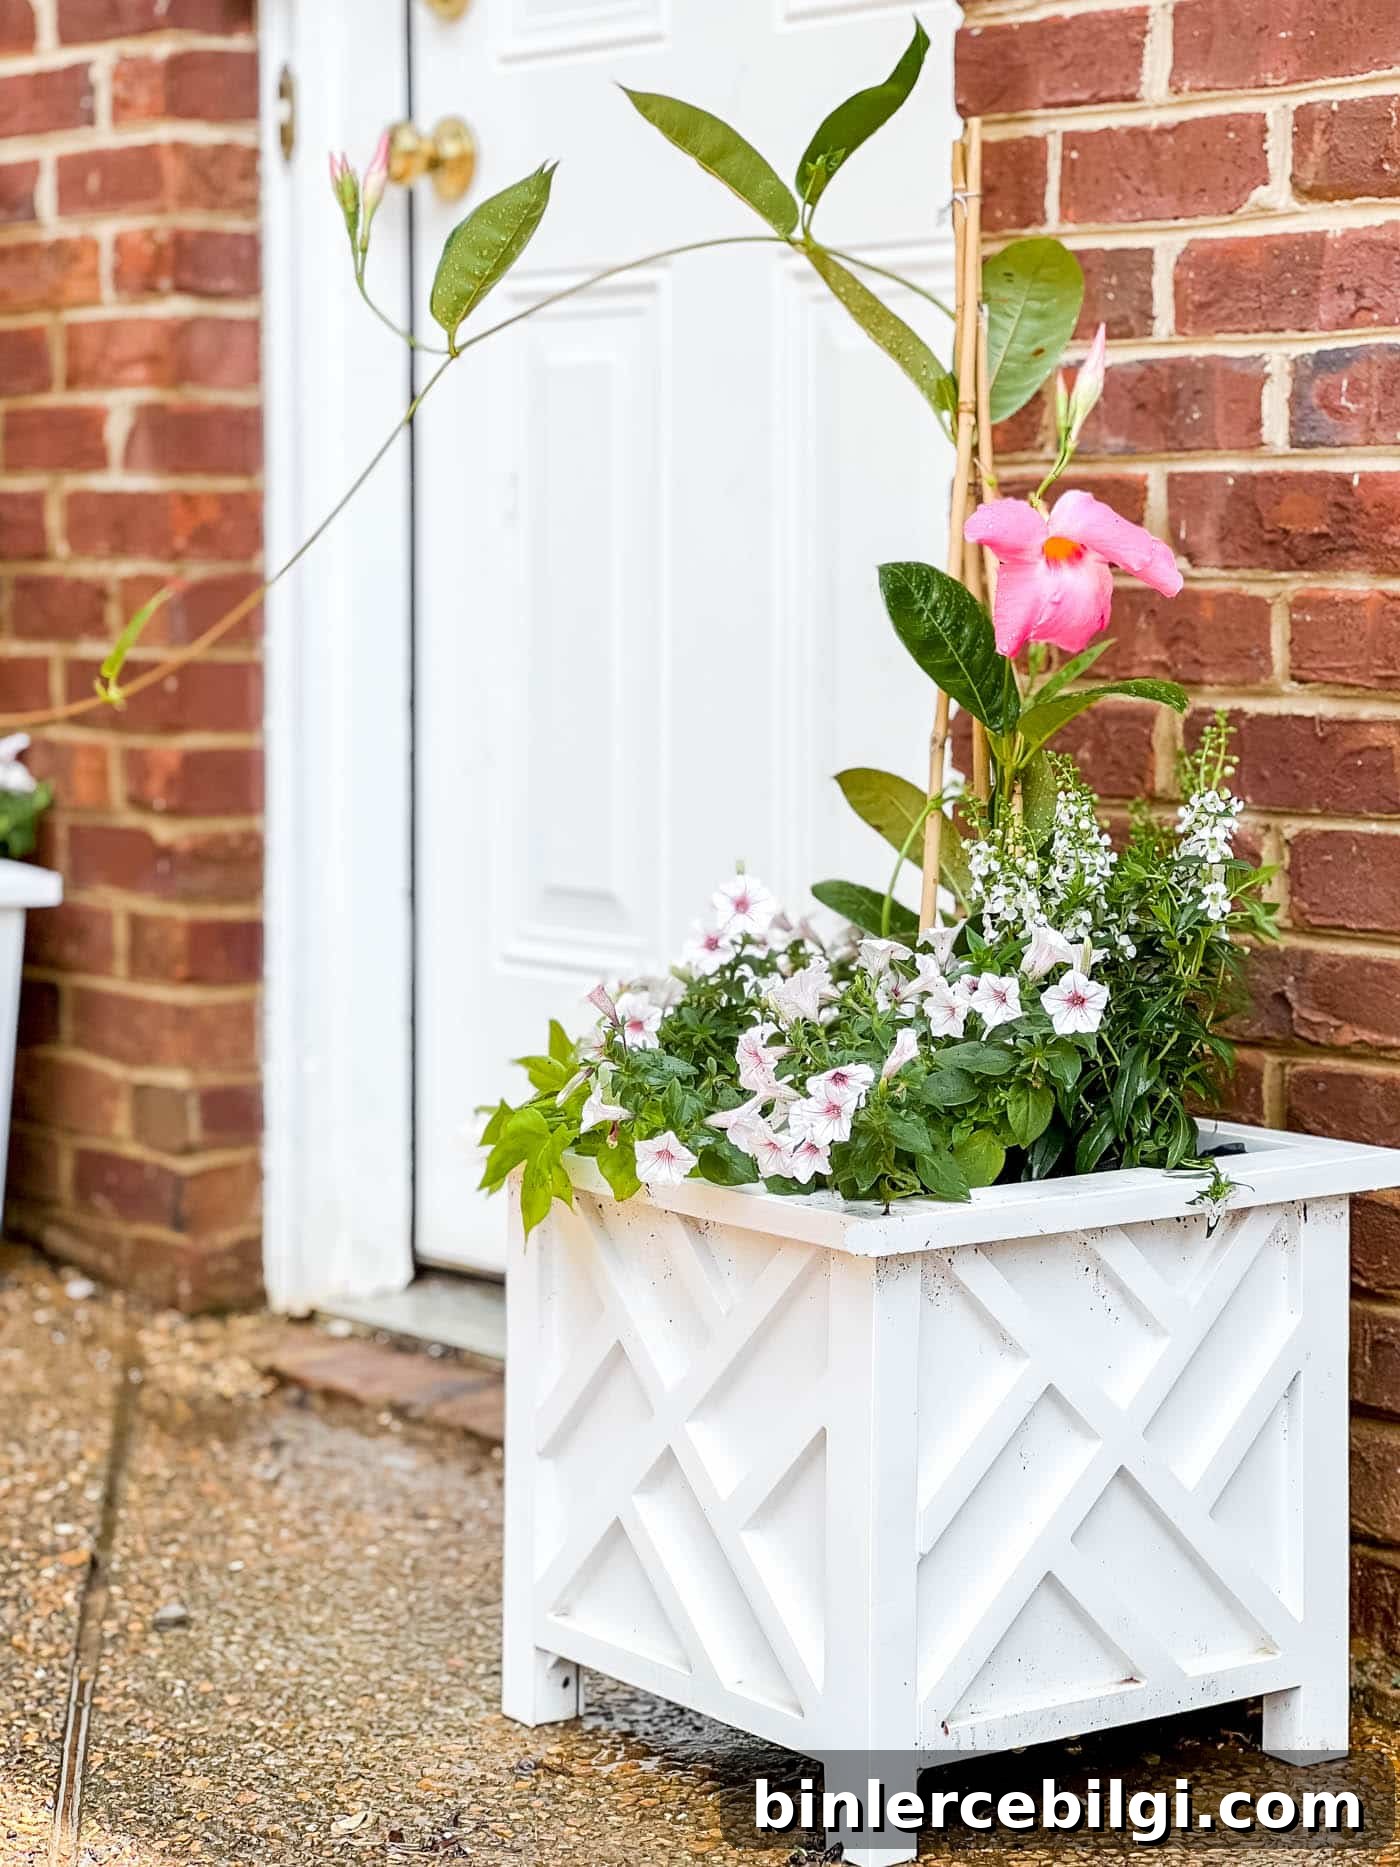
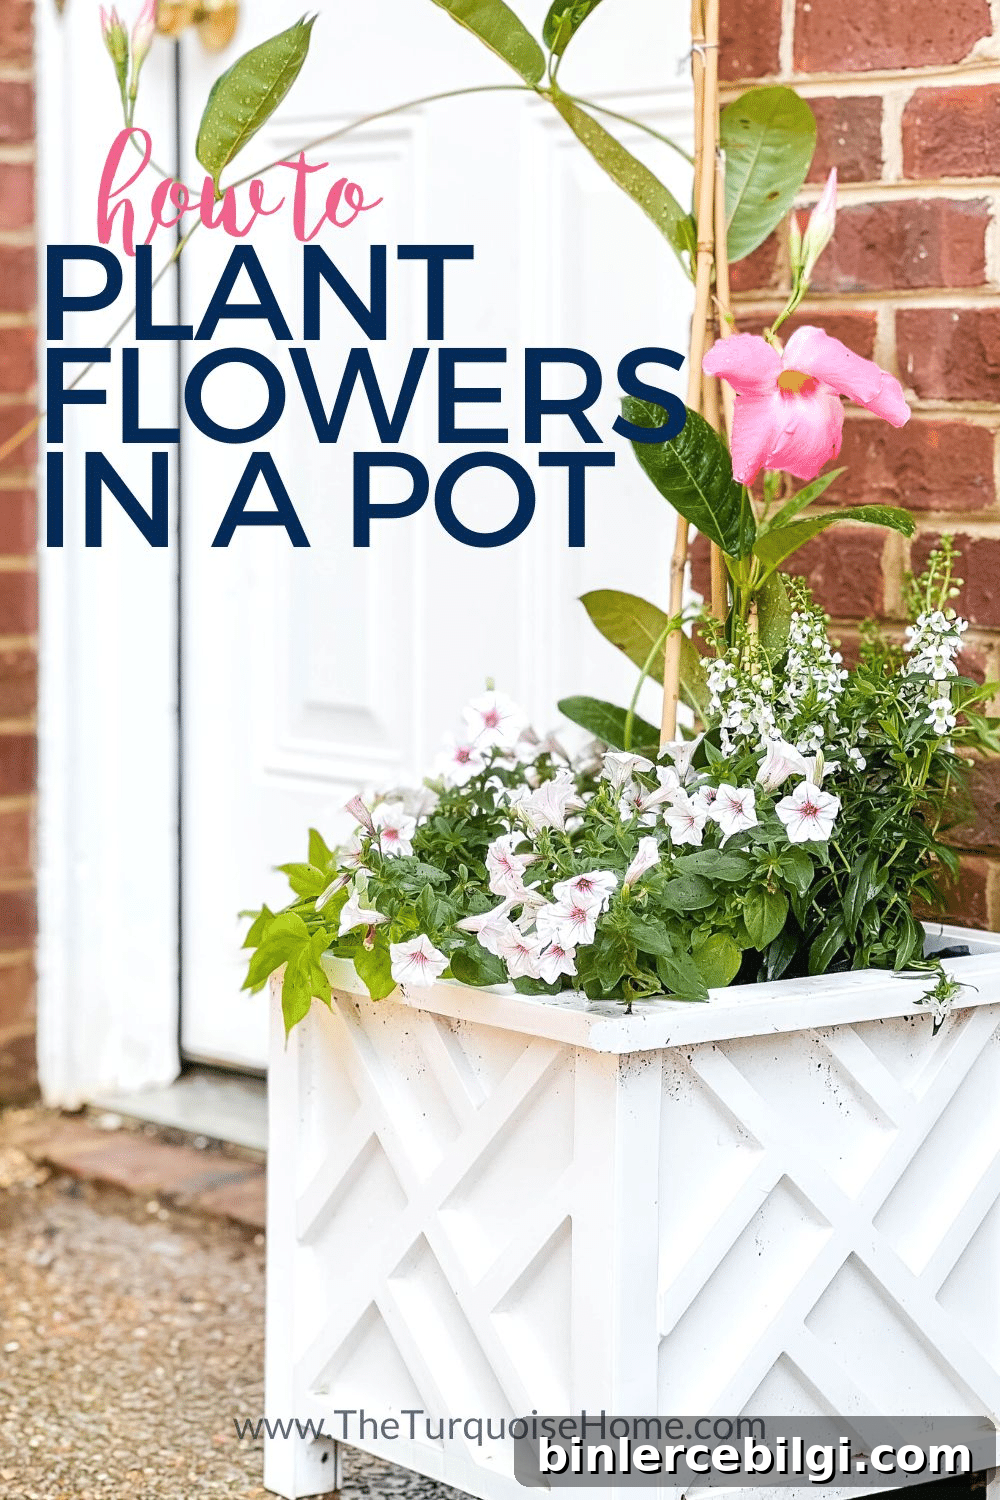
Planting flowers in a pot or container is a wonderful way to add color and charm to your home or garden. This straightforward guide shares the best tips, techniques, and ideas for creating a beautiful planter full of blooms.
As my children have grown, I’ve found more time to bring real plants into and around my home. I used to rely on faux botanicals, but a few easy-care indoor plants sparked a new hobby that grew into a passion for potted flowers and container gardening.
A few years ago I started buying inexpensive planters and learning about annuals, perennials, and complementary planting techniques. One of my favorite approaches is the thriller, filler, spiller method for layered container design. If you don’t have a big garden, a single pot is a perfect place to begin—low cost, easy to maintain, and scalable as your interest grows.
This post contains affiliate links for your convenience. See my full disclosure policy.
The Thriller, Filler, Spiller Method
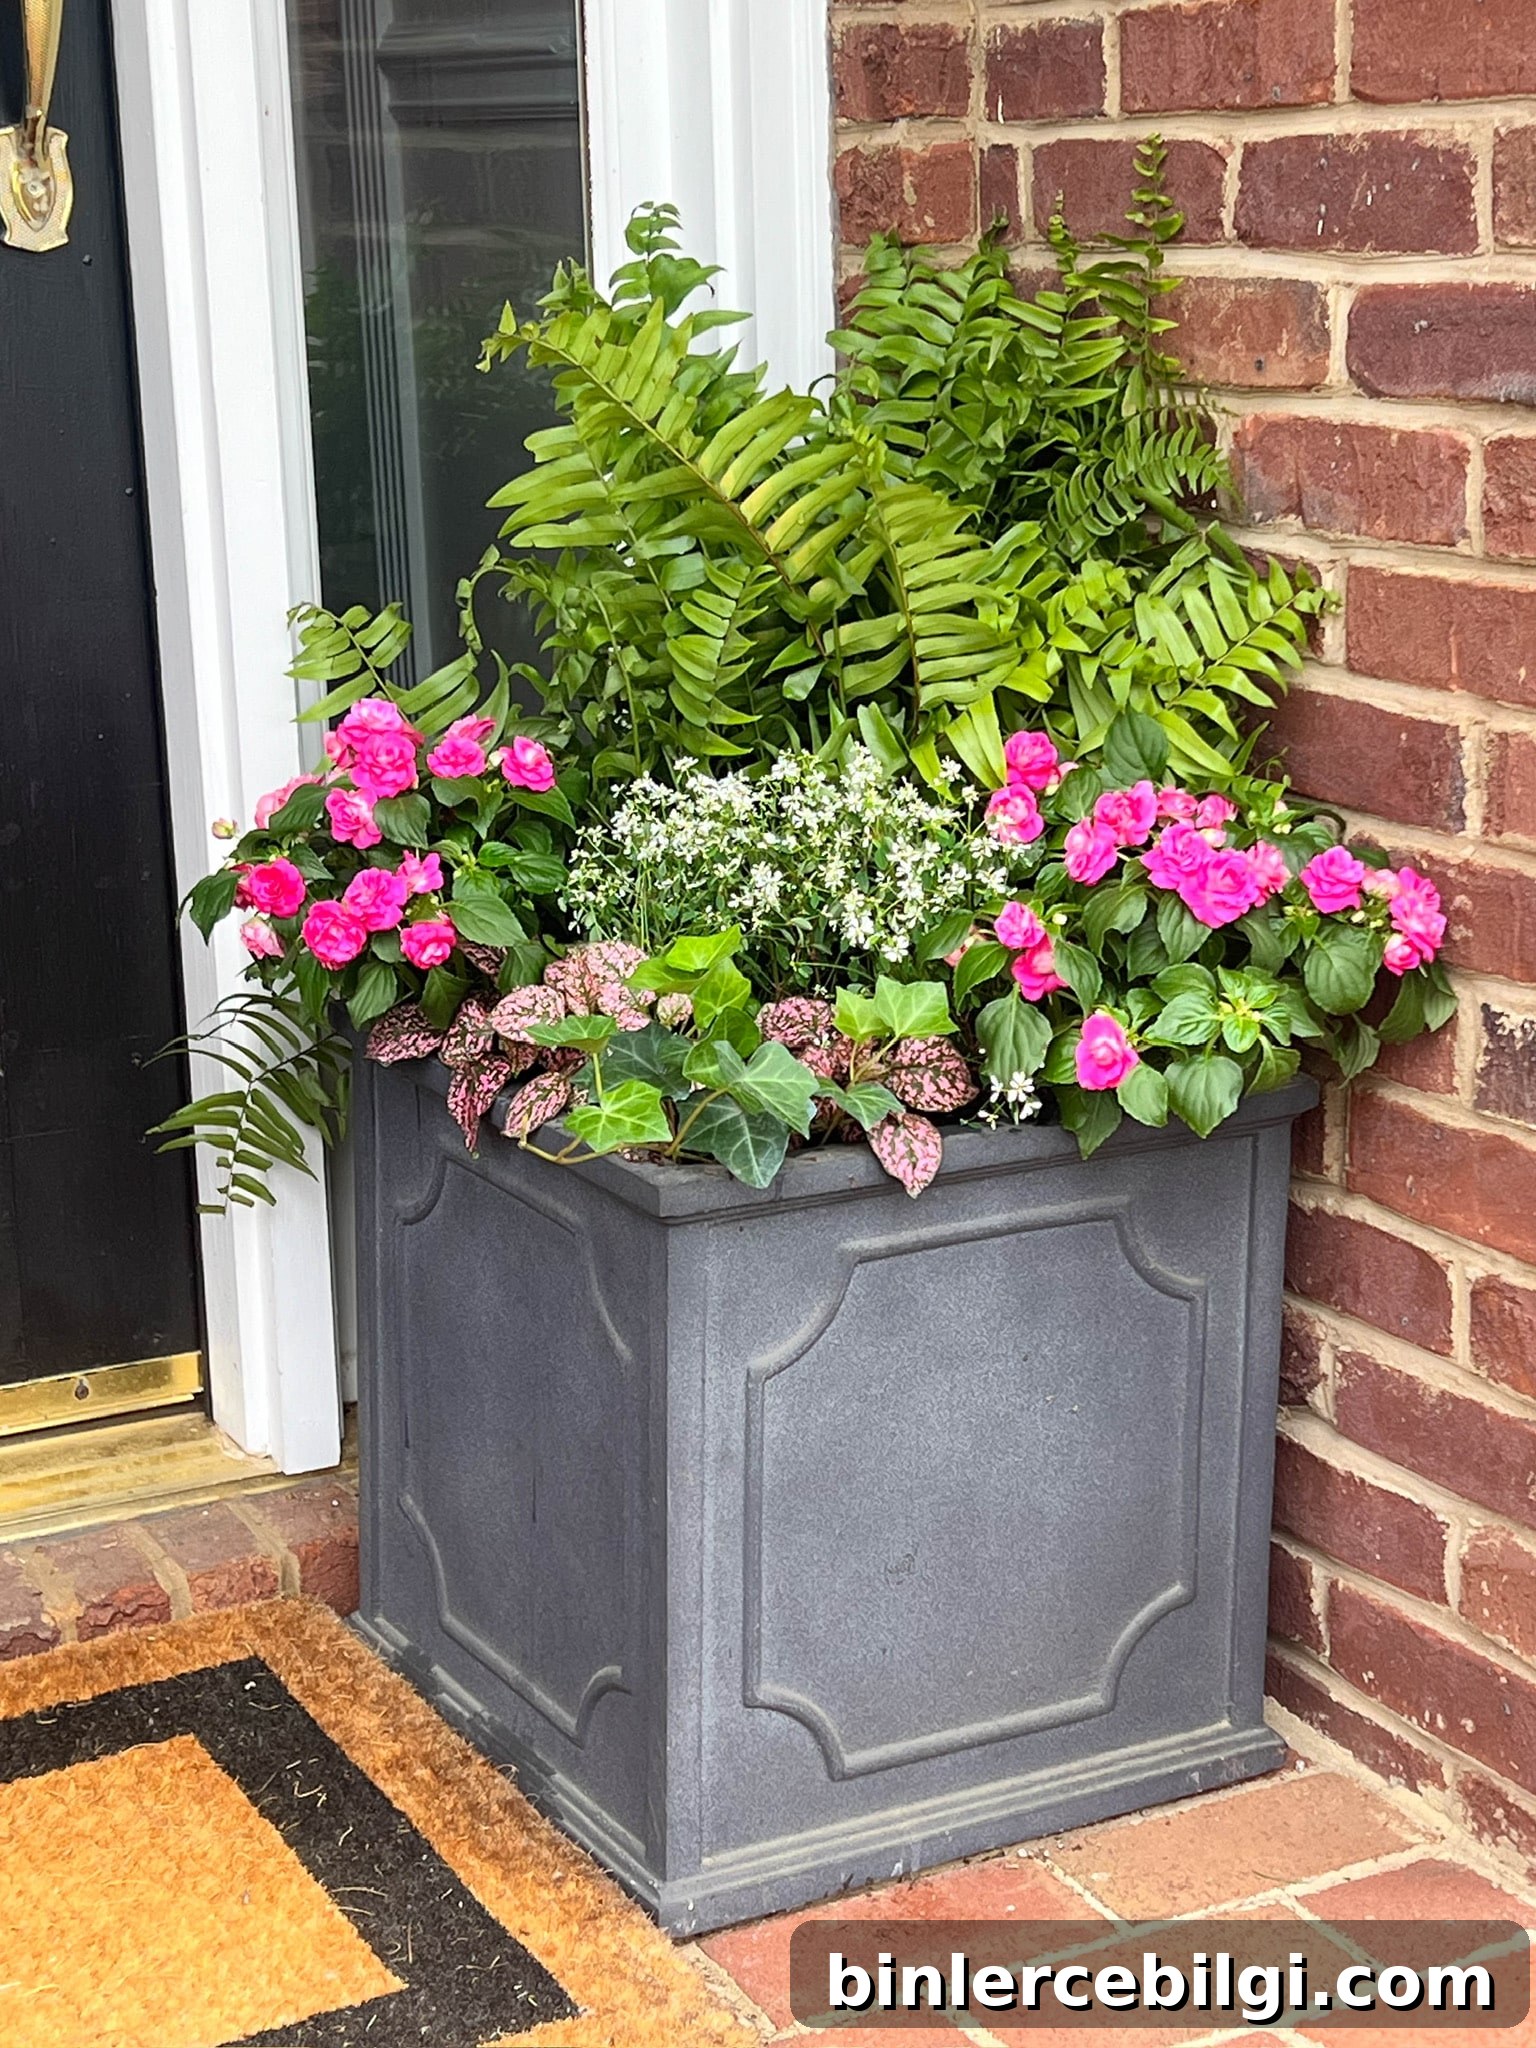
The thriller, filler, spiller formula is a simple, reliable way to build a balanced and attractive container garden. Choose one or two plants from each category and arrange them together in your pot for a layered, finished look.
Thriller plants: Tall or dramatic plants that provide height and structure in the center or back of the planter. Examples: spike dracaena, Mandevilla, canna lilies, verbena, salvia, or a small topiary.
Filler plants: Mounded or rounded plants that fill the middle of the pot with color and texture without overpowering the thriller. Examples: petunias, begonias, angelonia, heuchera, geraniums, impatiens, and pansies.
Spiller plants: Trailing plants that cascade over the edges of the container and soften its silhouette. Examples: creeping Jenny, sweet potato vine, ivy, and trailing lobelia.
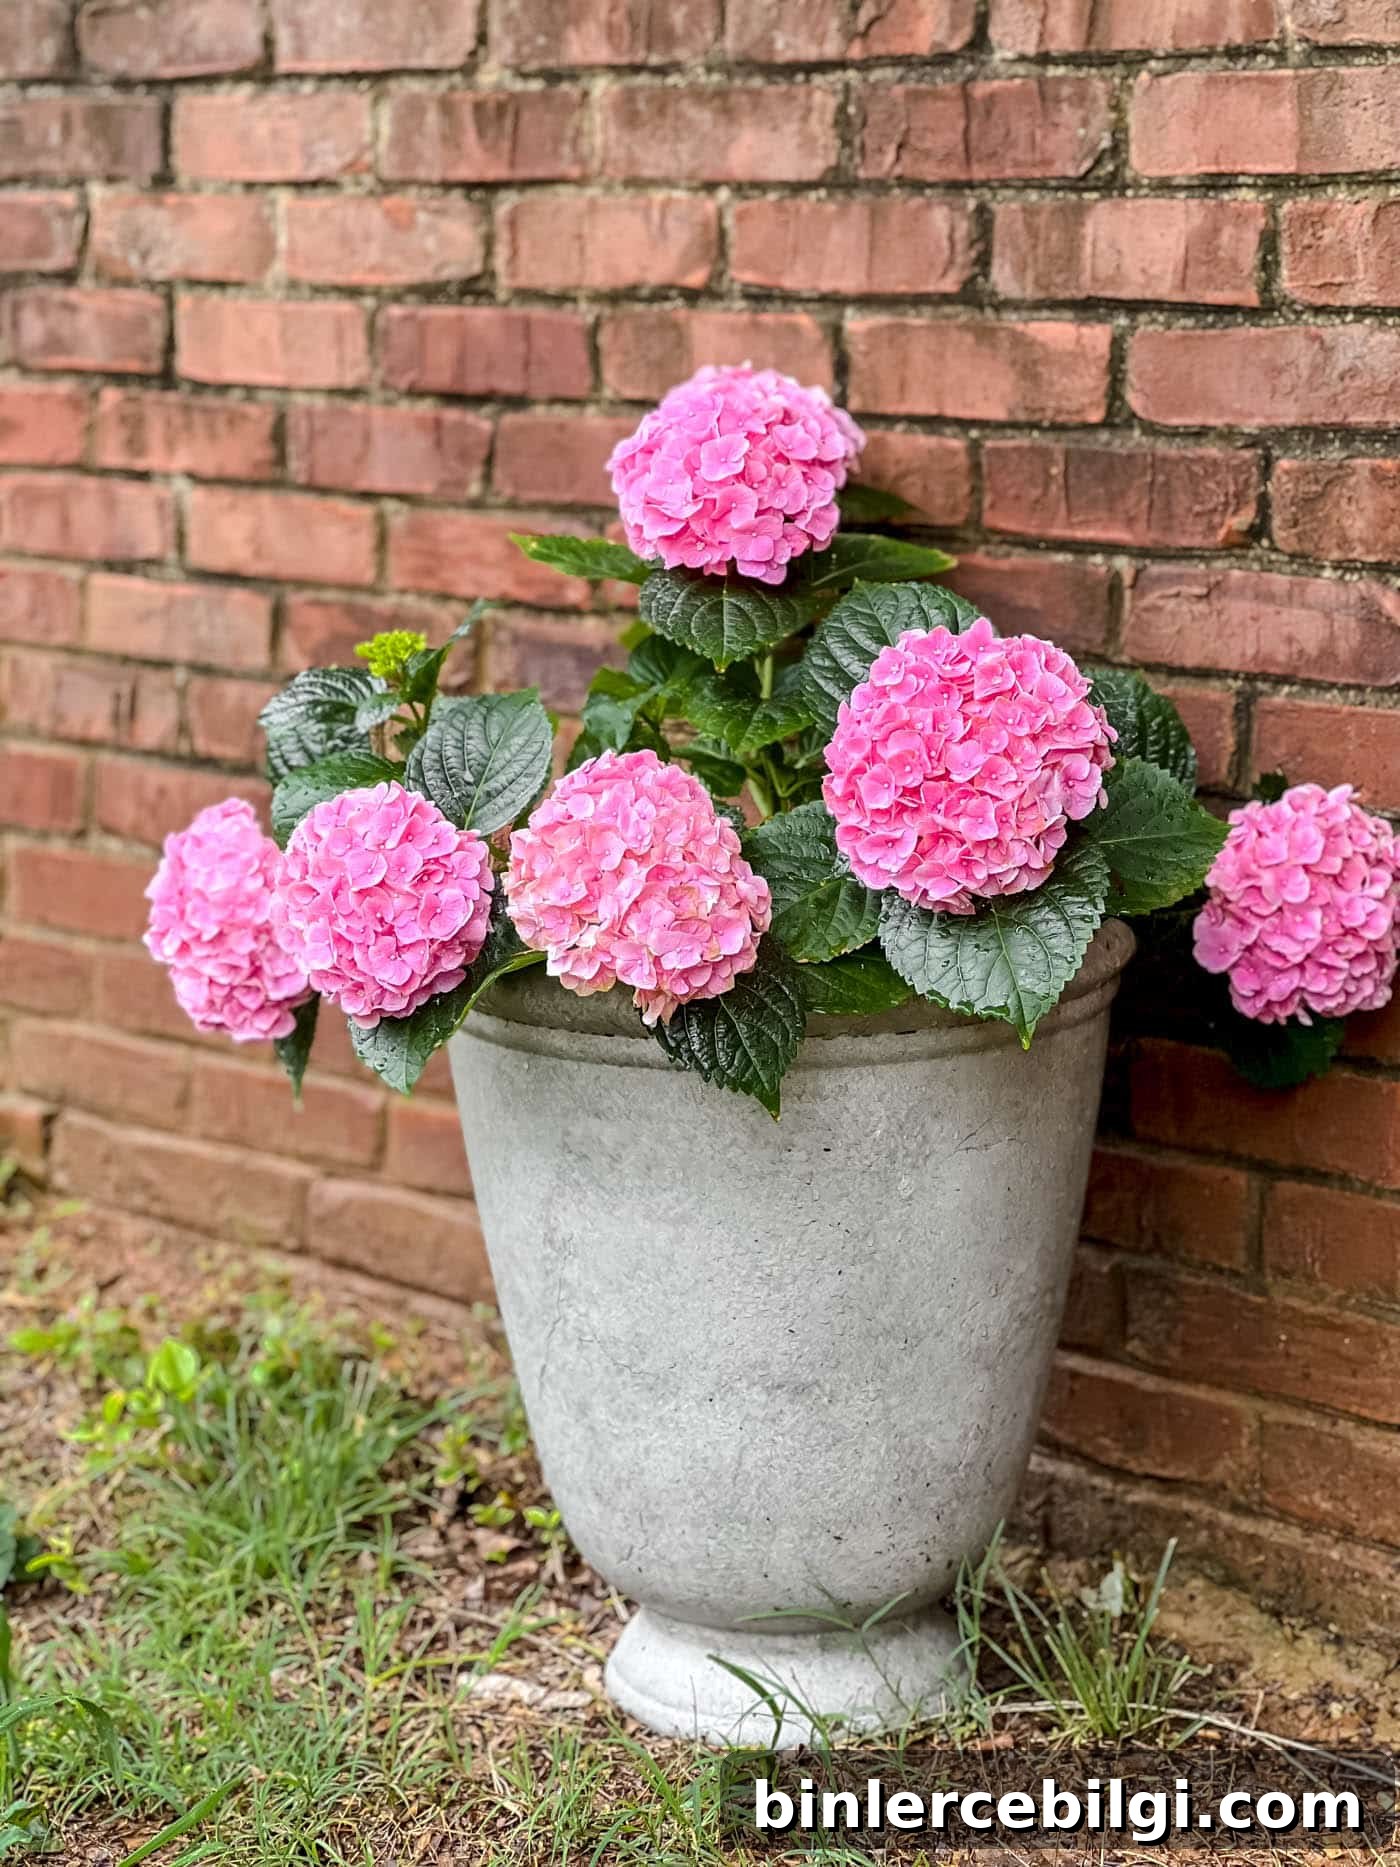
The thriller, filler, spiller approach is not the only option—you can also plant a single specimen or group of the same flower for a bold, cohesive look.
Choose the Best Flowers
Choosing the right plants for your location is crucial. Before you shop, decide where the planter will live and note how much sun that spot receives throughout the day. Does it get full sun, part sun, or mostly shade? Is the light stronger in the morning or afternoon? A front porch often gets more shade, while a patio might receive afternoon sun. Select plants that match those light conditions.
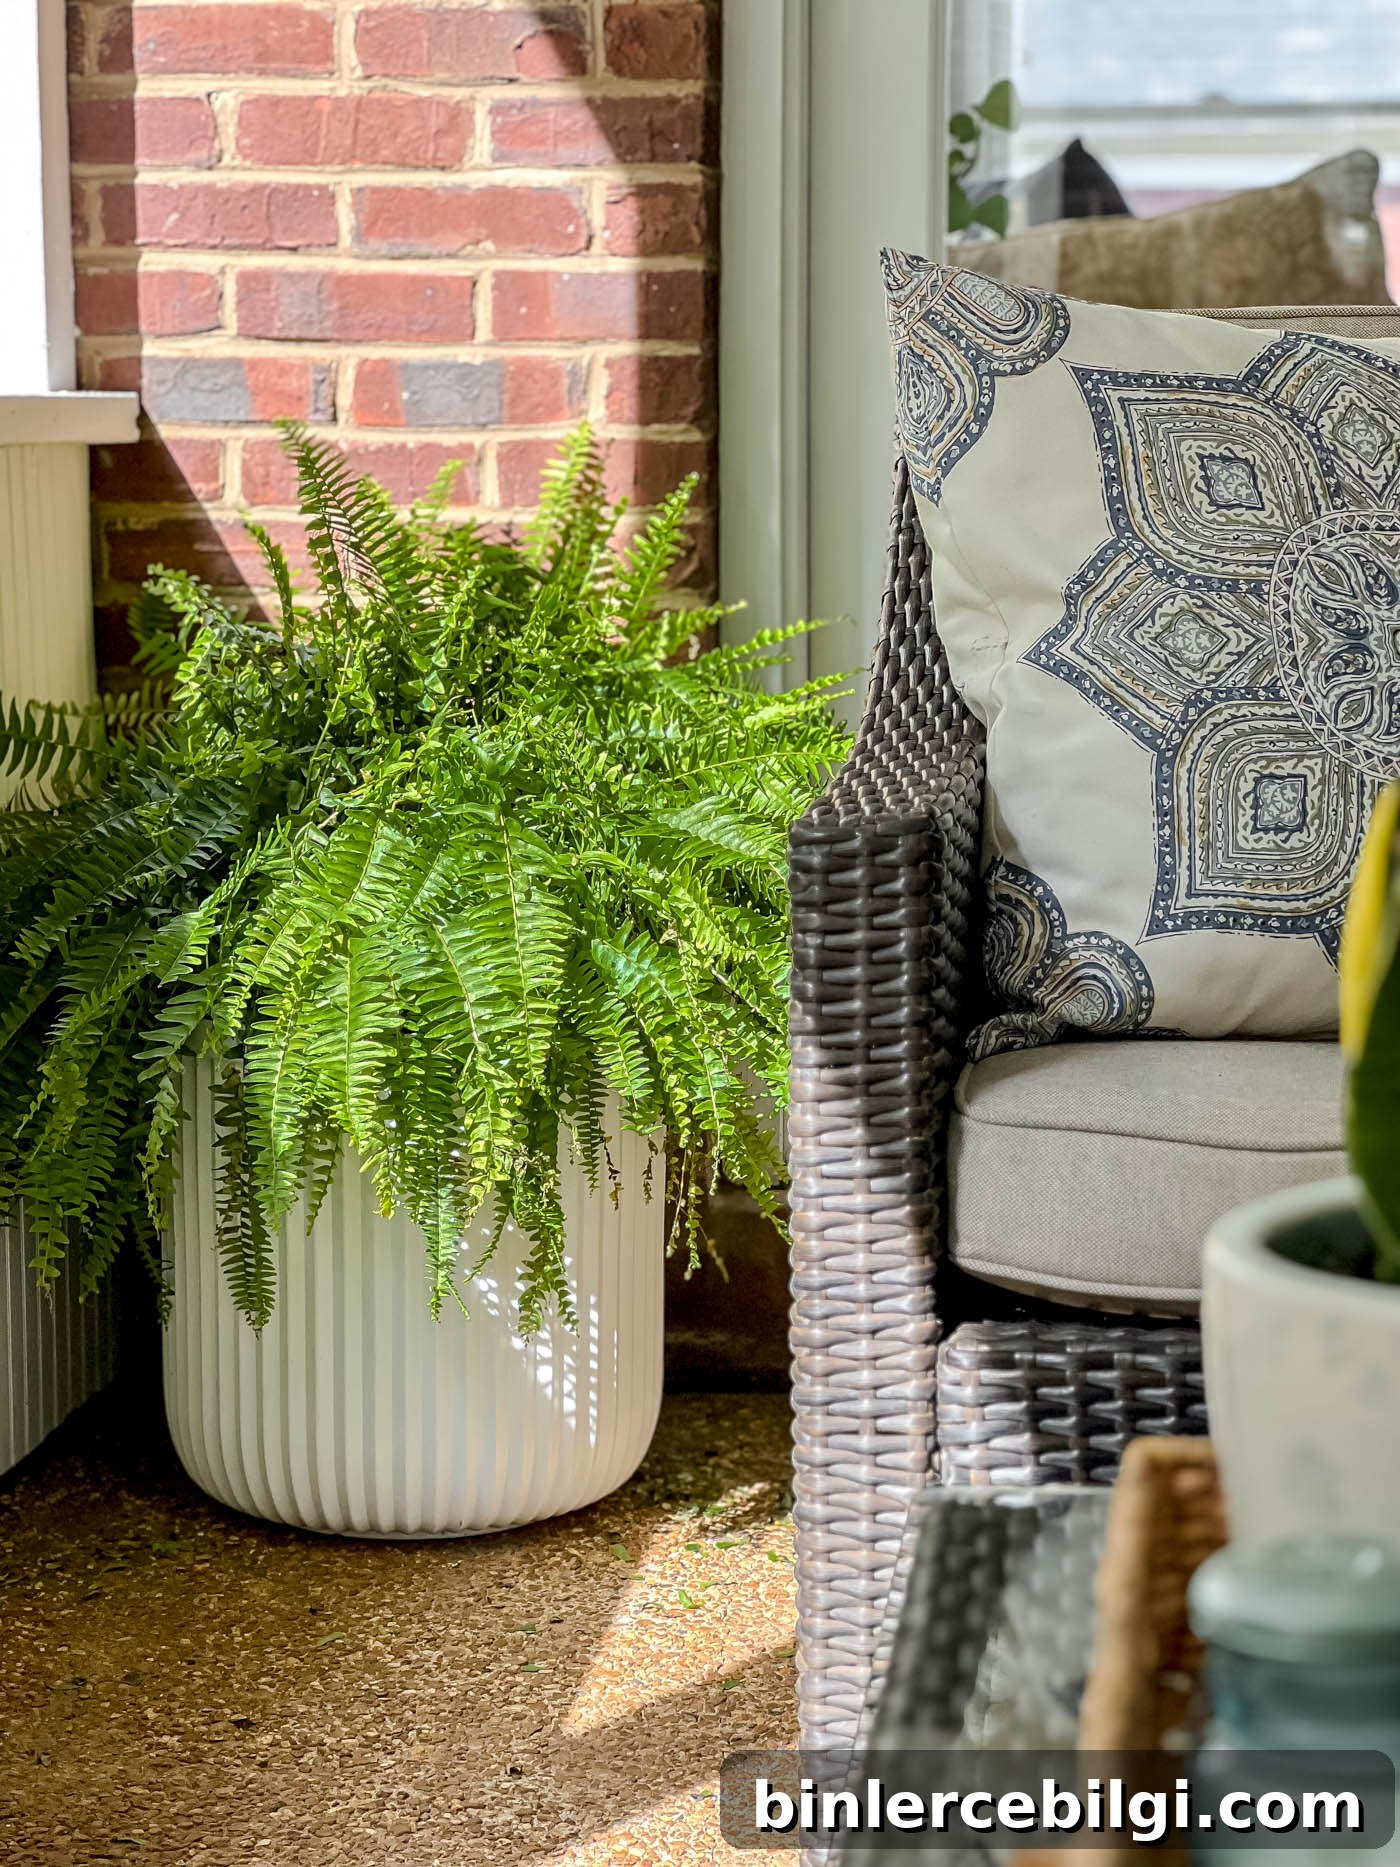
Nurseries often group plants by their light and climate needs, which makes selecting complementary plants for a container easier. If your planter will be in shade, shop the shade section; if it will be in sun, pick from the sun section. For example, Boston ferns do well on covered porches, while Kimberly Queen ferns perform better in larger outdoor containers. Matching plants to their preferred conditions reduces stress and improves success.
What You’ll Need to Plant Flowers
- Flowers or seeds – choose varieties suited to your light and climate.
- Planter – a 12–16 inch diameter pot is a good starting size.
- Potting mix soil – use a quality potting mix formulated for containers.
- Gardening gloves – protect your hands while planting.
- Small trowel or spade – for digging and planting.
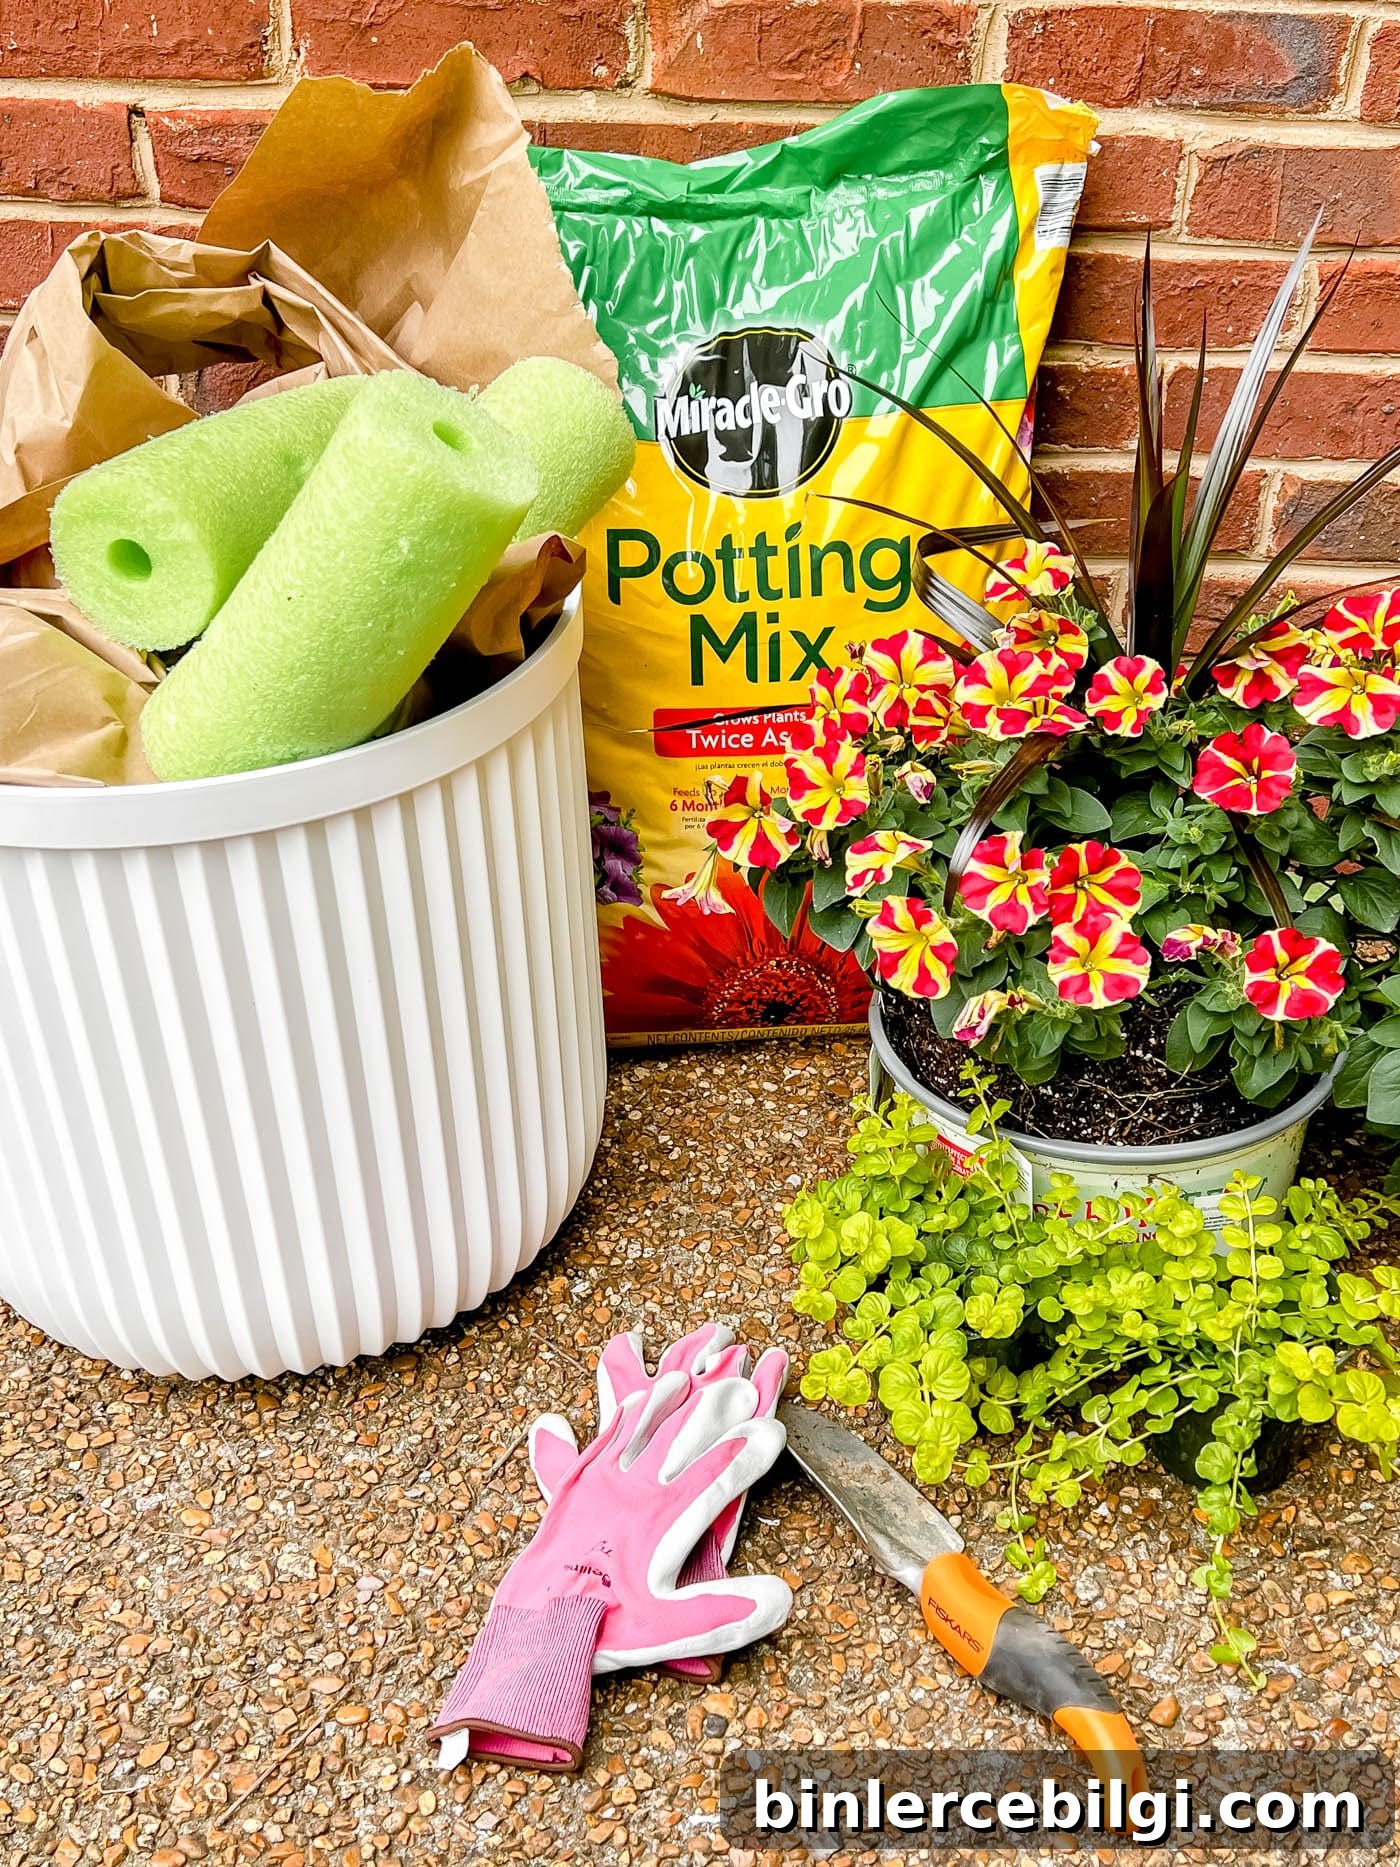
- Planter filler (optional) – lightweight materials like cut-up pool noodles, cardboard, or inverted small containers to reduce soil needed and weight in very large pots.
- Watering can or hose – access to water is essential.
How to Plant Flowers in a Container, Pot, or Planter
Follow these steps to create a healthy and attractive container garden. These practical tips will keep your potted flowers looking great throughout the season.
1. Choose the right pot
Pick a container that’s proportionate to the plants you want to grow. A 12–16 inch pot is a versatile choice. Make sure the pot has drainage holes so excess water can escape—good drainage prevents root rot and keeps plants healthy.
2. Gather your materials
Have potting soil, plants or seeds, a trowel, gloves, optional filler, and water nearby before you begin. Position the planter close to a water source if possible to make watering easy.
3. Prepare the pot
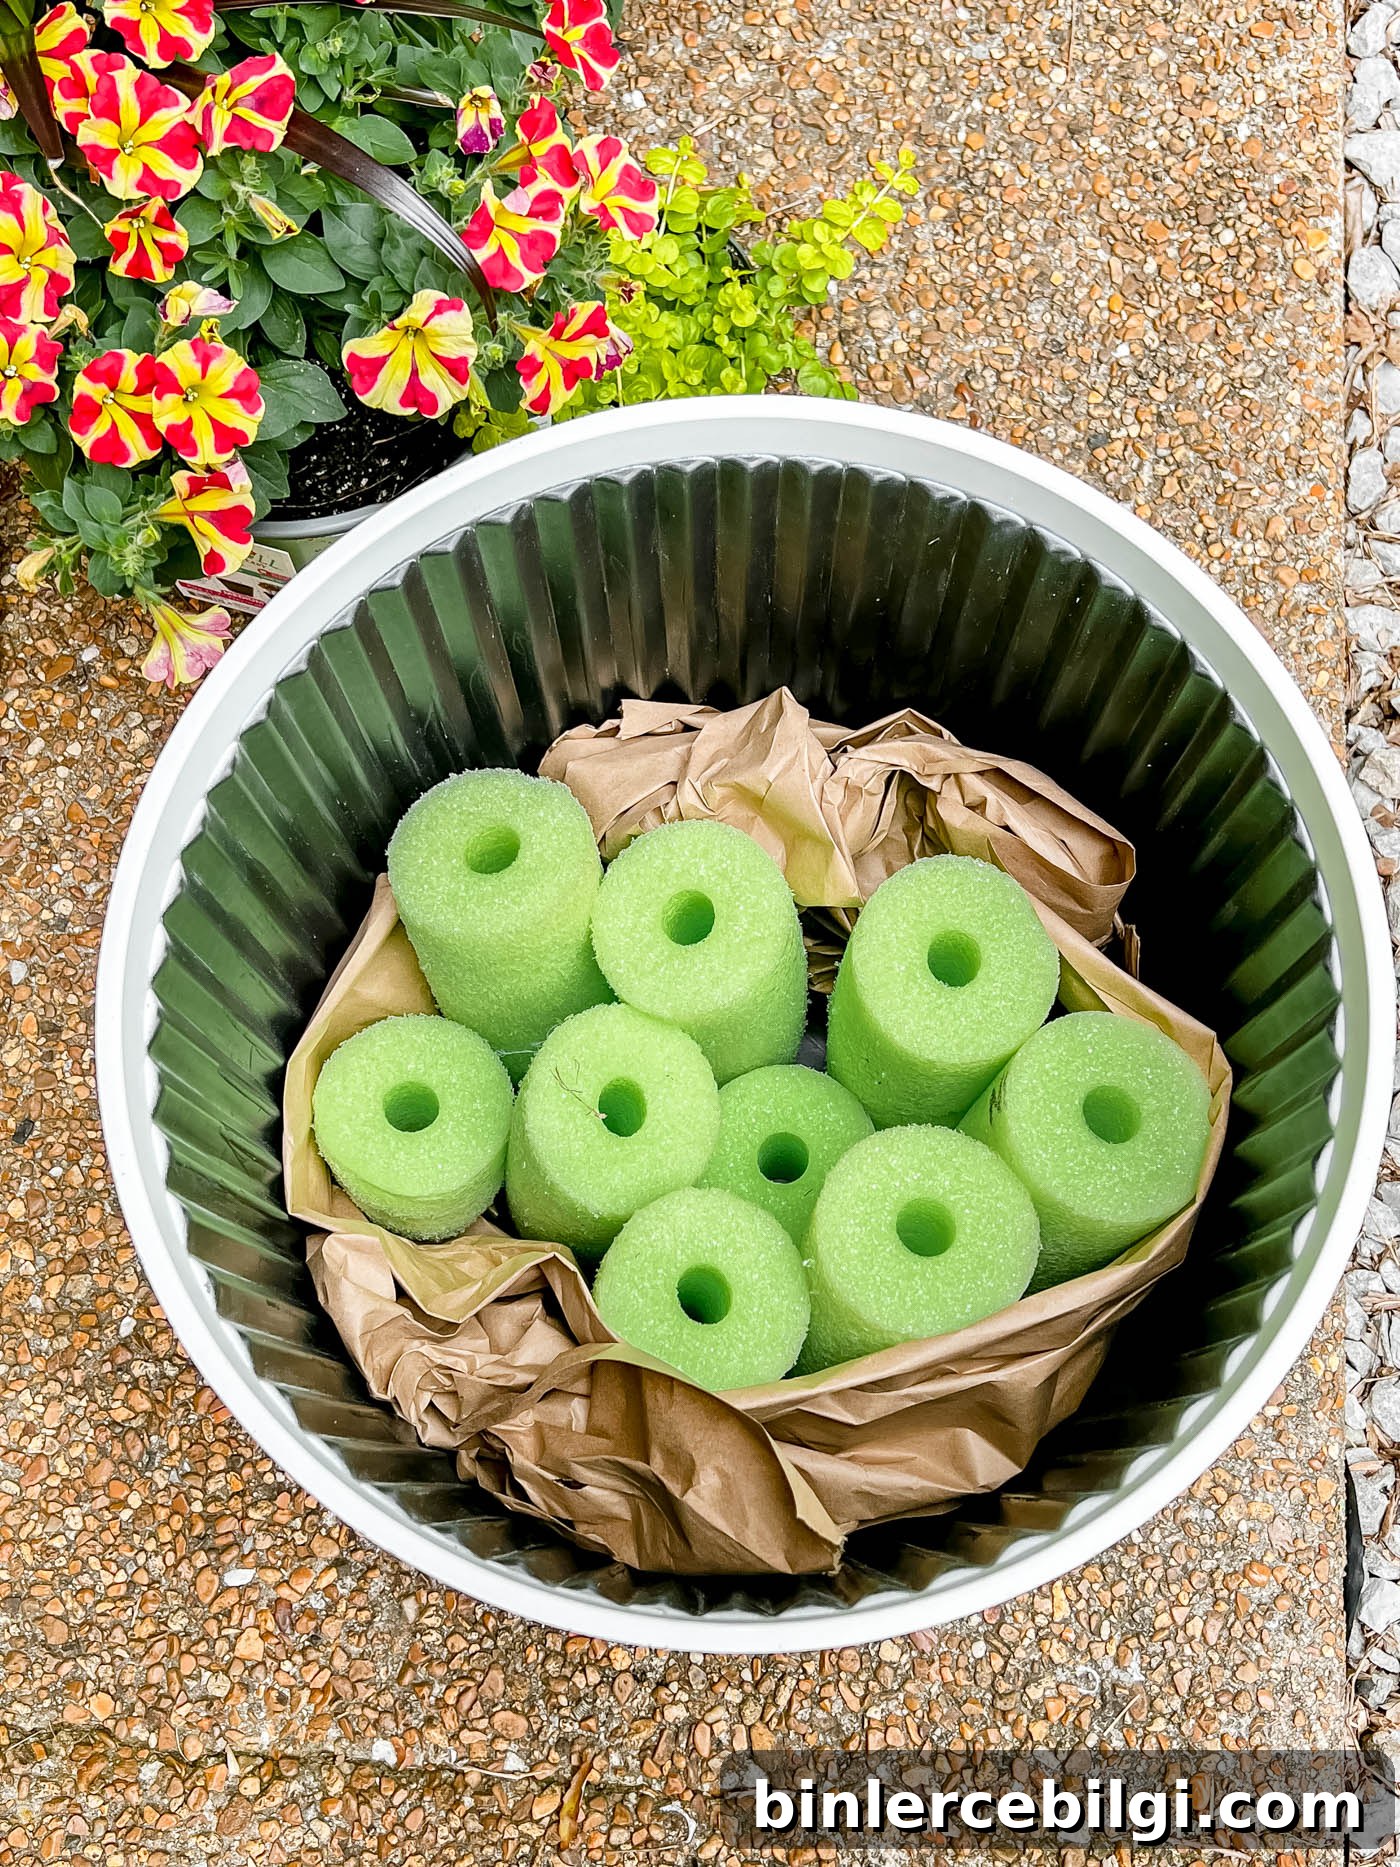
Fill the container with quality potting soil, leaving about 2 inches below the rim to allow for watering without overflow. If the pot is very large, add lightweight filler to the bottom to reduce the amount of soil and overall weight. Materials like cut pool noodles, crumpled paper, or recycled packing materials work well.
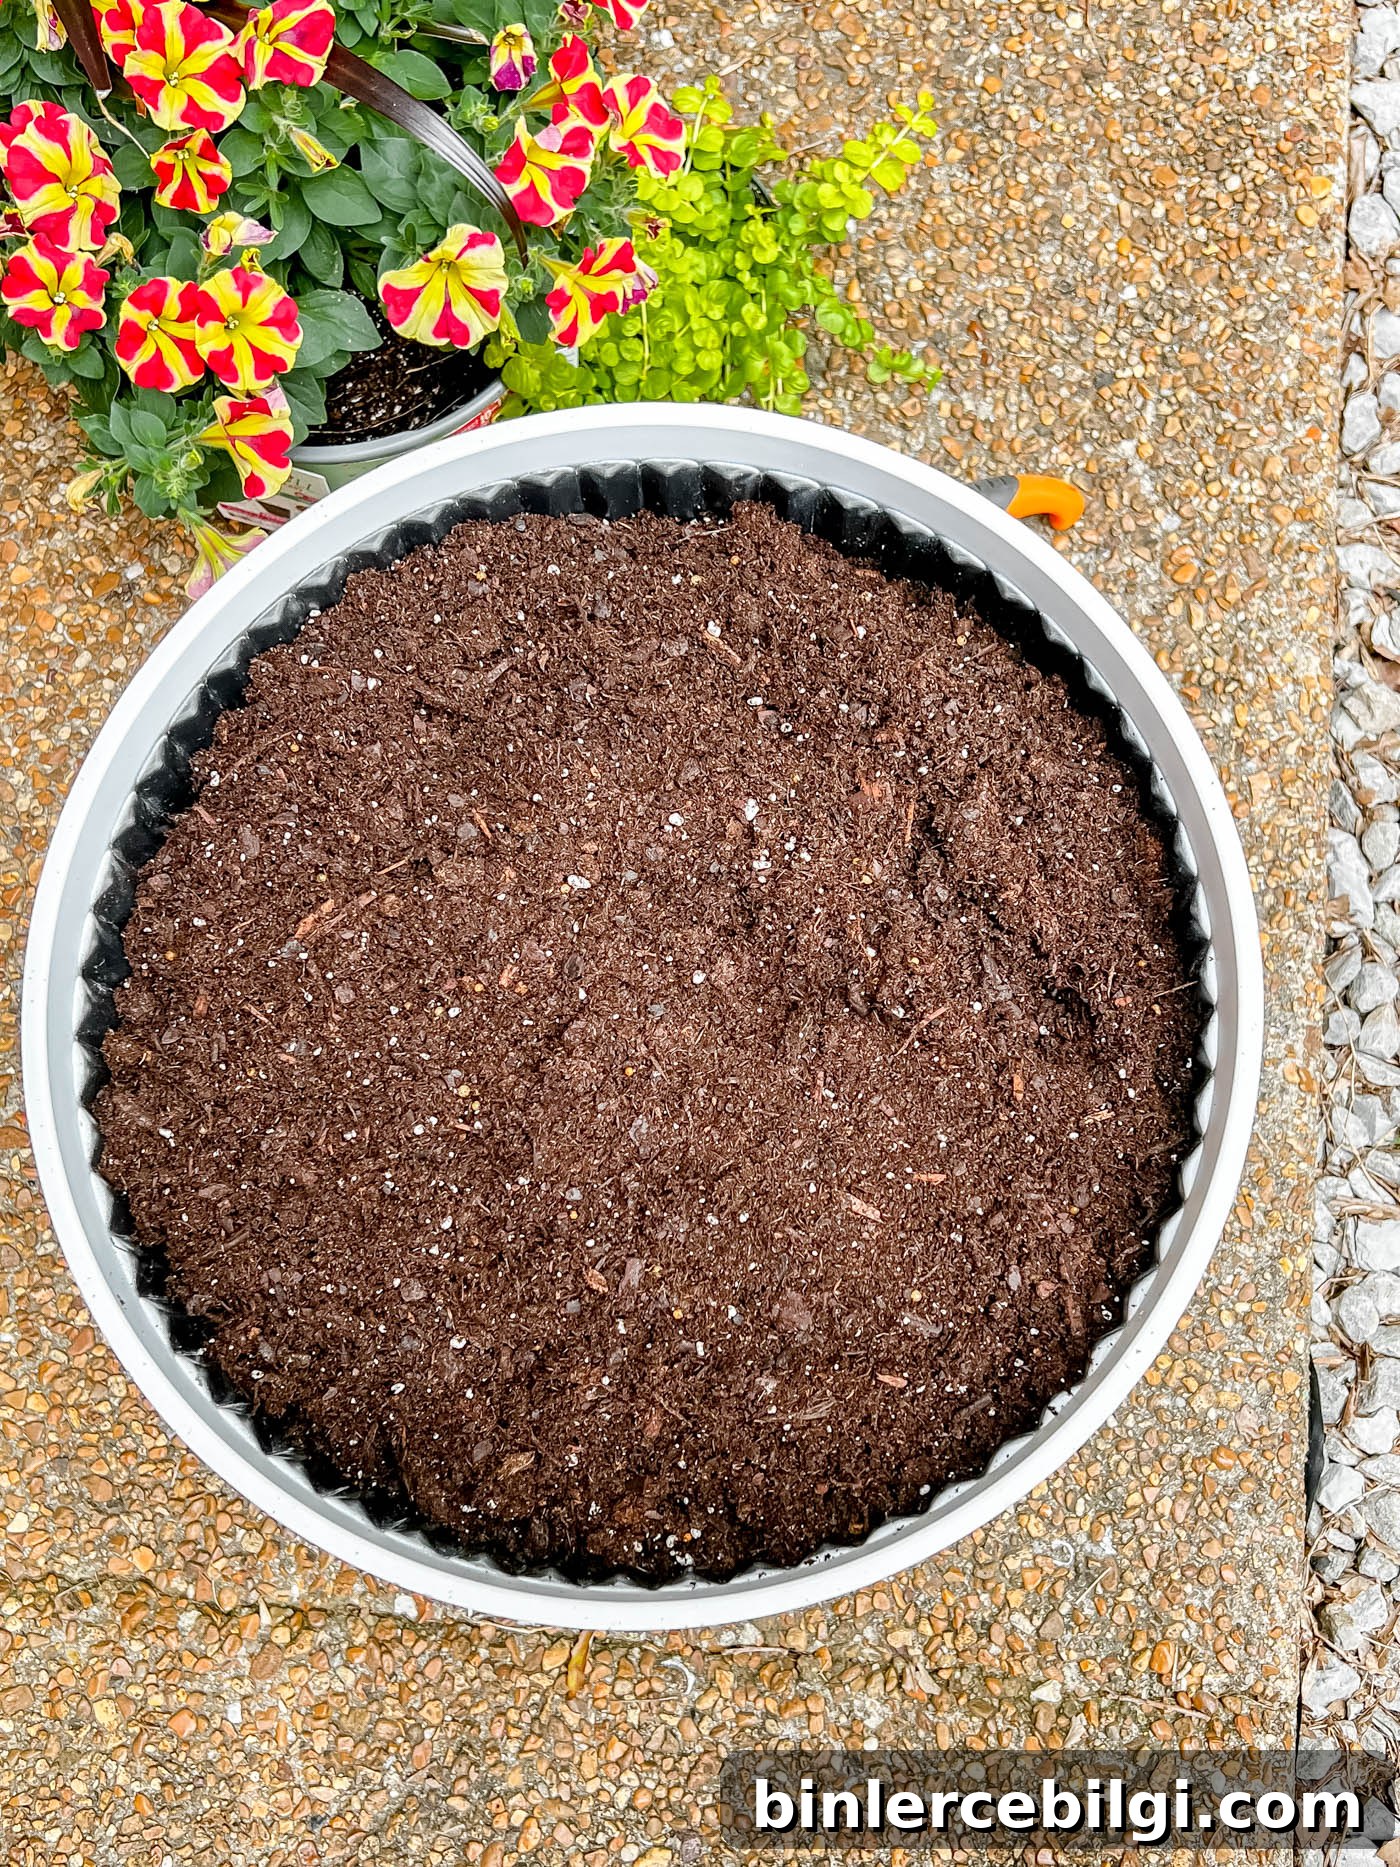
Keep the soil level about 2 inches from the rim so water won’t spill over while watering.
4. Dry fit the plants
Arrange your plants in the pot while still in their nursery containers to visualize spacing and composition. This step helps you balance thriller, filler, and spiller elements before planting.
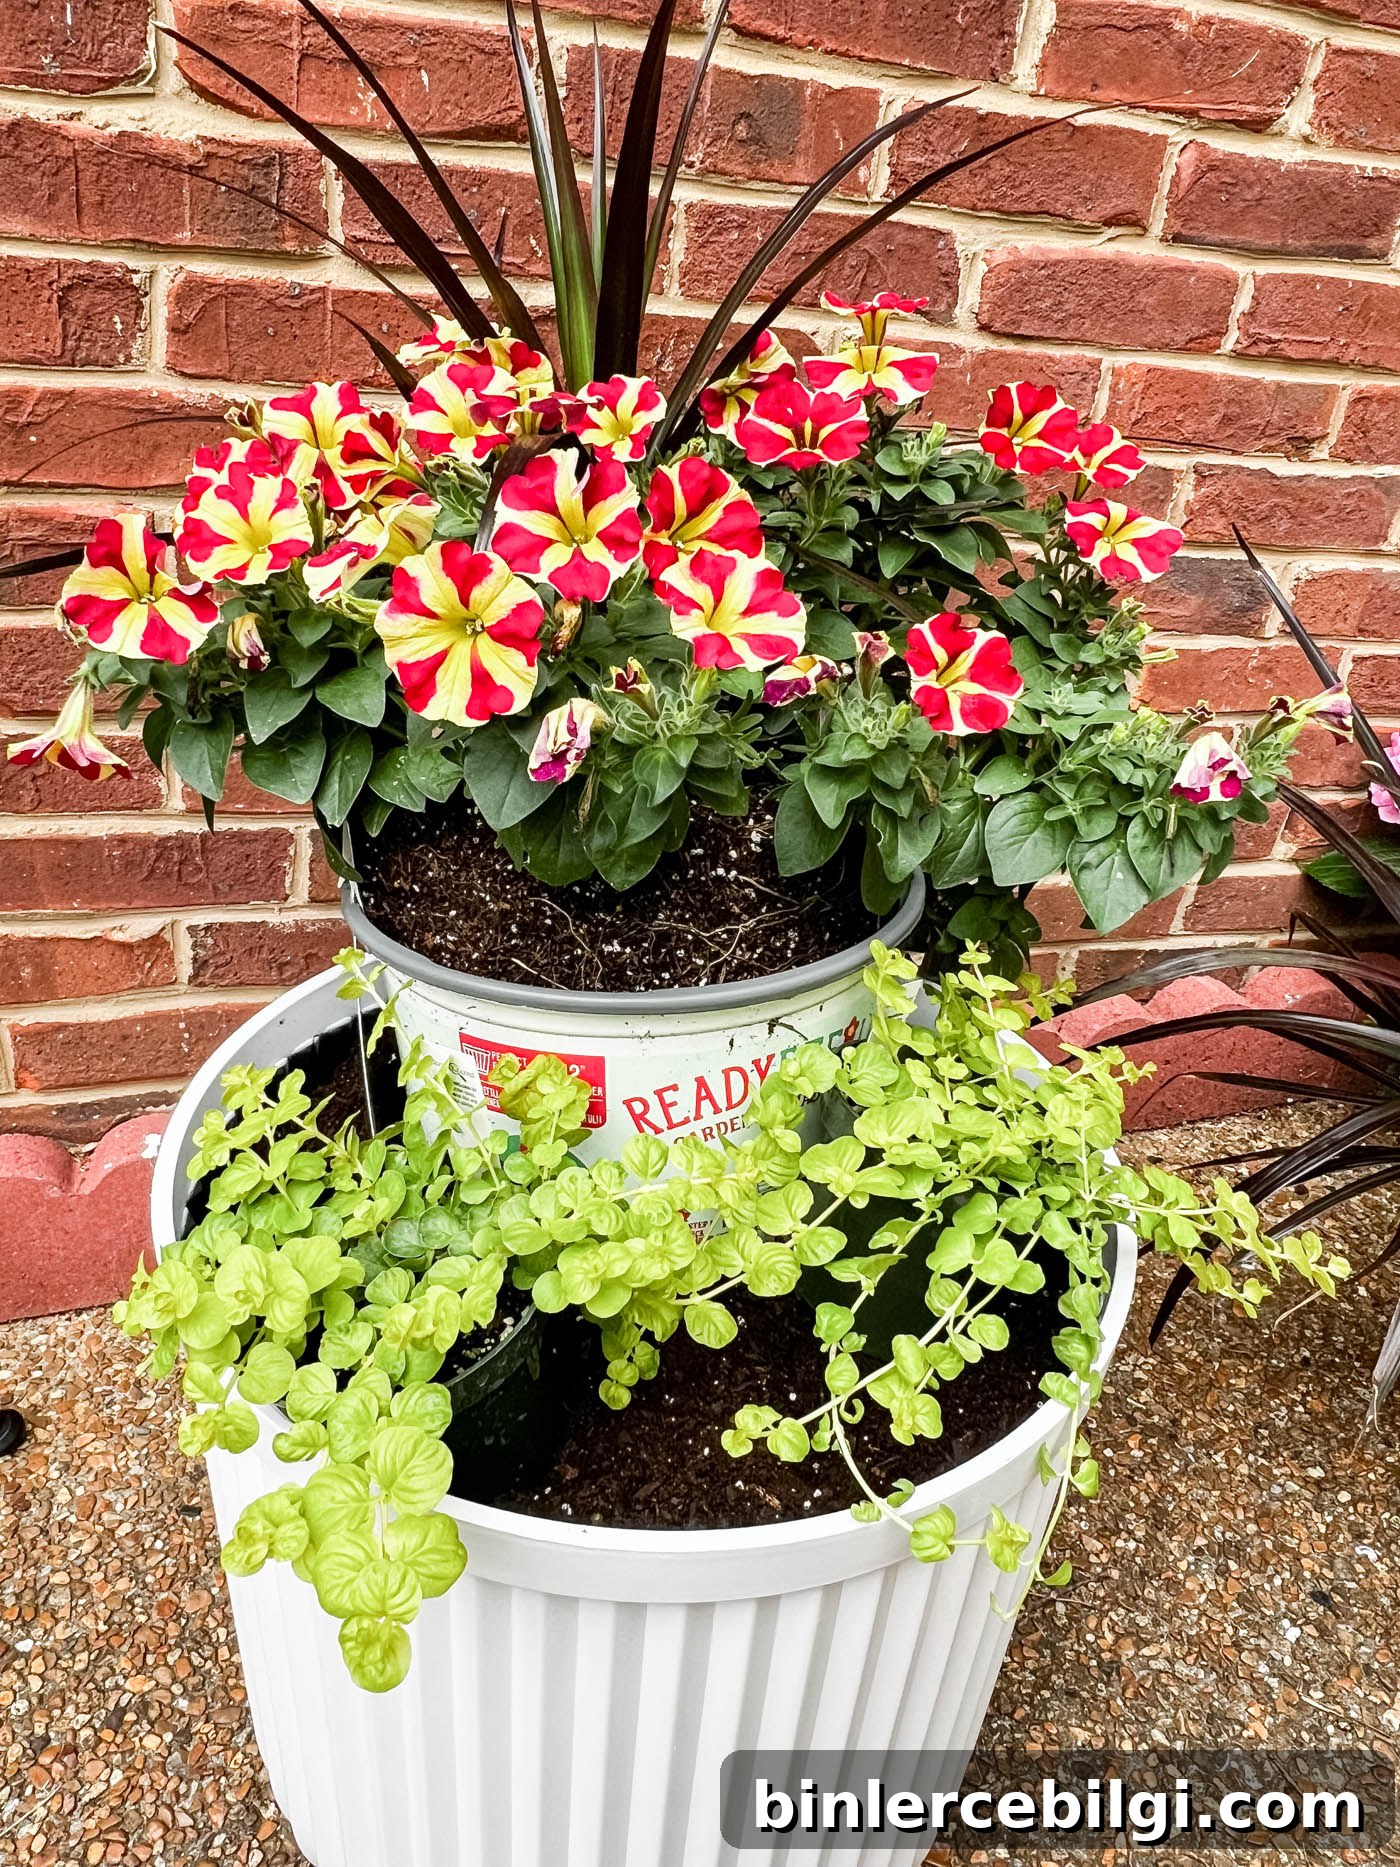
5. Prepare the flowers
Remove seedlings or young plants from their containers and gently loosen the root ball to prevent circling roots and reduce the risk of plants becoming root bound. If planting from seed, follow the instructions on the seed packet for depth and spacing.
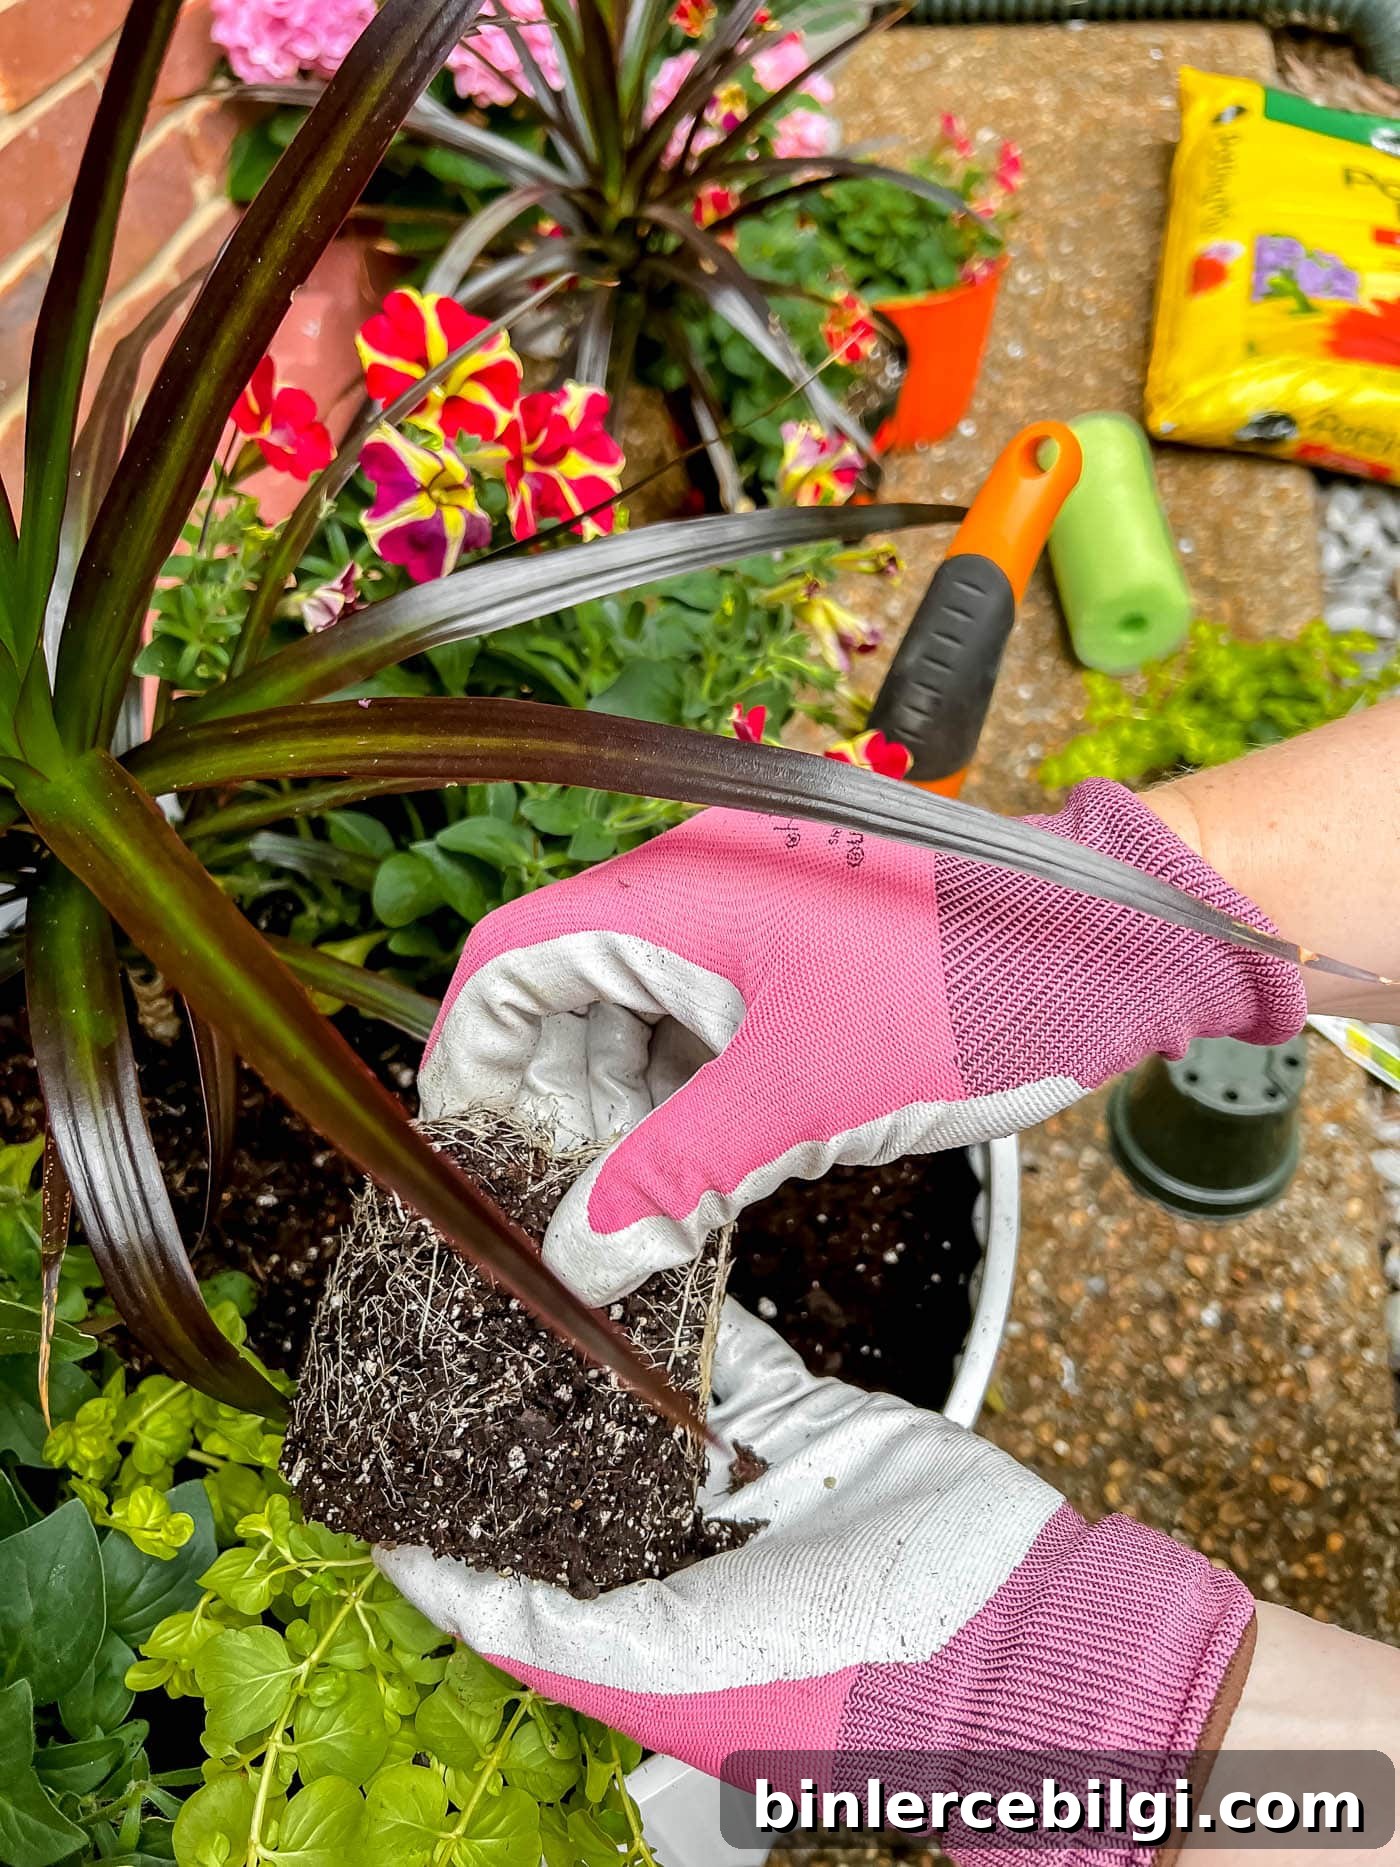
6. Plant the flowers
Dig a hole in the soil deep enough to accommodate each root ball. Place the plant into the hole, backfill with soil, and press gently to eliminate air pockets. Proper contact between roots and soil helps plants establish quickly.
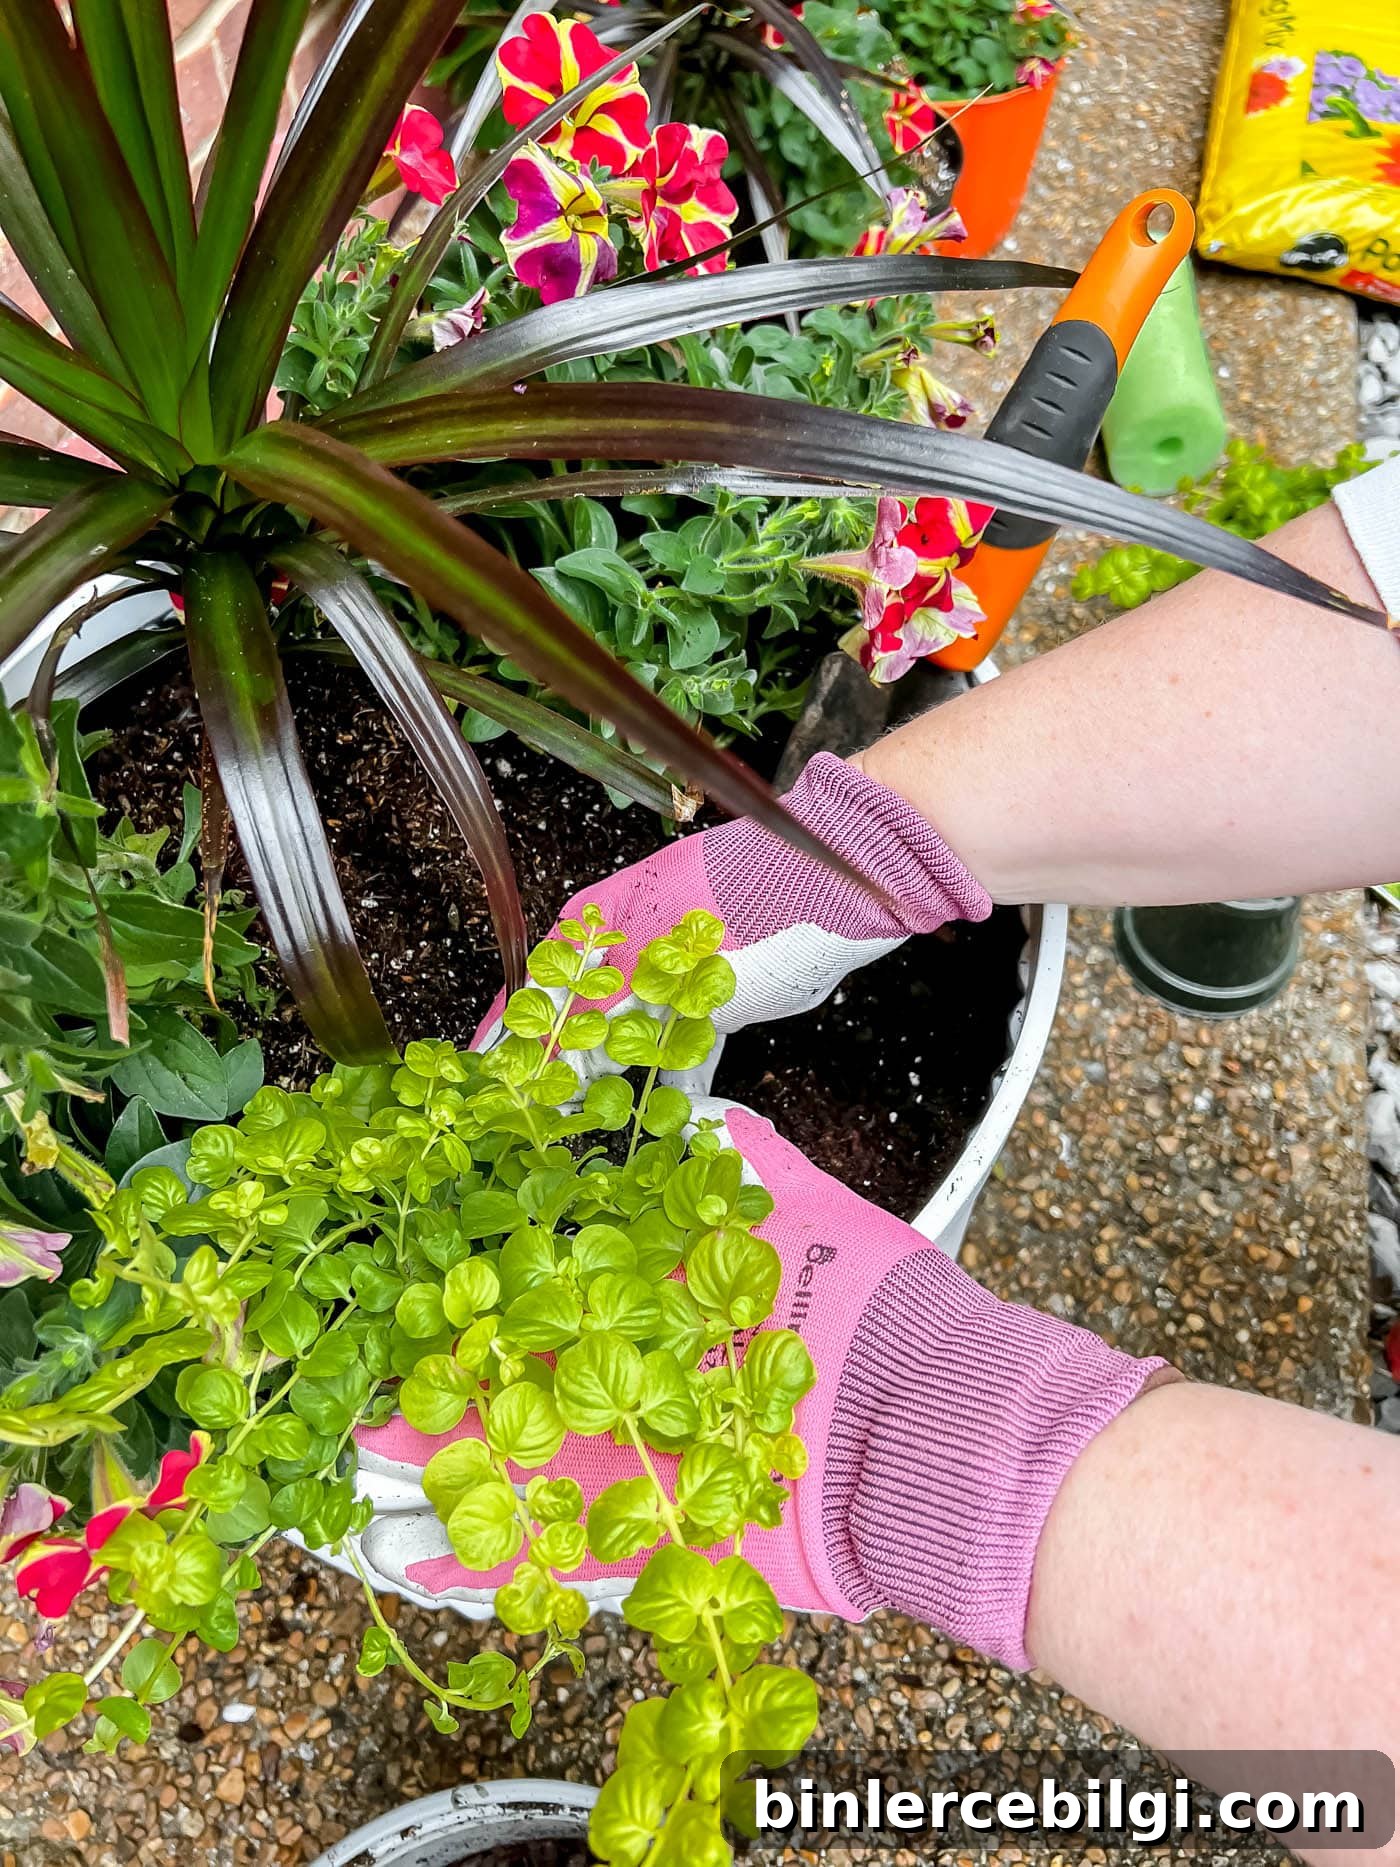
7. Repeat the process
If planting multiple plants in one container, maintain appropriate spacing to allow each plant room to grow. Crowding can reduce air circulation and encourage disease.
8. Water the plants
After planting, water thoroughly until water drains from the bottom of the pot. Hanging baskets and small containers dry out faster than large pots, so they may require more frequent watering.
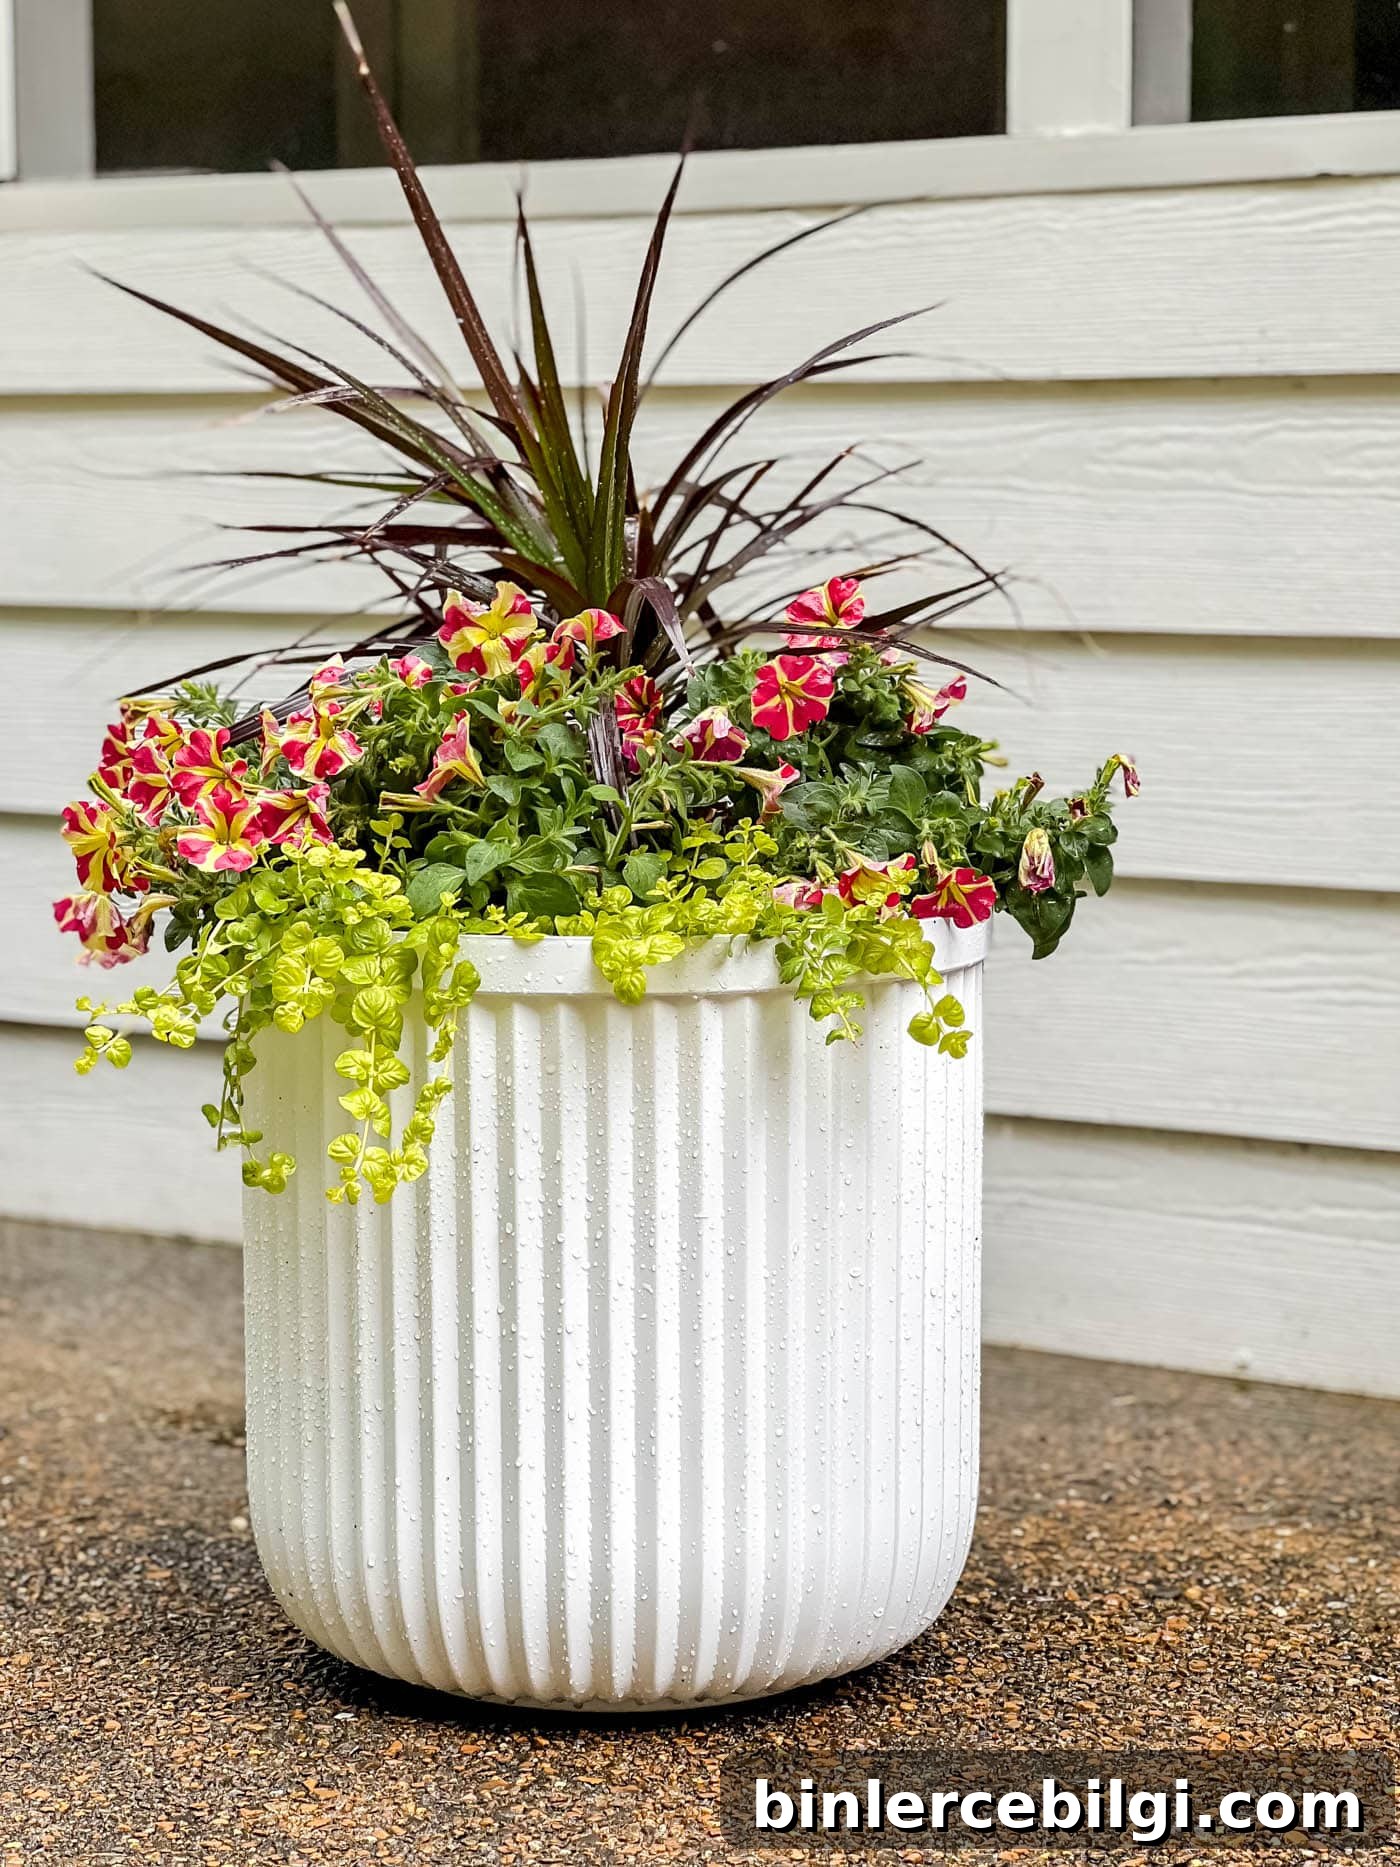
9. Provide care
Place your potted flowers where they’ll receive the proper amount of sunlight. Follow specific care instructions for watering frequency, fertilizing, and pruning. Deadhead spent blooms to encourage continued flowering.
10. Monitor and maintain
Check soil moisture regularly by inserting a finger about an inch into the soil. If it feels dry, water. Avoid overwatering to prevent root rot. For more precise watering, consider using a soil moisture meter to guide your schedule.
11. Enjoy your blooming flowers
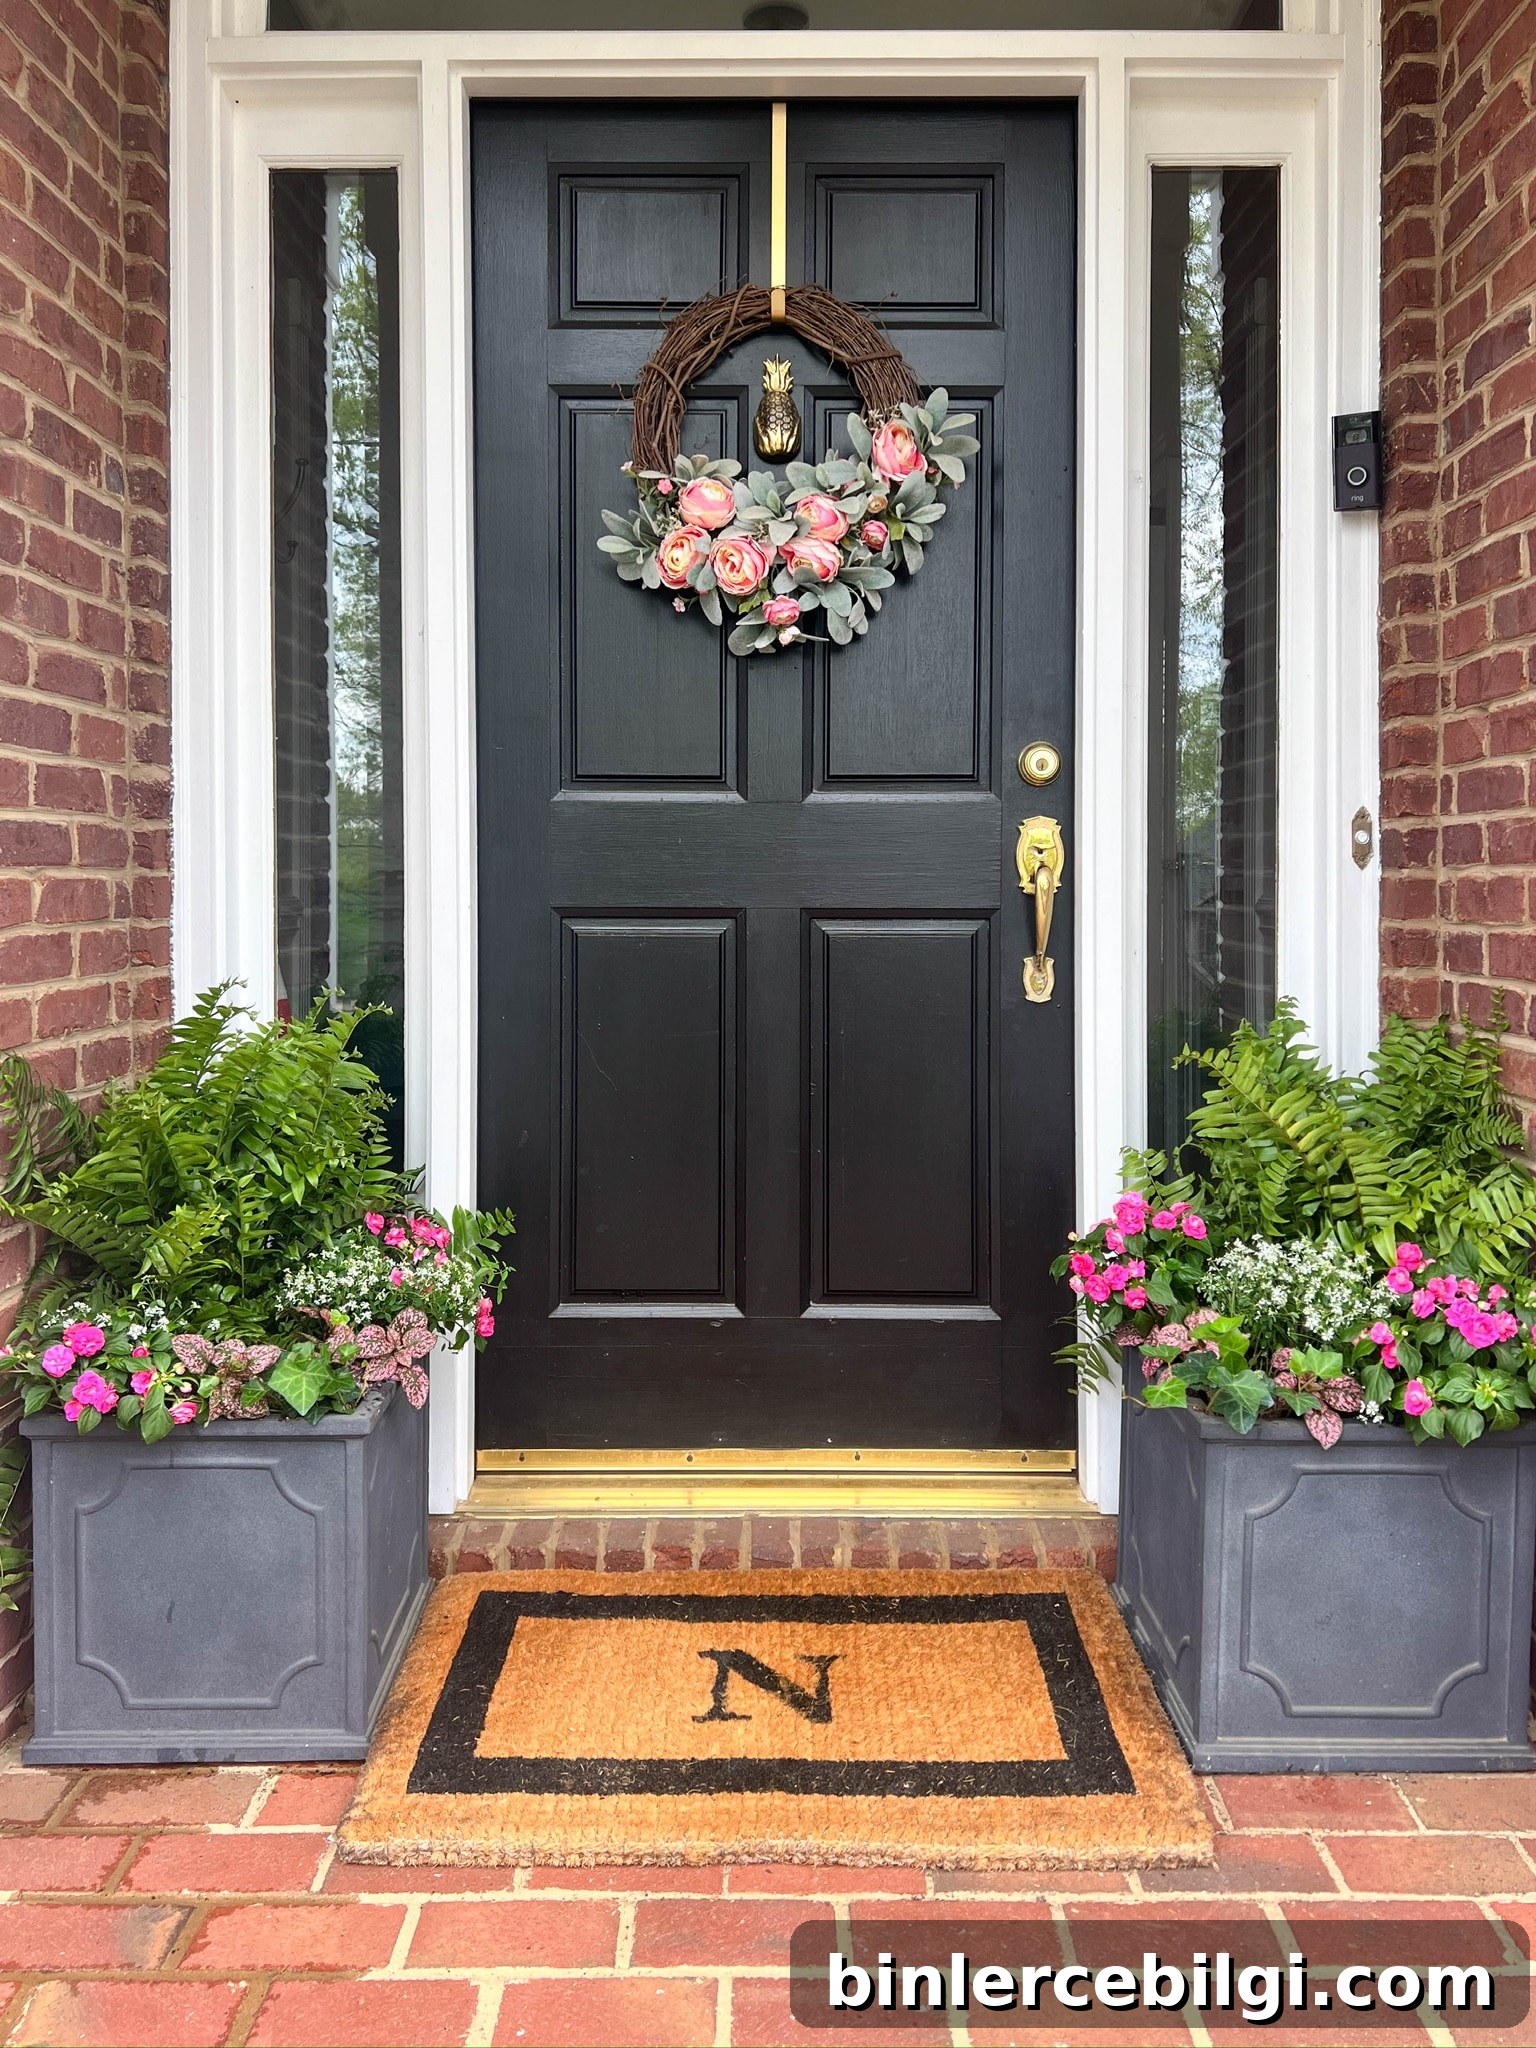
With appropriate care and attention, your container garden will thrive and bring seasonal color to your porch, patio, or entryway. Take time to prune, fertilize as needed, and refresh plants seasonally for the best display. Happy gardening!
Frequently Asked Questions
Generally, plant in spring after the last frost for your zone. Check local planting dates for your specific climate.
Plants in containers can be placed closer than in garden beds. If a plant’s recommended spacing is 6 inches in the ground, you can often plant it about 3 inches apart in a pot. Leave more space if you prefer a less crowded look—plants will fill in over the season.
It depends on the planter size. A general guideline: three to four plants in a 10–12 inch planter, four to six plants in a 14–16 inch planter, and six to eight plants in a 16–20 inch planter. This gives plants room to grow while filling the container attractively.
Our Favorite Planters for Beautiful Container Gardening
If you don’t have a local nursery nearby, ordering planters online can be a convenient option. There are many styles and price points; affordable options often look great and are budget friendly. Two favorites mentioned are a 16-inch fluted white planter and a faux concrete planter—both budget-friendly and attractive.
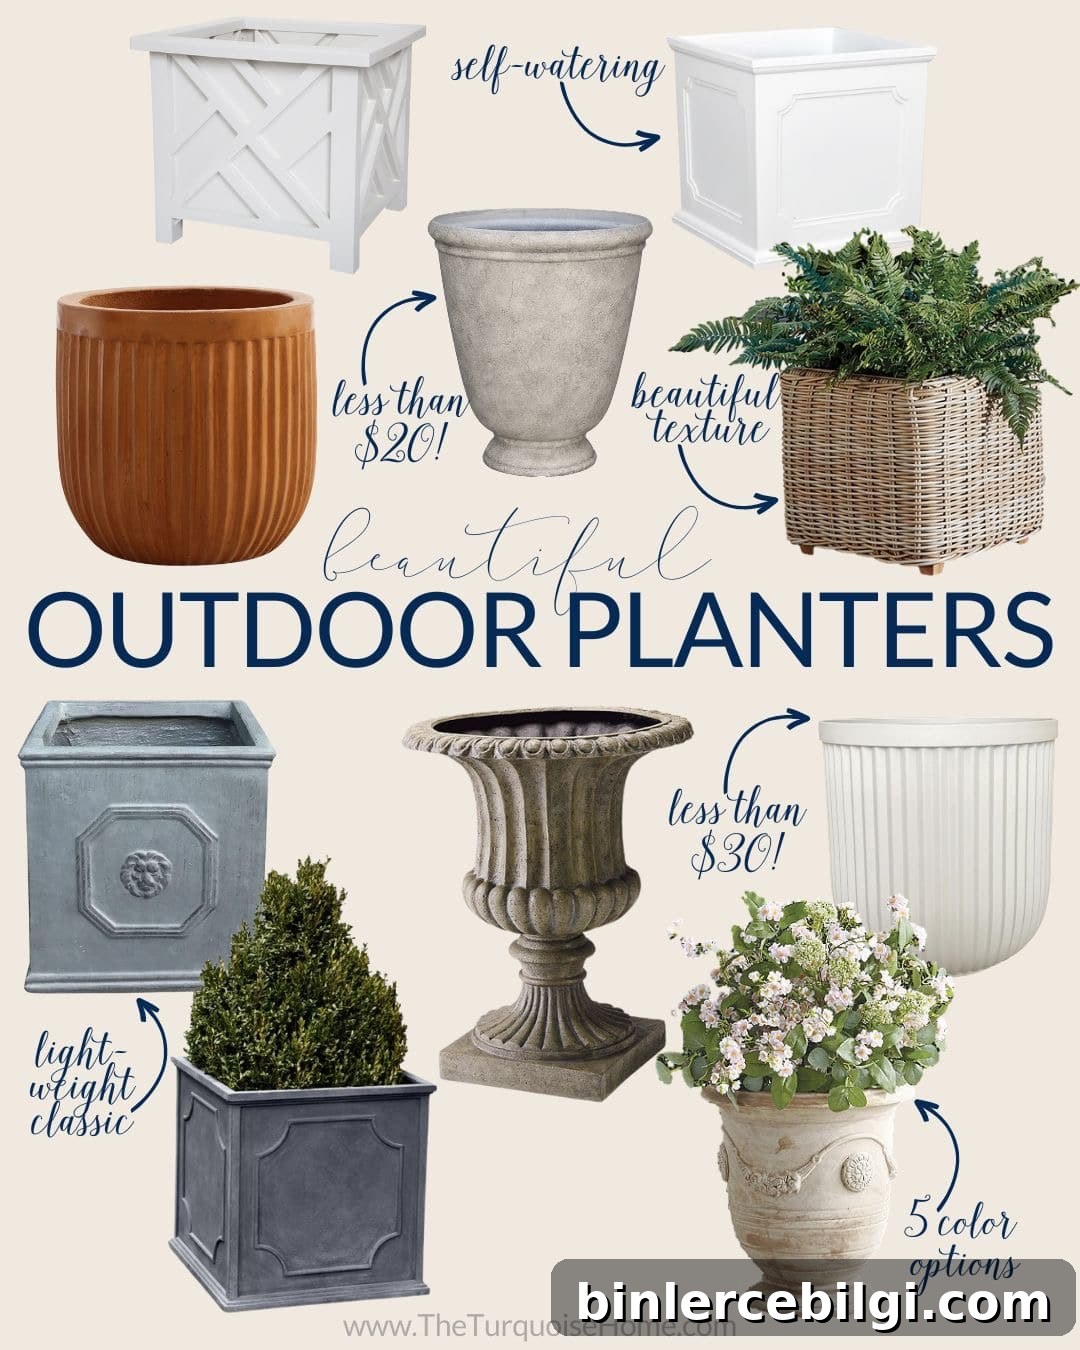
Popular planter styles: Chippendale-style planter | Self-watering planter | Terracotta fluted planter | Faux concrete planter | Woven resin planter | Classic lion head planter | Tuscany urn | Fluted resin planter | Fiberglass planter box | Ceramic urn planter
More posts you will love:
- Gorgeous and Functional Outdoor Living Spaces
- My Haint Blue Porch Ceiling
- How to Add Curb Appeal to Your Home
- How to Paint a Wood Fence the Fast and Easy Way!
- Easy Ways to Spruce Up Your Yard