
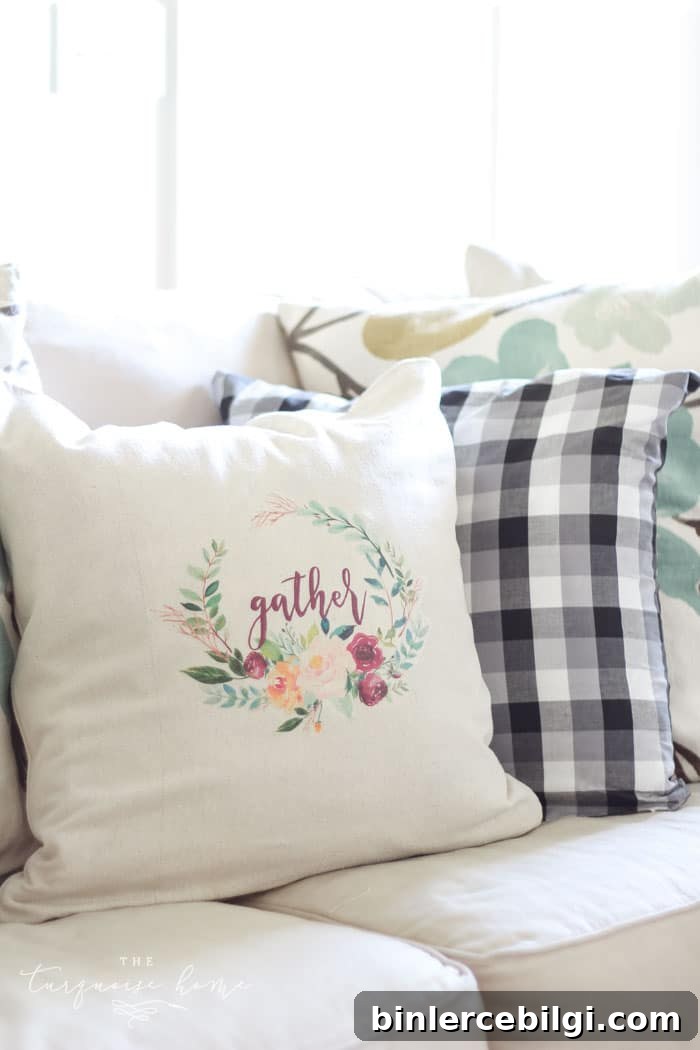
Create a pillow cover from any image in five simple steps using iron-on transfer paper and a little creativity.
You can transform any image — a favorite photo, a printable design, or custom artwork — into a beautiful pillow cover using iron-on transfer paper. This technique works on T-shirts, tote bags, and most fabric items as well. Below is a clear, step-by-step guide to make a stunning DIY pillow using mirrored printables and ordinary craft supplies.
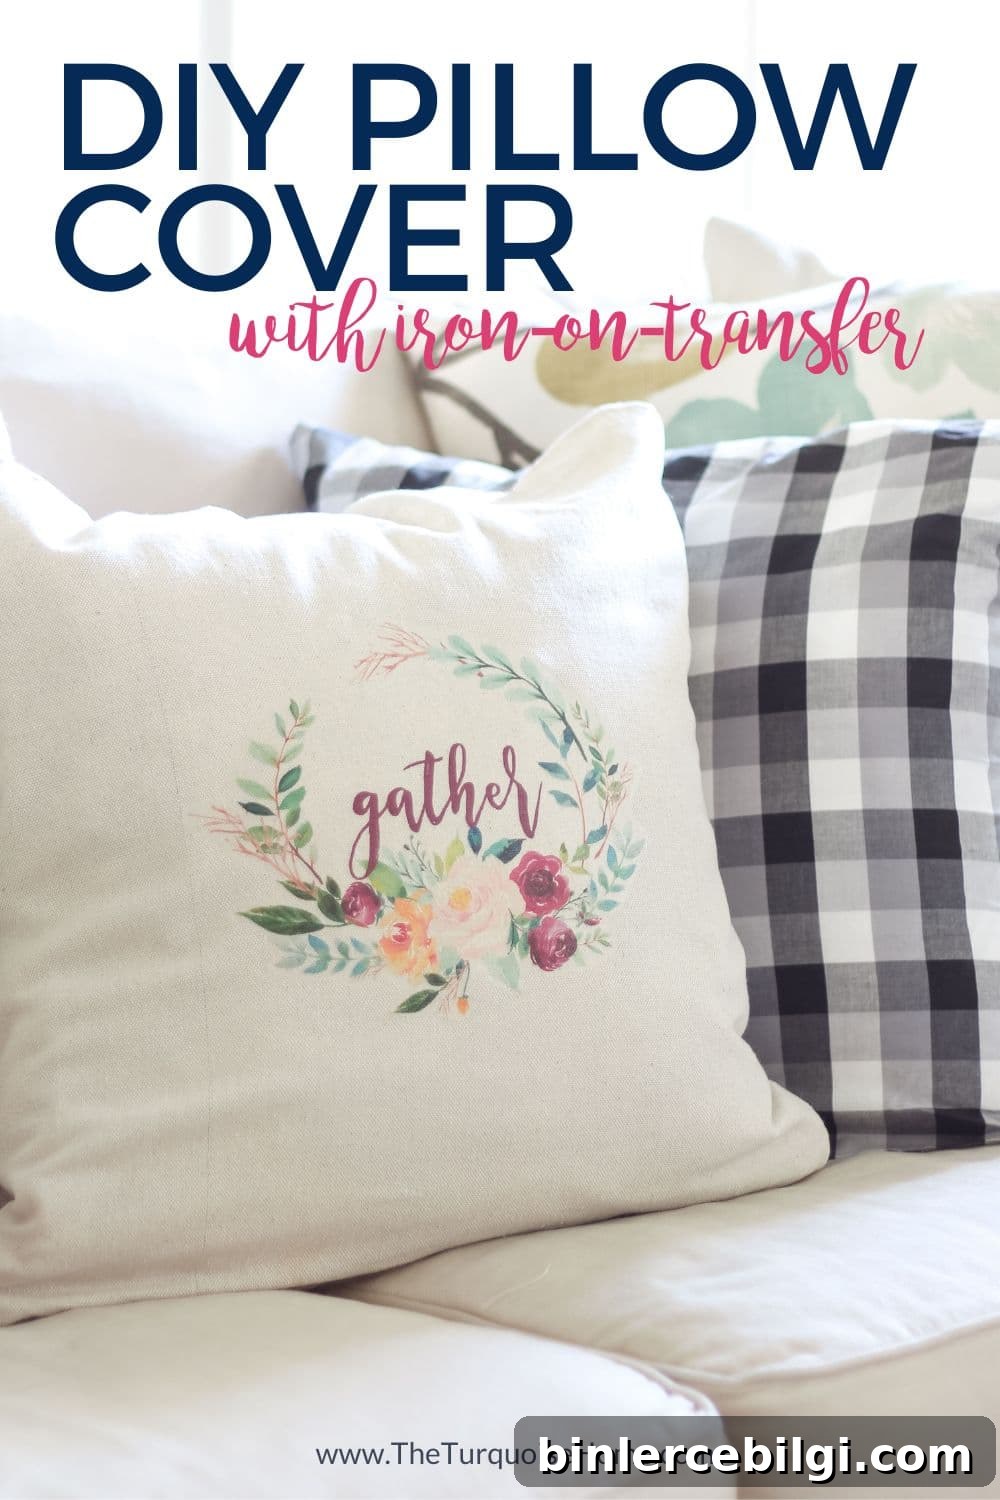
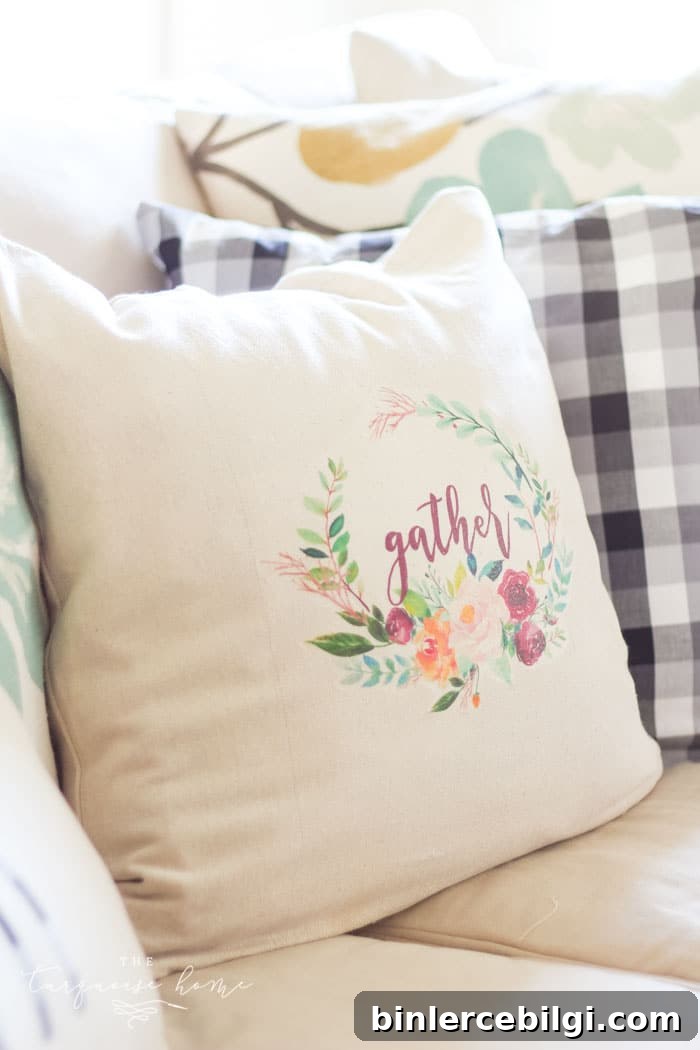
I recently discovered iron-on transfer paper and was amazed at how simple and satisfying the process is. For this project you’ll prepare a blank pillow cover, choose and mirror your image, print it onto transfer paper, iron the image onto fabric, then remove the backing — and you’re done. The final result is a professional-looking pillow cover with a fully customized design.

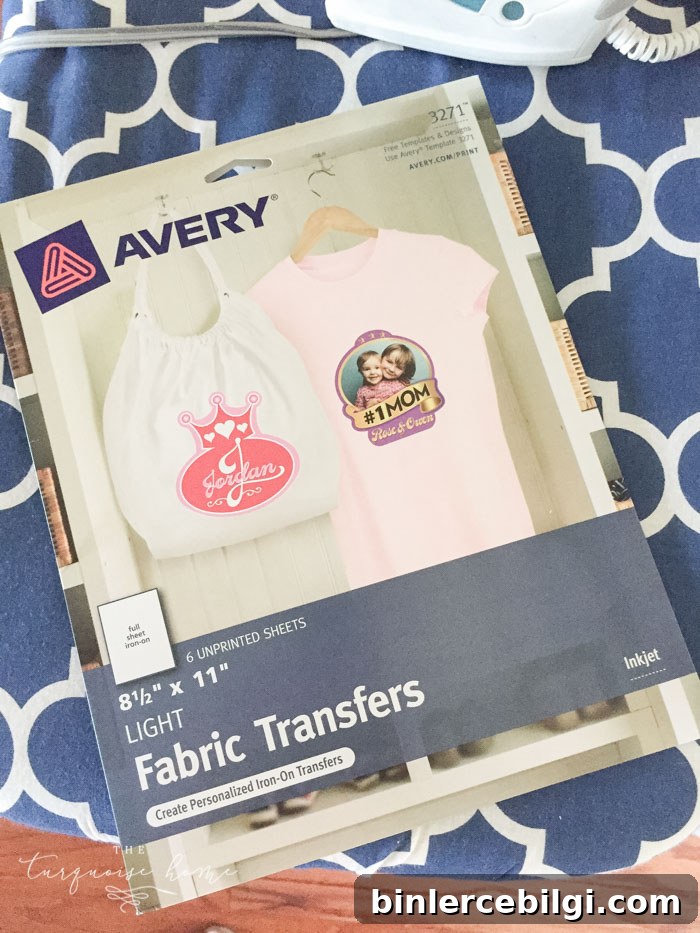
Note: This post mentions affiliate products in the original version. When shopping, choose transfer paper that specifically matches your printer type (inkjet vs. laser) and fabric color (light vs. dark).
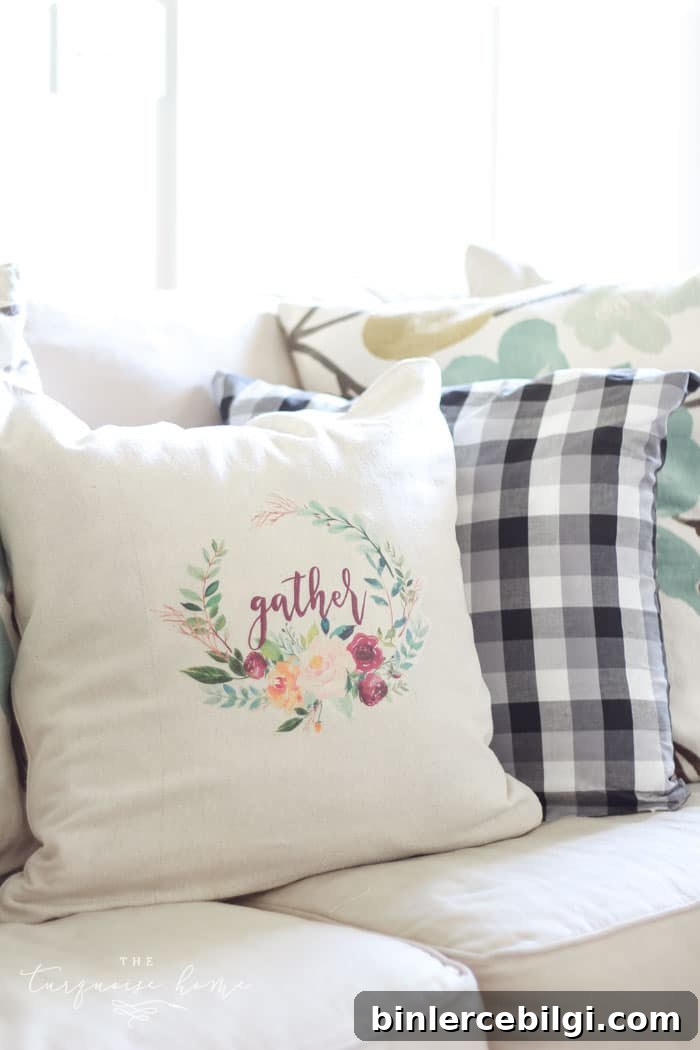
Start by choosing an image you love — that could be one of many free printables available online or a personal photo. Below you’ll find the supplies list and a detailed walk-through to ensure the iron-on transfer process goes smoothly.
Make a Blank Pillow Cover
If you don’t want to buy a pillow cover, it’s easy to sew a simple blank cover using inexpensive fabric or drop cloth. A basic envelope-style pillow cover is fast to make and provides a neutral background perfect for transfer designs. Use a woven fabric like cotton or a linen blend for best results with transfers.
Supplies for a DIY Pillow Cover with Iron-On Transfer
- Iron-on transfer paper — pick the correct type for light or dark fabrics and for your printer type (usually inkjet or laser).
- An image to transfer — this can be a free printable, a digital graphic, or your own photo. Remember the image must be mirrored for iron-on transfers to appear correctly after applying.
- An iron — or a heat press if you have one; follow the transfer paper manufacturer’s temperature and pressing instructions.
- Blank pillow cover or other fabric item — cotton, linen, and canvas usually work best.
- Inkjet color printer — if your transfer paper requires inkjet printing. If you don’t have a printer, a local print shop can print the mirrored image on the correct transfer paper for you.
How to Make a Pillow with Iron-On Transfer Paper
1. Select an Image
Pick a high-resolution image sized to fit your pillow face. Vector artwork or high-quality JPEG/PNG files work best because they print cleanly without pixelation. If you’re using a printable design, make sure it’s large enough and centered for the pillow size you plan to decorate.
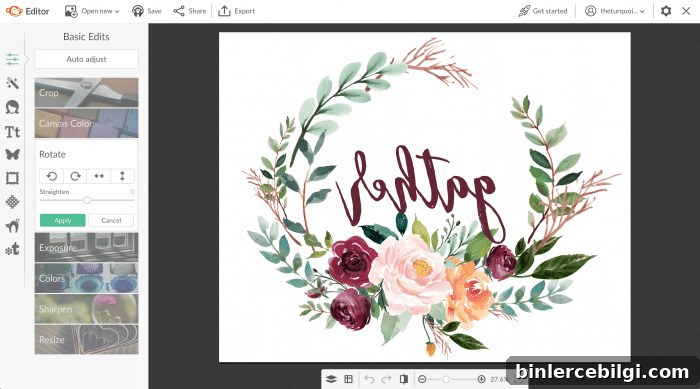
2. Mirror Your Image
Most iron-on transfers require printing the image as a mirror (flipped horizontally) so the design reads correctly when transferred. Use a photo editor, online tool, or your printer settings to mirror the image before printing. If your printable is already mirrored, you can skip this step.
3. Print Your Image on the Transfer Paper
Load the transfer paper into your printer following the manufacturer instructions — some papers print with the white side up, others with the printable side down. Use the highest print quality and ensure the printer is set to color printing if the design includes colors.
Carefully check which side of the transfer sheet to print on so you don’t waste materials. Let the printed sheet dry for a few minutes before handling to avoid smudging.
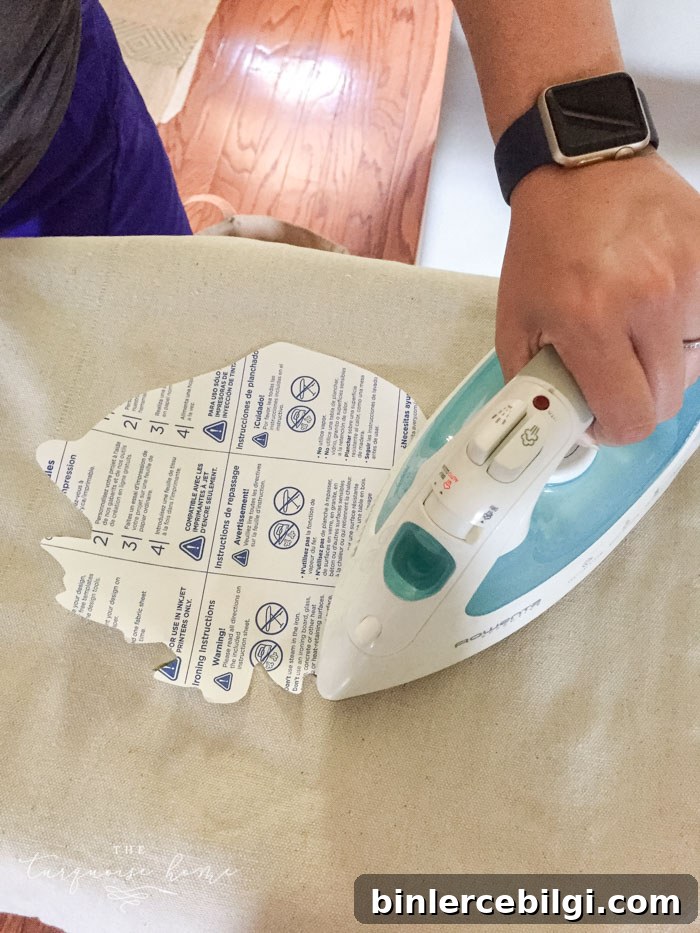
4. Iron the Transfer to the Pillow Cover
Place your blank pillow cover on a flat, heat-resistant surface. Position the printed transfer paper face down (or as instructed) onto the fabric and press firmly with an iron or heat press, following the recommended temperature and time. Use steady pressure and avoid moving the iron around to prevent blurring.
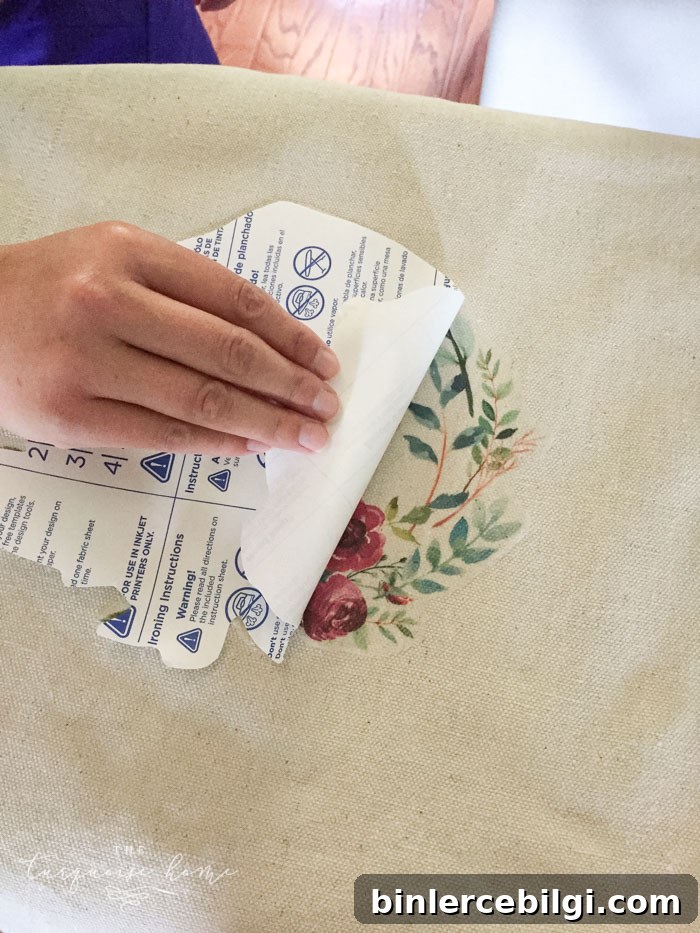
5. Remove the Transfer Backing
Allow the transferred image to cool according to the transfer paper instructions, then carefully peel away the backing. Some transfer papers call for a hot peel, others for a cold peel — follow the package directions exactly for best results.
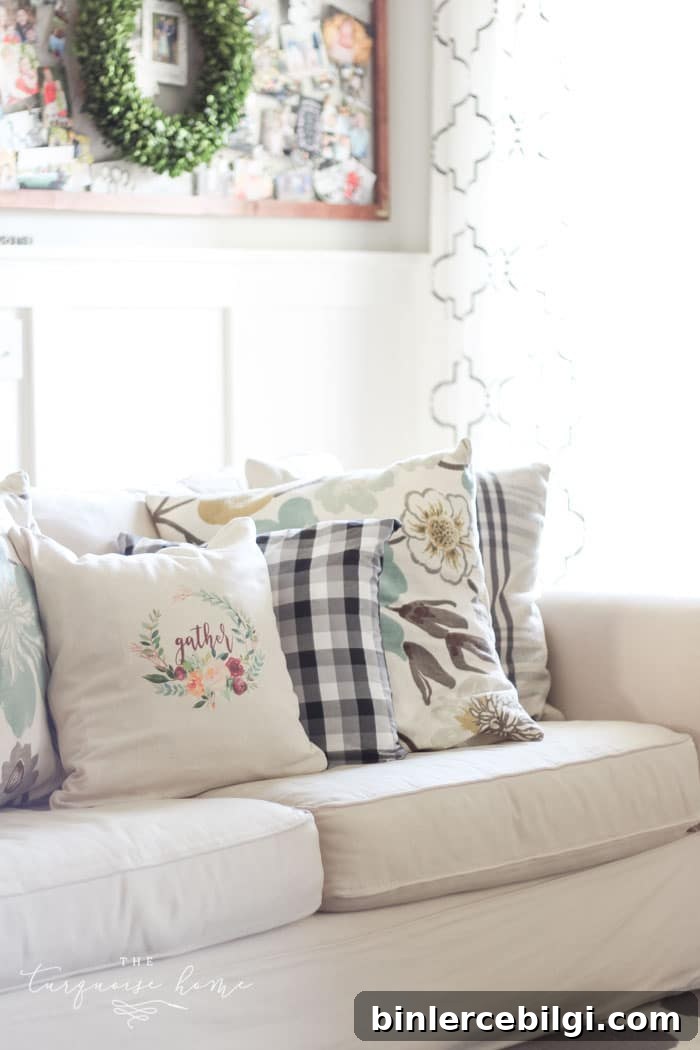
The result is a crisp, long-lasting design on your pillow cover. If needed, give the finished pillow a light press (with a protective cloth over the design) to set it, and always follow care instructions for the transfer paper when laundering your finished item.

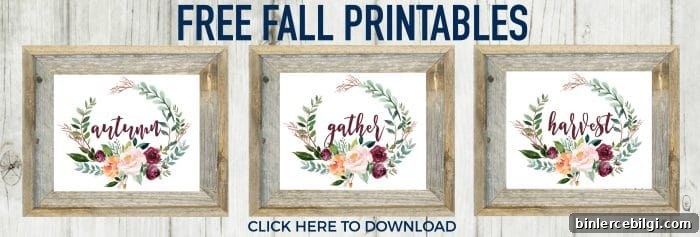
Free Fall Printables (mirrored and ready)
To help you practice, there are mirrored fall-printable graphics created specifically for iron-on transfers. These can be printed directly onto transfer paper and applied to fabric. Alternatively, print them on standard paper and frame them as seasonal artwork.
Enjoy experimenting with designs and fabric combinations. Personalized pillows make great gifts and instant seasonal updates for any room. With just a few supplies and these straightforward steps, you can create custom home décor that reflects your style.
More posts you may enjoy:
- Fall Kitchen Decor Ideas
- Mason Jar Lid Pumpkin Craft
- How to Choose and Style Sofa Pillows
- Best Living Room Paint Colors
- 25 Amazing DIY Fall Wreaths