

Orange slices aren’t just a tasty snack — they’re a beautiful, budget-friendly craft supply that adds natural charm to home décor. Dried orange slices glow when backlit, smell subtly citrusy, and work wonderfully in garlands, wreaths, potpourri, drink garnishes, and many other projects. Drying your own orange slices at home is straightforward, economical, and eco-friendly.

If you’ve never dried orange slices before, this guide covers everything you need: the right tools, step-by-step oven and dehydrator methods, pro tips for best results, and creative uses for your finished slices. Follow these simple steps to make durable, attractive dried oranges you’ll be proud to display or gift.
Why Dry Orange Slices?
Dried orange slices are popular with crafters and home decorators for several good reasons:
They’re Beautiful
When dried, oranges develop a translucent quality that catches light beautifully. Their warm hues complement farmhouse, boho, cottage, and holiday décor schemes, and they look especially magical hung on a tree or in a window.
Cost-Effective
A few fresh oranges can yield a large supply of decorations for far less than store-bought options. When properly dried and stored, slices can last for months or even longer for non-food decorative uses.
Eco-Friendly
Unlike many manufactured ornaments, dried citrus is biodegradable and made from food you could otherwise compost — a sustainable option for seasonal decorating.
Versatile
Use dried orange slices in garlands, wreaths, ornaments, potpourri blends, or as cocktail and tea garnishes. Their scent and color suit year-round projects, not just winter holidays.

How to Dry Orange Slices
Drying orange slices at home is simple. The basic steps are: select fruit, slice evenly, remove excess moisture, dry slowly, then cool and cure. Here’s a detailed method using an oven and an alternate dehydrator method.
Materials Needed
- Fresh oranges (navel or similar firm varieties work well)
- Sharp serrated knife or mandoline for even slices
- Cutting board
- Baking tray and parchment paper
- Paper towels
- Oven (or food dehydrator)
- Cooling rack
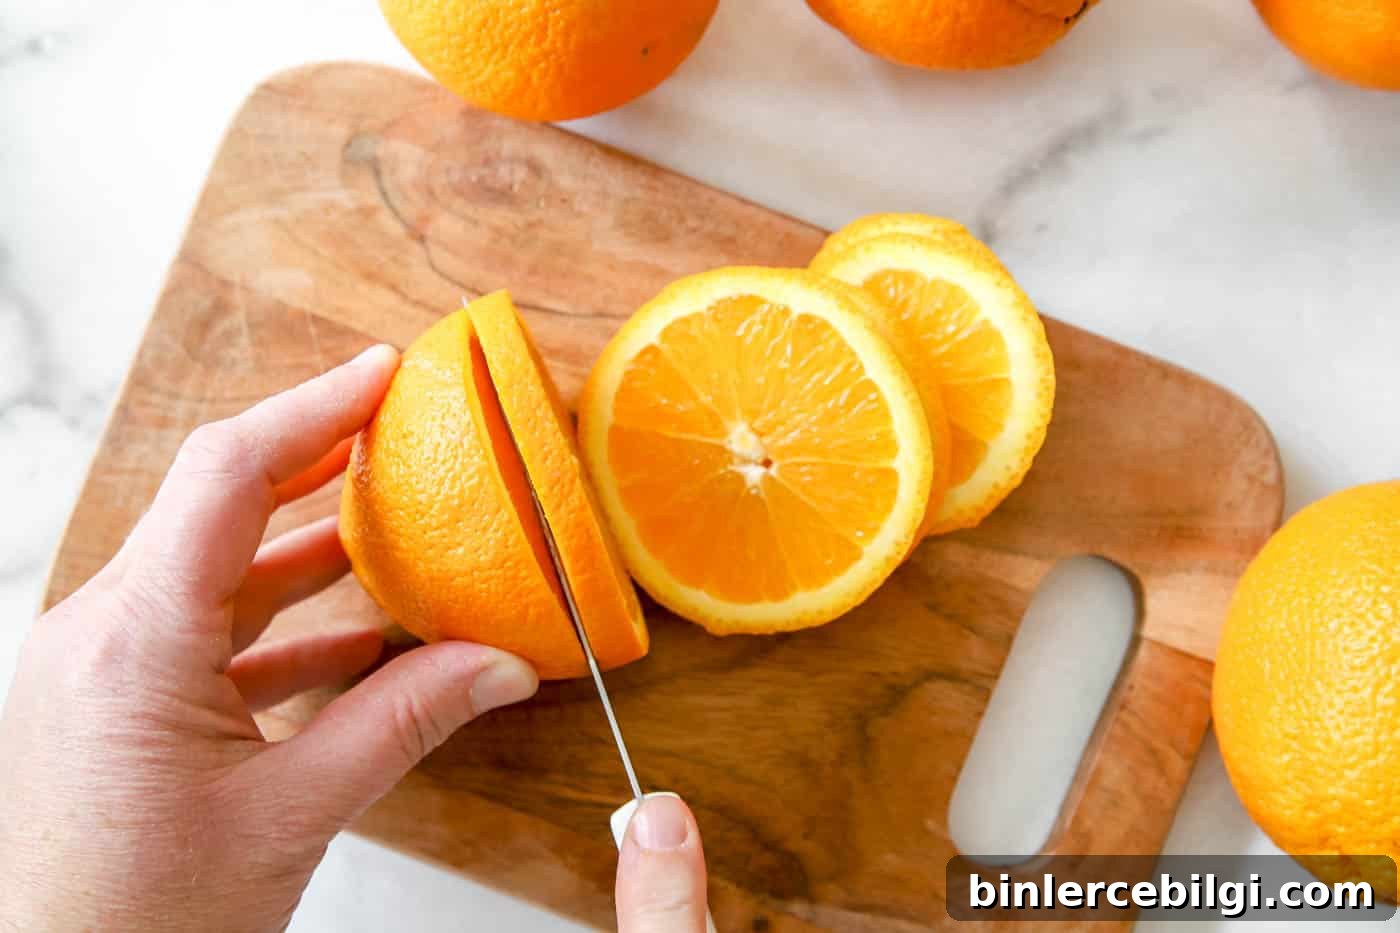
Steps for Making Dried Orange Slices in the Oven
1. Preheat the Oven
Set the oven low — about 170°F (75°C) is a good starting point. Low, steady heat prevents burning and allows moisture to evaporate slowly. You can raise the temperature slightly (by about 10°F) if drying is very slow, but avoid exceeding 200°F.
2. Slice the Oranges
Slice the oranges evenly to roughly 1/4 inch or thinner. Even thickness ensures consistent drying — slices that are too thick may remain moist, while slices that are too thin can curl and burn.
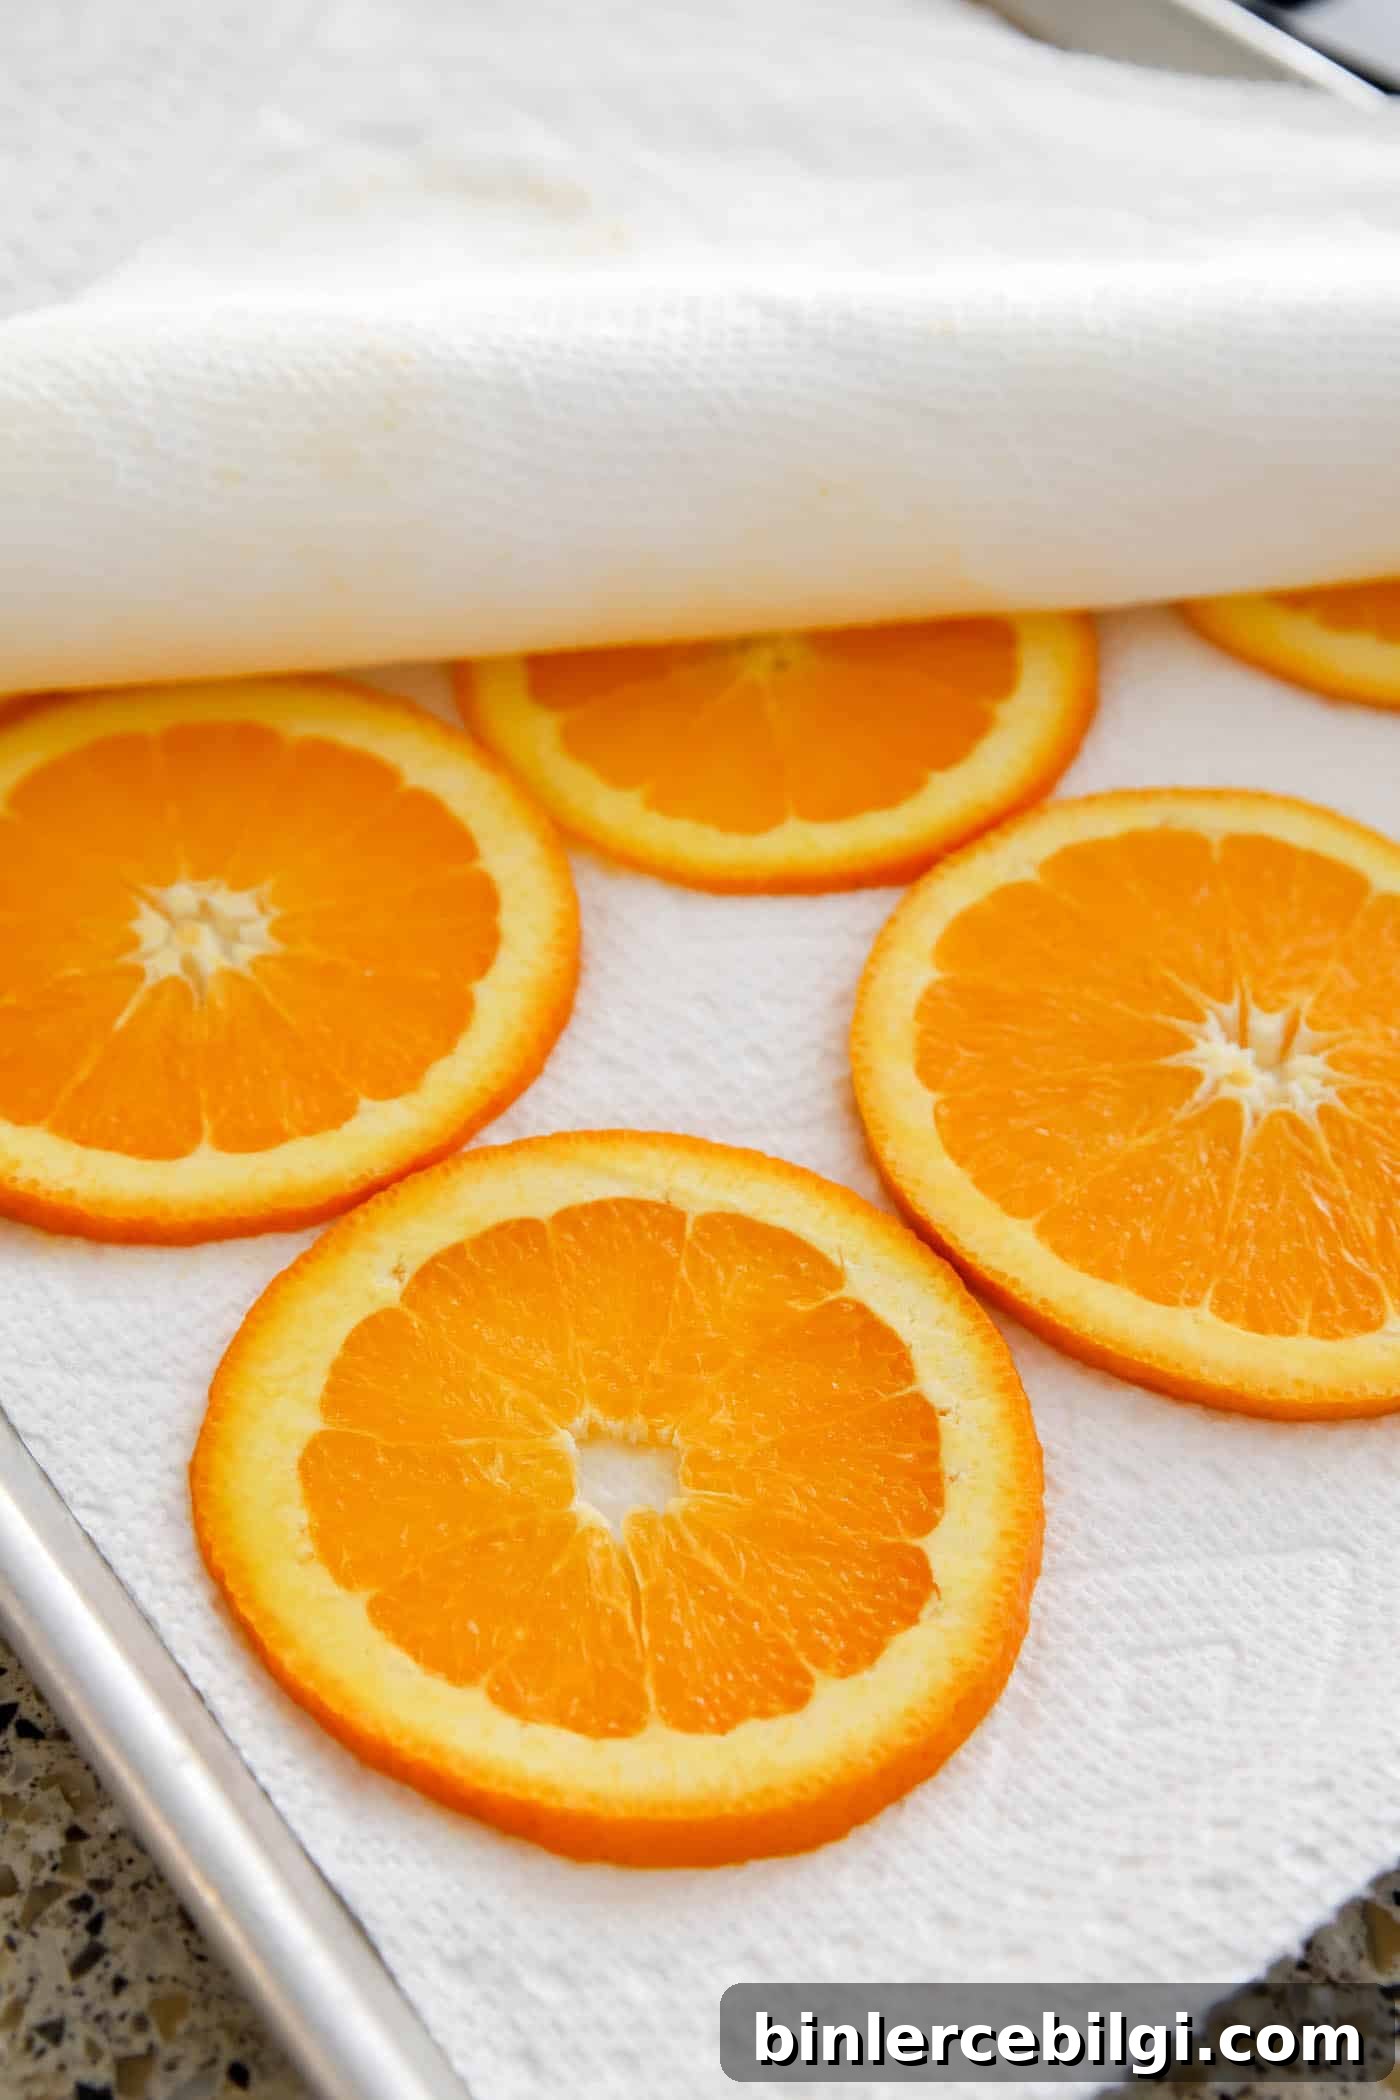
3. Remove Excess Moisture
Key step: blot the slices with paper towels to remove surface moisture before baking. Press slices between layers of paper towel to absorb juice. Repeat blotting when you flip the slices during drying. Removing surface moisture speeds drying and improves final texture and color.
4. Arrange the Slices
Line a baking tray with parchment paper and lay the slices in a single layer without overlapping. Parchment helps wick moisture away and prevents sticking. Avoid overcrowding to allow even airflow around each slice.
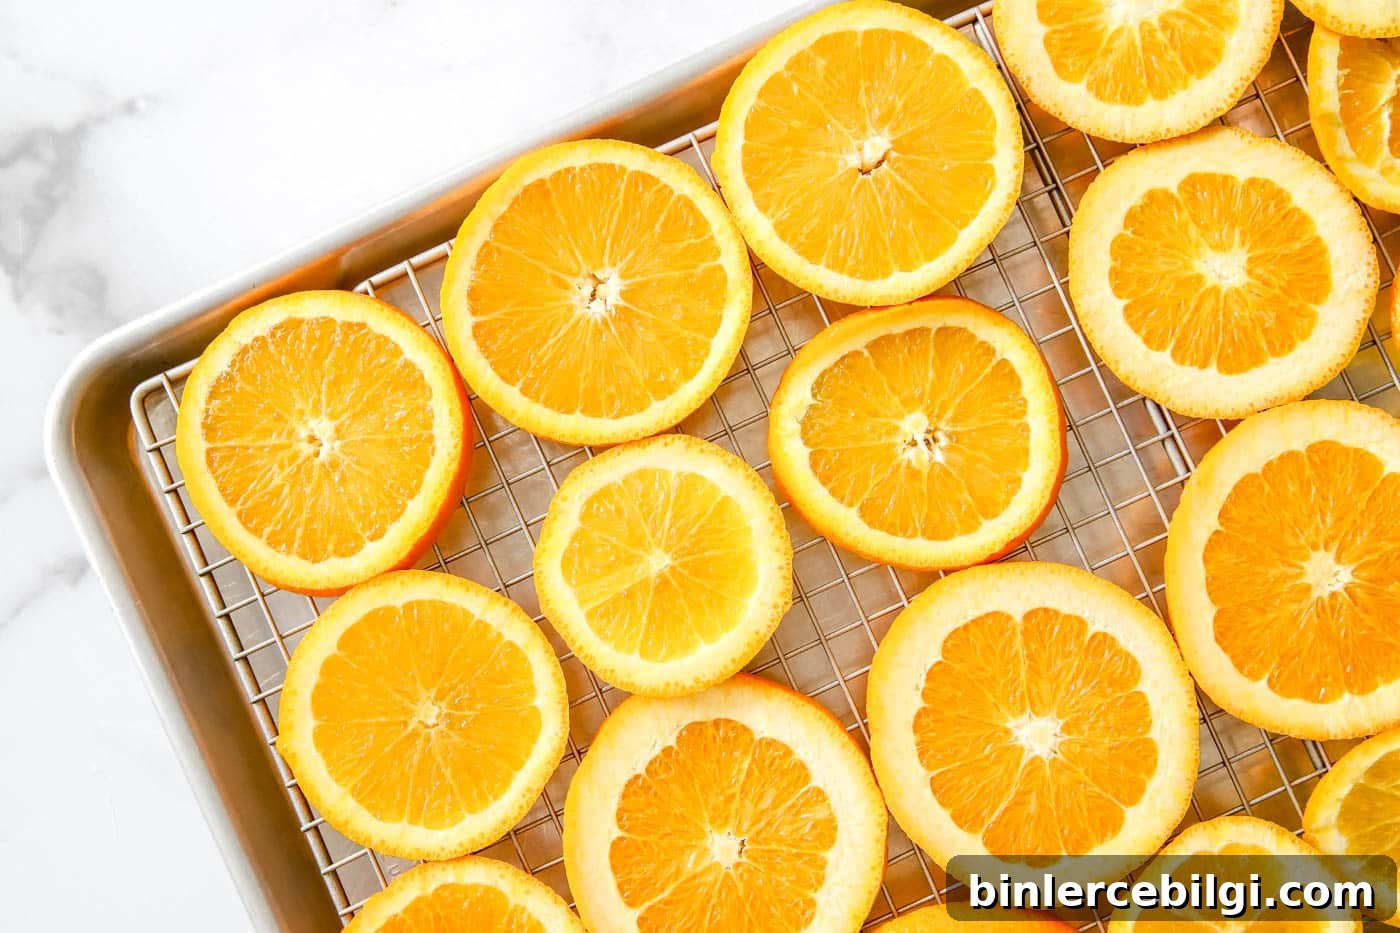
5. Bake Low and Slow; Flip Often
Bake for several hours — often 3–5 hours depending on slice thickness and oven performance. Flip every 30 minutes to ensure even drying and blot any pooled moisture. Remove slices as they finish; fully dried slices sound firm when tapped and are no longer soft in the center.
6. Cool and Cure
After baking, place slices on a wire rack to cool and air-dry for 24 hours. This curing step lets any remaining moisture evaporate and helps slices firm up for storage or use in crafts.
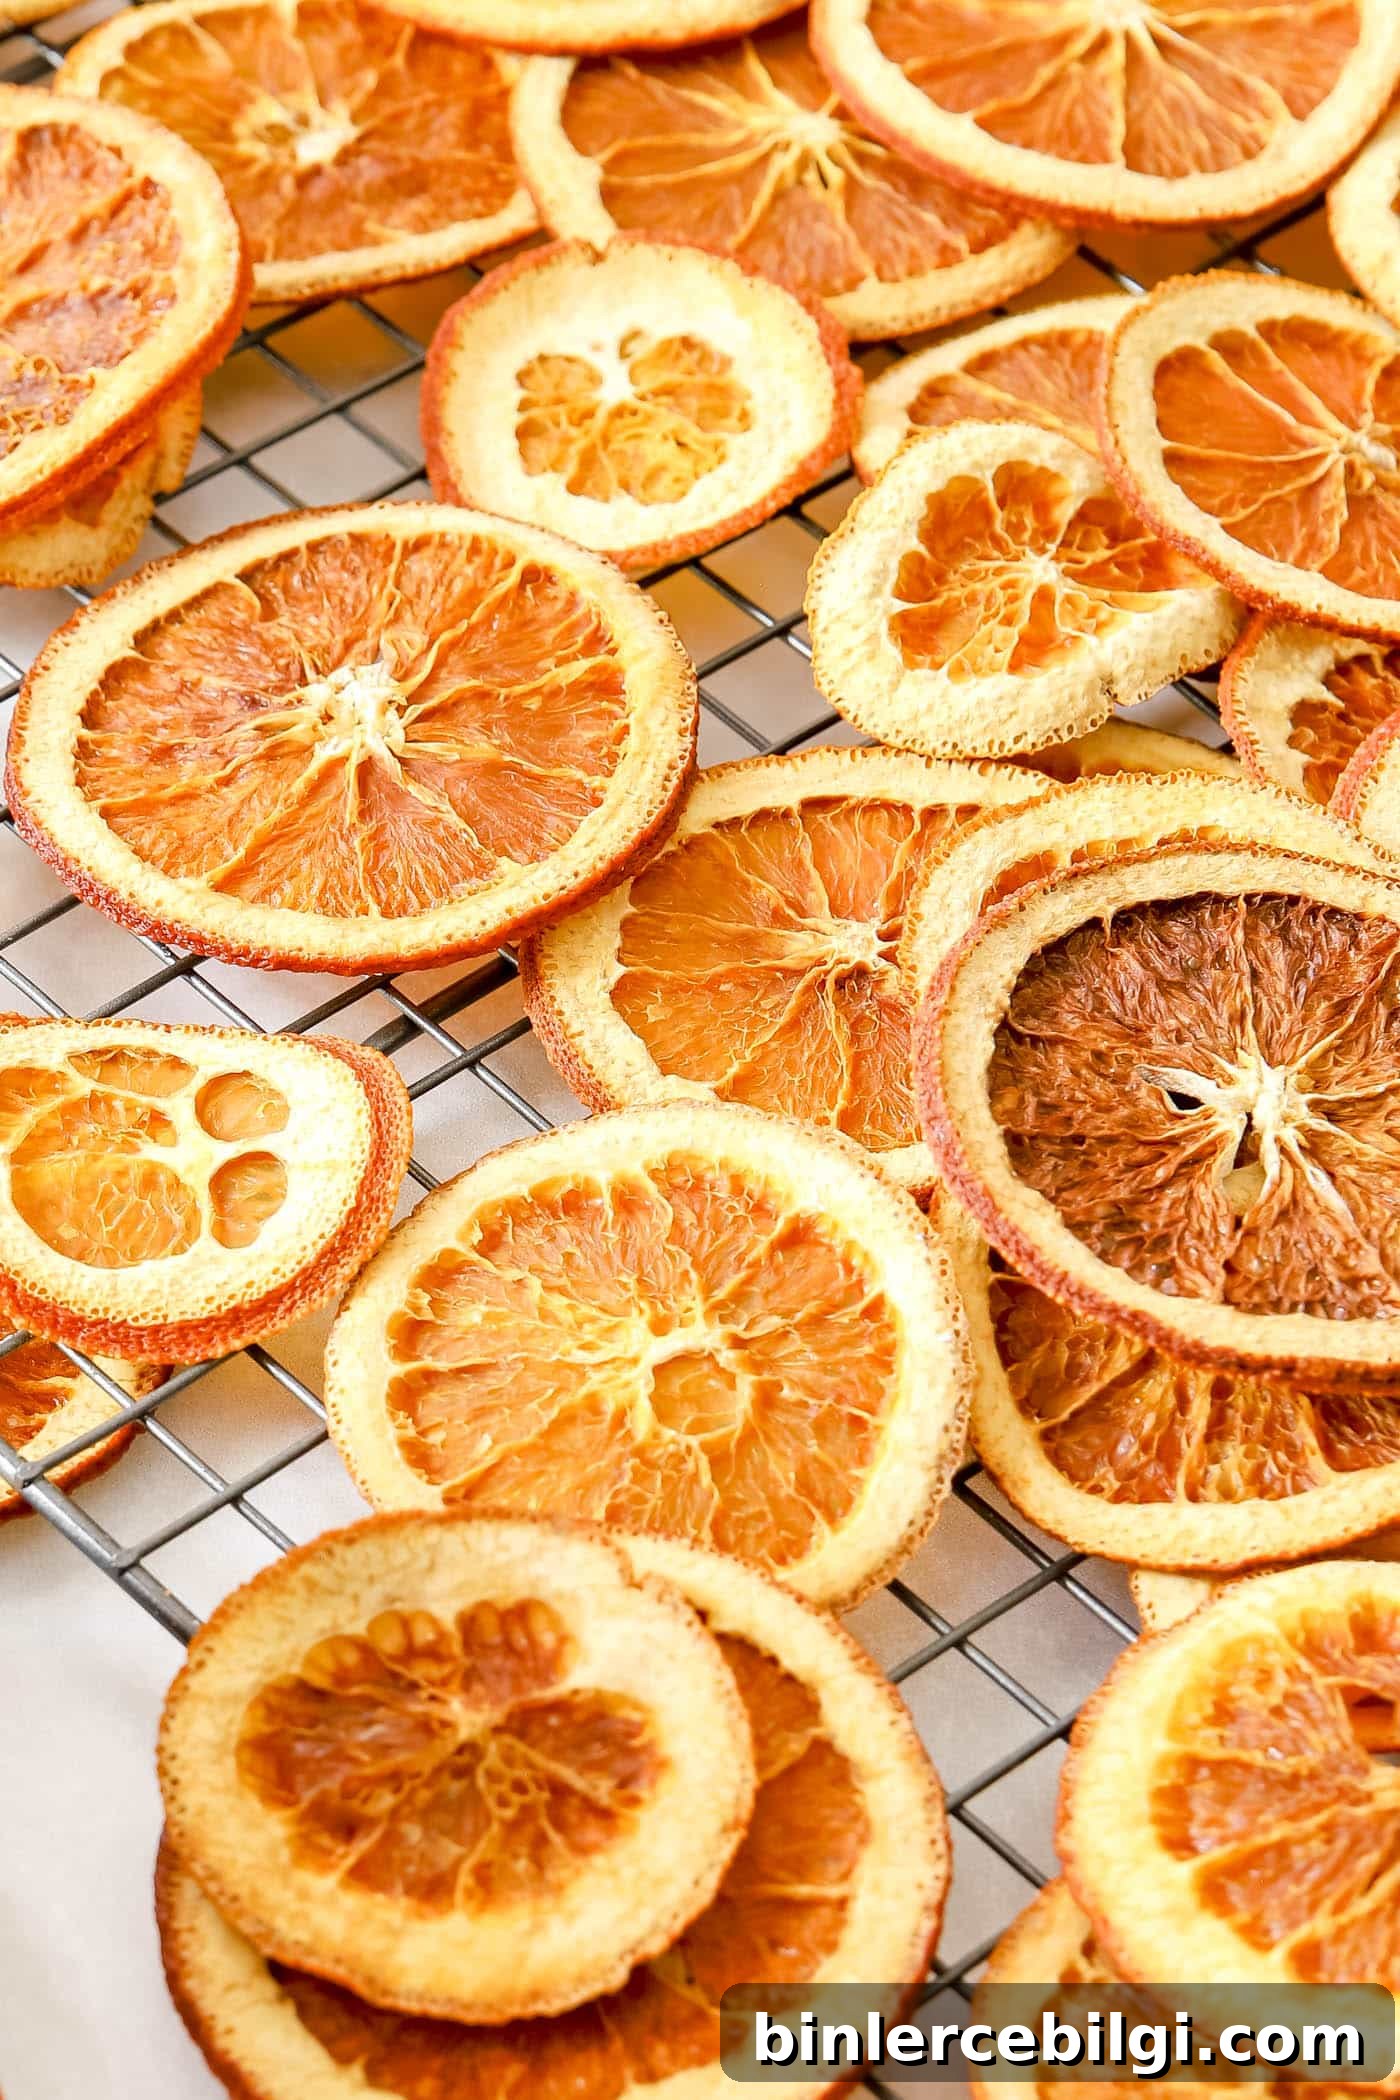
Alternate Method: Dehydrator
If you have a food dehydrator, set it to about 135°F (57°C) and place the slices on the trays in a single layer. Dehydrating usually takes longer than oven drying — often 6–12 hours — depending on humidity and slice thickness.
Pro Tips for Best Results
- Even thickness: Use a mandoline or careful knife work to keep slices uniform.
- Watch your oven: Oven temps vary, so check frequently to avoid burning.
- Try a sugar dusting: A light sprinkle of powdered sugar before drying can give a brighter color and subtle sheen on finished slices; it also sweetens slices intended as edible garnishes.
- Spice options: For scented décor, sprinkle ground cinnamon or cloves before drying or add a drop of essential oils after drying for extra aroma.
- Mix citrus: Add lemon, lime, or grapefruit slices for variety in color and texture.
Creative Ways to Use Dried Orange Slices
Dried orange slices are useful in many projects. Here are a few ideas:
- Holiday garland: String slices on twine with cinnamon sticks and star anise for a fragrant mantle or tree garland.
- Home décor: Arrange in a vase, glue onto wreaths, or attach to gift wrap for an elegant, natural accent.
- Potpourri or simmer pot: Combine slices with dried flowers, spices, and essential oils or simmer with cranberries and herbs for a warm scent.
- Drink garnishes: Use them to top cocktails, teas, or mulled drinks for visual appeal and aroma.
- Ornaments: Thread ribbon through a slice and hang it on a tree; stud with cloves for a classic look.

How to Store Dried Orange Slices
Store fully dried slices in an airtight container in a cool, dry place. For decorative use, they can last for many months; for edible uses, keep them sealed in a food-safe container and protect them from moisture.

Add Rustic Charm to Your Projects Today
Drying orange slices is an approachable, eco-friendly DIY that elevates seasonal decor and craft projects. Try it this weekend: pick up a few oranges, slice and dry them slowly, and use the results to add warmth and natural beauty to your home. If you have other tips or creative uses, consider jotting them down for your next crafting session.