
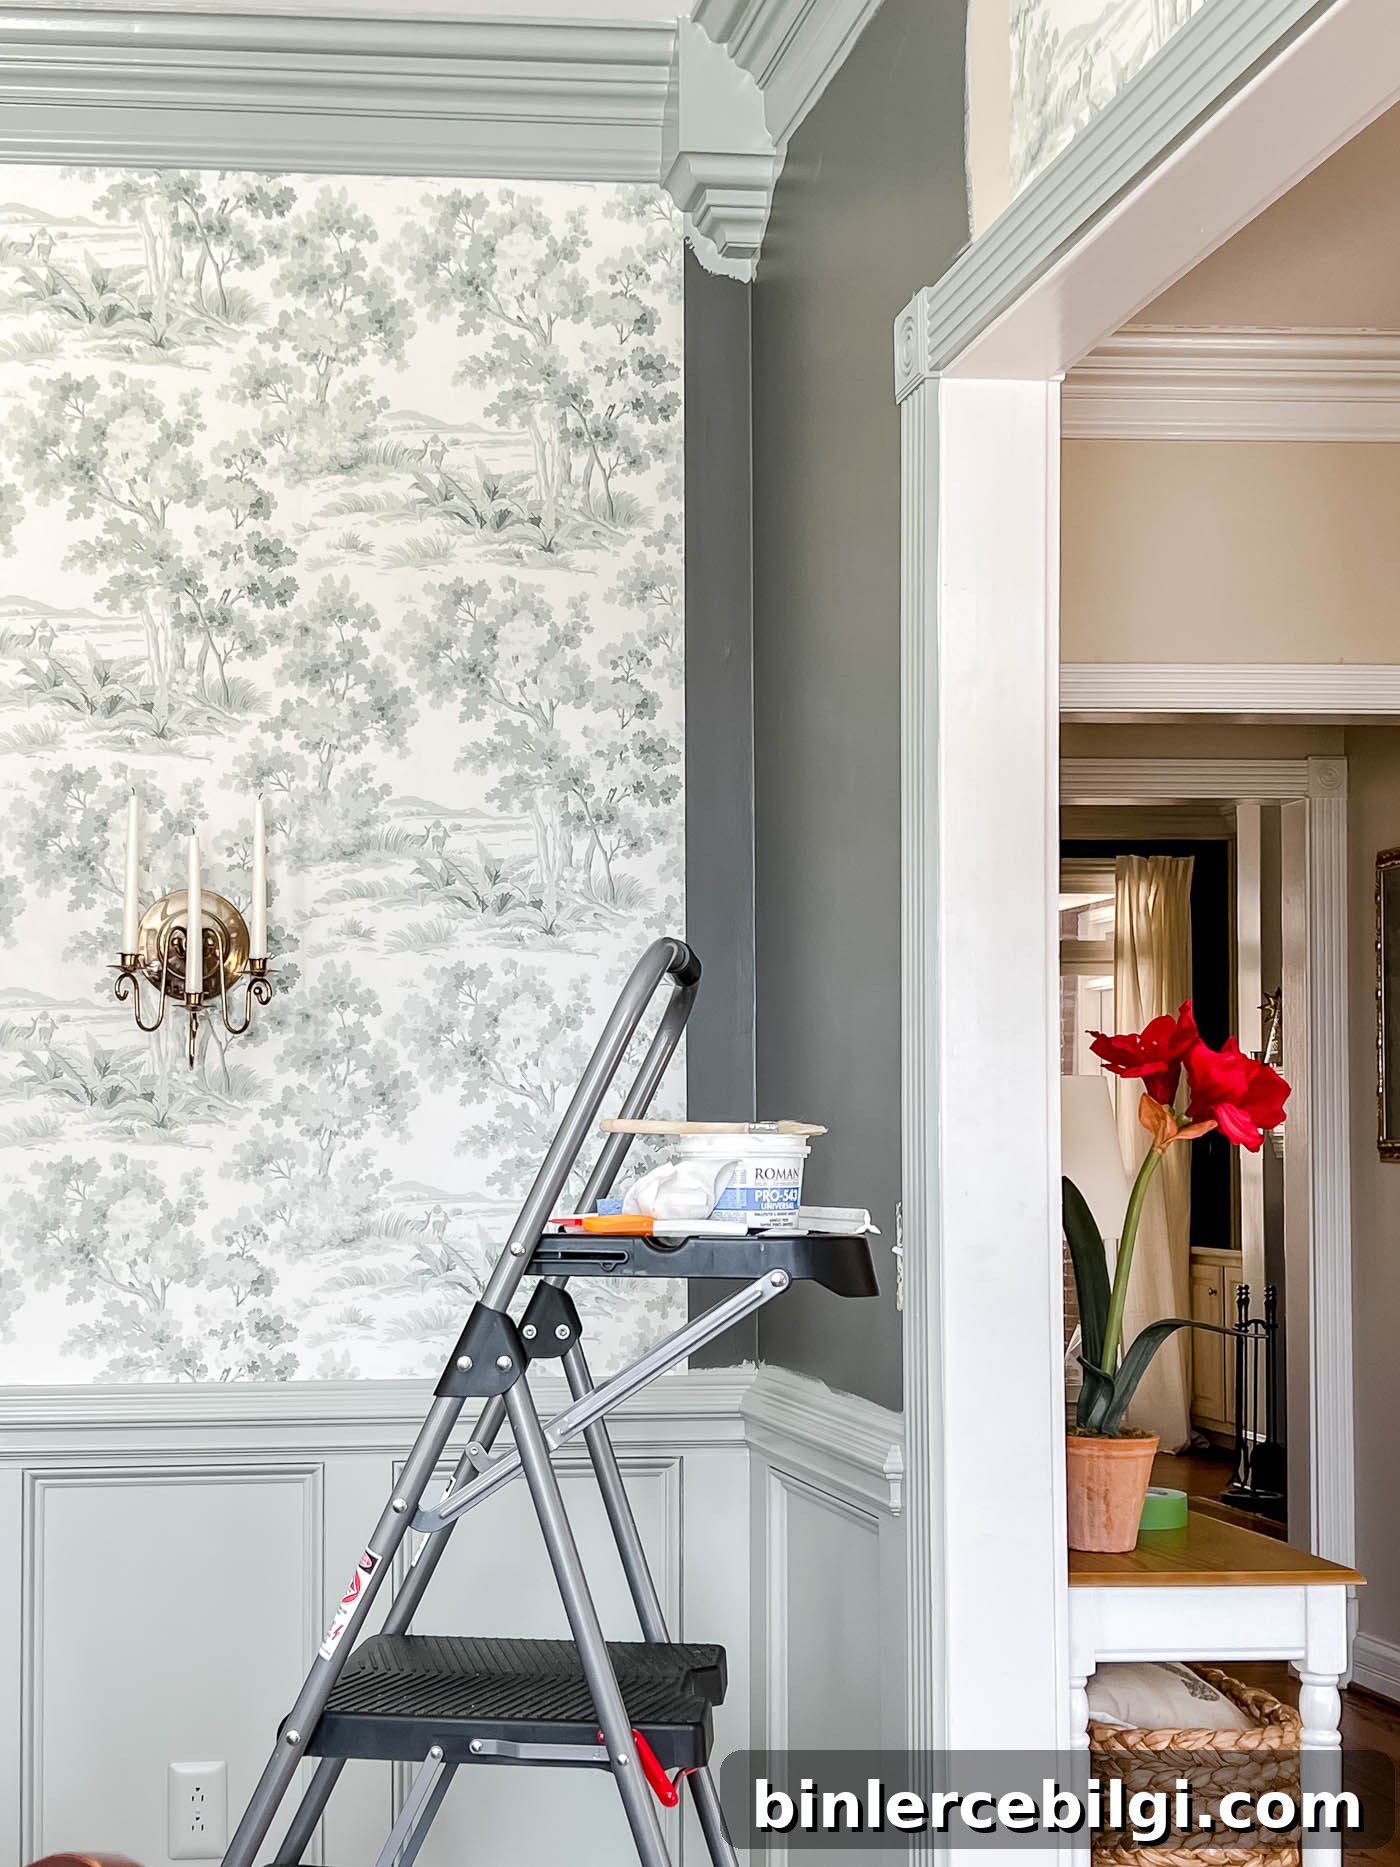
Learn how to install wallpaper yourself with this clear, step-by-step guide. Get practical tips and tricks for hanging paste-on-the-wall wallpaper from a DIY homeowner who’s installed it in multiple rooms.
I recently jumped on the wallpaper trend and I’m loving the results. I’ve installed wallpaper in three rooms of my house, most recently in the dining room—my largest wallpaper project to date.
Wallpaper has gone through waves of popularity, and right now it’s back in style. It’s an excellent way to add color, pattern, and texture to a room. People tend to either love it or dislike it, but if you’re ready to try it, this guide will walk you through the process.
This post contains affiliate links for your convenience. See my full disclosure policy.
Supplies & Materials You Will Need to Install Wallpaper
- Wallpaper – choose a design and order enough rolls for the room and pattern matching.
- Chalk line or pencil for marking level guidelines
- Level to establish straight vertical lines
- Wallpaper smoother or plastic smoothing tool
- Brush or paint roller for applying paste
- Wallpaper adhesive (paste)
- Straight edge for cutting
- Tape measure
- Utility or craft knife with extra blades
- Sponge and a bucket for cleanup
- Seam roller or wallpaper roller
- Scissors
A few supply tips: choose a reliable wallpaper adhesive and keep sharp extra blades for your craft knife—dull blades tear the paper. Many of the tools come in wallpaper kits that are handy for beginners.

How to Install Paste-on-the-Wall Wallpaper
This guide covers wallpaper that is unpasted and intended to be hung after pasting the wall. I find paste-on-the-wall the simplest method because you can position and adjust the paper while the paste is wet.
Other installation methods include pre-pasted wallpaper and paste-the-paper wallpaper; the basic steps are similar but differ in whether you paste the wall or the paper.
Wallpapering can seem intimidating, but think of it like wrapping a very large, flat present. If you’re new to wallpaper, start with a small room or a single accent wall to build confidence.
Before you begin, remove outlet and switch covers and clear the walls of decorations. Patch any holes and make sure the surface is smooth and clean.
1. Decide where to start and end the wallpaper
If you’re papering the entire room, pick the least obvious seam to start and finish. A common choice is above the most-used door—this makes the inevitable pattern mismatch less noticeable.
2. Mark a level vertical guideline for the first strip
Begin by snapping a plumb or chalk line so your first strip is perfectly vertical. Check level frequently as you work—especially around doors, windows, and corners. If a corner is not handled on a level line, the next wall will end up skewed.
3. Cut each strip slightly longer than the wall
Cut wallpaper strips to be about 2 inches longer than the wall at both the top and bottom. The extra length gives you room to trim cleanly against baseboards and ceiling moldings.
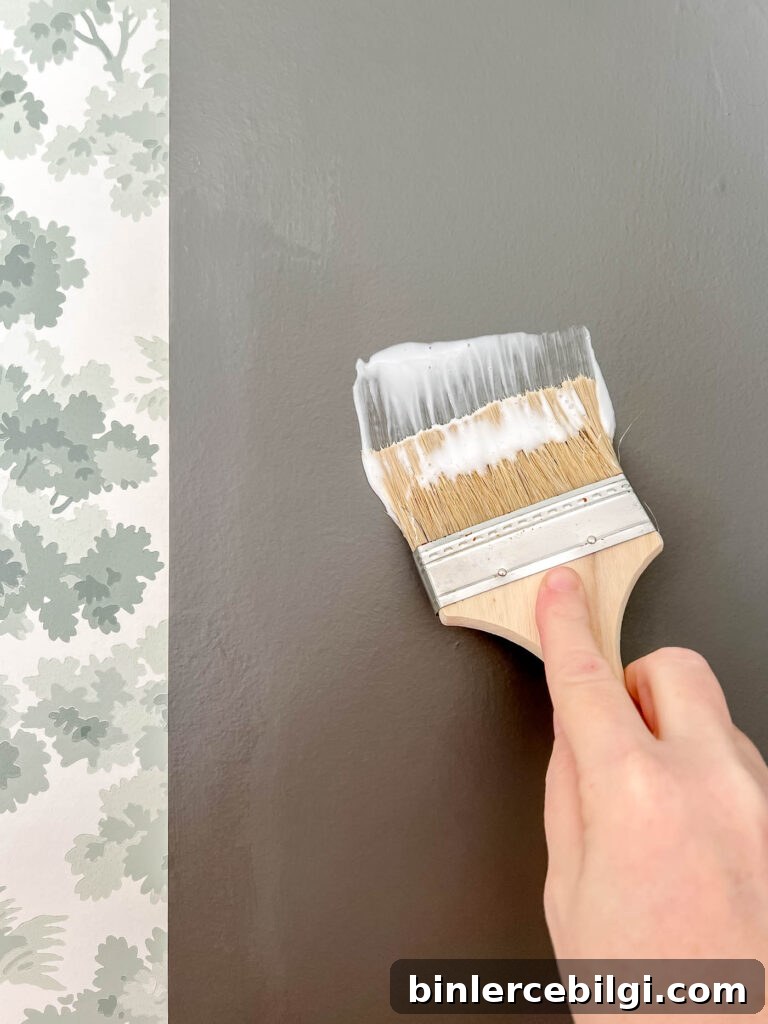
4. Paste the wall with wallpaper adhesive
Use a brush or roller to apply a uniform coat of wallpaper paste to the area where the strip will go. Aim for generous coverage without heavy drips. If an area seems dry after positioning, you can add more paste and reposition the paper while it’s wet.
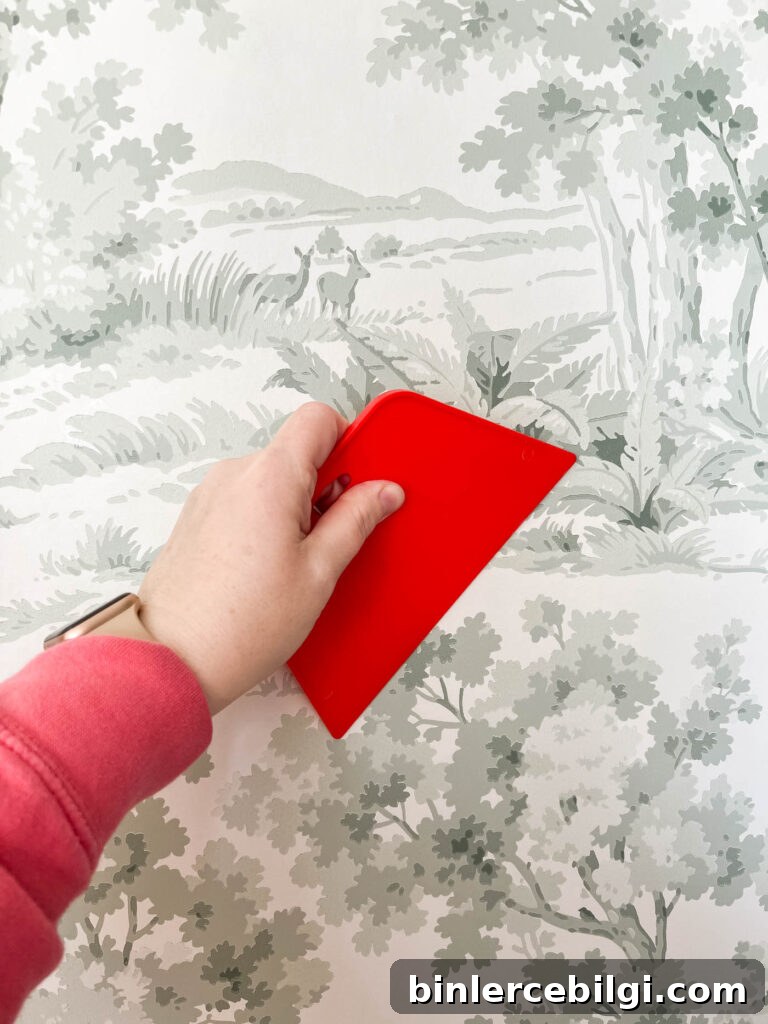
5. Smooth out bubbles with a wallpaper smoother
After placing the strip, use a smoothing tool to push air and excess paste outward from the center. Run your hand over the paper afterward to confirm there are no trapped bubbles or wrinkles.
6. Trim excess paper at the top and bottom
Once the strip is positioned, use a sharp utility or craft knife with a straight edge to trim the extra paper at the ceiling and baseboard. A fresh blade is essential to avoid tearing the paper—replace blades often.
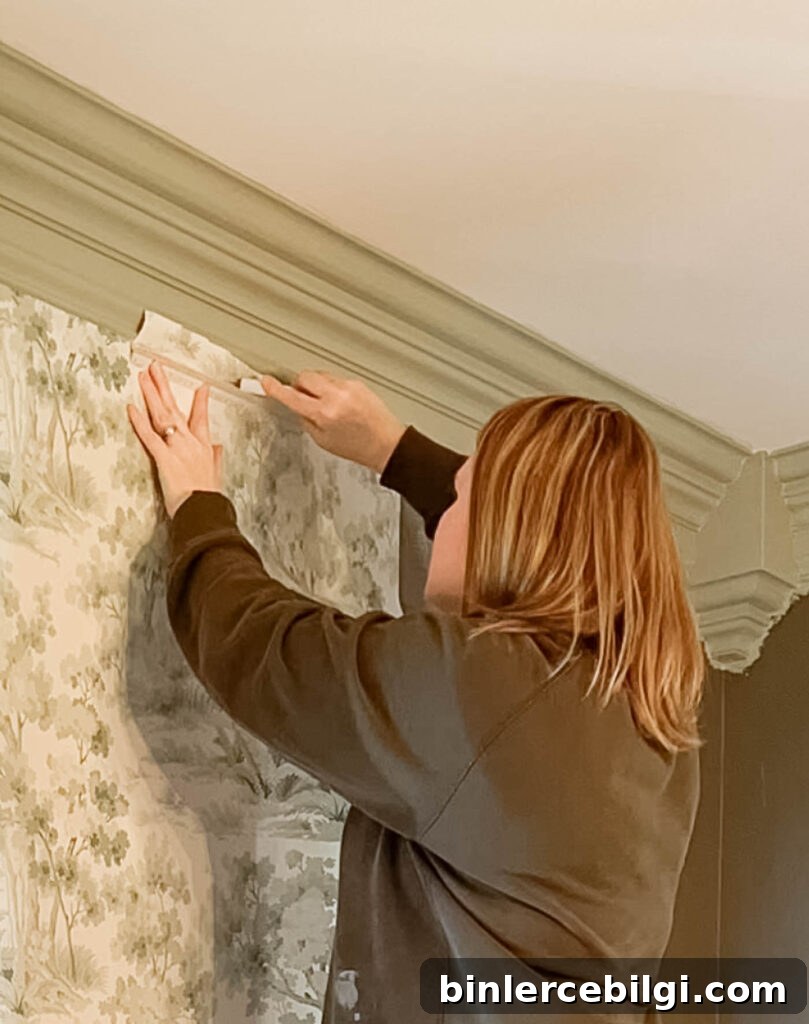
7. Roll the seams to keep them flat
Use a seam roller or smoothing tool along the joined edges to ensure the seams are tight and the pattern sits flush. Avoid overworking the paper, especially with delicate patterns or foil papers.
8. Remove excess adhesive with a damp sponge
Wipe away paste immediately with a damp sponge before it dries. Fresh paste lifts and cleans easily; dried paste can leave stains or hard-to-remove residue.
9. Match the pattern for the next strip
Hold the next roll up to the installed strip and line up the pattern carefully before cutting and pasting. Leave a couple inches of overlap at the top for trimming, then repeat the process: paste, position, smooth, trim, and clean.
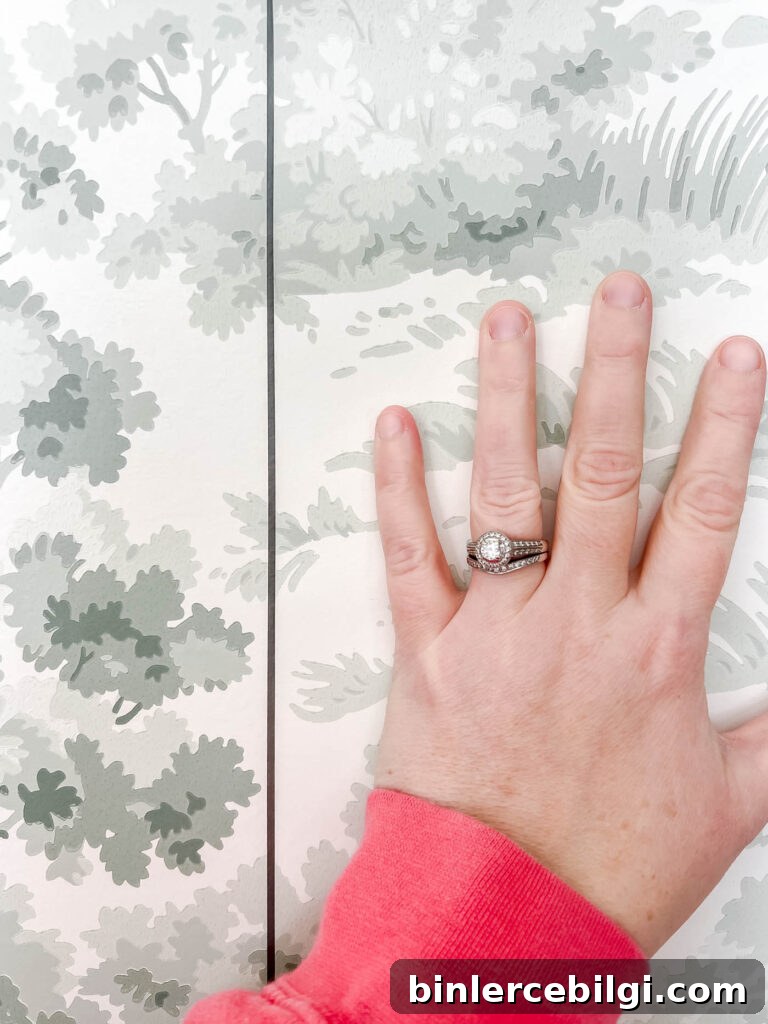
10. Repeat these steps until the room is complete
Continue matching, pasting, smoothing, trimming, and cleaning until all walls are covered. Take breaks as needed—especially for tricky corners and around moldings.
Top Tips for Installing Wallpaper
From my experience, the two biggest challenges are keeping strips level and matching the pattern. Corners and areas around doors or windows also require patience and precision. Here are a few practical tips:
Tip #1: End on a level vertical line when wrapping corners
When wrapping around a corner or molding, temporarily secure the top of the strip with painter’s tape to find a natural, level endpoint. Draw a level guideline down the wall and make sure the strip finishes exactly on that line—otherwise the next wall will be misaligned.
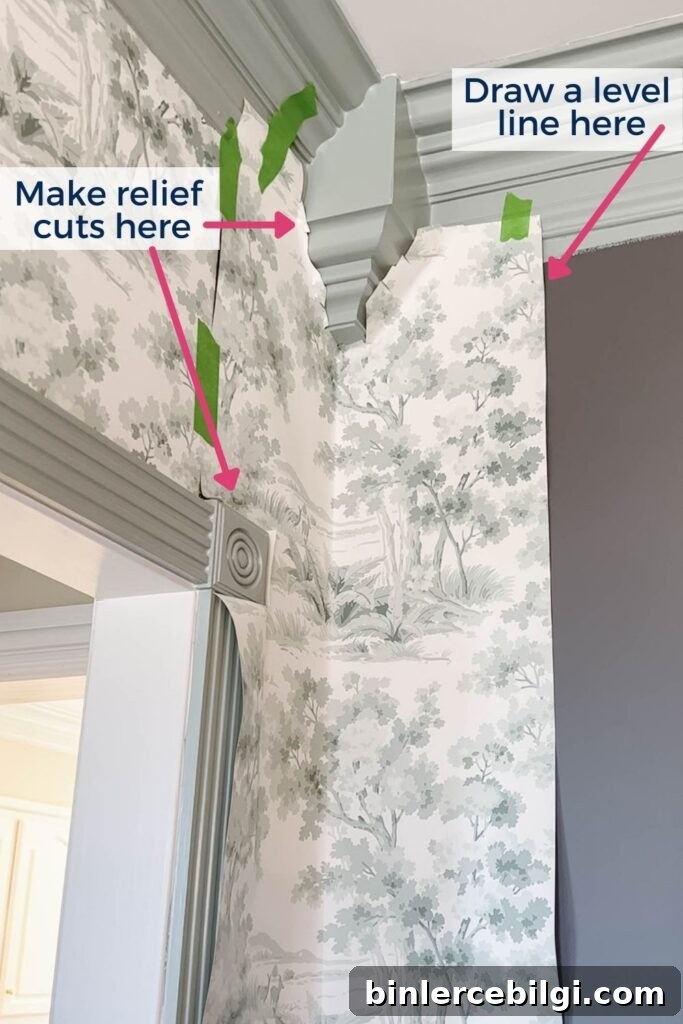
Tip #2: Make relief cuts around obstacles
For corners, crown moldings, and tight trim, make small relief cuts with scissors so the paper can lie flat. Work slowly and trim incrementally until the piece fits snugly.
Tip #3: Go slow
Difficult sections can take time—sometimes an hour or two for a single corner. Allow yourself the time to work carefully to avoid mistakes that waste paper.
Tip #4: Order extra wallpaper
Always order more wallpaper than the calculator estimates to allow for pattern matching and cutting waste. Ordering all material from the same dye lot prevents slight color differences between batches.
Frequently Asked Questions about Installing Wallpaper
How do you apply wallpaper paste to the wall?
Use a brush or a medium-nap roller to spread paste evenly across the wall area where the strip will sit. A brush gives you more control around edges and trim.
What is the best paste for hanging wallpaper?
Choose a reputable wallpaper adhesive formulated for your wallpaper type. A good adhesive cleans off easily when wet and provides strong adhesion when dry.
Do I have to paint the wall before wallpapering?
You don’t need a new paint coat if the wall is smooth and in good condition. For new drywall, apply at least one coat of primer before wallpapering. A dedicated wallpaper primer can improve adhesion and make future removal easier.
Should wallpaper seams overlap?
No. Seams should be butted edge-to-edge and matched visually. Overlapping seams creates lumps and an uneven finish.
I hope this tutorial makes paste-on-the-wall wallpapering approachable. If you have specific questions or want advice for a tricky spot, leave a comment. I’d love to hear how your wallpaper project turns out!
More Posts You Will Love:
- How to Select Wallpaper {Decorating 101}
- How to Hang Pre-Pasted Wallpaper (tutorial for beginners)
- Traditional Dining Room Design Plans
- The Best Dining Chairs on a Budget
- Butler’s Pantry Ideas: 10+ Beautiful And Functional Designs