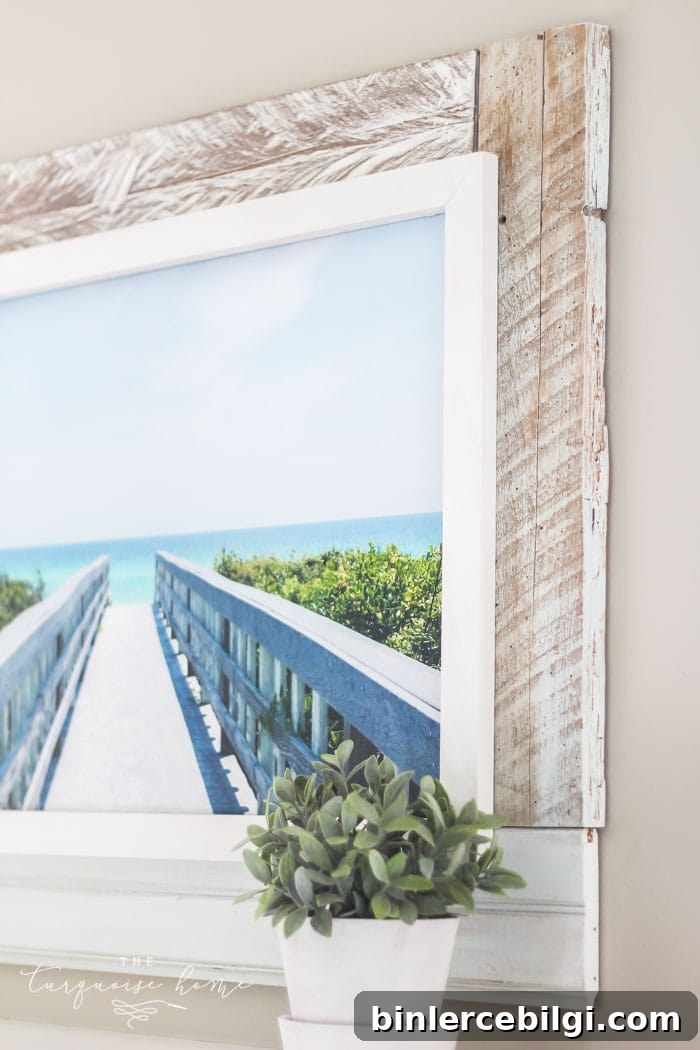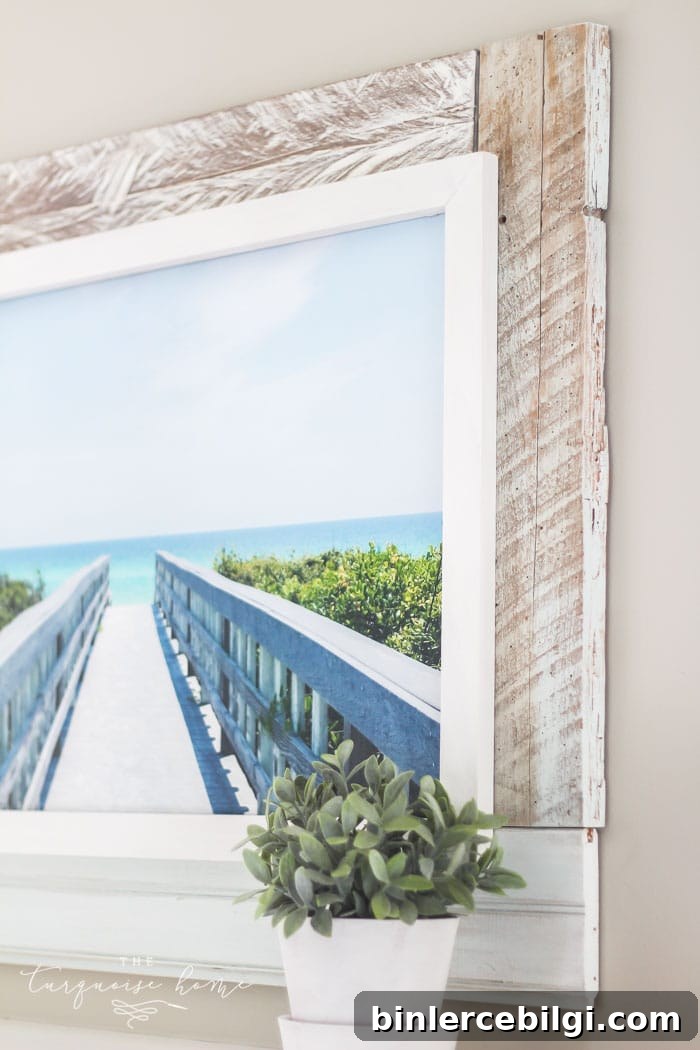
This DIY framed canvas art project is an affordable way to create a striking focal piece for your home without spending a fortune.
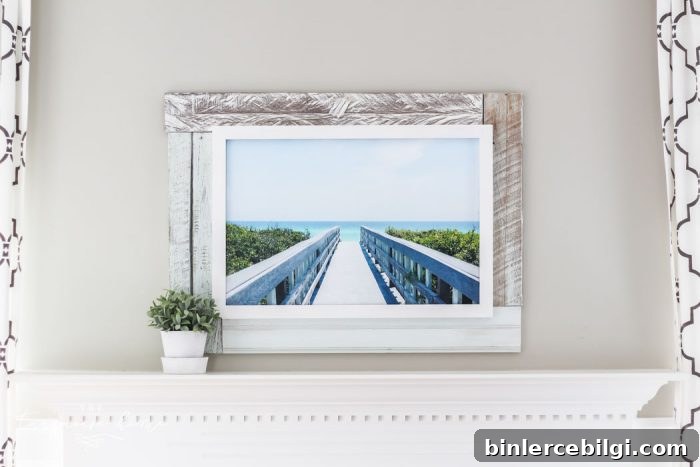
Framed canvas artwork can range from modest to very expensive, and many ready-made frames feel thin and underwhelming. This tutorial shows how to make a bold, large frame from scrap wood so your canvas becomes a true statement piece above a mantel or on a feature wall.
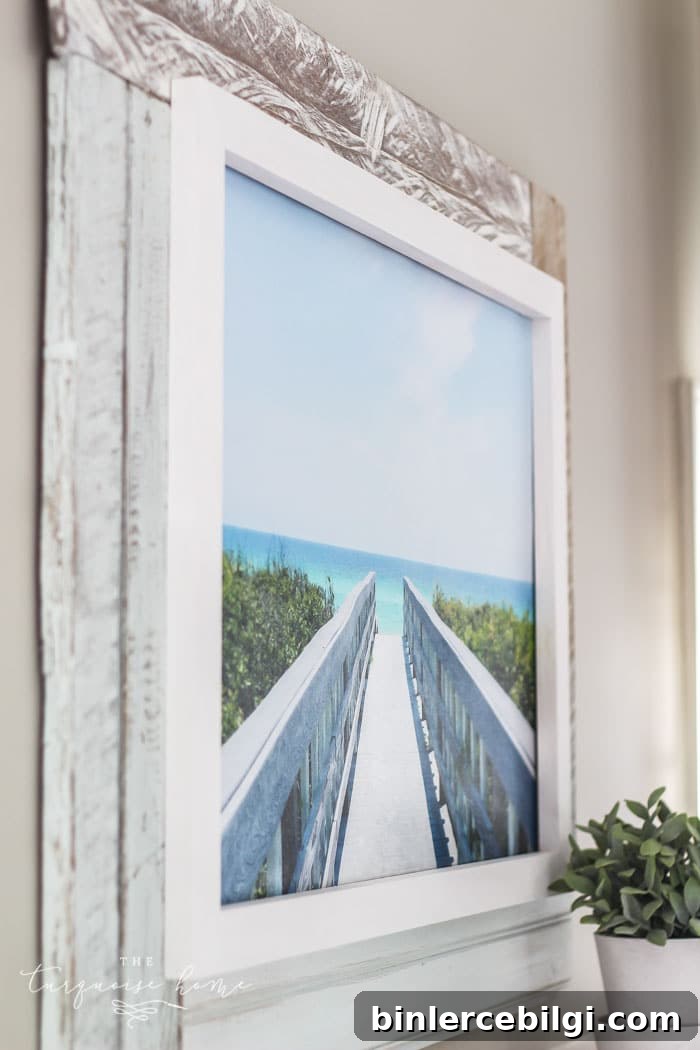
Many readers asked about the beach photo used here — it’s my own image from 30A, Florida and is available for purchase from my shop.
Originally I planned a simple thin frame similar to an earlier framing tutorial, but once I placed the canvas on the wall it read far too small for the space above my mantel. Scale matters in decorating—too-small art disappears on a large wall and fails to deliver the impact you want.
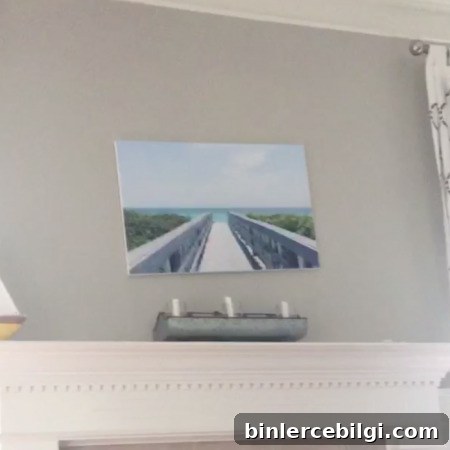
Scale makes a big difference. If your artwork is too small for the space, it will look like an afterthought. I tested the canvas in place, decided it needed a larger, heavier frame, and built one using scrap boards from my workshop—old pallet pieces, barn wood and leftover project lumber.
I pulled boards from my wood pile, arranged them around the canvas to find a look I liked, and ended up with a framed piece that I absolutely adore. Testing the canvas in the space first saved me from creating something that wouldn’t work visually.
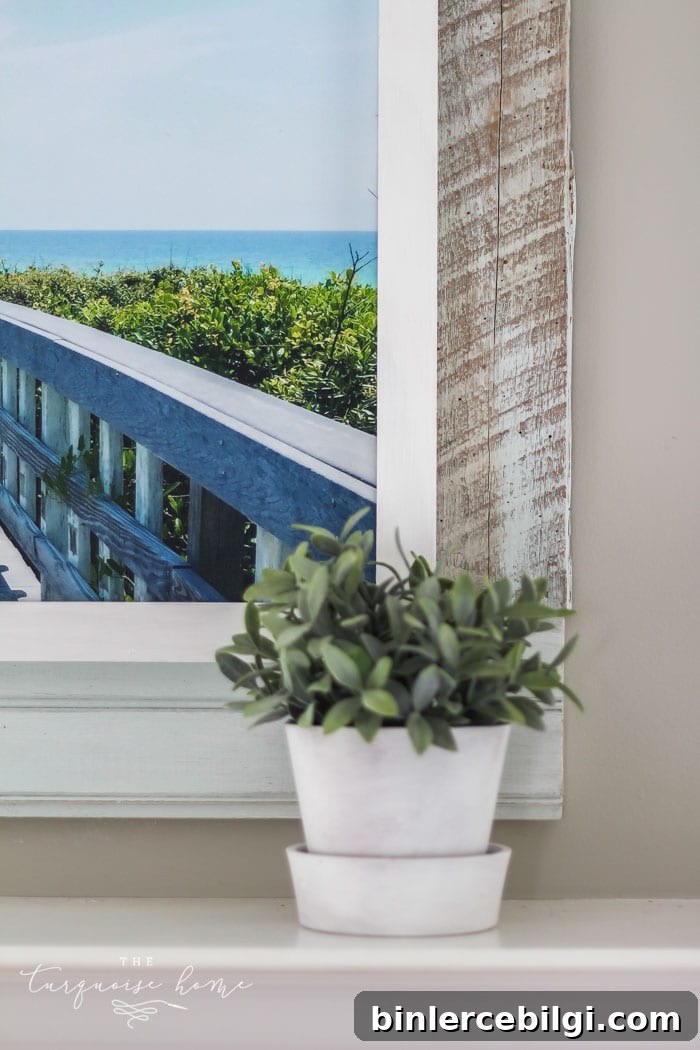
See the framed canvas on my summer mantel for styling ideas.
Below is a clear, step-by-step guide to creating your own DIY framed canvas art: mounting a photo print to canvas, building a chunky reclaimed-wood frame, finishing with paint and stain techniques, and adding a professional textured canvas finish using Mod Podge. This method is flexible—use the materials and finishes that suit your decor.
What You’ll Need for Your DIY Framed Canvas Art
- Large canvas — example size used: 20″ x 30″
- Printed photo sized to the canvas (same size or larger)
- Matte Mod Podge for adhering the print and sealing the surface
- Small paint or foam brush for the Mod Podge
- Cutting board and a sharp utility knife
- Extra blank canvas (optional) for creating texture
- Scrap wood for the outer frame — pallet boards, barn wood or common pine work well
- 1×2 common board to finish the inner edge if desired
- Kreg Jig or similar pocket-hole joinery tool for strong, clean joints
- Drill, appropriate screws, and wood glue
- Miter saw (or a hand saw and miter box) to cut boards to length
- Sandpaper (various grits)
- Paints and stain of your choice plus brushes or rags for application
- Hanging hardware such as sawtooth hangers or D-rings
How to Build Your DIY Framed Canvas Art
Step 1. Mount the Print to the Canvas
Brush a medium-to-thin coat of matte Mod Podge over the front of the canvas, then carefully lay the printed photo onto the adhesive. Press firmly so the print adheres evenly, turn the canvas over, and weight it from the back with heavy books or boxes to reduce bubbling. Let it set—overnight is ideal but a few hours can be sufficient.
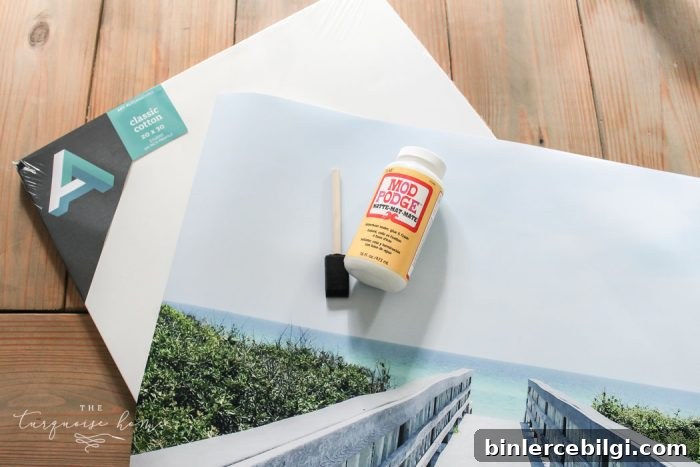
Step 2. Trim Excess Print from the Canvas Edges
If the print overlaps the canvas edges, place the canvas print-side down on a cutting surface and trim the extra paper with a very sharp utility knife for a clean edge.
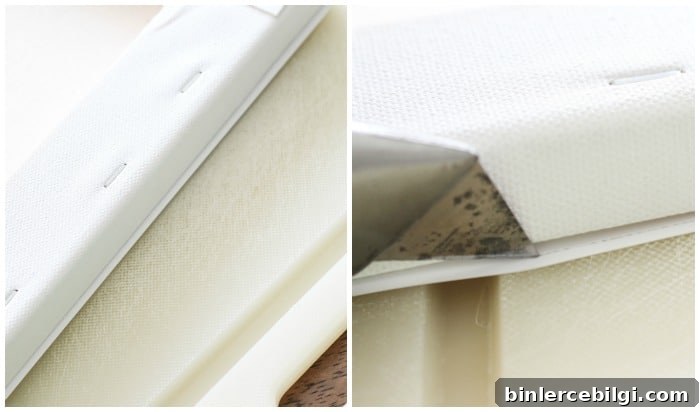
Step 3. Choose and Cut Your Frame Pieces
Select boards for the outer frame. Reclaimed wood adds character, and variation in size can create a rustic, layered look. Cut boards to length using a miter saw or hand tools, keeping the pieces roughly even so the frame looks cohesive.
Tip: If your saw lacks a laser guide, gently lower the blade to the wood to verify the cut line before cutting. Keep the portion you want to save opposite the blade so you don’t accidentally cut it too short.
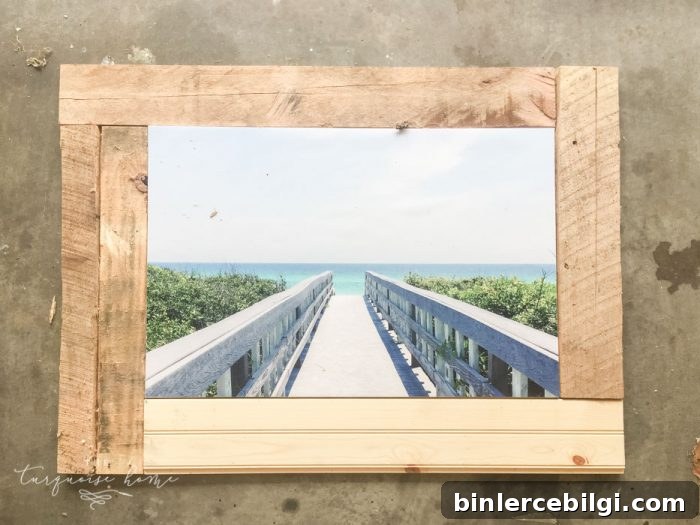
Step 4. Paint and Stain the Frame Pieces
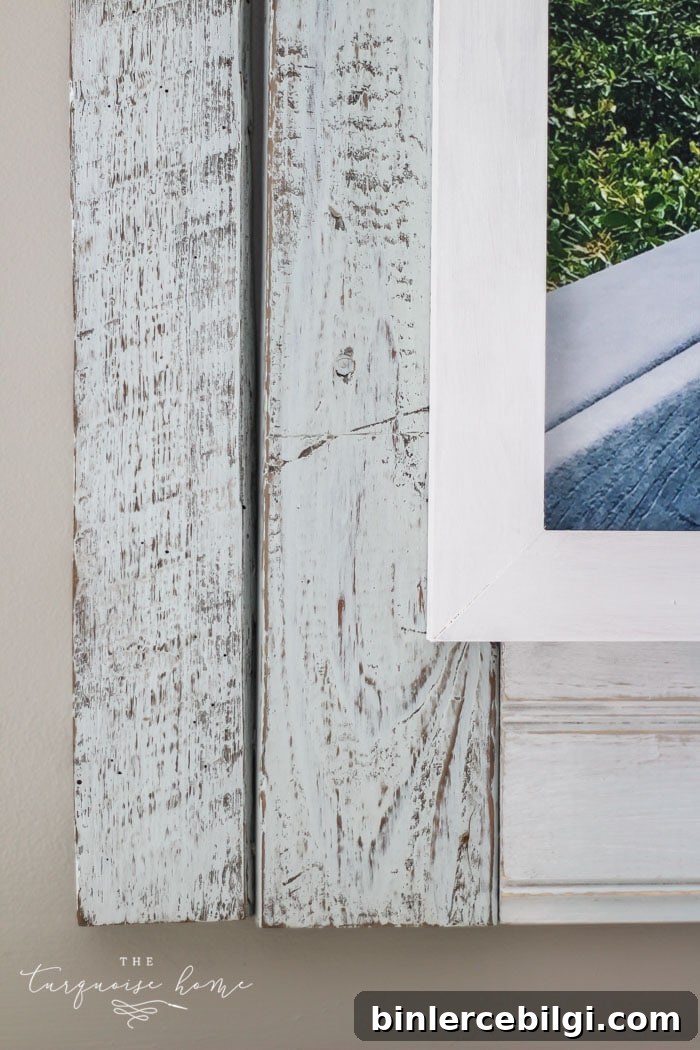
Decide on a color palette that complements your artwork and home. I used three beachy paint colors plus a water-based aging product for a weathered look. Paint or stain each board individually so they have distinct finishes, and sand lightly to distress and blend layers for a beach-worn feel.
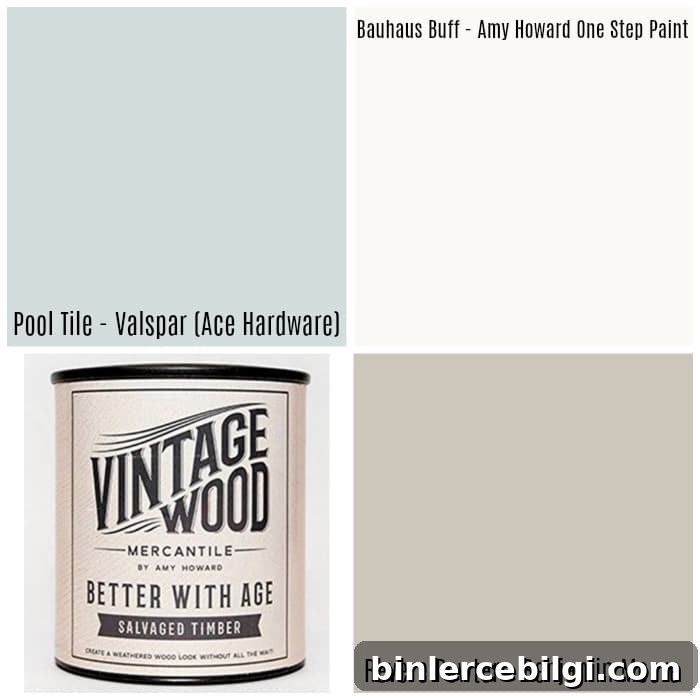
Allow all painted pieces to dry completely before assembly.
Step 5. Assemble the Frame
Use wood glue and pocket-hole screws or your preferred joinery method to assemble the frame around the canvas. Fitting the canvas into the frame as you assemble helps dial in spacing and ensures the piece sits flush. A Kreg Jig works well for strong, low-profile joints, but basic screws and glue are fine for a rustic frame.
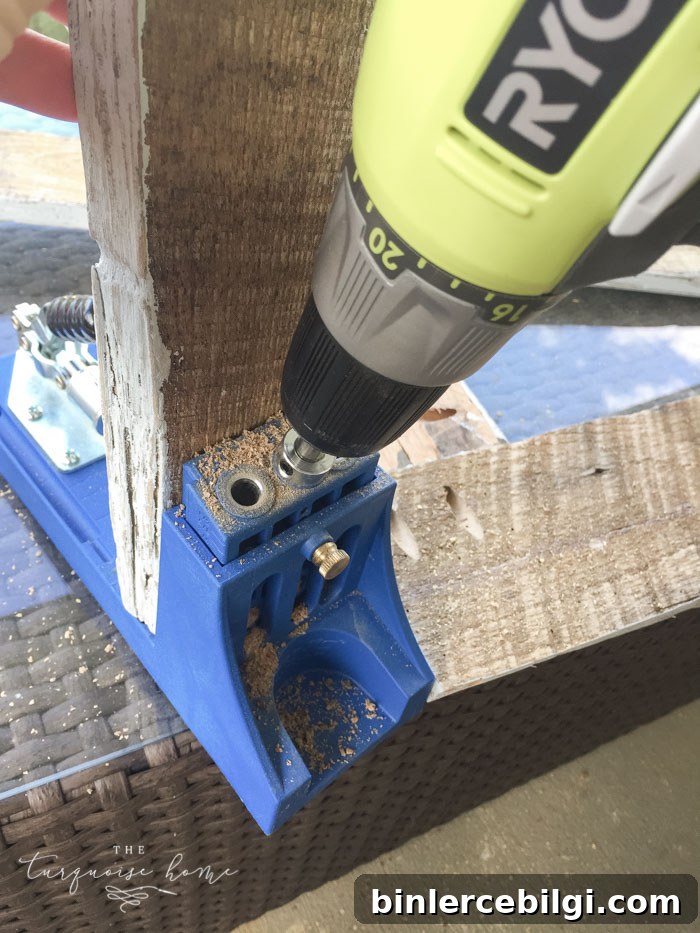
Step 6. Add a Professional Canvas Texture with Mod Podge
For a textured, museum-like canvas surface, brush a thin layer of matte Mod Podge over the print, then press a blank canvas sheet on top, smoothing carefully. Pull the blank canvas straight up to transfer the weave texture into the finish—this camouflages any minor bubbles and reduces shine. Repeat as needed to cover the entire print and let it dry thoroughly.
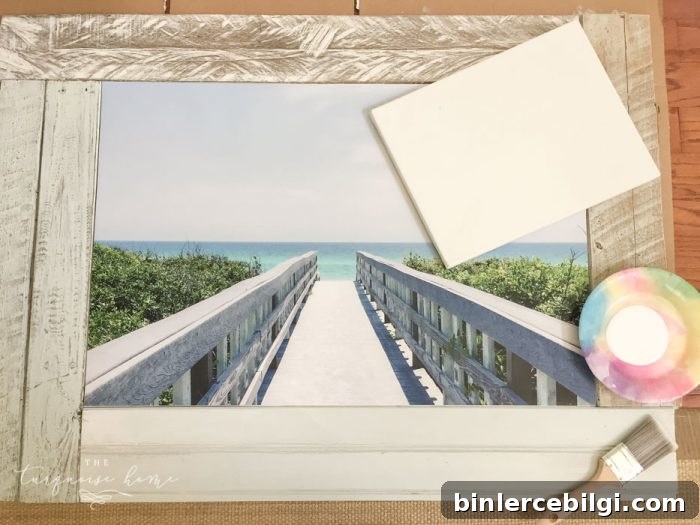
Step 7. Attach the Thin Inner Trim
If you cut a thin inner trim to refine the opening, glue it in place and weight it until secure. This small detail can elevate the overall look and provide a clean border between the artwork and the chunky outer boards.
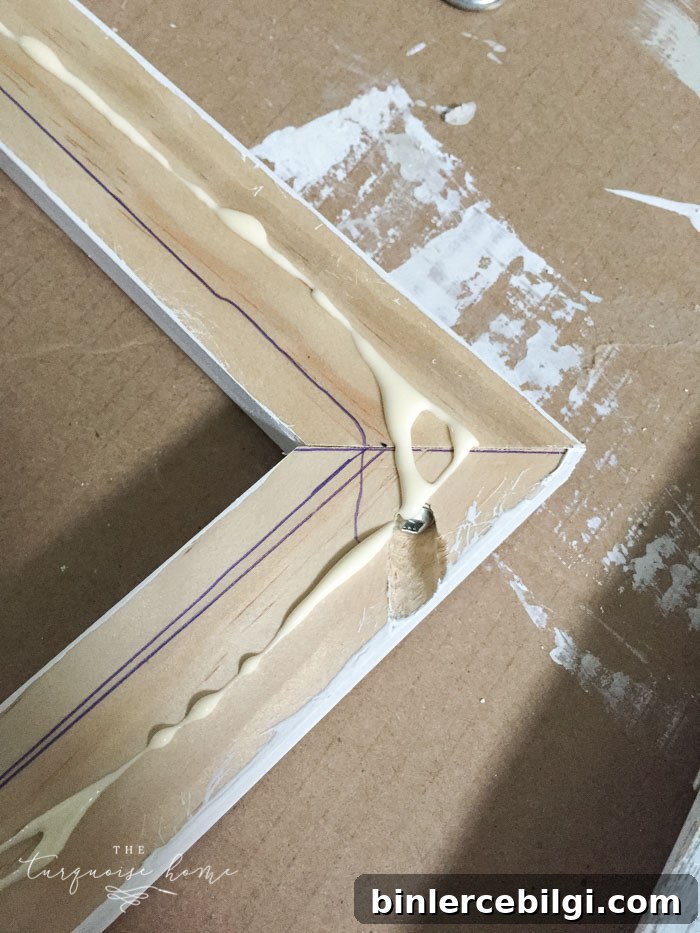
Step 8. Add Hanging Hardware
Attach appropriate hanging hardware to the back—sawtooth hangers, D-rings, or a wire system depending on the weight and size of your piece. Make sure it’s centered and secure so the artwork hangs level.
Step 9. Hang and Enjoy
Hang your finished framed canvas and step back to admire the transformation. A large, well-proportioned frame gives the artwork scale, presence, and polish—perfect for a mantel, entry wall, or living room focal point.
If you try this project, I’d love to see your results—share a photo to the contact address on my site. A framed canvas is a rewarding weekend project that transforms a simple print into a gallery-style work of art at a fraction of the cost of framed pieces from retail stores.
More projects you may enjoy:
- Snake Plant Care Guide
- DIY Frame for a Frame TV
- DIY Picture Frame Moulding
- How to Create a Picture Frame Gallery Wall
- Framed Shiplap Fall Wreath