
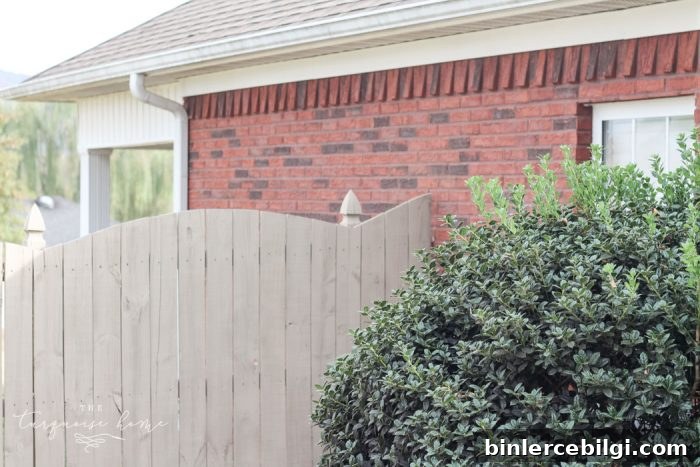
If you want an easy way to refresh your fence, painting it with a paint sprayer is fast and efficient. Here’s how to paint a wood fence with a sprayer in five straightforward steps.
We lived in our previous home for eight years and were fortunate to have a lovely backyard fenced in. After about five years of weather exposure and everyday wear, the fence looked tired and grimy. Our homeowners association asked that we repaint the fence in the approved neighborhood color, which motivated us to finally tackle the job.
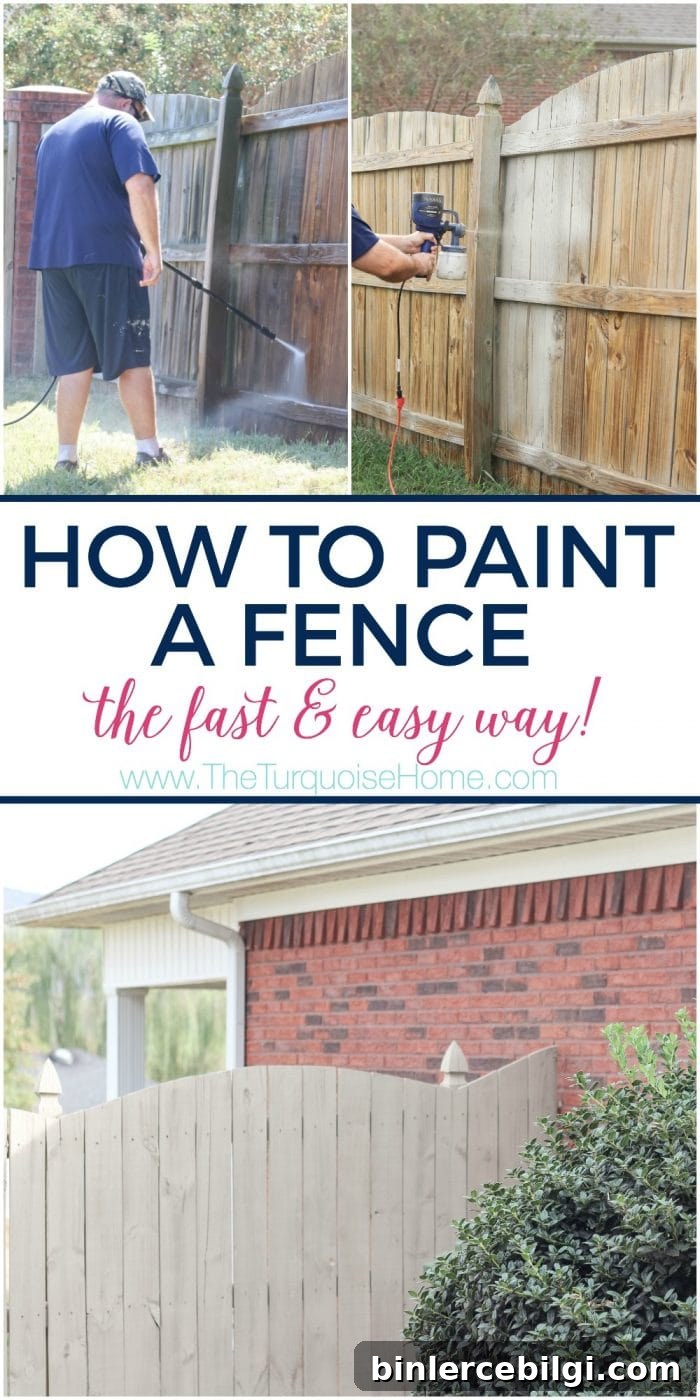
Although I expected to dislike the HOA-selected color, I ended up liking it. We used Sand Castle by Sherwin-Williams, an exterior solid stain in a greige tone that complemented our red brick. Because I enjoy DIY projects, I chose to do the painting myself and decided to try a paint sprayer rather than a brush or roller.
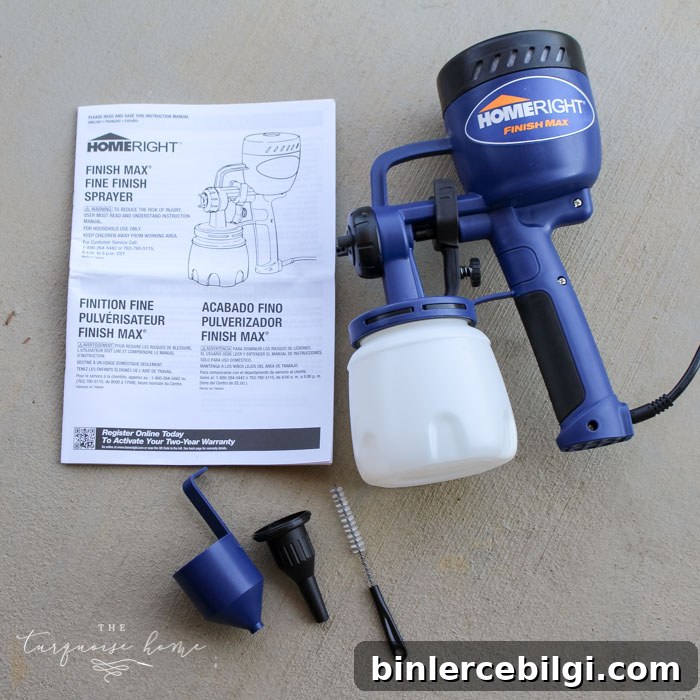
I used the HomeRight Finish Max Paint Sprayer — an affordable, beginner-friendly sprayer that made the process much faster. After a bit of initial nervousness, I found it straightforward and incredibly useful for larger painting tasks. I’ll share the practical tips I learned so you can achieve a smooth, even finish on your wood fence.
Tools You Need to Paint a Wood Fence
- Paint sprayer — I used the HomeRight Finish Max and found it ideal for this type of job.
- Paint or exterior stain in your chosen color.
- Extension cord (if needed, depending on the outlet location).
- Clear plastic sheeting or tarps to protect nearby surfaces from overspray.
- Pressure washer to remove dirt and mildew — we rented one for this project and it saved a lot of time.
Steps to Paint a Wood Fence
1. Clean the Fence
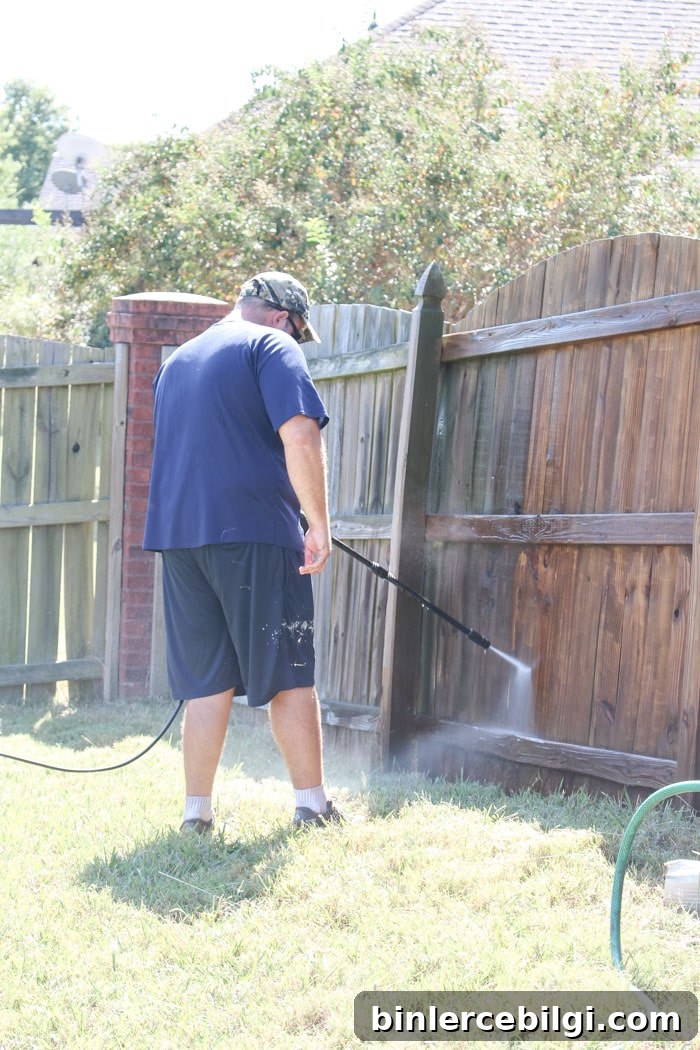
Start by cleaning the fence thoroughly. A pressure washer will remove the top layer of dirt, mildew, and loose debris much faster than scrubbing by hand. It doesn’t have to be perfectly spotless, but removing grime helps the paint or stain adhere evenly. After washing, allow the fence to dry for at least two days before painting.
2. Protect Areas You Don’t Want Painted
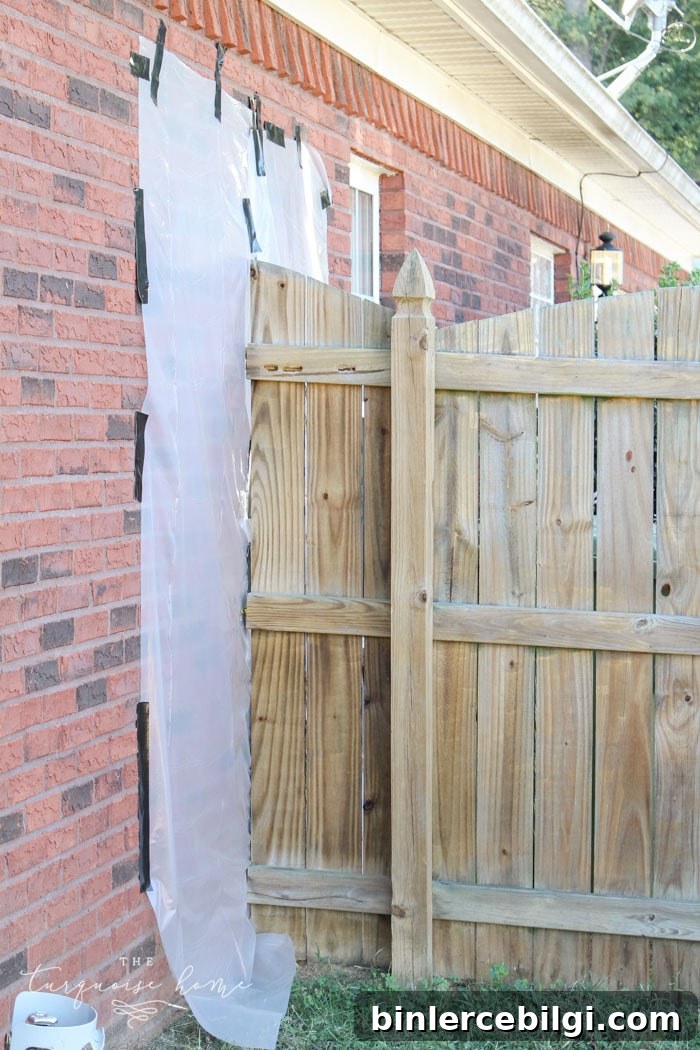
Cover nearby walls, porch areas, plants, and masonry with clear plastic sheeting or tarps to guard against overspray. Put these covers up just before you start painting — if installed too early, they can blow down or collect debris. Secure edges and seams so no paint drifts onto unintended surfaces.
3. Prep the Paint and Sprayer
Follow the sprayer manufacturer’s instructions for setup and thinning. Many exterior paints and solid stains require thinning for use in smaller consumer sprayers. The Finish Max includes a small funnel tool to test paint viscosity: pour paint into the funnel and time how long it takes to flow through. Adjust consistency to the recommended range — for my paint that meant roughly a 50/50 dilution with water to ensure an even spray without clogging.
4. Paint
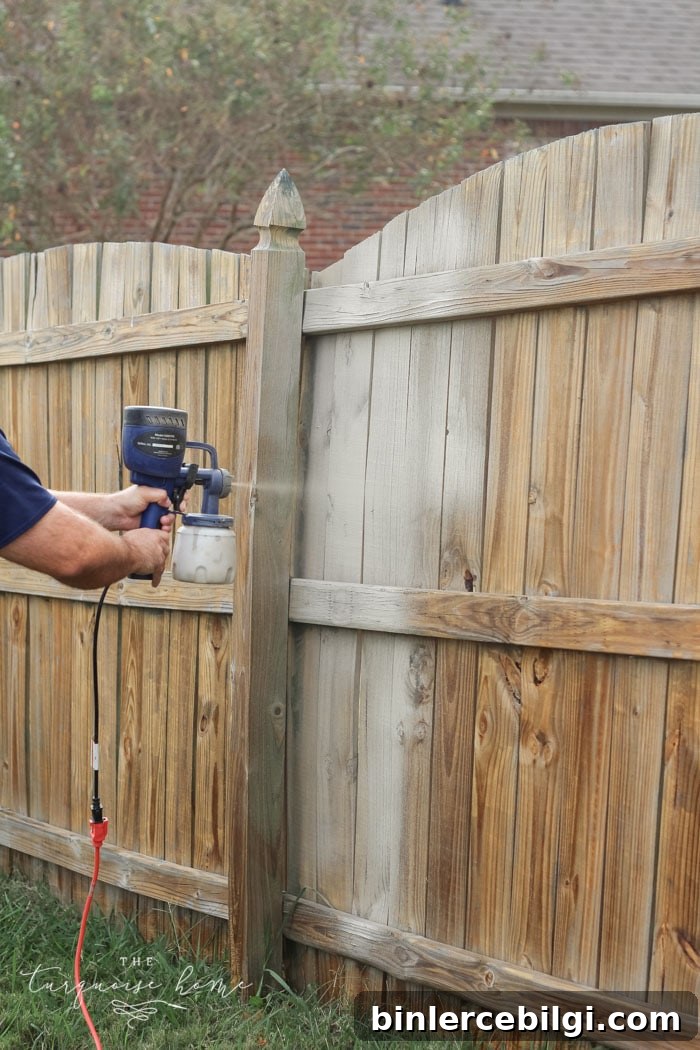
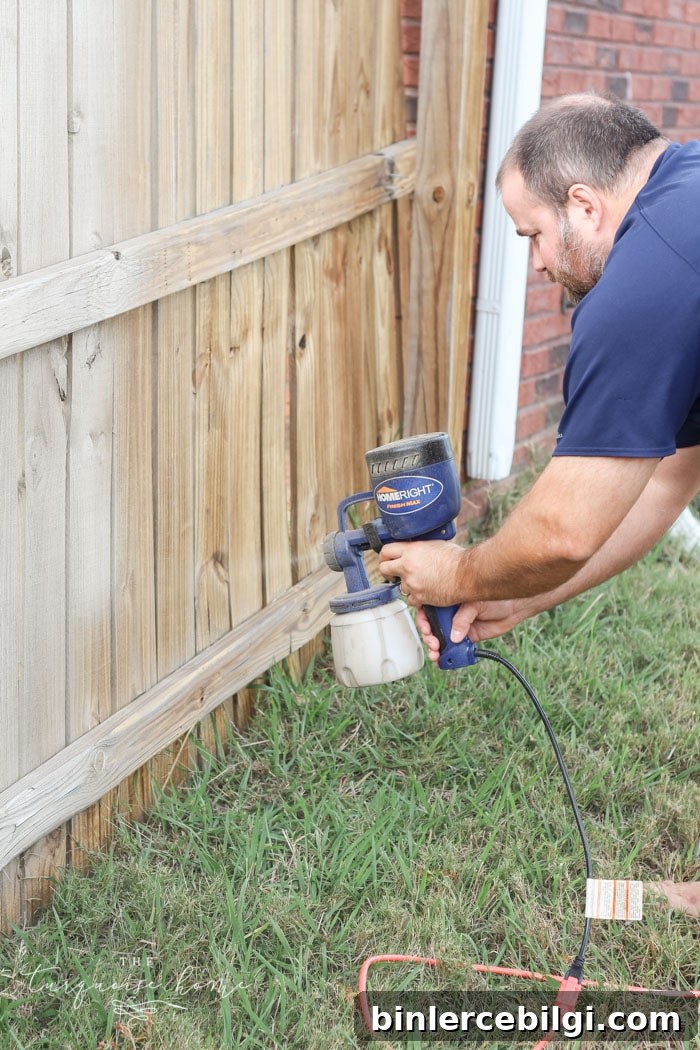
Fill the sprayer reservoir, plug in the unit, and begin spraying. Hold the nozzle about 8–12 inches from the wood and move the sprayer smoothly and evenly across each section. Set the nozzle orientation (horizontal or vertical) based on the direction you’ll spray. I sprayed vertically with the nozzle positioned vertically for consistent coverage.
Spray thin, even coats — thin coats prevent runs and drips and dry more uniformly. I applied two light coats to achieve full coverage. If you take breaks longer than 30 minutes, expect to clean the nozzle before restarting; dried paint in the tip can affect spray quality. Keeping a small cleaning kit handy makes maintenance quick and easy.
5. Clean Up
When you finish, disassemble the sprayer per the instructions and clean all parts thoroughly. For water-based paints and stains, rinse the reservoir and components with warm soapy water. For oil-based products, use the appropriate solvent such as mineral spirits. The sprayer I used included a long scrubbing wand that made cleaning tight spaces easier. Let everything dry fully before reassembling and storing the sprayer.
Final Thoughts
Painting a wood fence with a sprayer is one of the fastest ways to transform your outdoor space without paying a professional. Proper prep — cleaning, protecting adjacent areas, thinning paint when needed, and using light, even coats — is the key to a durable, attractive finish. The sprayer eliminated hours of brushing and rolling, and once I got comfortable with the technique, the whole project felt very manageable.
Whether you’re repainting to satisfy an HOA requirement or just want to refresh your yard, a paint sprayer can save time and deliver excellent results. After trying it, I’ll definitely use a sprayer again for future exterior projects.
More posts you might enjoy:
- 12 Drool-Worthy Screened-In Porch Decorating Ideas
- Our Brick House Exterior Makeover (White Trim & Black Shutters)
- Beautiful Lake House Decor {inspiration}
- How to Organize a Messy Garage
- How to Paint Outlet Covers