
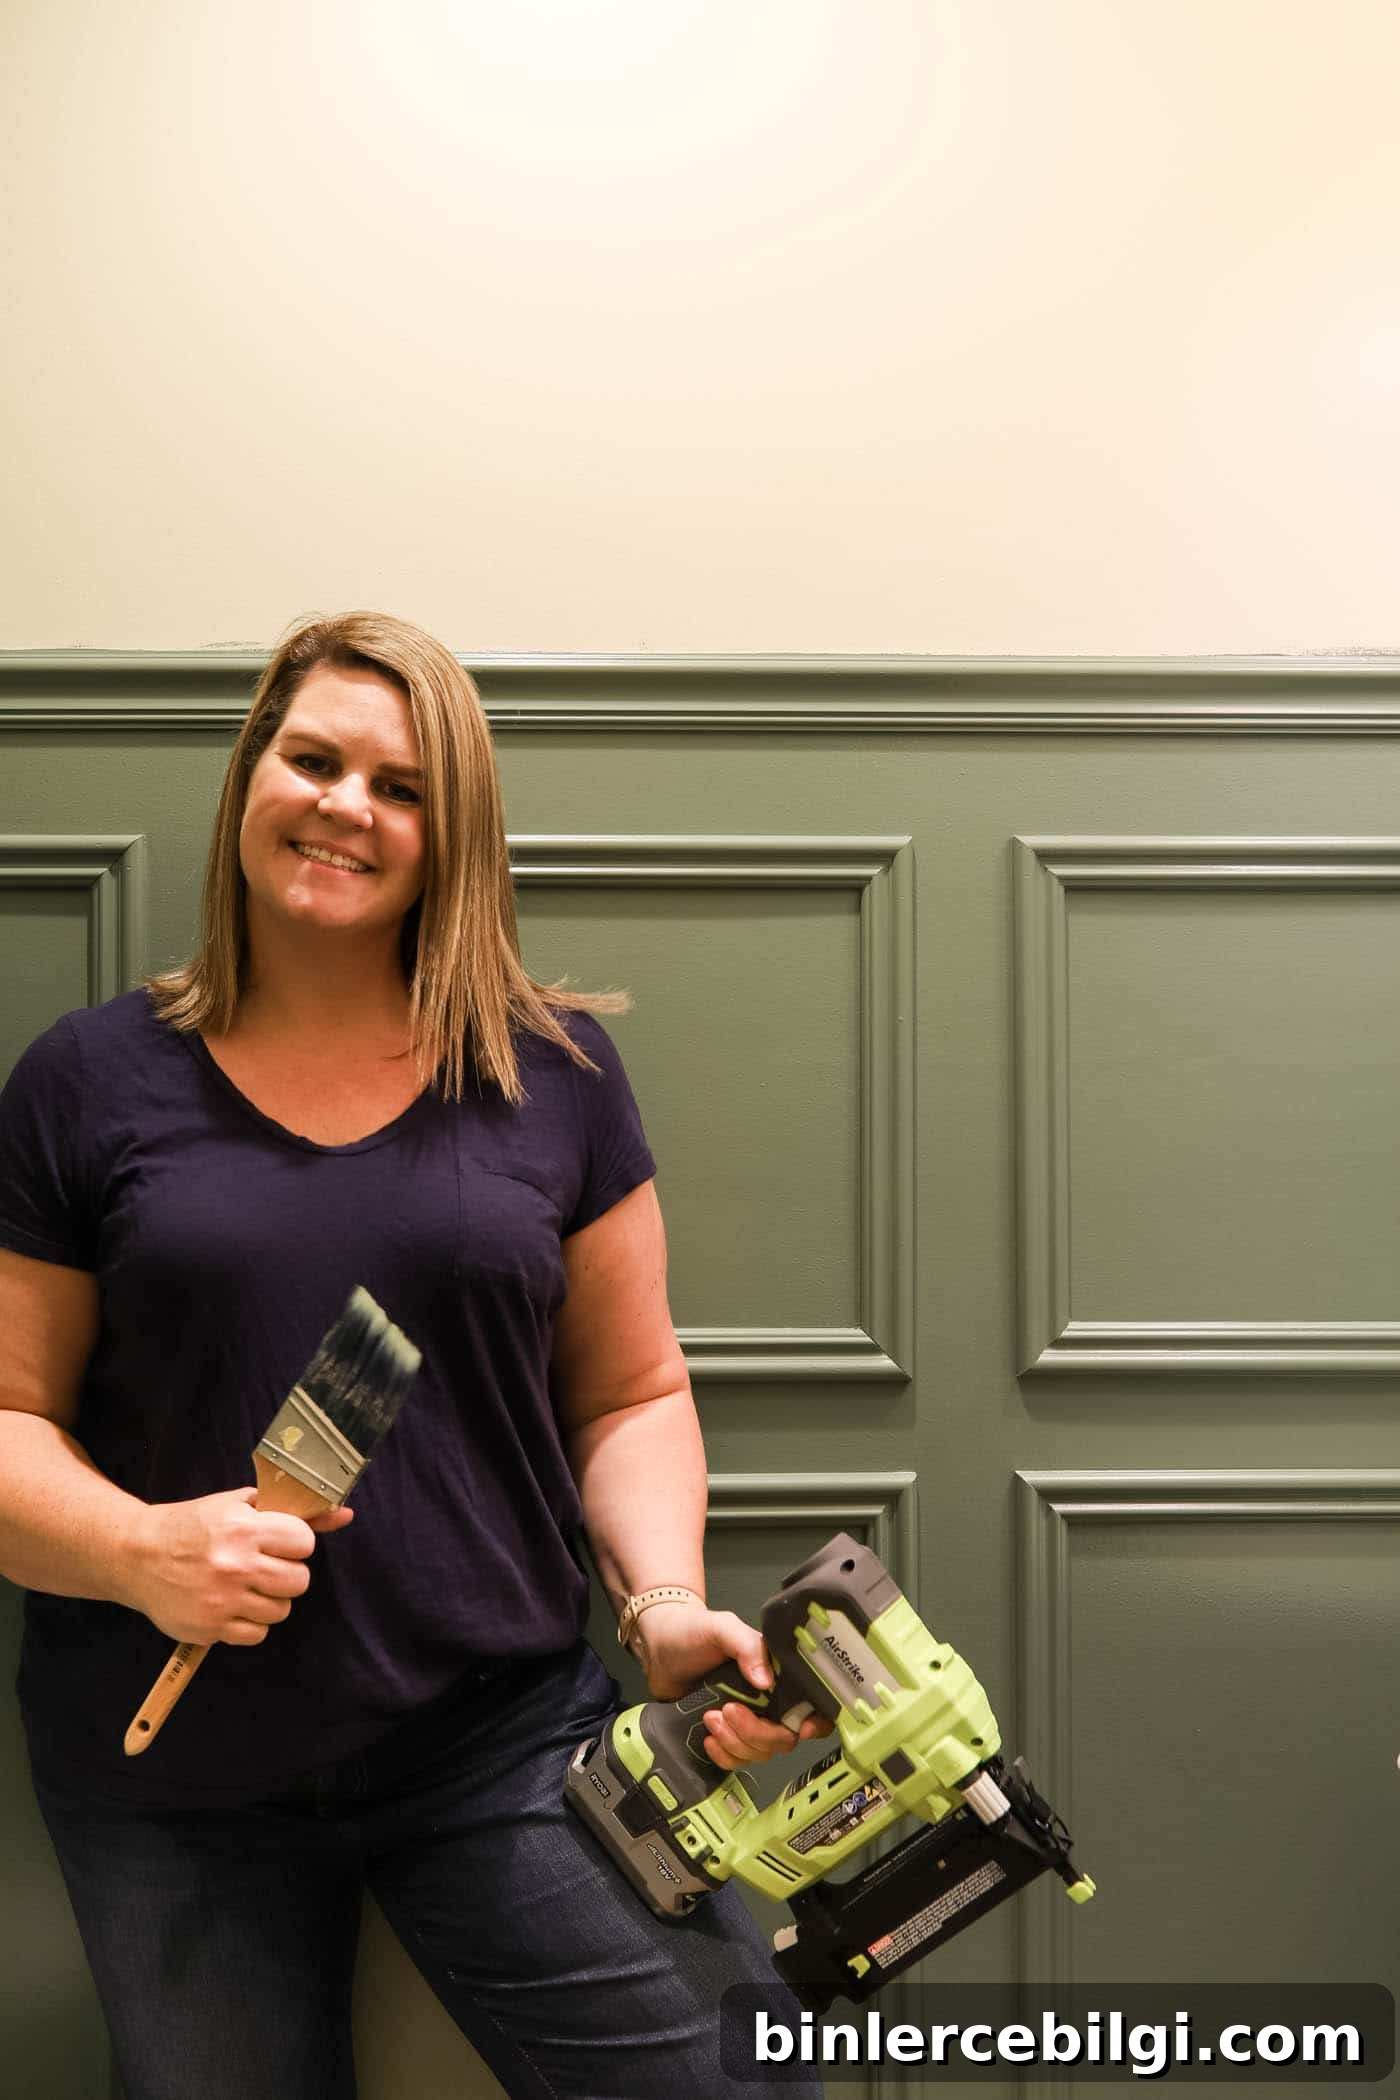
Adding DIY picture frame molding or a chair rail instantly gives a room architectural character — and it’s an excellent project for beginners.
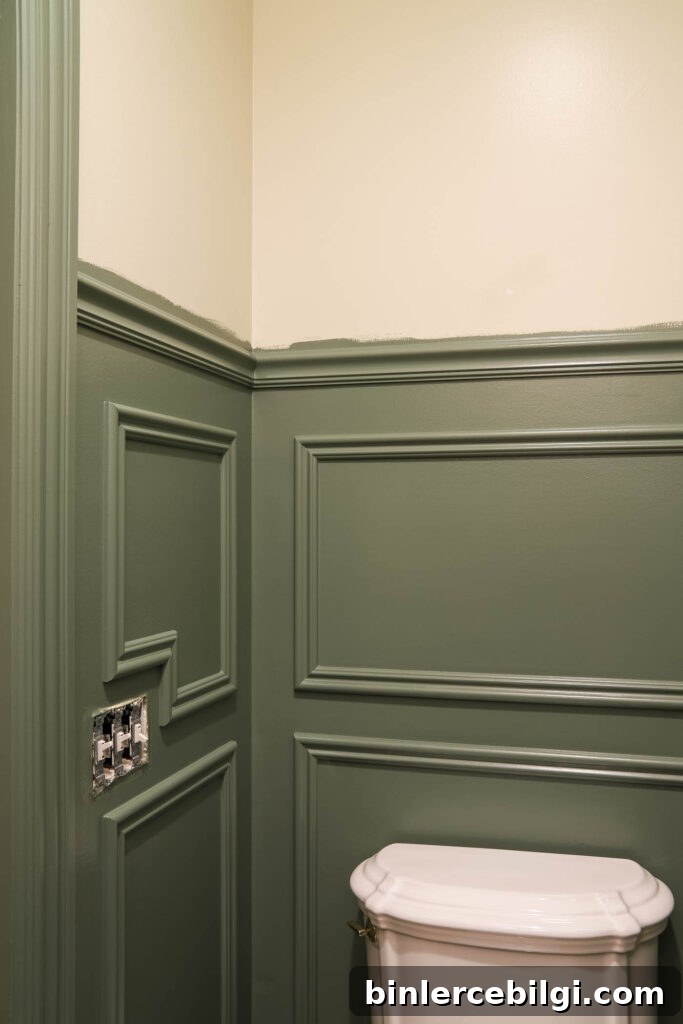
I wanted to make a bold statement in a small hall powder room. It’s a tiny space that can have a big impact when you add molding to create architectural interest. Picture frame molding was the perfect choice to add depth and classic detail.
The Planning Phase
Planning the molding layout usually takes longer than the actual installation. Taking the time to plan ensures balanced proportions and a professional result. Study reference photos to identify styles you like, then adapt them to your space.
Here are the main questions to answer during planning so the install proceeds smoothly:
1. How many boxes vertically?
A common and visually pleasing approach is to divide the wall into thirds. Many installations place molding across the bottom third, or the bottom two-thirds, depending on the look you want.
2. How many boxes horizontally?
On small bathroom walls I used one box across; on the larger wall I divided the width into thirds. Count how many repeating units will look balanced across the wall.
3. One large box or stacked boxes?
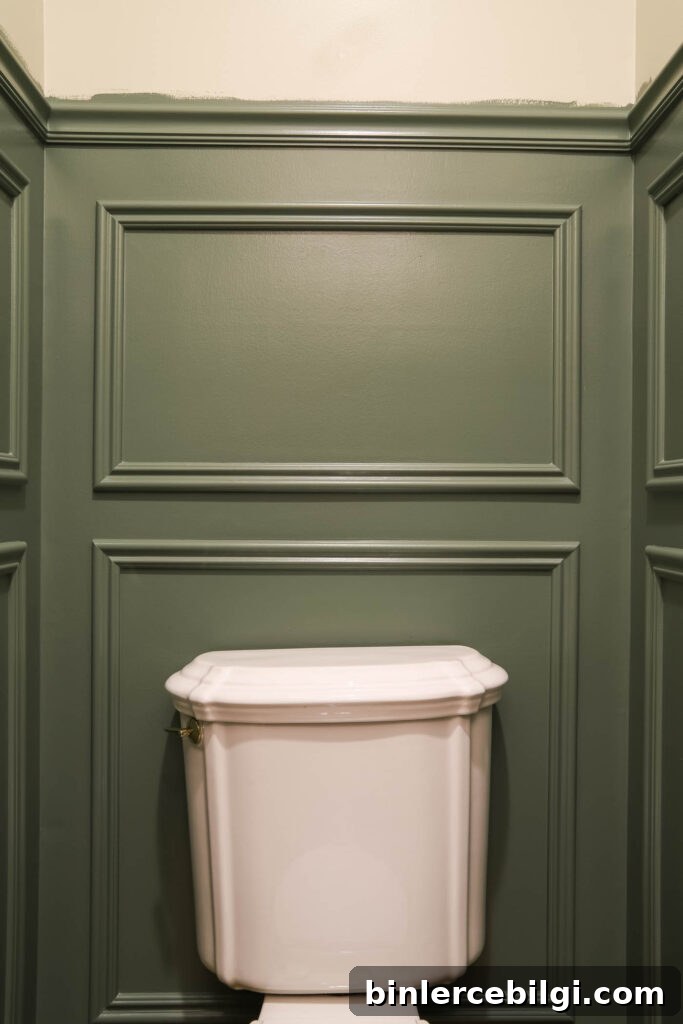
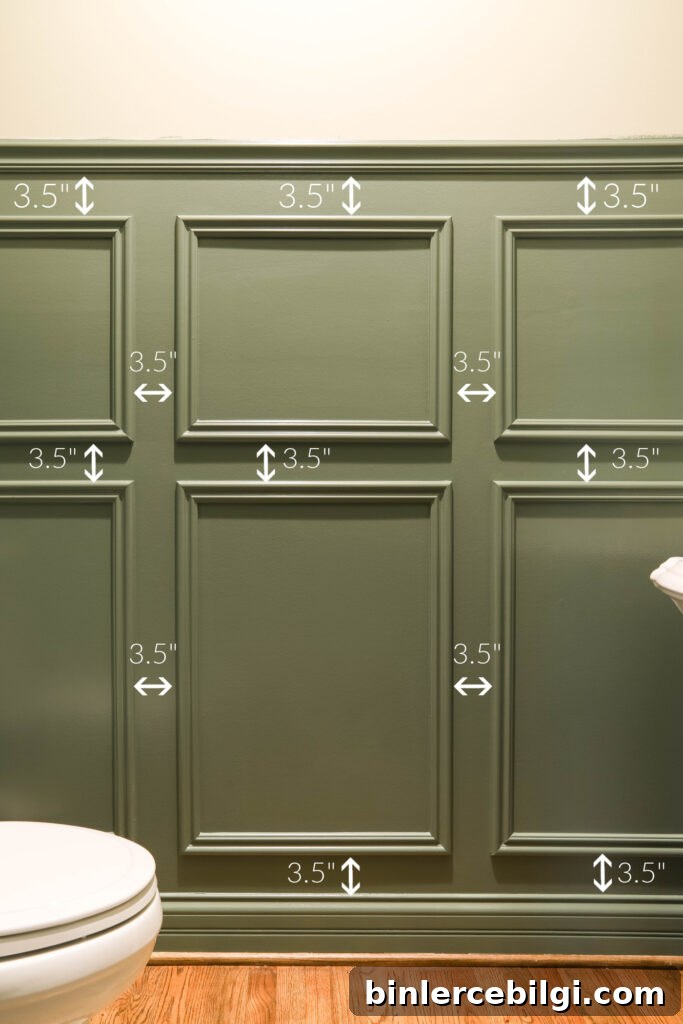
I used two stacked boxes, with the middle one slightly smaller than the bottom. Stacked boxes create a layered, traditional look and work well in narrow spaces.
4. Spacing between trim pieces?
This is a critical measurement and depends on the room size. In my small powder room I used 3.5 inches between moldings. Larger rooms typically need 5–6 inches for proper proportion. Keep spacing consistent across all walls for a unified appearance.
5. Choose the style of trim
Match the trim profile to your home’s style. For modern or farmhouse interiors, simple boards look sleek. For traditional houses, classic chair rail and decorative trim add period charm. Primed trim saves prep time; if you buy unprimed boards, prime them before painting.
6. Plan for obstacles
Account for fixed items like toilets, sinks, light switches and outlets. Decide whether to build up trim around switches or to work around them. I set my molding height to look balanced around the toilet and sink and ran the trim around the switches rather than building them up.
This post contains affiliate links for your convenience. I only link to tools and products I recommend.
Supplies Needed for DIY Picture Molding
- Laser level (recommended — speeds layout and accuracy)
- Tape measure
- Pencil
- Miter saw (or miter box and handsaw)
- Brad nailer and finishing brad nails
- Spackling for nail holes
- Paintable caulk and a caulk gun
- Nail punch to sink nails below the trim surface
- Decorative trim in the quantity your layout requires — chair rail for the top and smaller trim for the picture boxes; primed boards save time
- Paint and quality brushes for a smooth finish
How to Install Picture Molding on the Wall
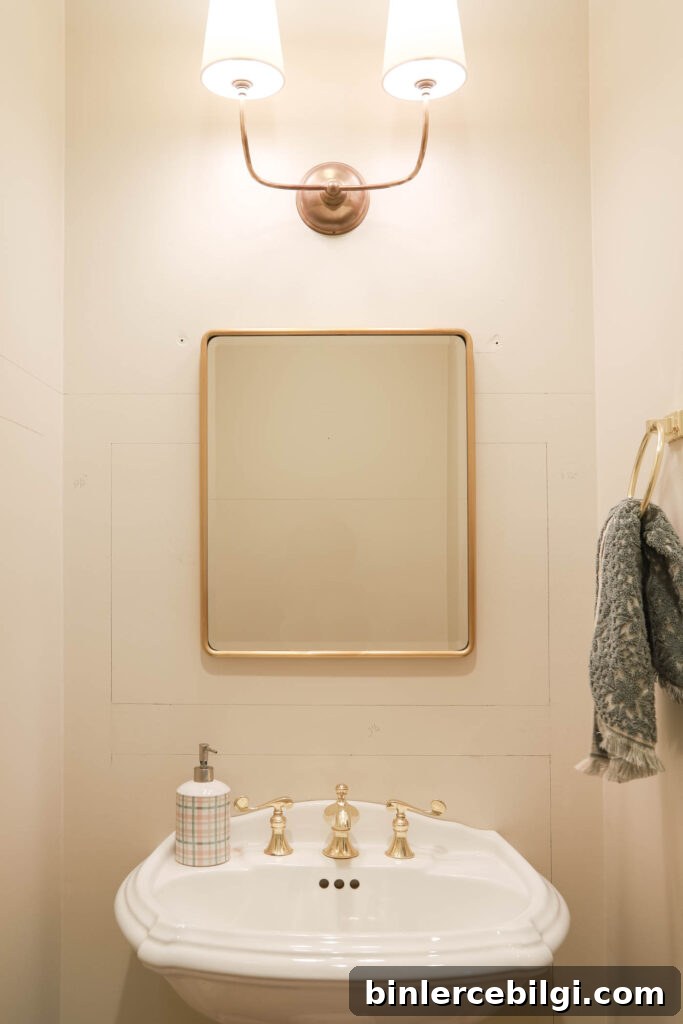
1. Draw the boxes with a level and pencil
Mark your boxes on the wall before cutting any trim. Drawing the layout lets you visualize proportions, confirms clearance around obstacles, and ensures consistent spacing. A laser level makes layout fast and accurate, but a handheld level works too.

2. Measure the boxes and buy the trim
Measure each segment carefully and write a detailed list before you go to the store. Include extra material to allow for cutting waste. It’s easy to underestimate how many linear feet you’ll need if you don’t factor in scrap.
3. Make a cut list
Group identical cuts together. For stacked boxes, vertical pieces are often the same height and can be cut in batches. Planning cuts reduces waste and speeds up the miter saw work.
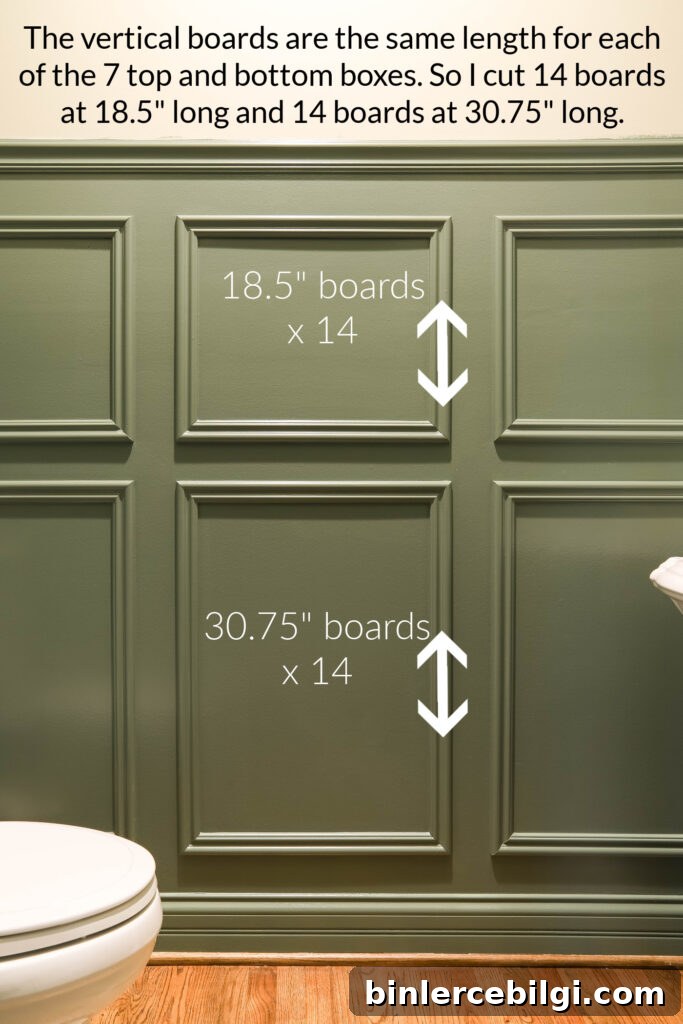
4. Cut the trim
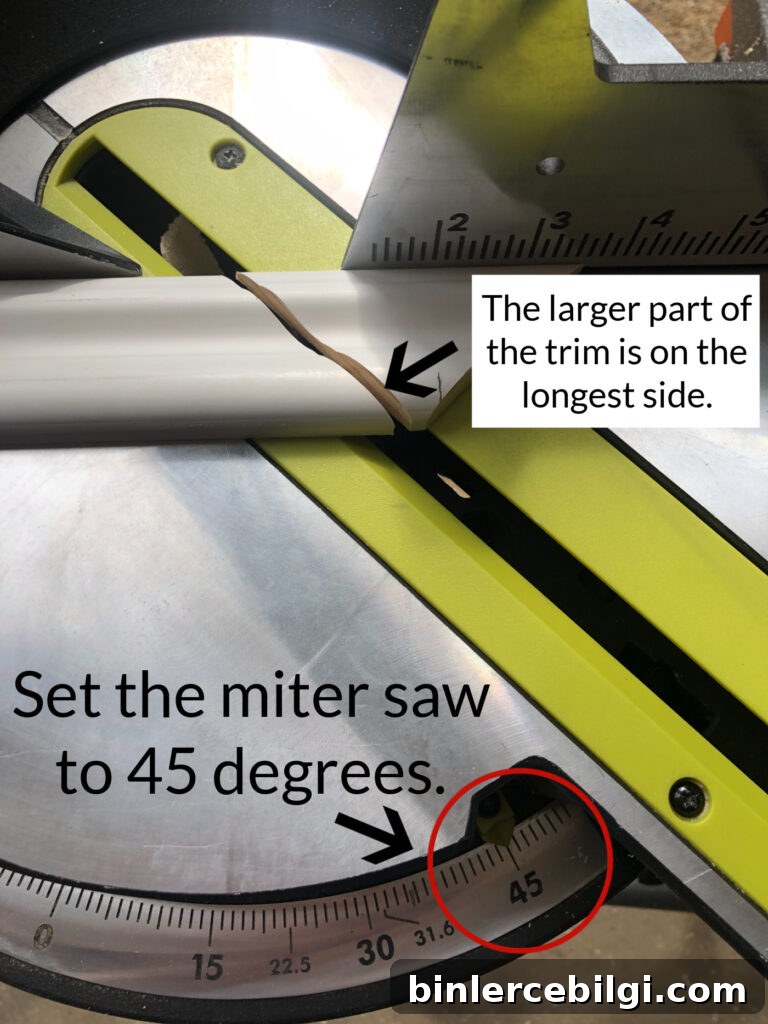
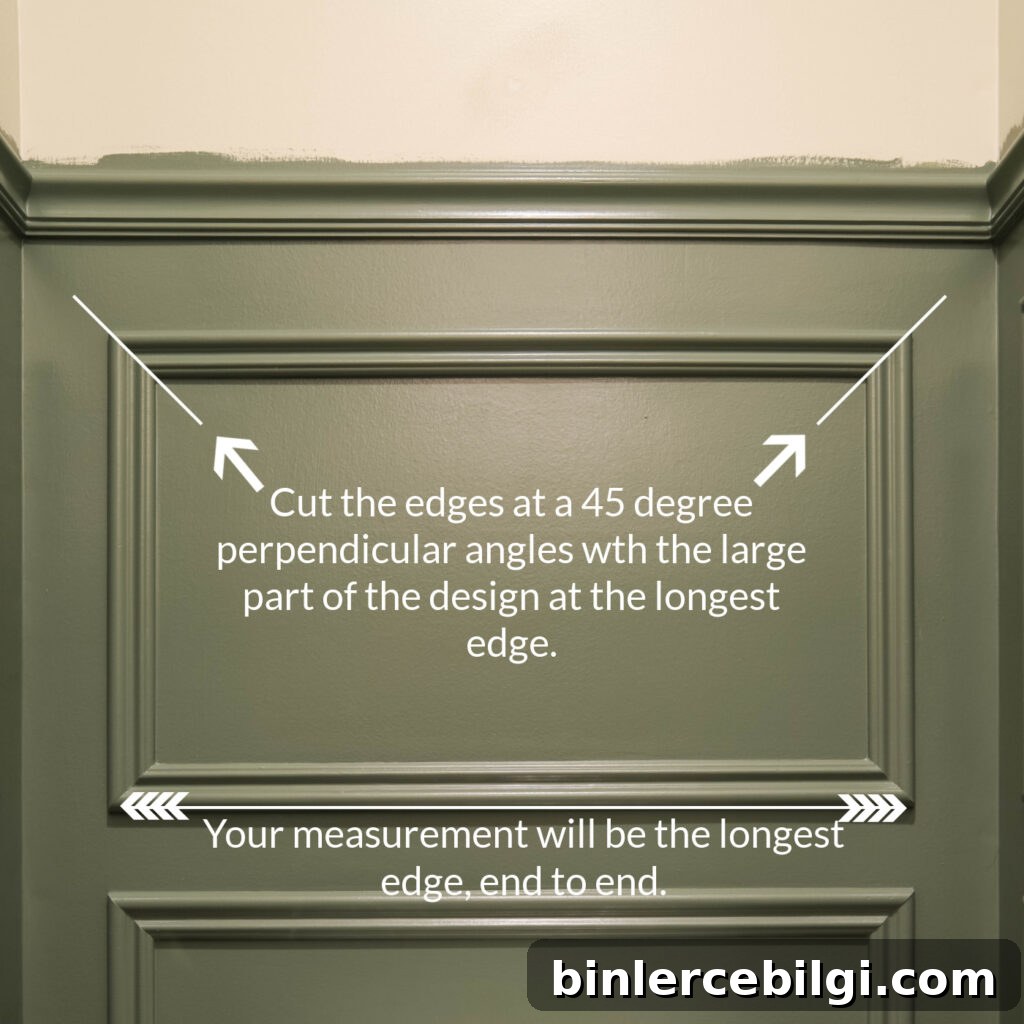
Cut pieces on a miter saw at 45° so corners meet cleanly. Make one “original” cut, label it, and use it as a template to match the rest. Holding each new piece against the original ensures uniform lengths and crisp, square rectangles on the wall.
5. Install the picture frame molding
Attach trim with a brad nailer, lining each piece up with your pencil lines. Start with the top piece, add one side, then the bottom, and finish the remaining side. Use only a few nails per board to make filling holes easier later. Check for level and square as you go.
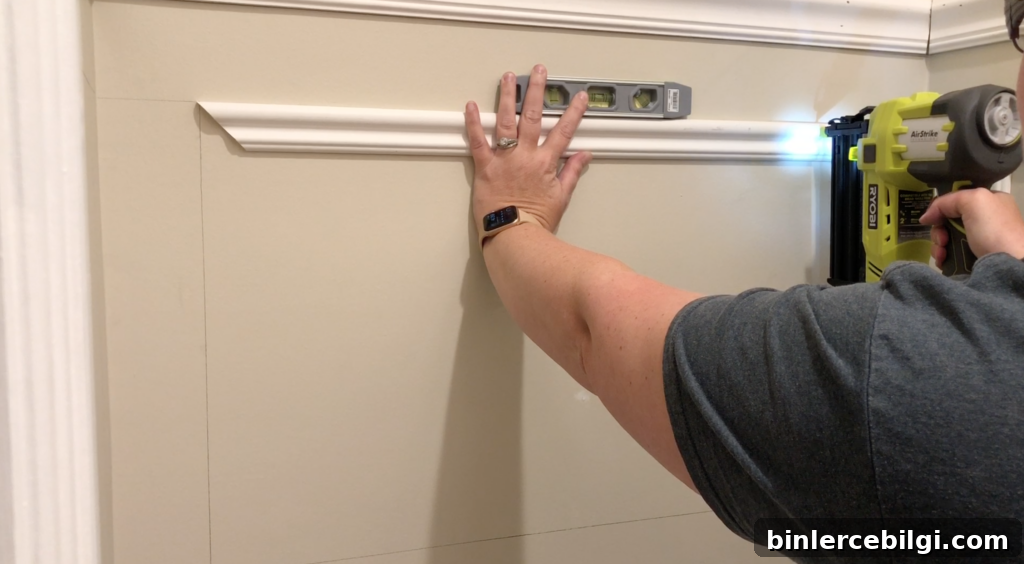
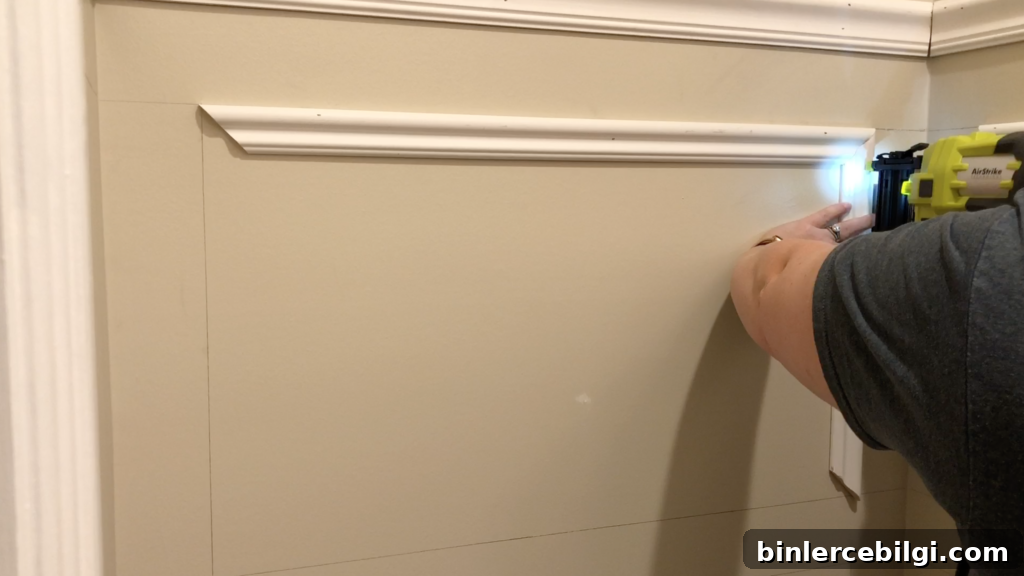
A cordless brad nailer can be especially convenient in small rooms where dragging a compressor would be awkward. It speeds installation and keeps the workspace tidy.
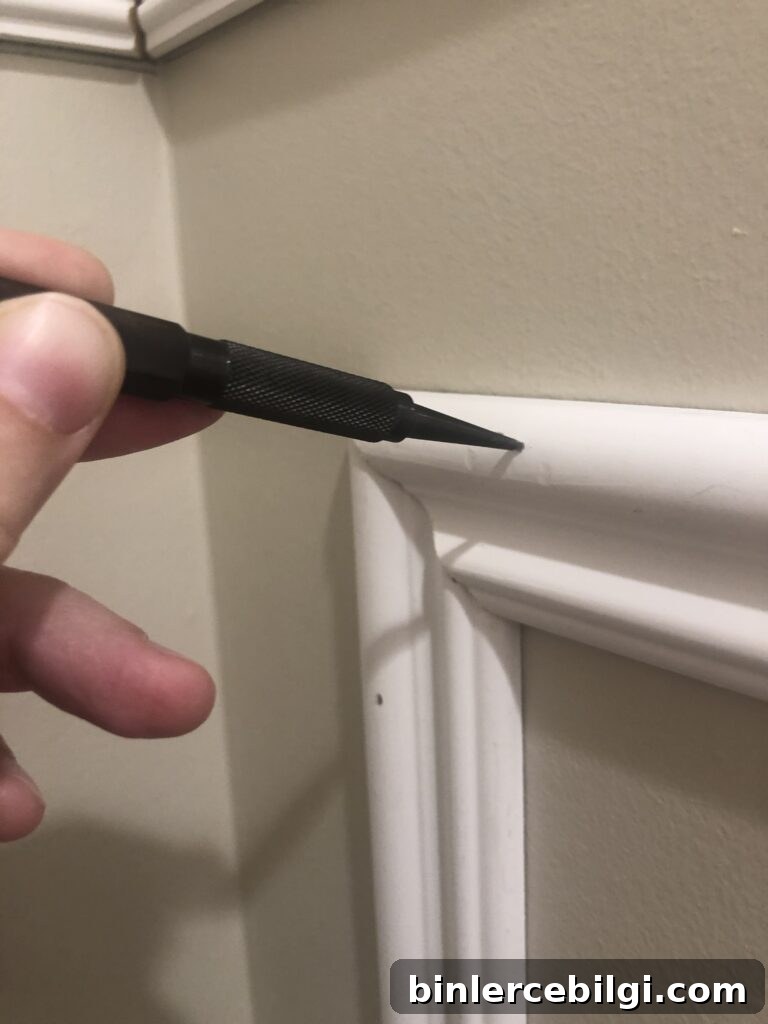
6. Drive in any extended nails with a nail punch
Sink any protruding nails below the trim surface with a nail punch so holes are easy to fill.
7. Fill the nail holes
Use a small amount of spackling applied with your finger to fill nail holes. Wipe away excess with a warm, damp towel once it’s dry for a smooth finish.
8. Caulk the seams
Run paintable caulk along every seam where the trim meets the wall and at the corners. Smooth the bead with a wet finger or towel before it dries. Caulking blends joints and gives the appearance of continuous, built-in molding.
9. Paint
You can paint walls first or paint everything after the trim is installed. In small spaces, painting everything at the end is often easiest. For larger areas, painting the wall first and then adding painted trim can be more efficient.
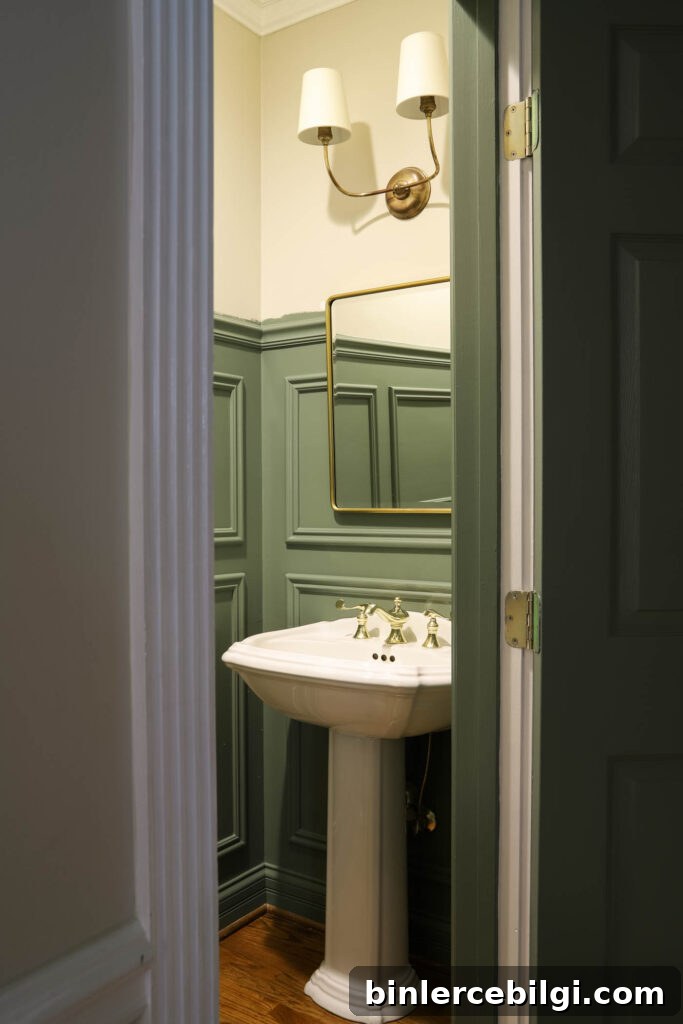
I used a muted green wall color in a satin finish for the bathroom so it can be wiped clean. High-quality brushes help get crisp edges and a smooth finish around the trim.
Once paint is dry, step back and enjoy the transformation — molding adds instant sophistication and depth to even the smallest powder room.
If you want to continue the design, consider complementary elements such as wallpaper, lighting, mirror style, and hardware to complete a cohesive powder room plan.
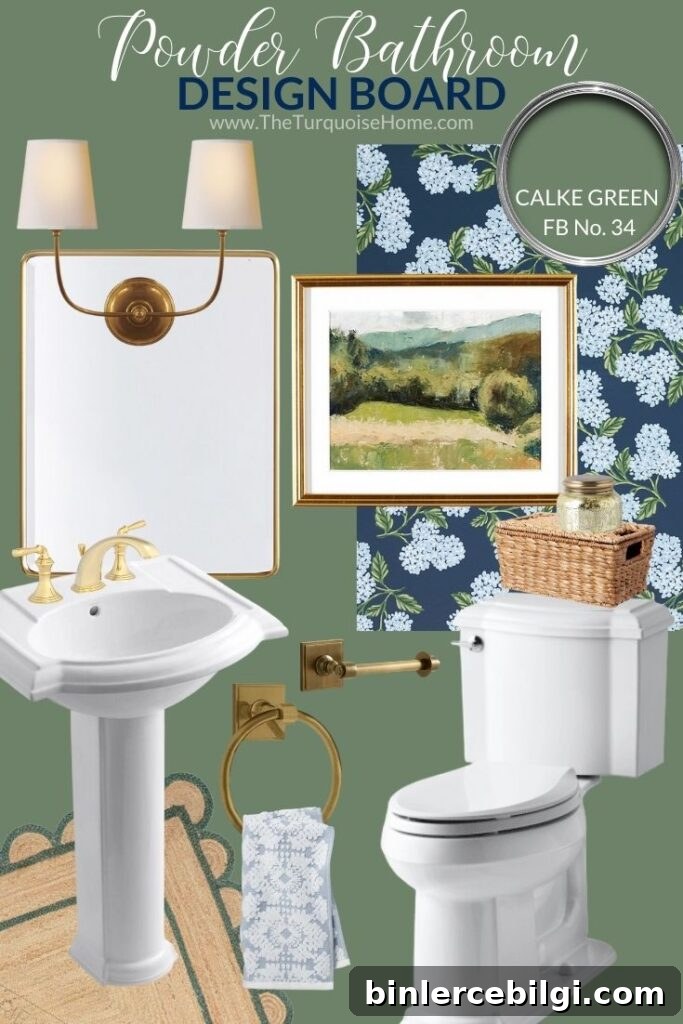
This is a fantastic beginner project: straightforward, affordable, and impactful. If you try it, I’d love to see photos of your finished space. If you have questions about the process, leave a comment below — I’m happy to help.
More posts you might enjoy:
- Under the Bathroom Sink Storage
- How to Create Big Style in a Small Bathroom
- Modern Bathroom Light Fixtures
- How to Organize a House With No Storage
- Blue & Green Traditional Powder Room Reveal