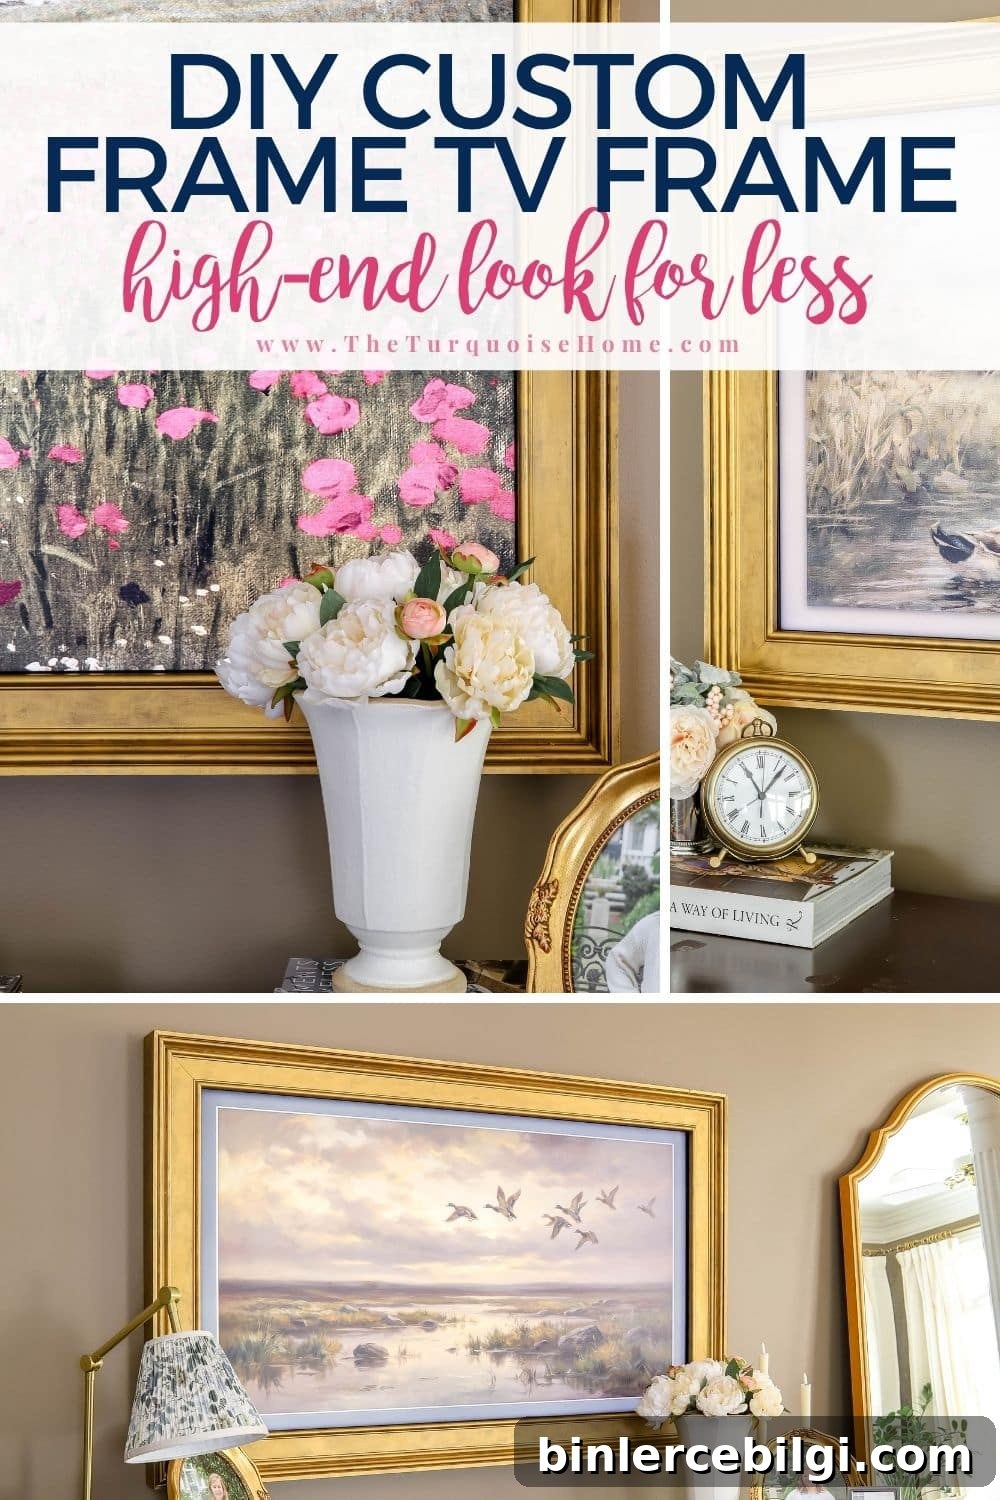
Learn how to build a custom Frame TV frame that makes your TV look like framed art. This step-by-step DIY delivers a designer look on a budget.
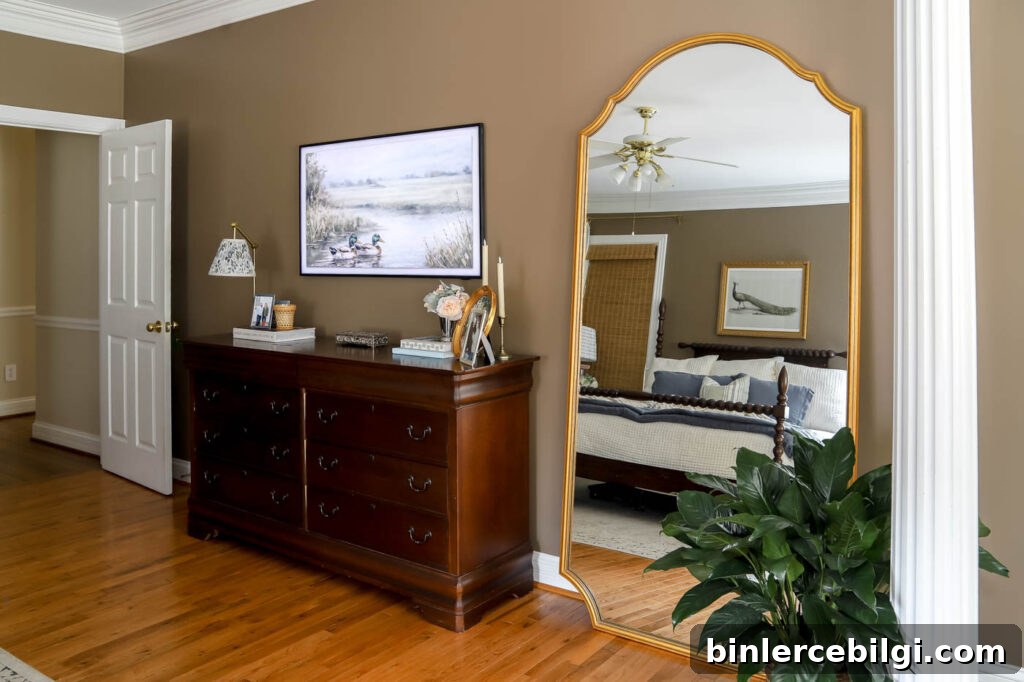
We have a large wall opposite our bed in the primary bedroom that needed more presence. The Samsung Frame TV we installed helps by displaying art when it’s not in use, but the wall still felt unfinished. Adding a decorative frame made the TV read as intentional artwork and completed the space.
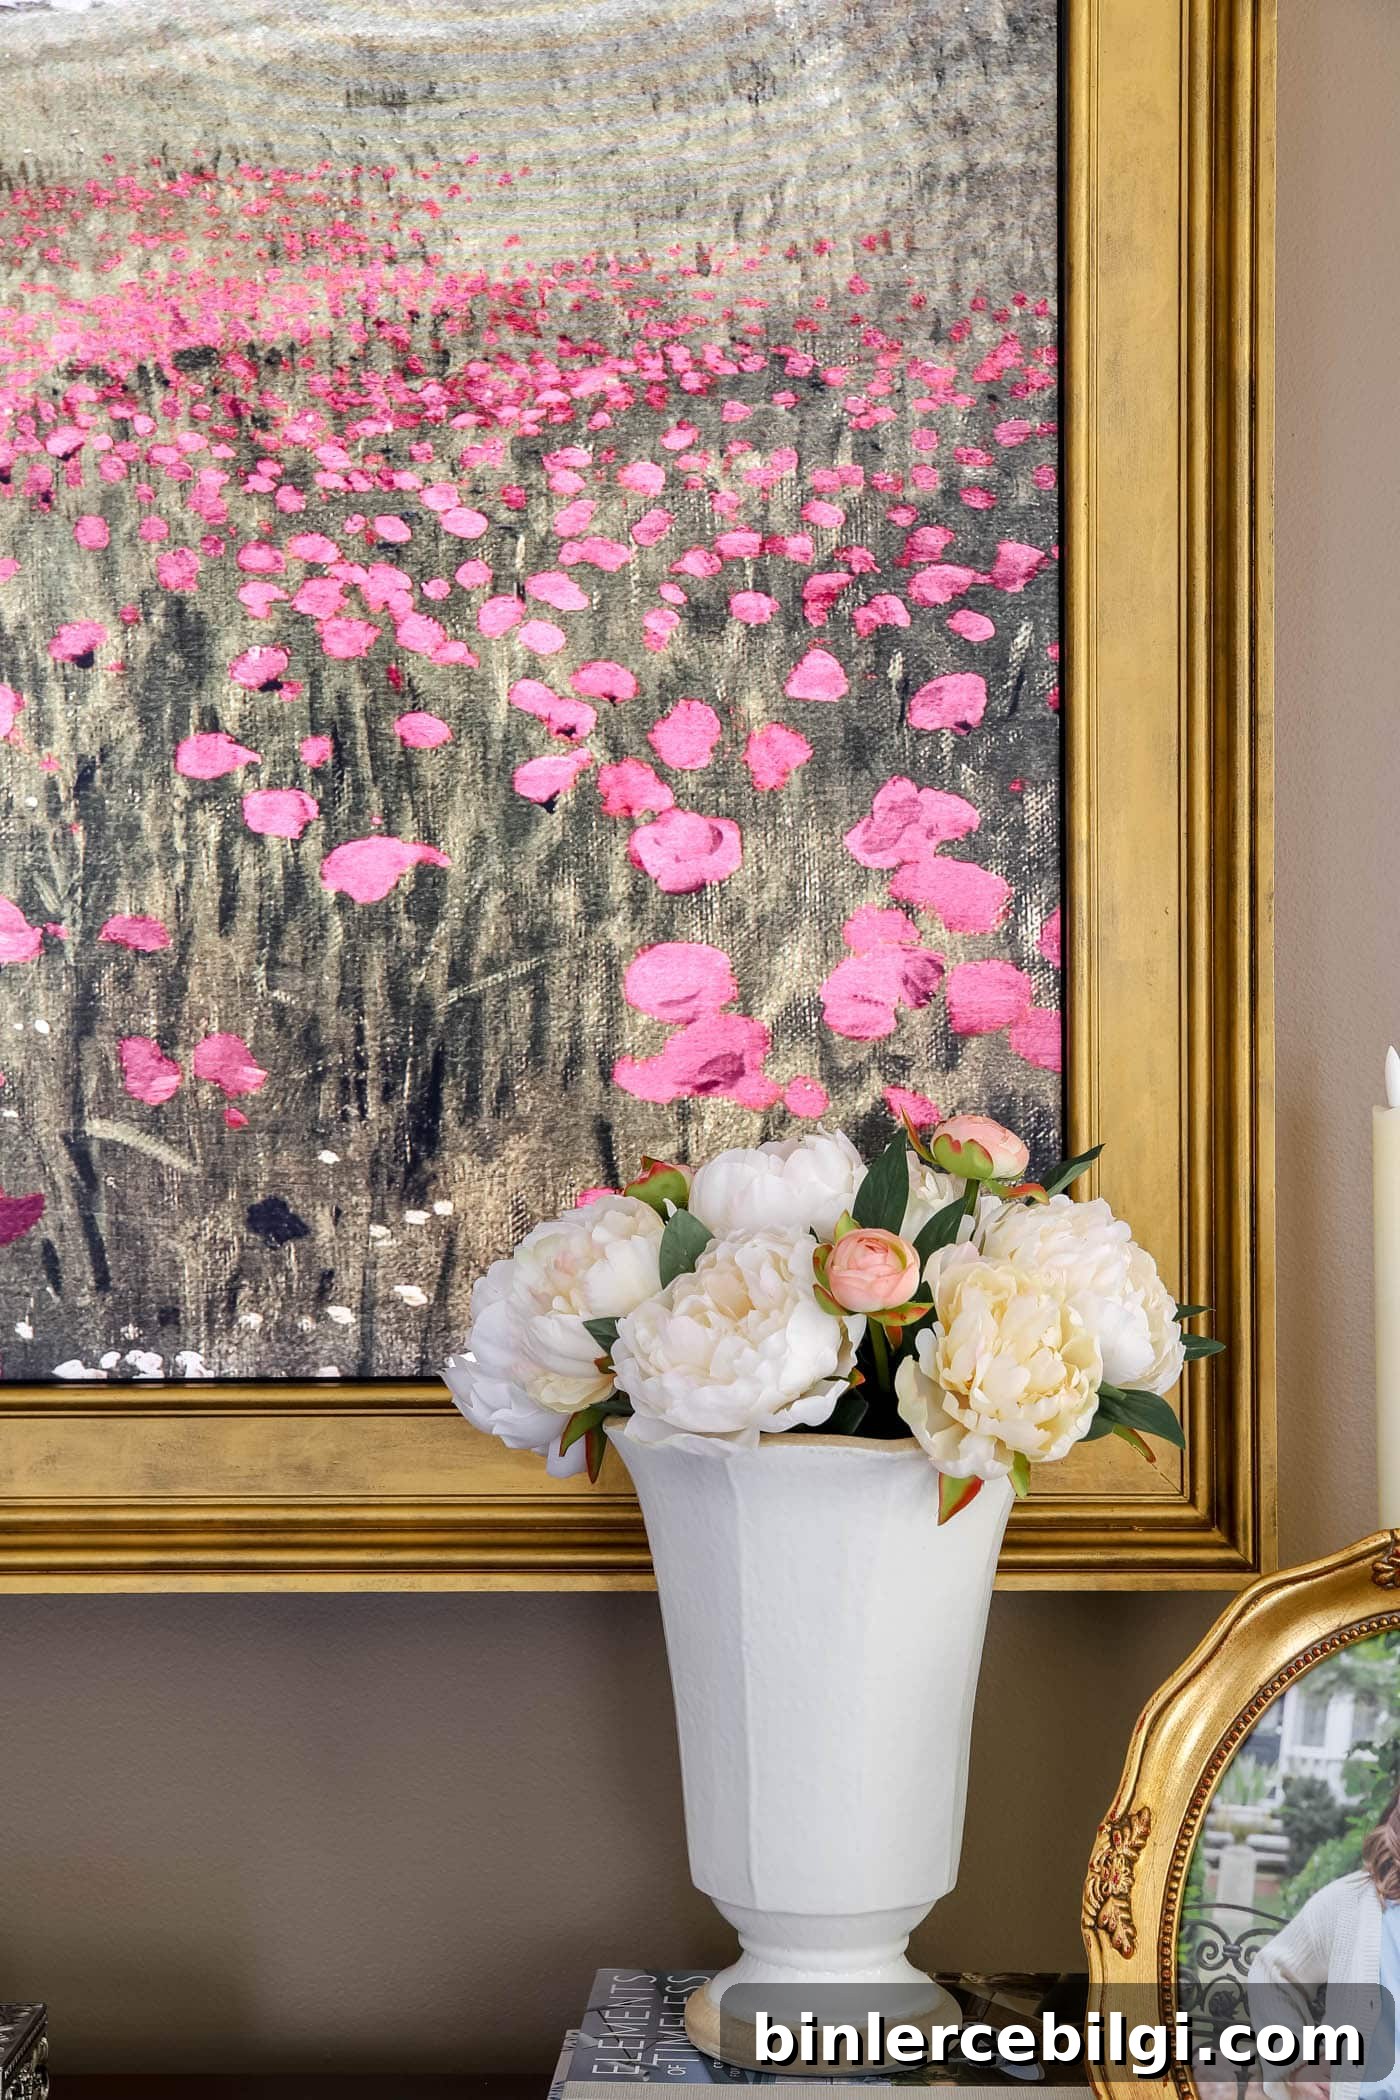
I had already built a simpler DIY frame for our living room TV, but for the bedroom I wanted something more ornate and elevated—an embellished frame that feels collected, cozy and a touch glam-traditional. Designer frames can cost $500 or more, so I designed a method to replicate that look for a fraction of the cost: roughly $100–150 when you already have basic tools.
This tutorial covers everything: accurate measuring, building two layered base frames, adding decorative casing, cutting a notch for sensors, finishing, and attaching the frame to your TV. The result reads like custom framed art without the luxury price tag.

Want to Save This?
Enter your email below and I’ll send the tutorial directly to your inbox!
This post contains affiliate links for your convenience. See my full disclosure policy.
What to Expect
This custom Frame TV frame is a beginner-to-intermediate DIY you can complete in a weekend. It requires basic woodworking skills—measuring, cutting miters, gluing, nailing, sanding and painting—but no advanced joinery. The project saves significant money compared to commercial ornate frames and gives you full control over style, scale and finish.
Although the finished frame looks ornate and high-end, the method is straightforward when followed step-by-step. Read through the full guide first so you understand how the two base frames and the front decorative trim fit together and how to accommodate any TV sensors.
Supplies Needed for a Custom Frame TV Frame
Below are the primary materials I used. The decorative effect comes from layering a substantial casing board over a simple structural frame built from 1x2s.
Lumber and Trim:
- 4 — 1 x 2 x 8 boards — for the inner and outer base frames that attach around the TV.
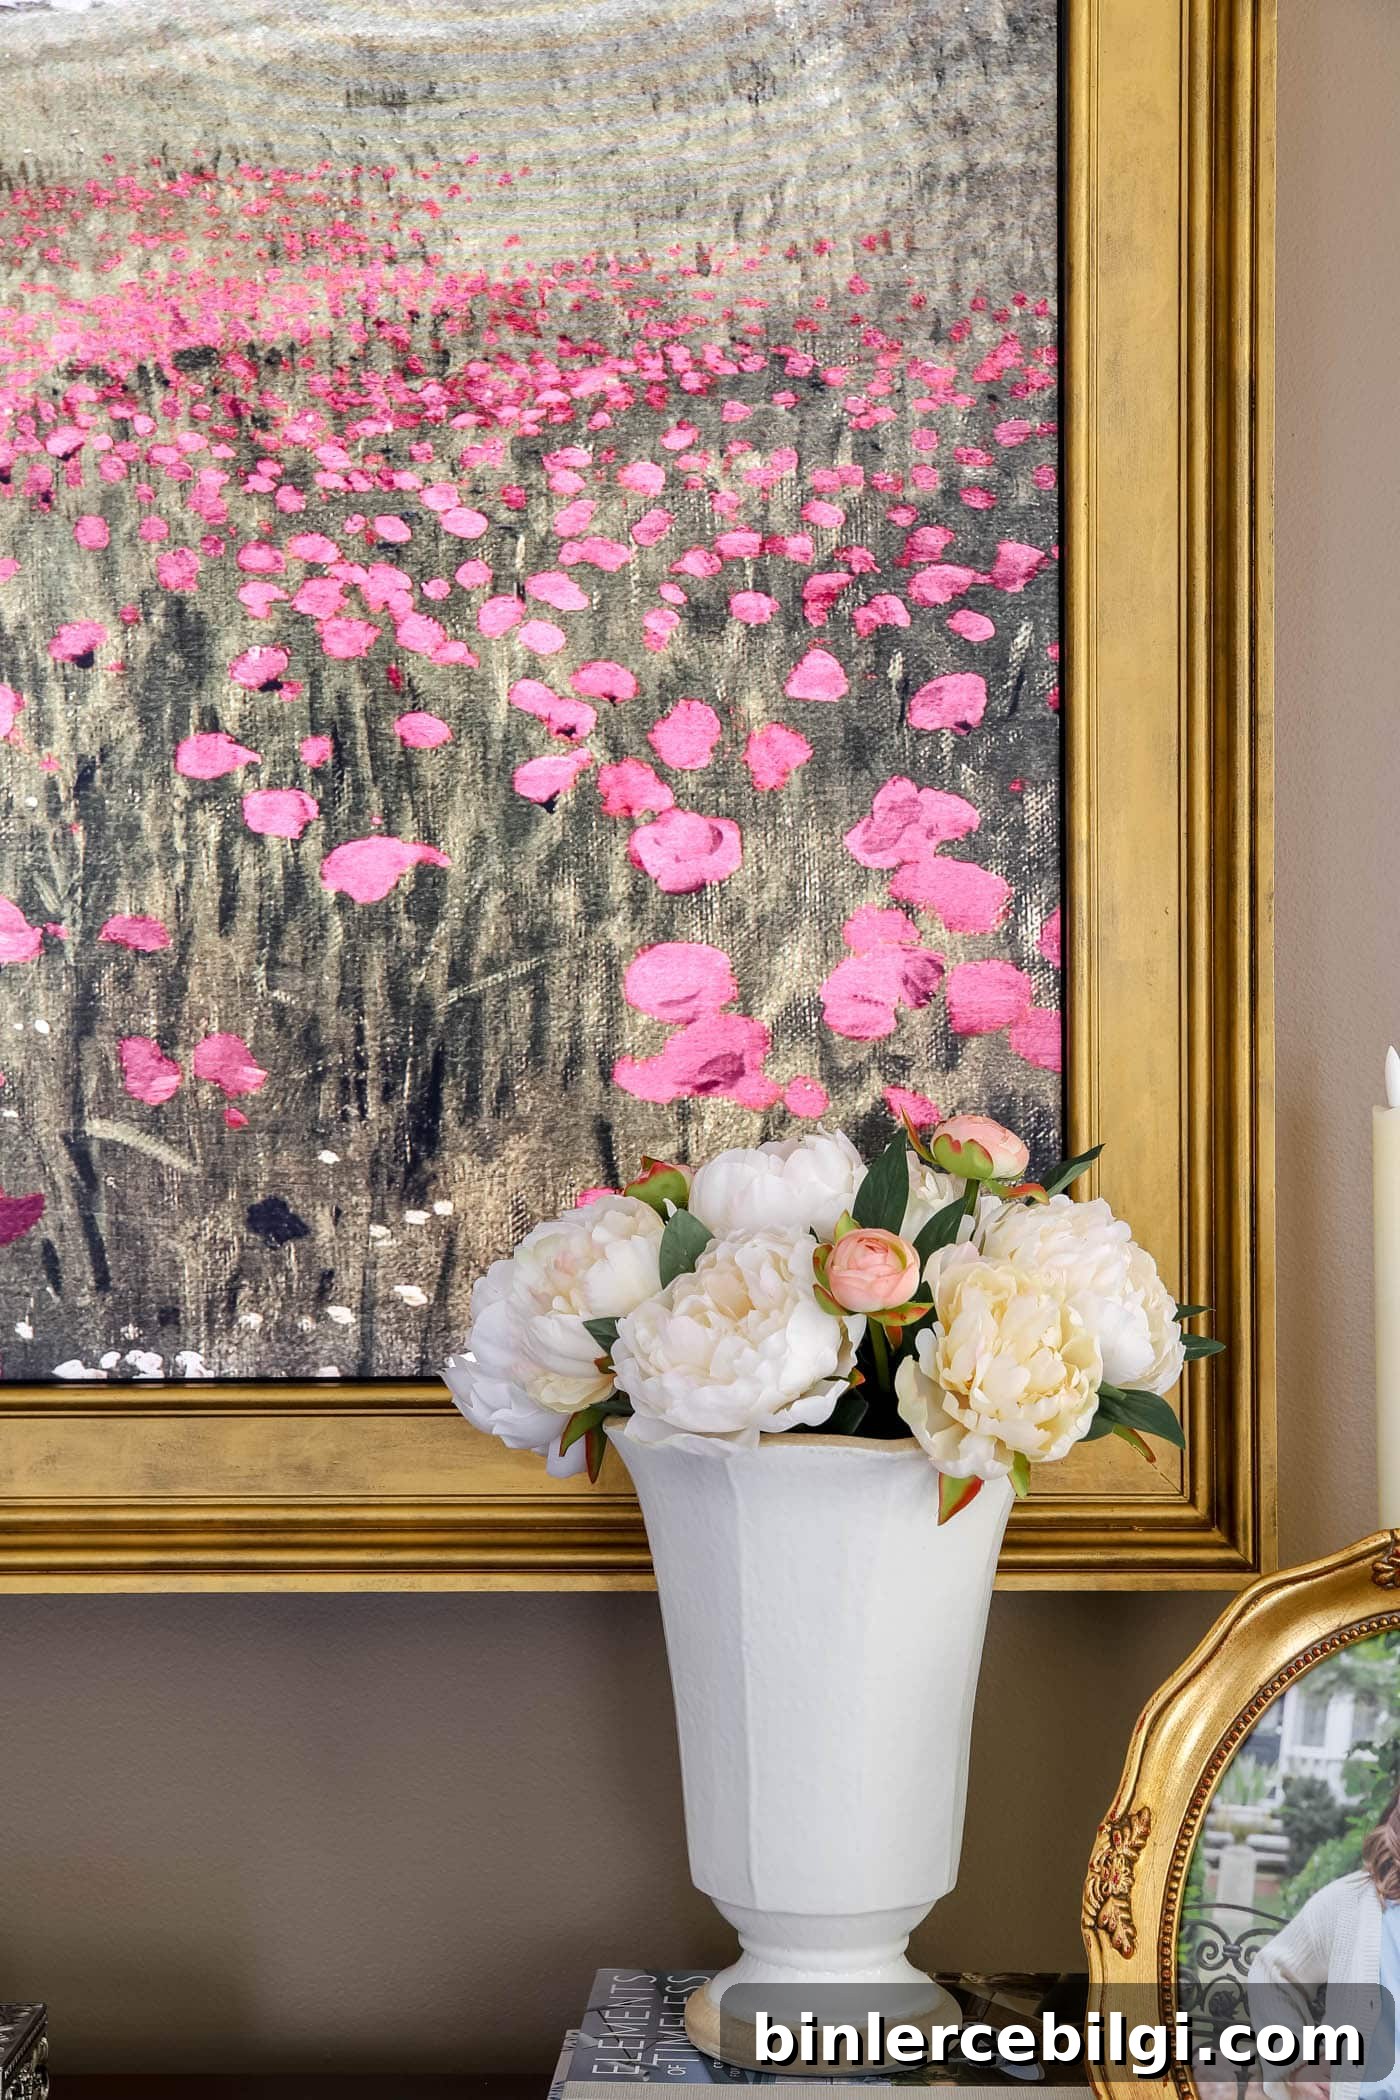
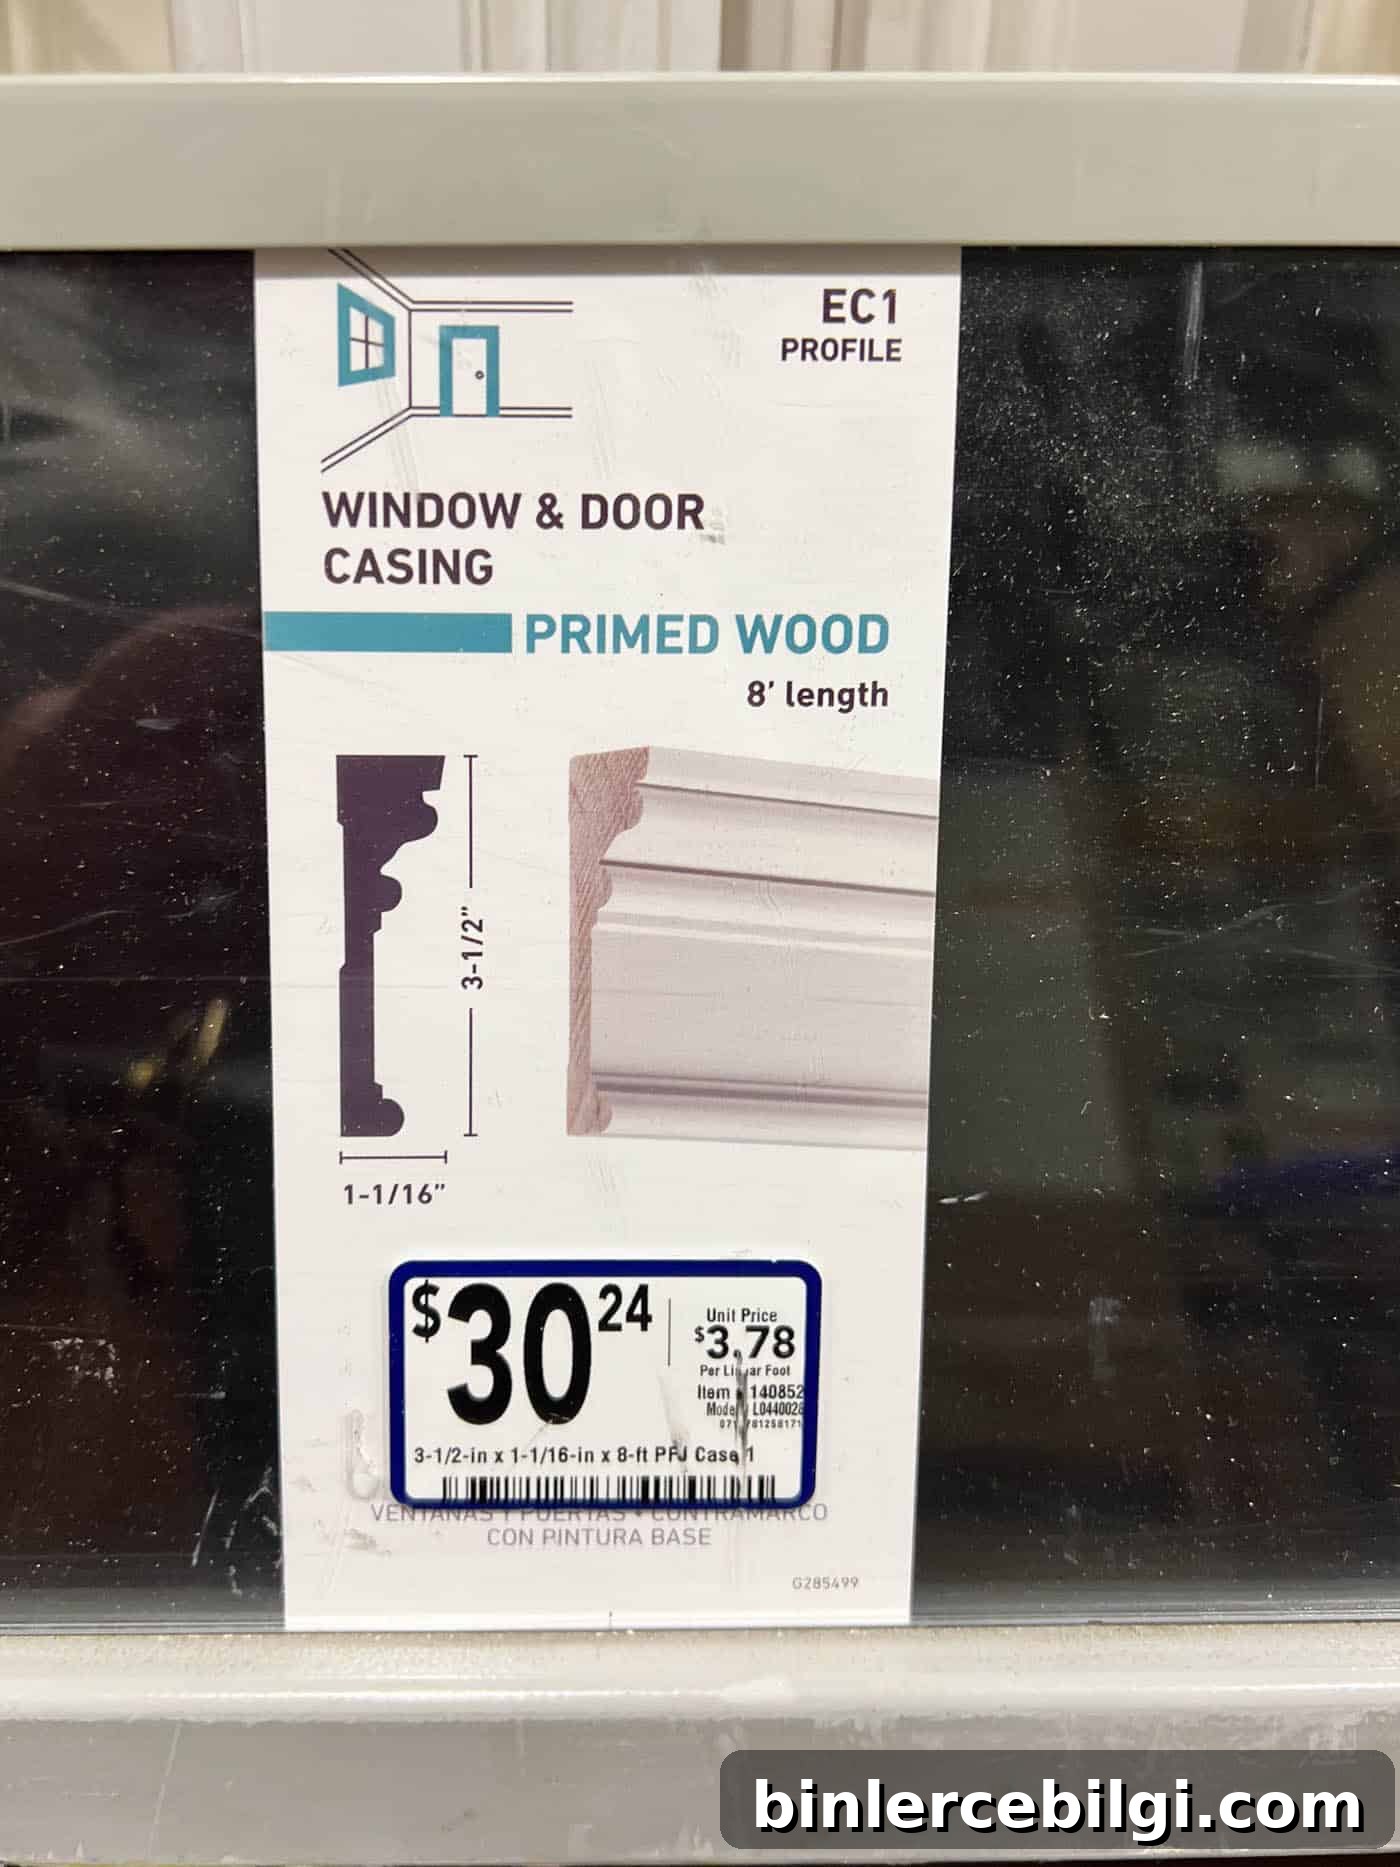
- 2 — 1-1/16″ x 3-1/2″ x 8′ casing boards — decorative front trim that gives the frame an ornate profile.
Building Supplies:
- Wood glue
- Wood filler
- 1½-inch brad nails
- 2-inch brad nails
Finishing Supplies:
- Matte spray paint in a dark color (used as a base)
- Metallic finish product such as Rub ’n Buff for an antique gold look
Tools Needed
These common power tools make the work faster and more accurate, though a circular saw can substitute for a miter saw if needed.
- Miter saw (or circular saw for angled cuts)
- Circular saw
- Brad nailer
- Clamps
- Corner clamps (recommended)
Read the full tutorial before buying materials so you know exactly what measurements and tools fit your TV and wall setup.
Step-by-Step Tutorial for a Decorative Frame TV Frame
Step 1. Measure Your TV
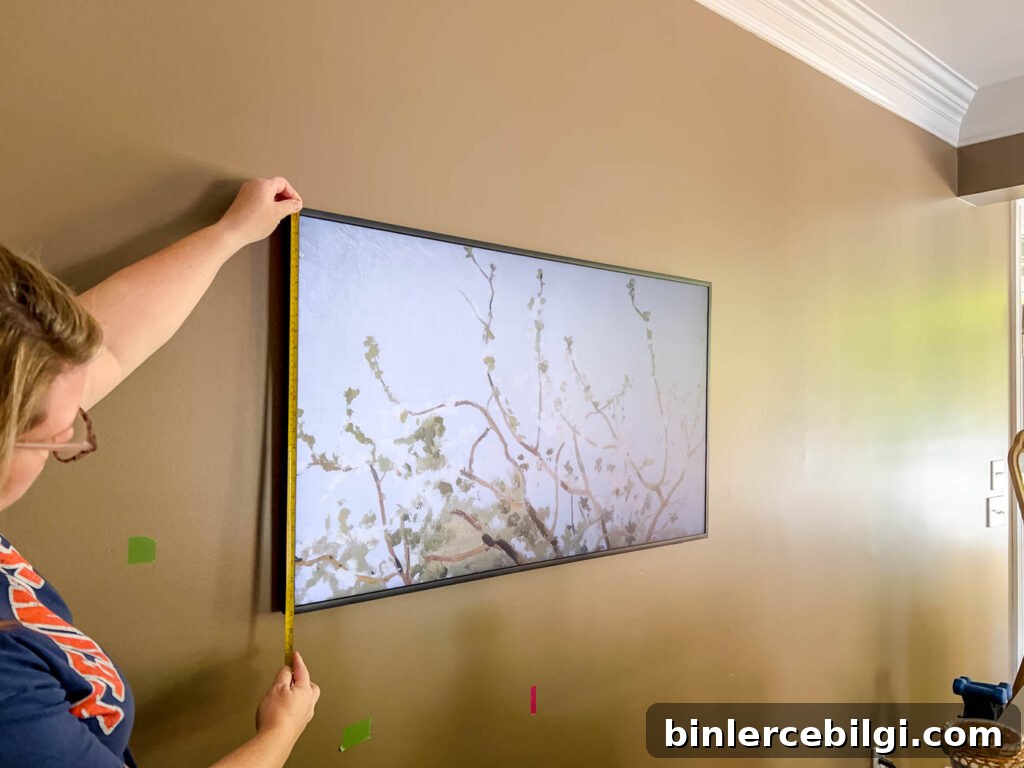
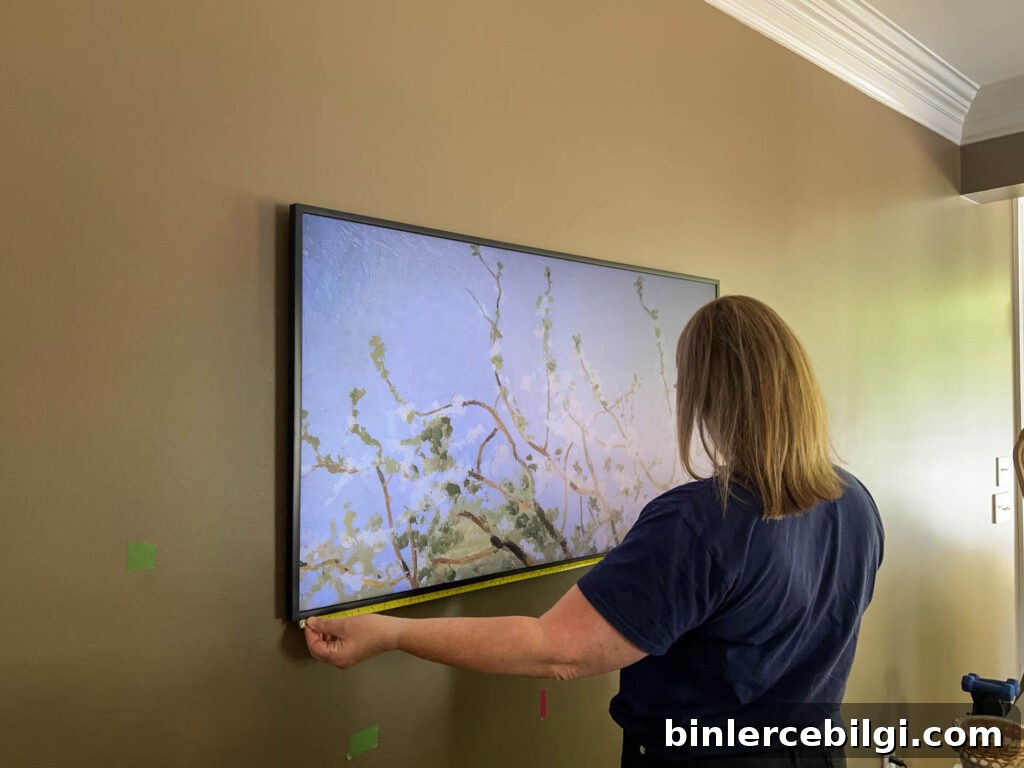
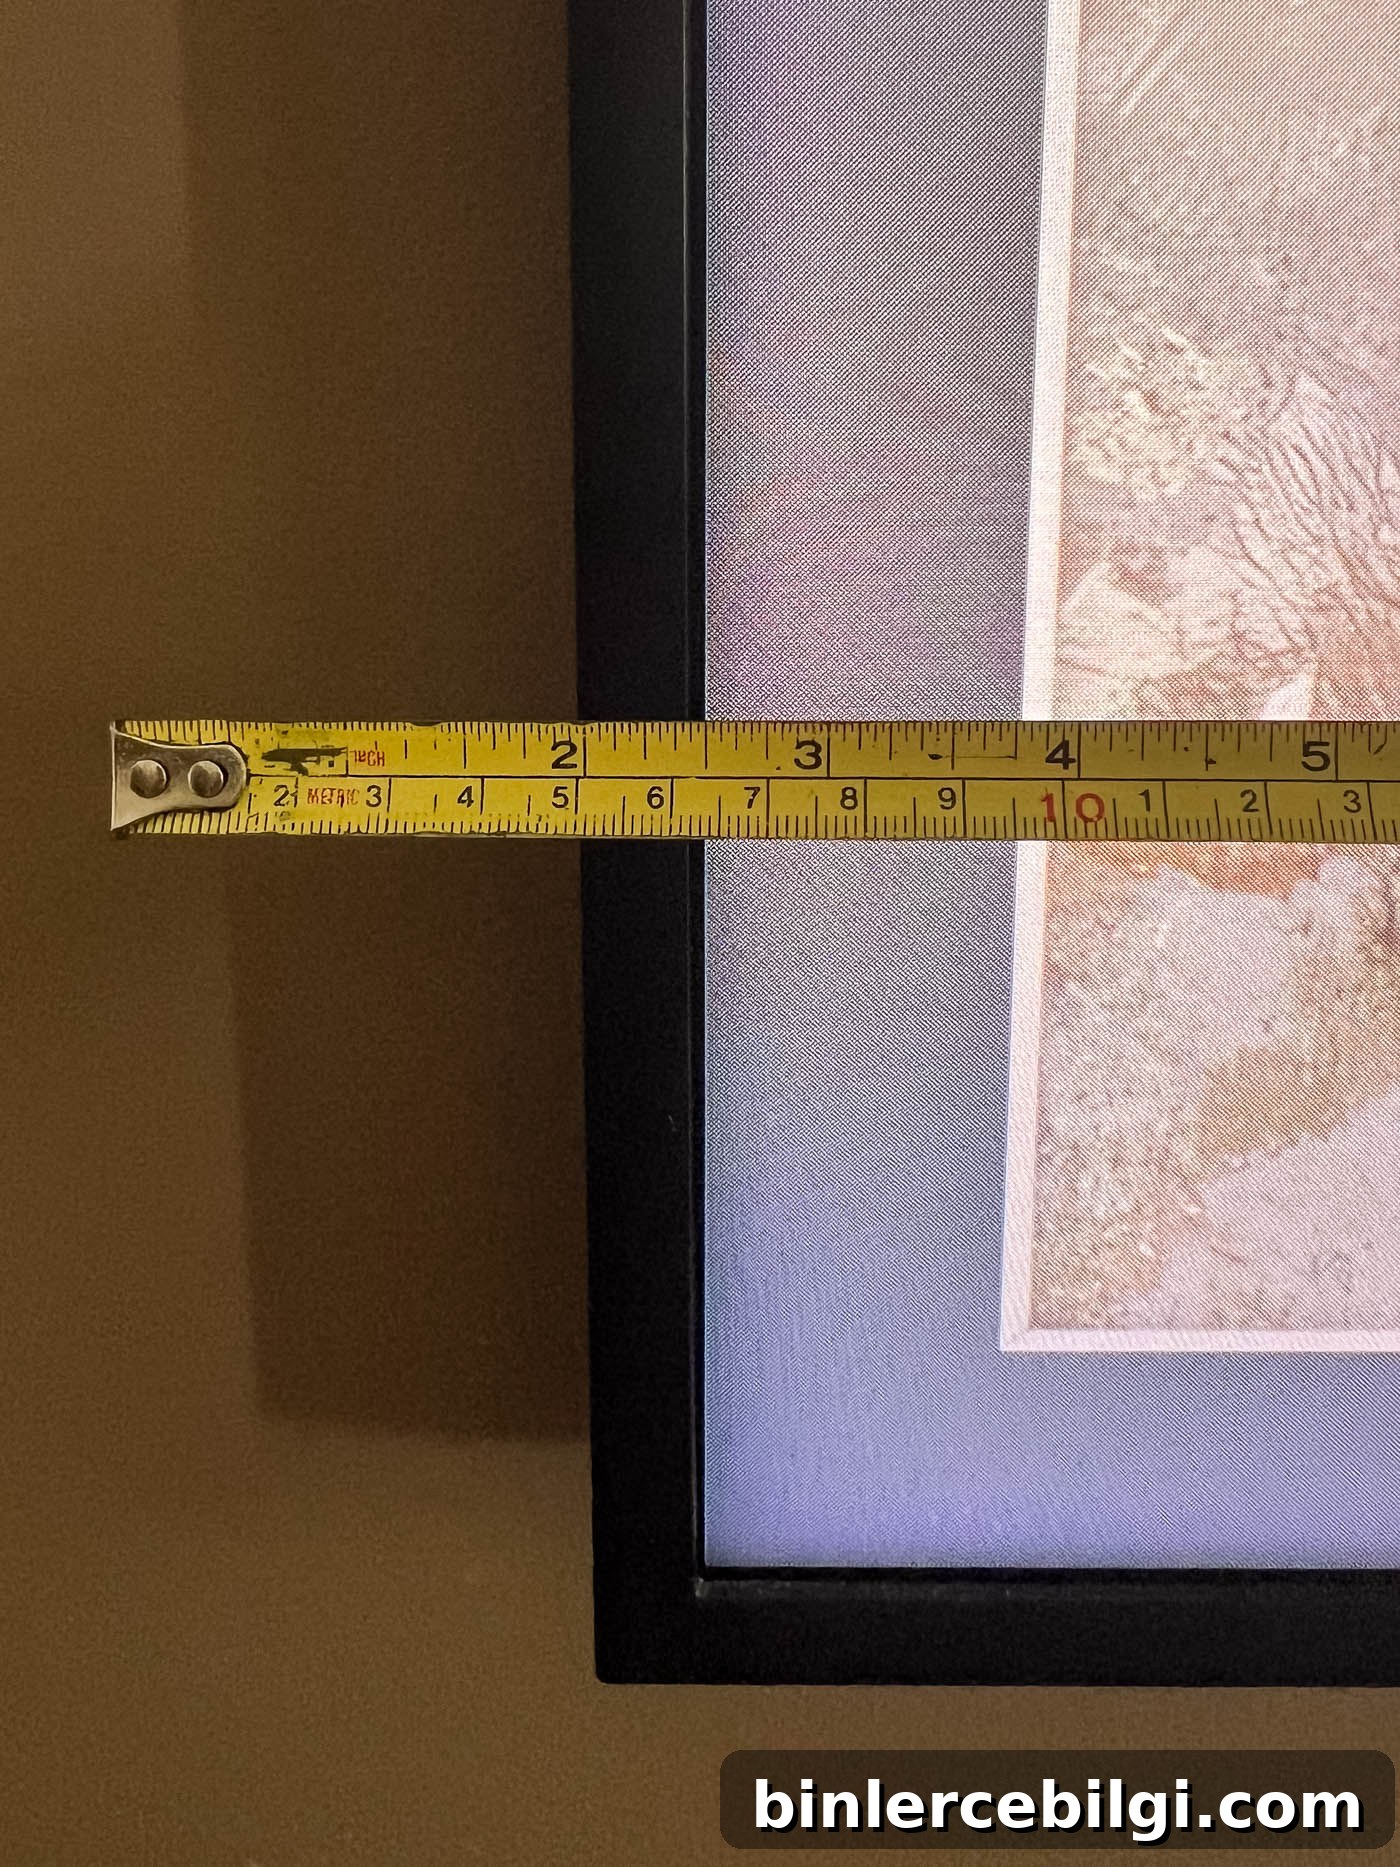
Carefully measure the visible front surface of your Frame TV and the outer edges. I recommend adding about 1/8″ to each inside dimension so the frame slides on and off easily without scraping the TV. Make note of any sensors or protrusions around the bezel; you’ll need to allow space or later cut a small notch so sensors still function.
Step 2. Build the Inside Base Frame
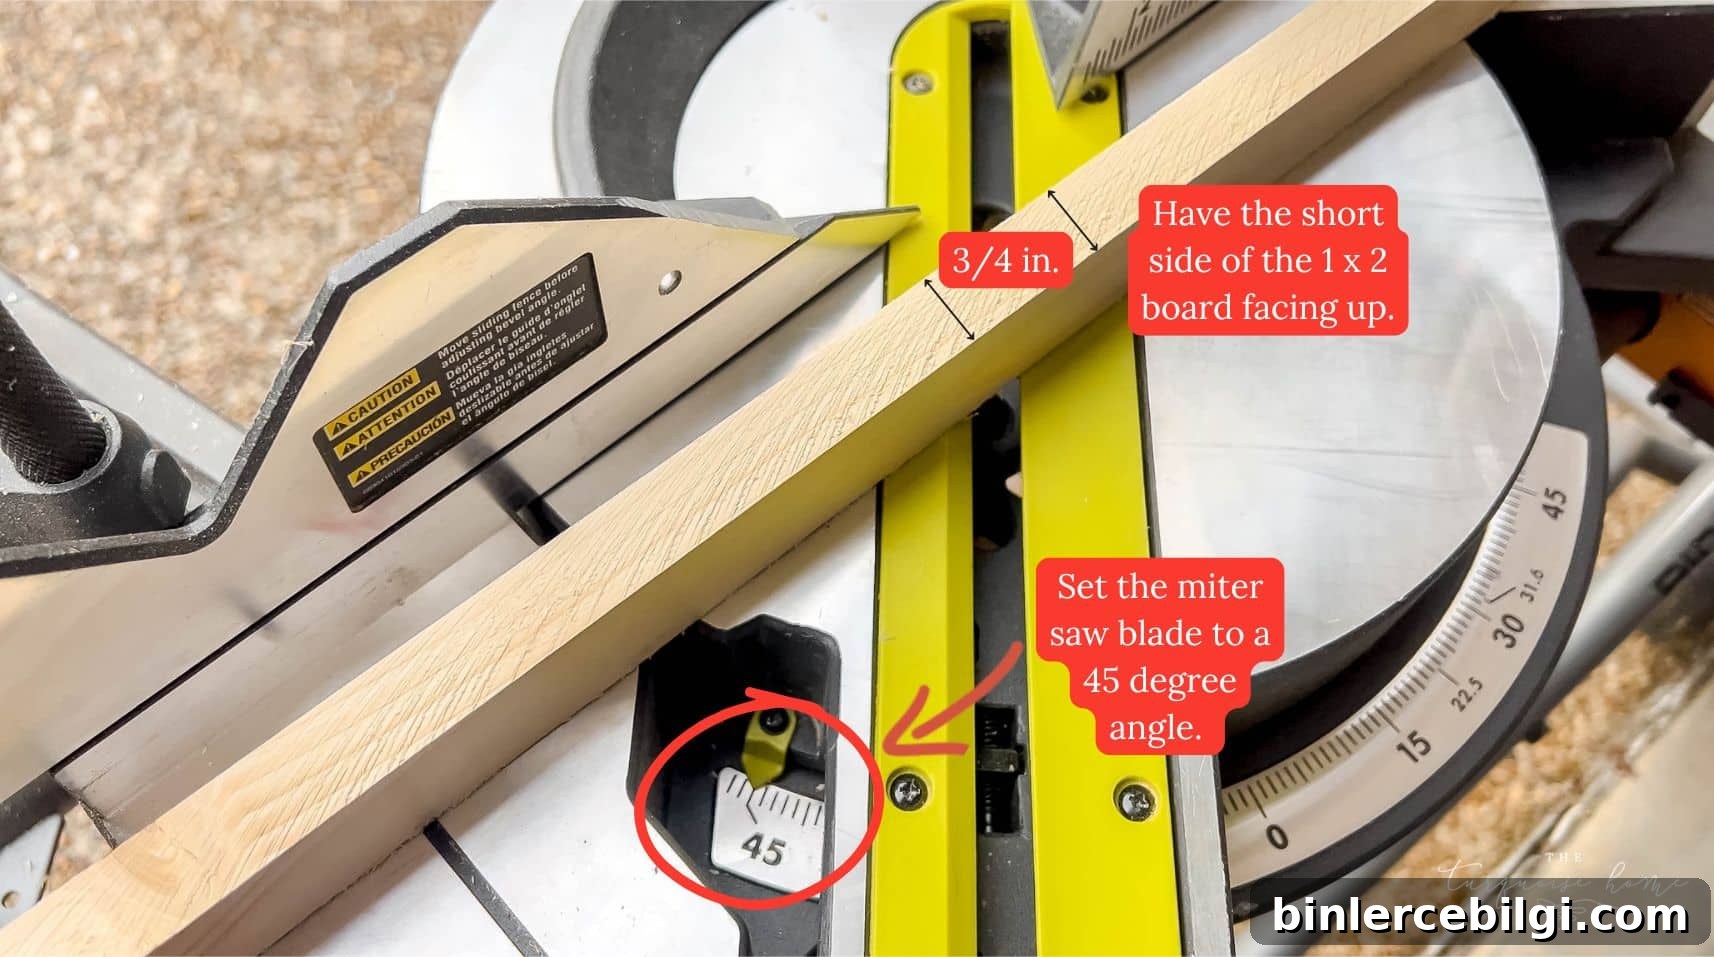
Cut the 1 x 2 boards to the inside dimensions with 45-degree mitered corners to form the inner base frame that will sit closest to the TV. The longer side of the board should face the TV for a slimmer profile. Glue and clamp the corners, then reinforce with brad nails after the glue dries. Test-fit the frame on the TV and adjust if needed.
Step 3. Add Decorative Trim Molding
Select a casing profile that matches your decor—I chose a traditional, flat-edged casing about 3½” wide for a substantial, gallery-style effect. Measure the visible front trim area you want to cover; your decorative trim frame should be slightly smaller than the 1 x 2 base so it overlaps the base and the TV edge for a seamless look. Cut the trim with 45-degree miters, glue the corners and secure with brad nails.
Measure the Inside TV Frame for Your Decorative Trim
Use the visible bezel area of your TV (the portion you want framed) to determine the inside dimensions for the decorative trim. Double-check parallel pieces for equal length to keep the frame square. Assemble, glue and brad nail the decorative trim frame on a flat surface.
Step 4. Attach the Base Frame to the Decorative Frame
Glue and clamp the 1 x 2 inner base frame to the decorative front trim so the decorative trim overlaps the front by about ½”. Once dry, add 1½” brad nails through the front trim into the base frame to lock the pieces together. Fill nail holes and seams later for a seamless finish.
Step 5. Build the Outside Frame Base
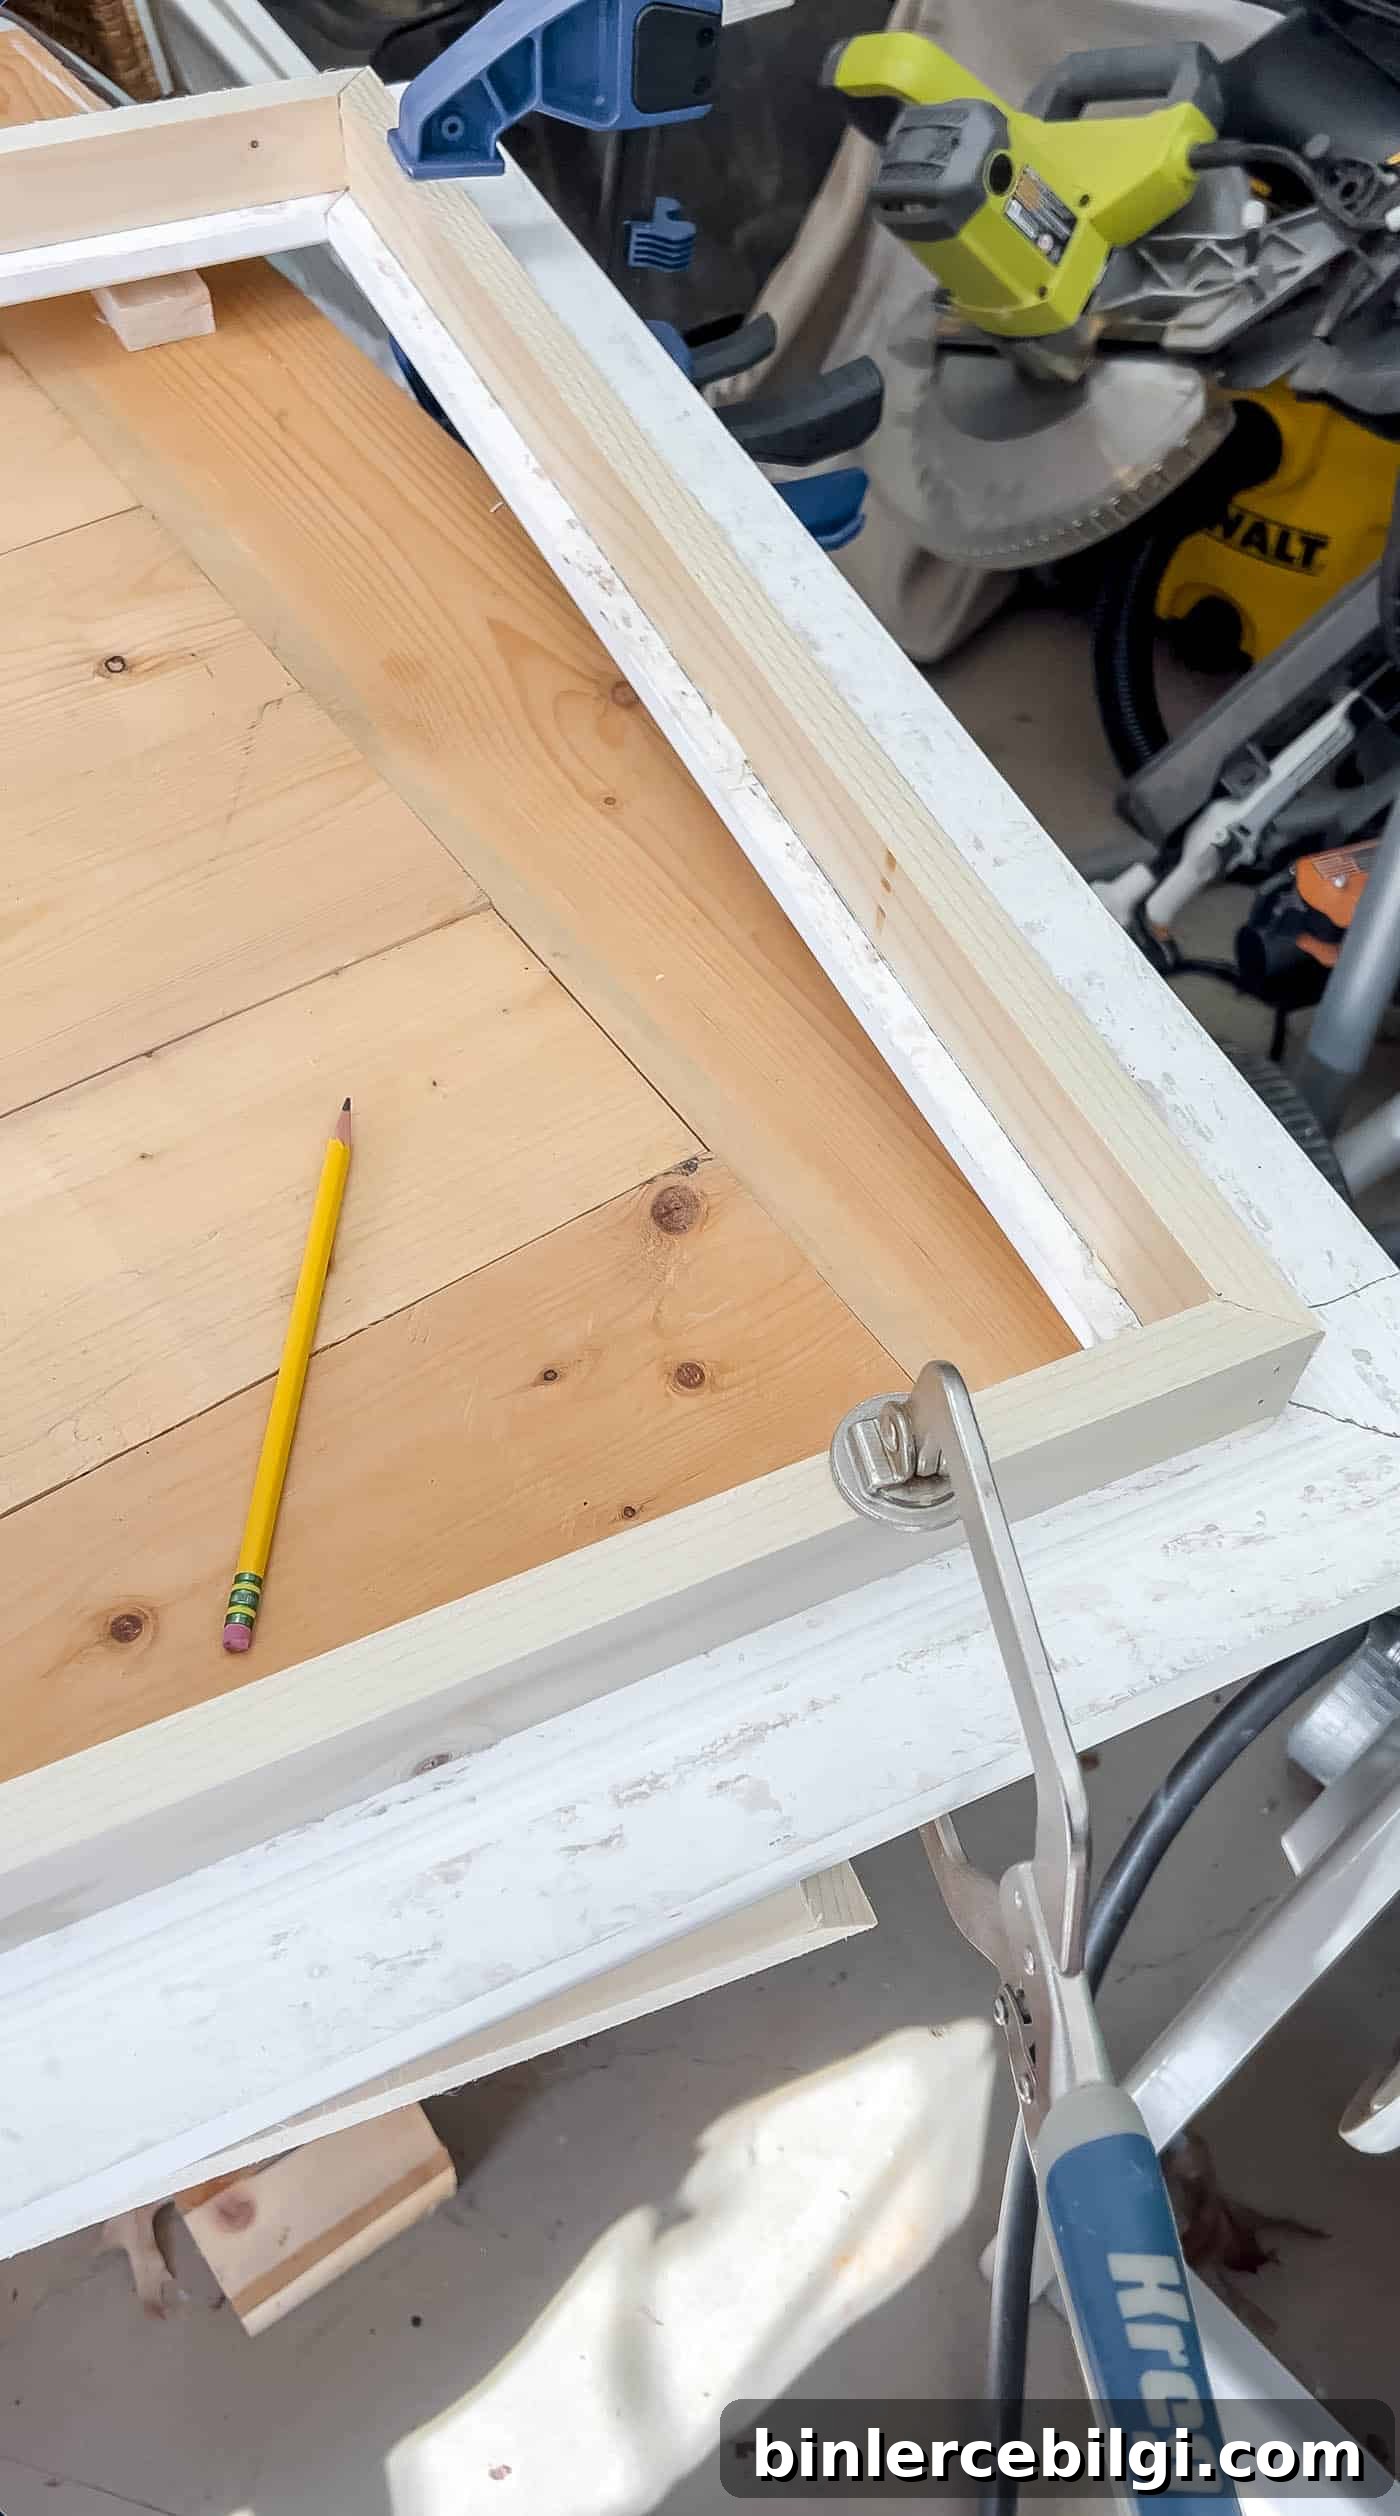
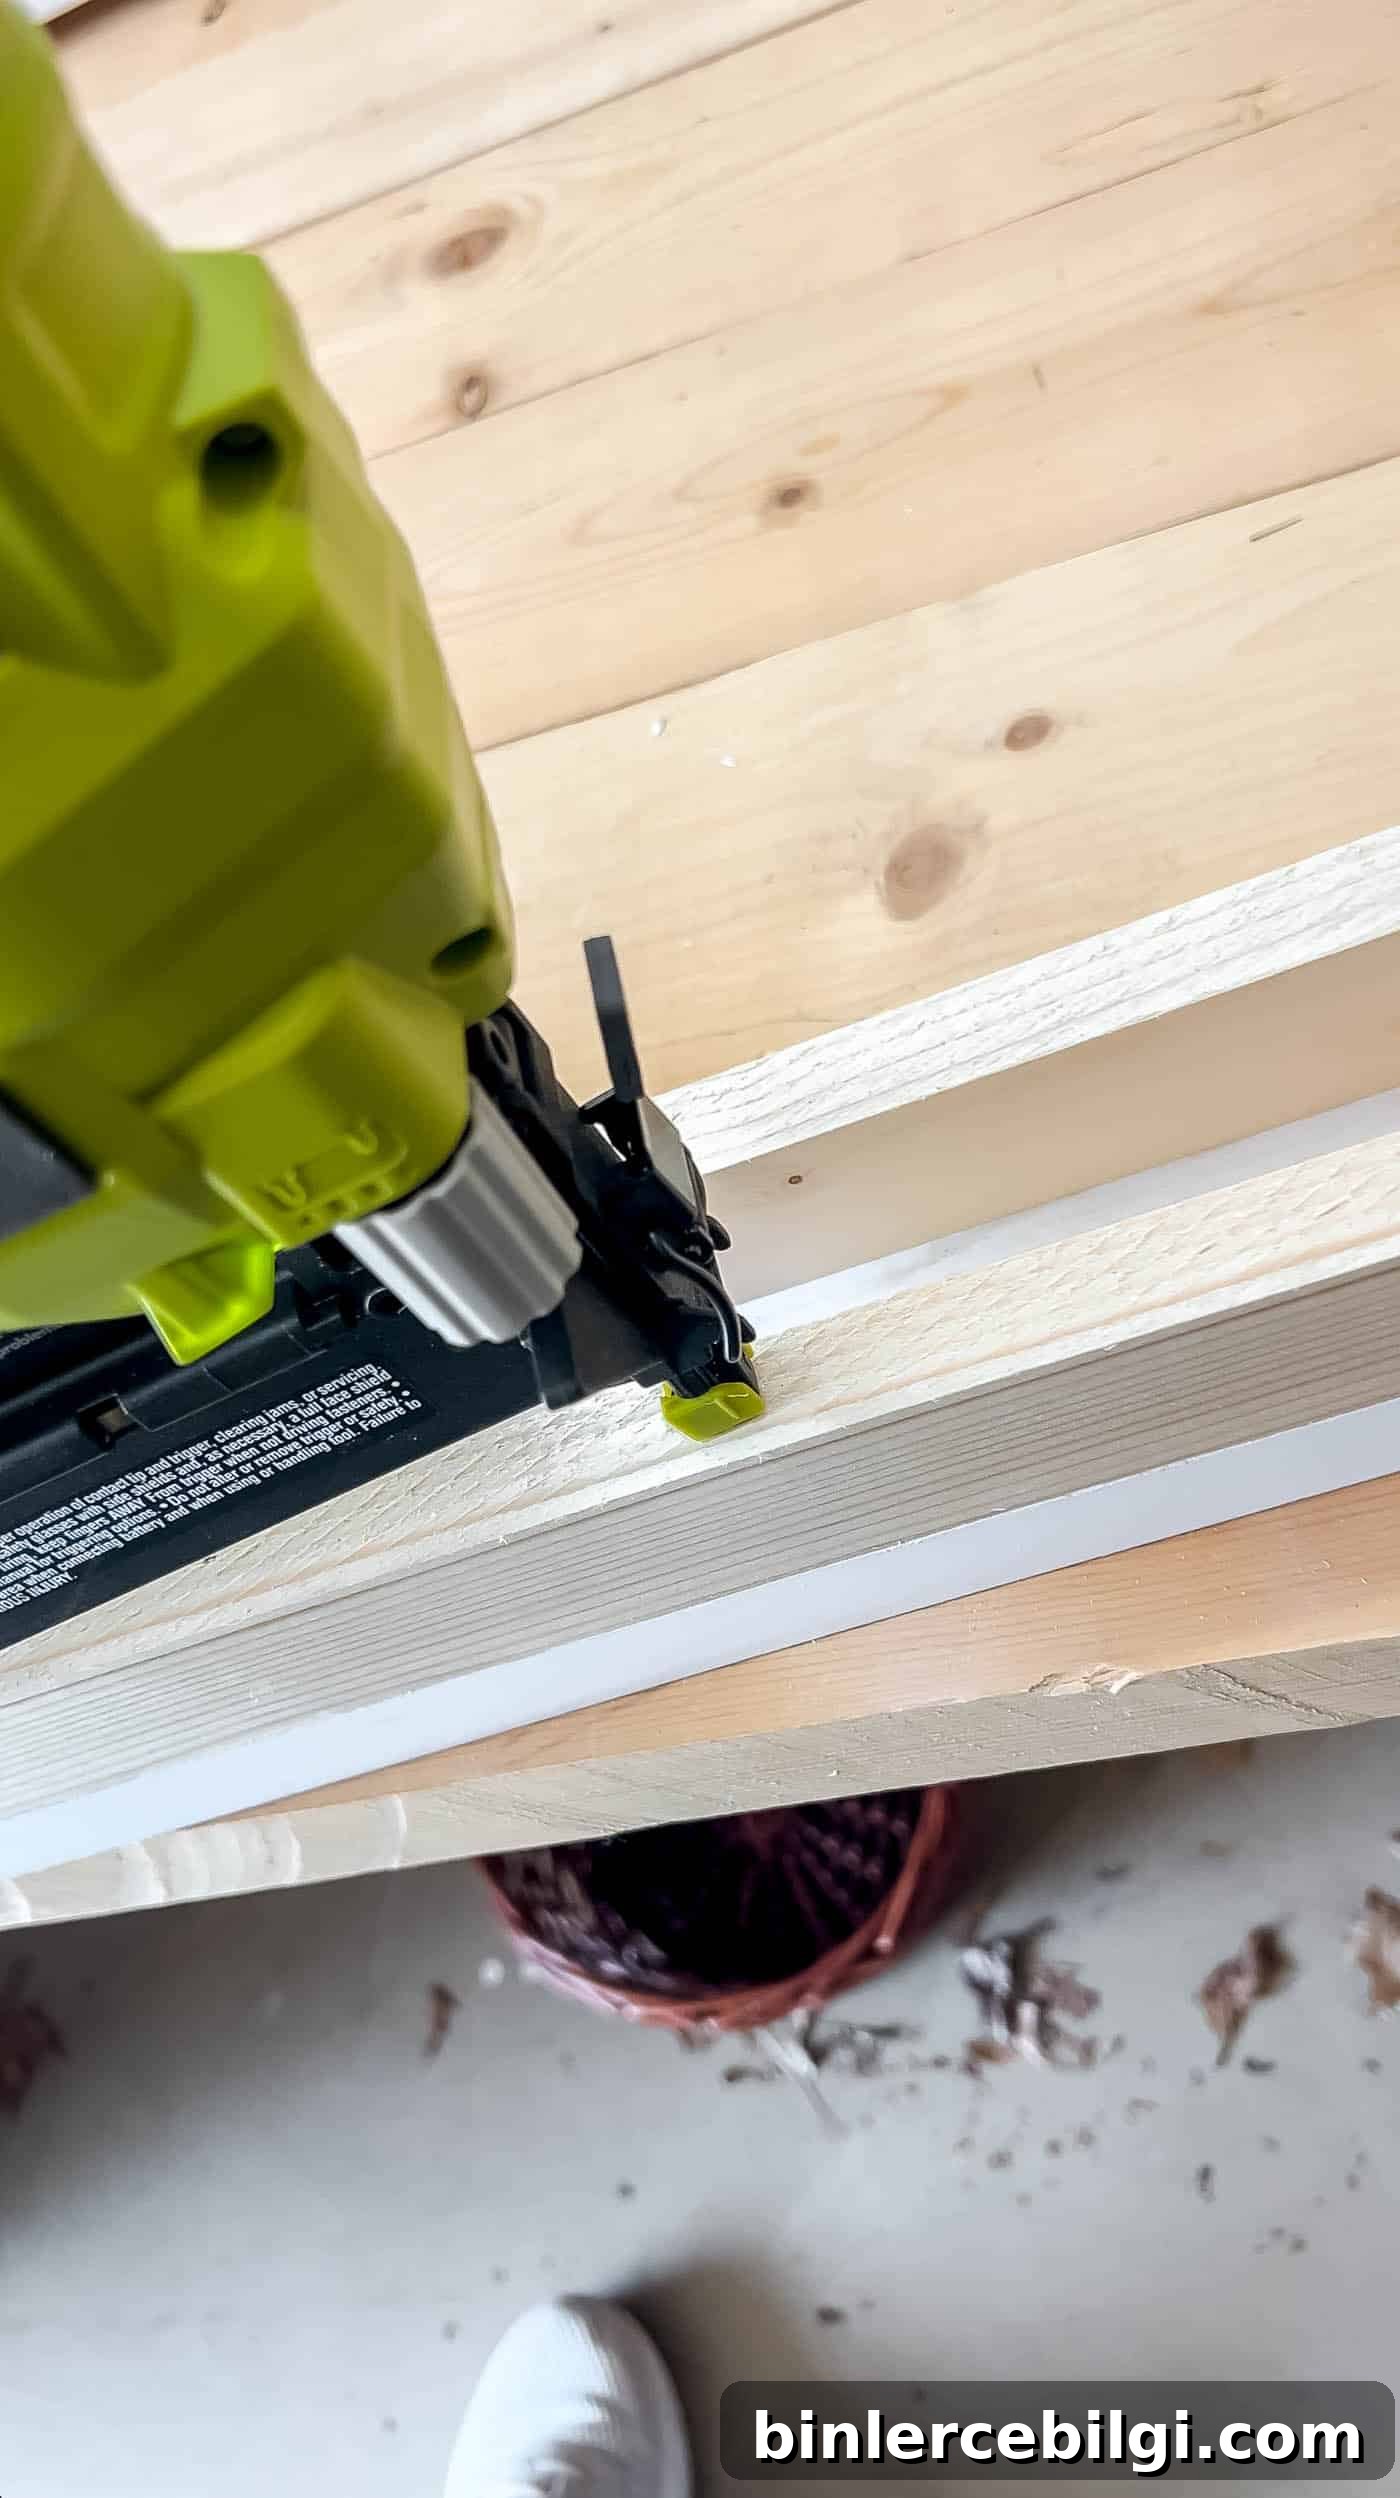
Measure the outside dimensions of the decorative frame and cut a second 1 x 2 frame to match. This outer base sits behind the outer edge of the trim and adds depth and rigidity. Glue, clamp and reinforce corners with brad nails. Add 2″ brad nails from the back through the outer base into the decorative frame for a strong bond.
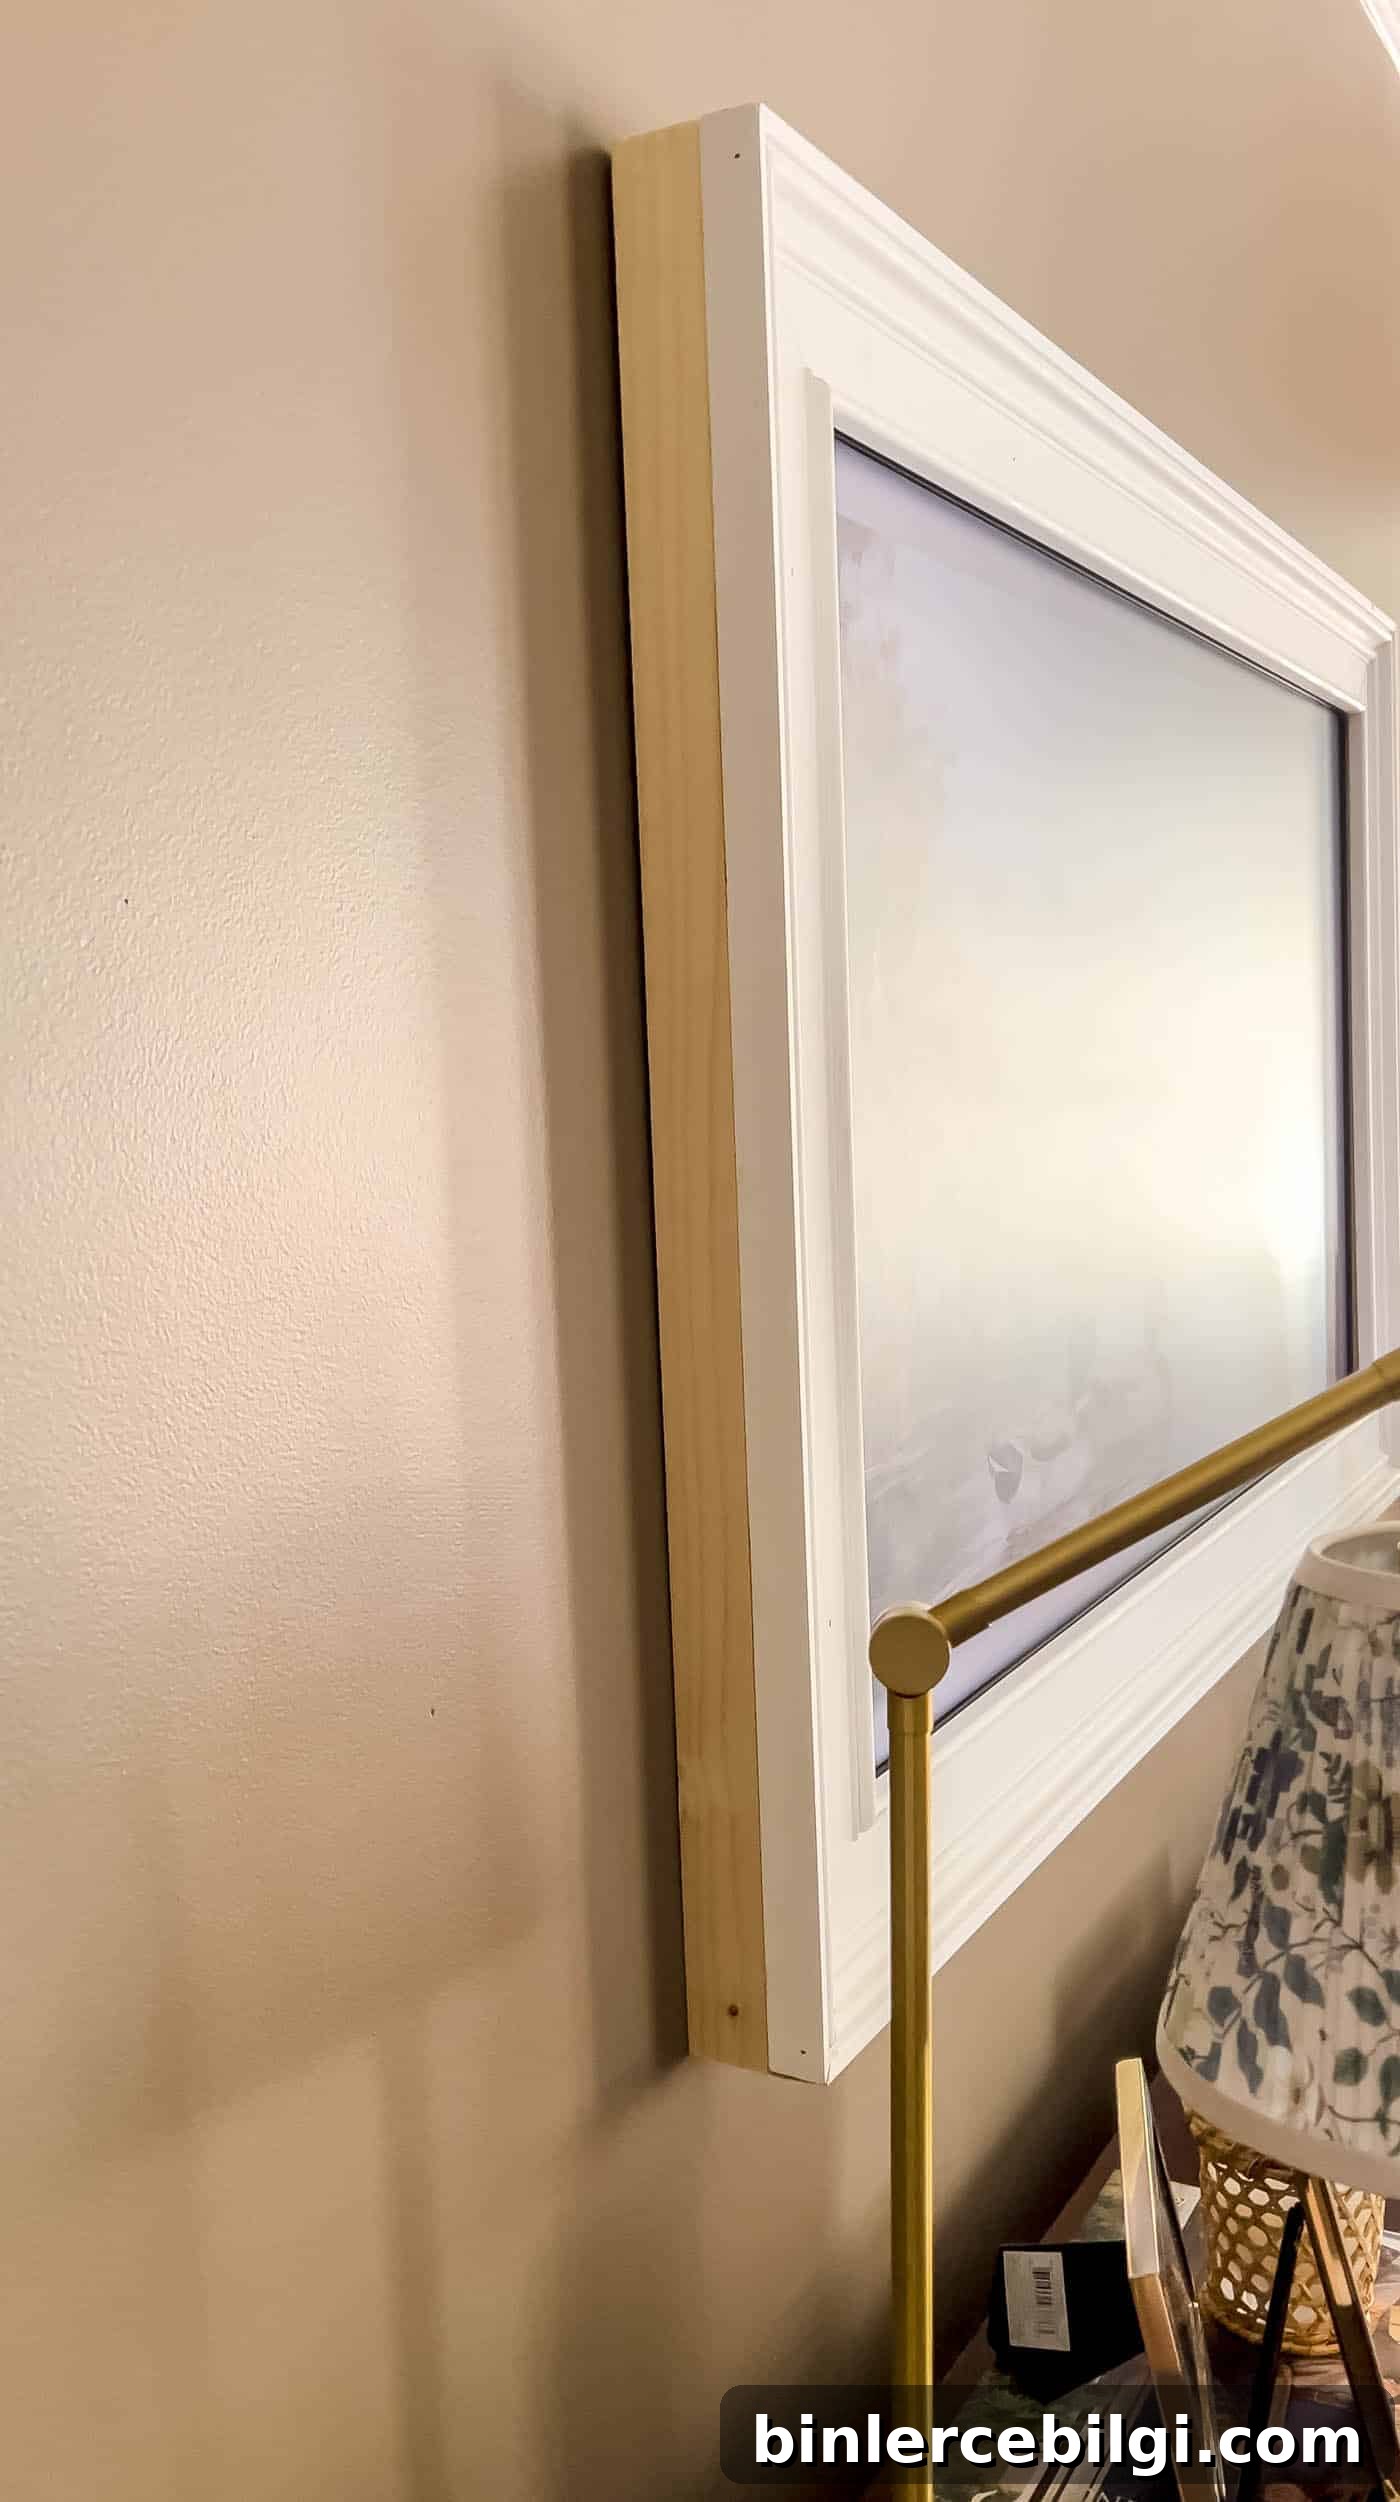
Test the complete frame on the TV again to confirm fit and that the frame still slides on and off easily. Inspect the back to ensure layers align and fasteners are secure.
Step 6. Cut a Notch for the Sensor
Locate the TV’s light or remote sensor and mark where the frame interferes. Carefully cut a small notch in the inner frame using a circular saw or chisel, then clean and sand the cut area. The notch doesn’t need to be perfect visually since it sits behind the TV, but it should be large enough for the sensor to function normally.
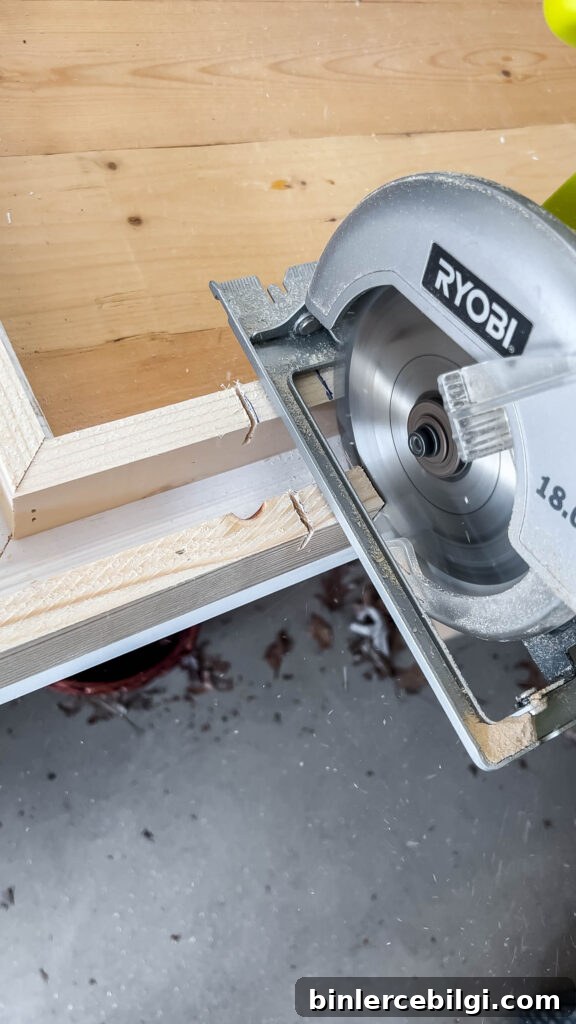
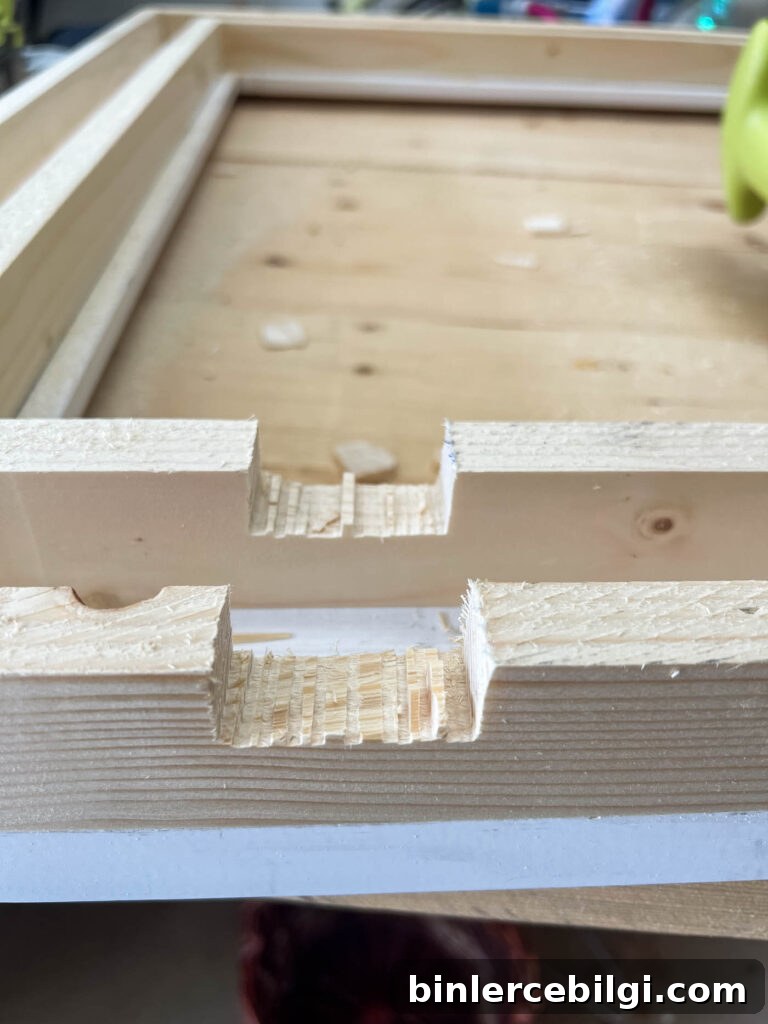
Step 7. Fill, Sand, and Prep
Fill nail holes, seams and small gaps with wood filler. Once dry, sand flat using an electric sander for flat areas and hand sandpaper for detailed grooves. Wipe the frame with a tack cloth or damp rag to remove dust before painting for the smoothest finish.
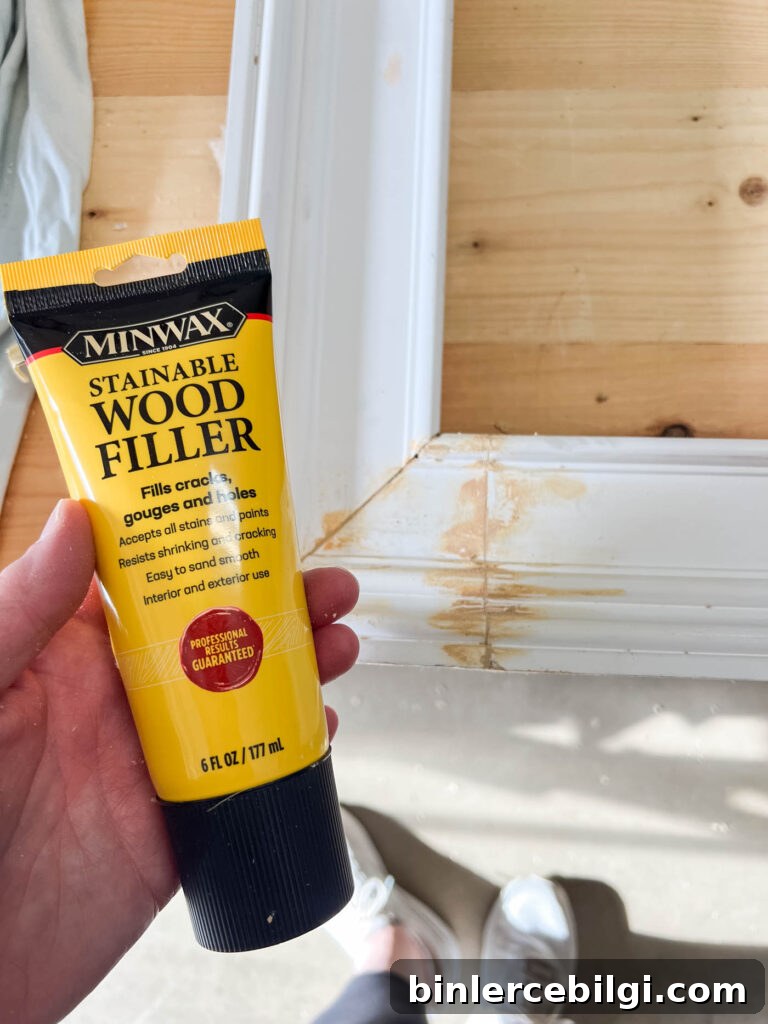
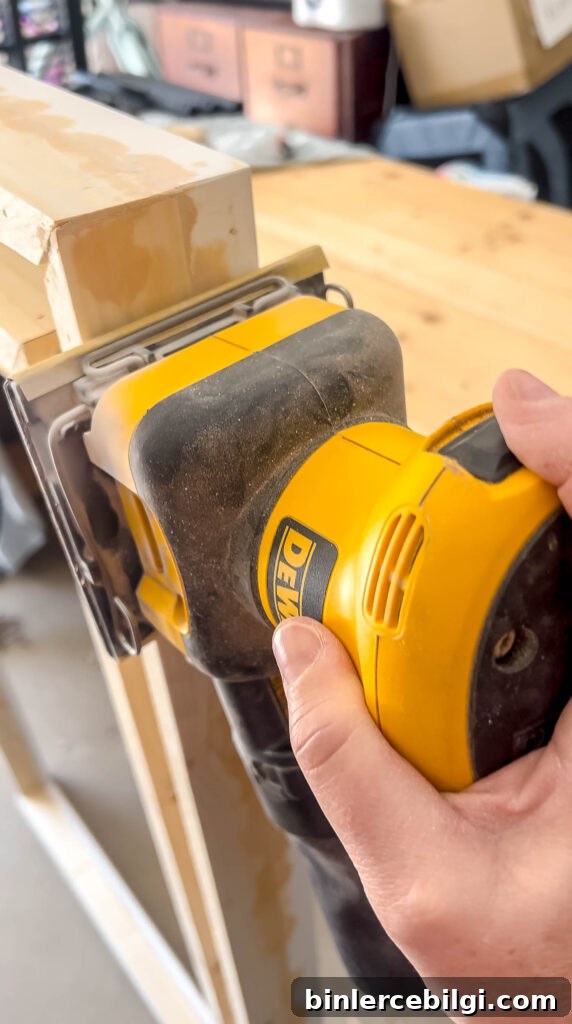
Step 8. Paint or Stain
Choose paint or stain depending on your trim material and desired finish. I used a deep matte spray paint as a dark base coat for depth, then applied a metallic antique gold finish (Rub ’n Buff) with a small brush to highlight grooves and create a vintage look. If you prefer wood grain, stain raw wood trim instead.

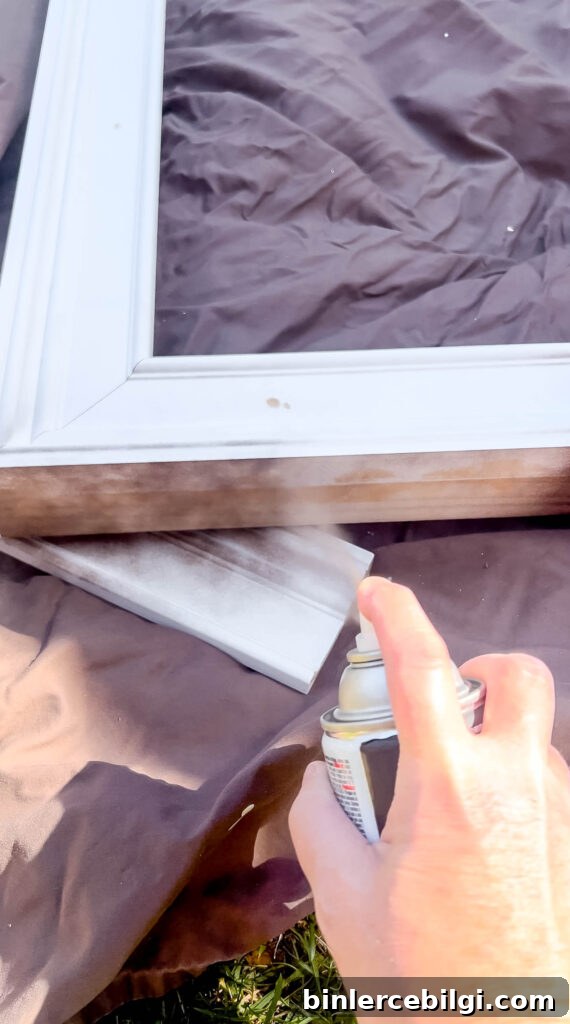
Step 9. Attach Frame to TV
Because the frame is built to sit snugly, I simply placed it onto the TV and let it rest. If you prefer more security, low-profile adhesive strips or small fasteners behind the frame can provide extra hold without permanent modification. The frame should be easy to remove for adjustments or if you change artwork.
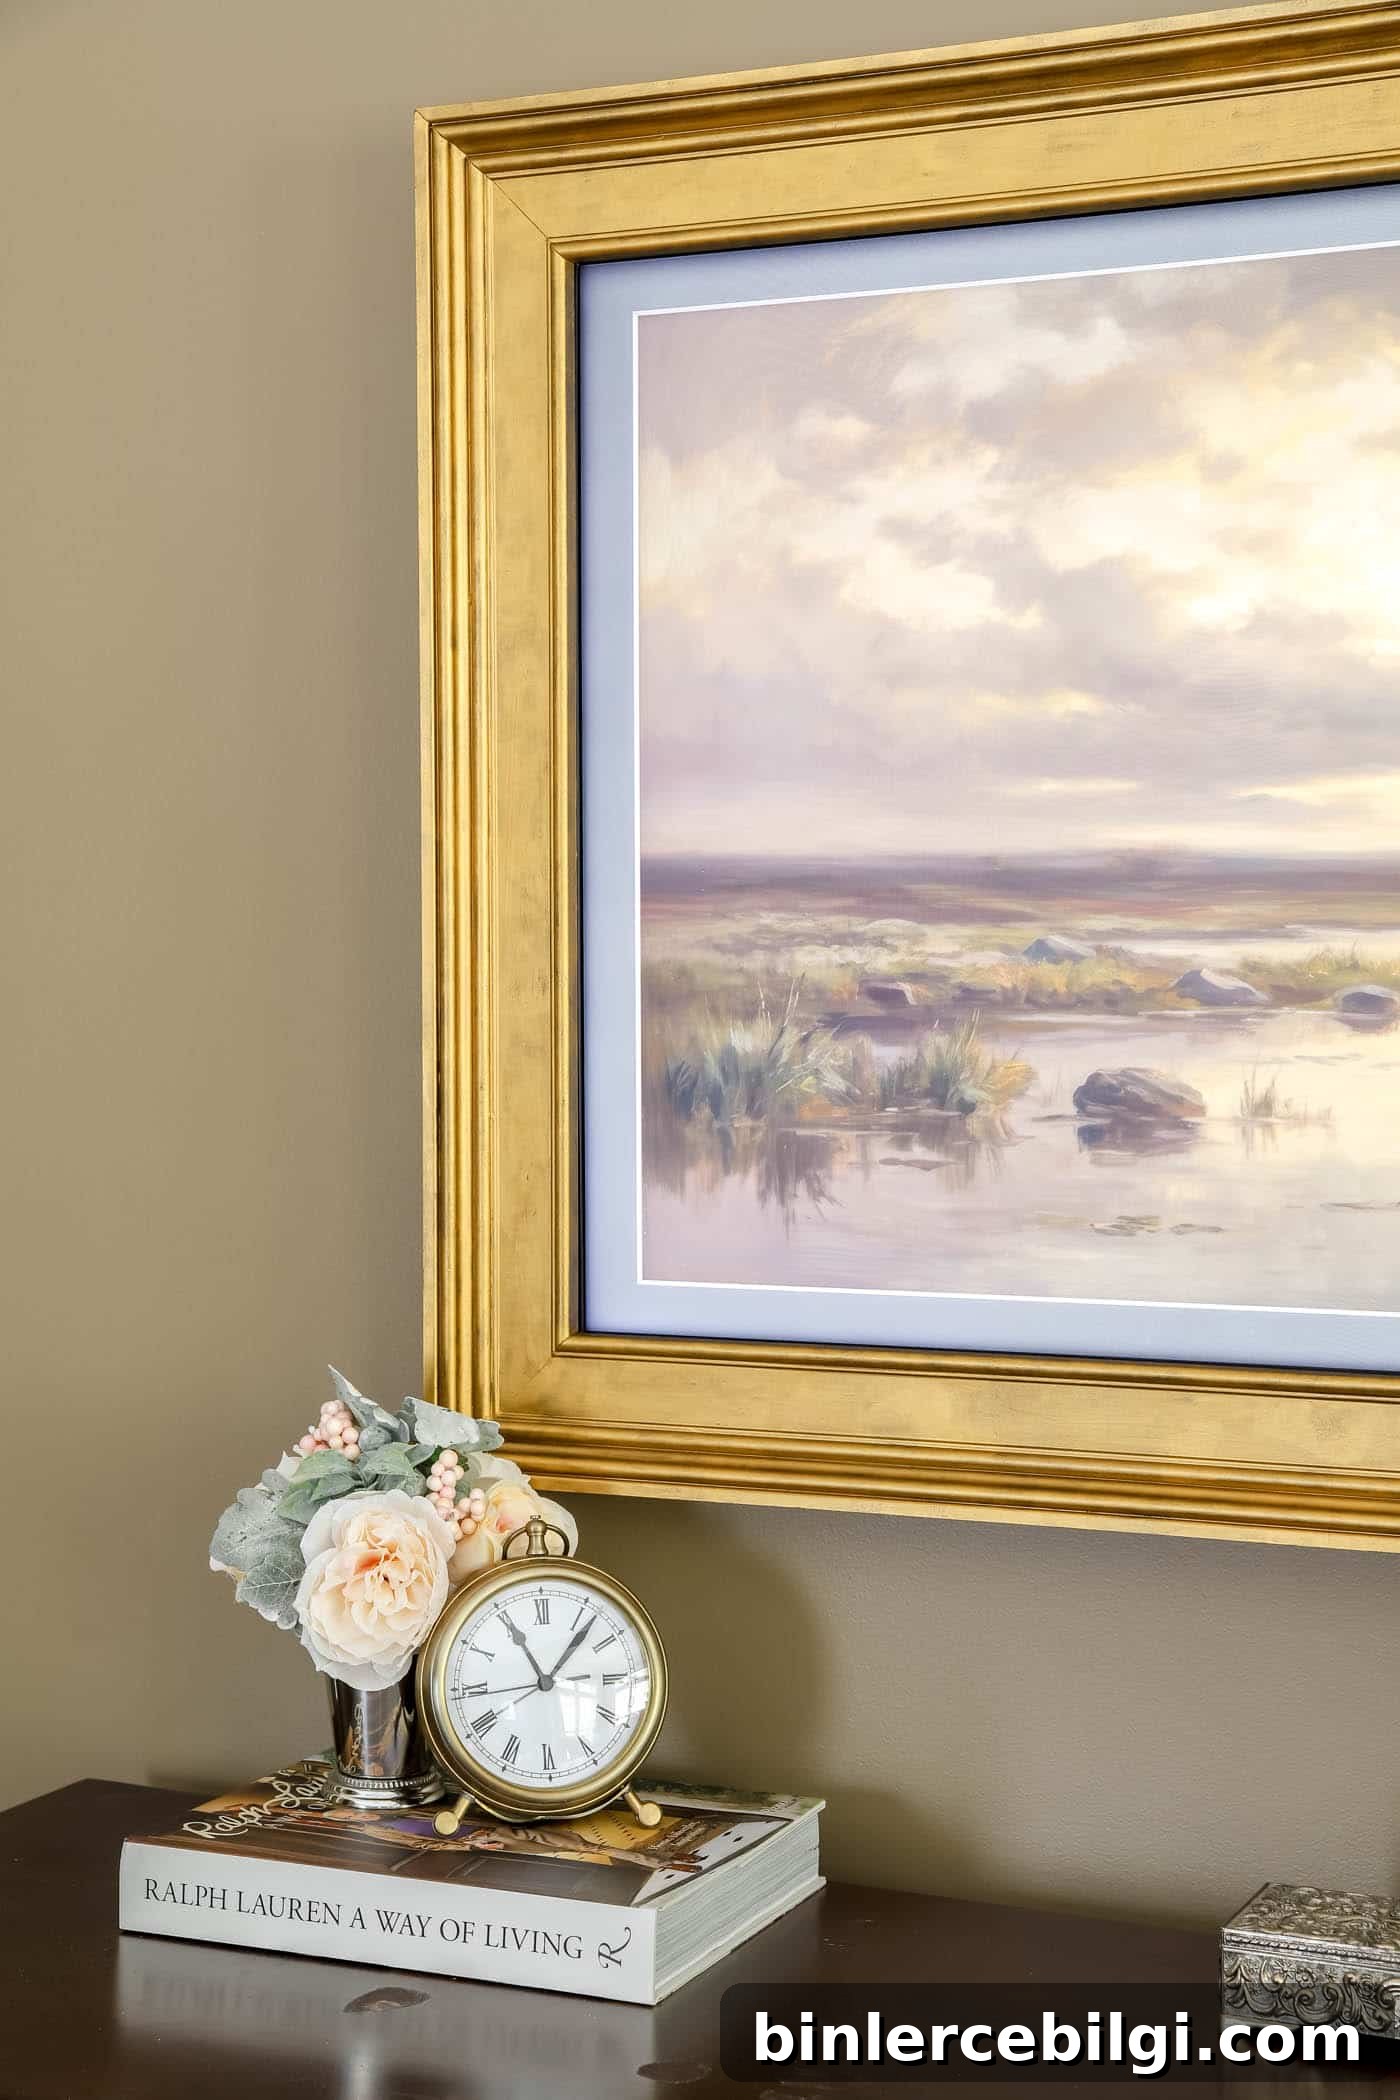
How to Style Your Frame TV
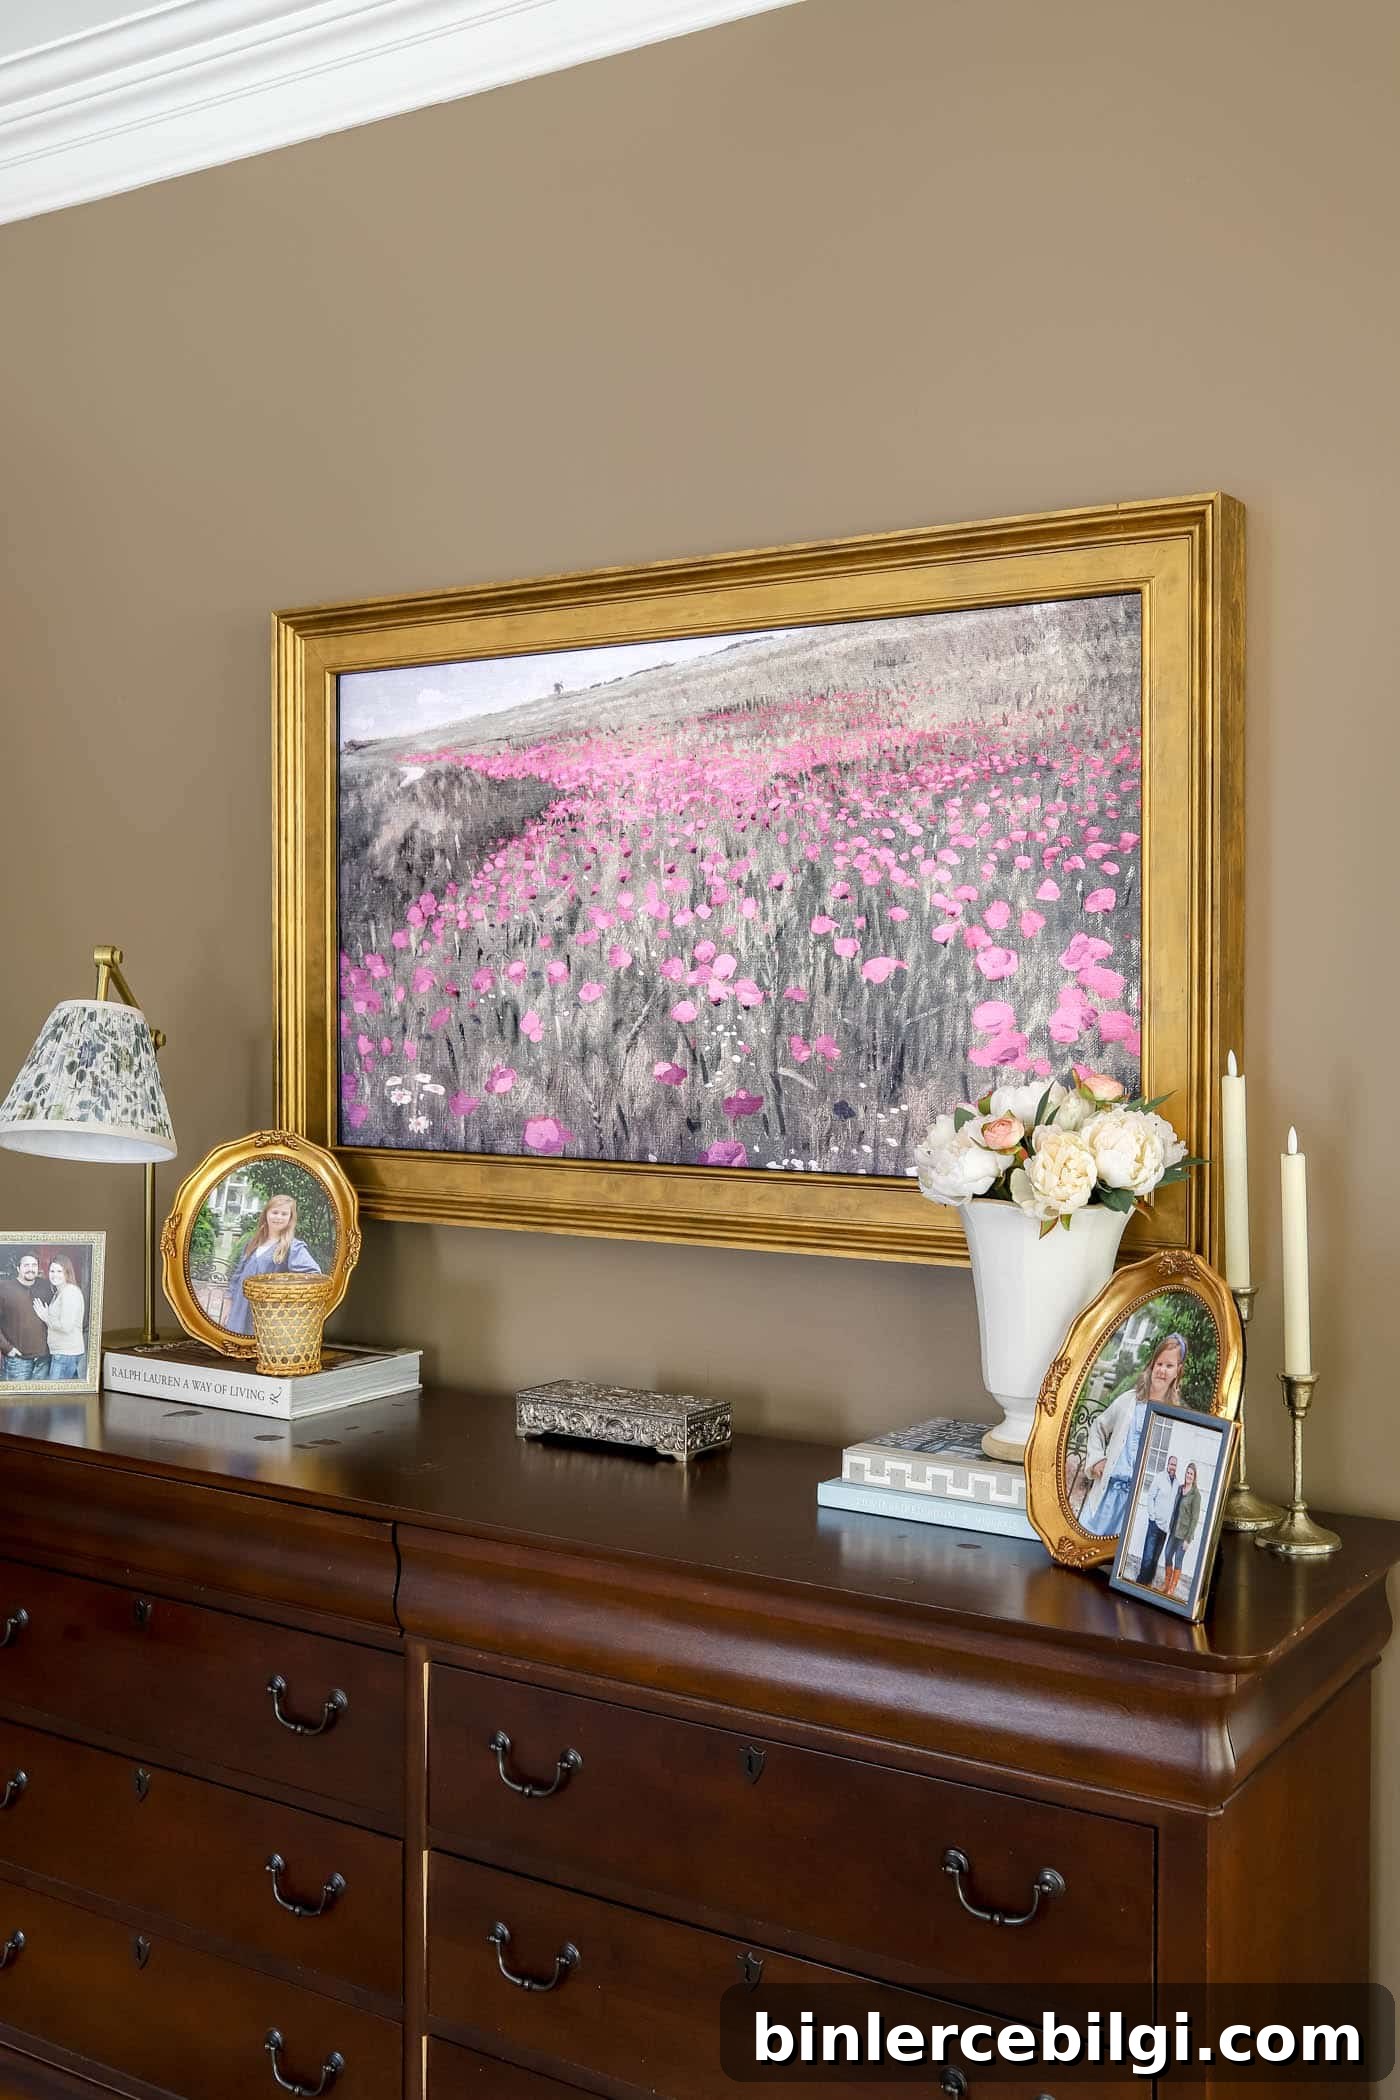
The goal is to make the TV read as artwork. Change the displayed art seasonally or for special occasions to keep the room feeling fresh. Treat the framed TV like a gallery piece when styling the surrounding area—use balanced accessories on the dresser below, such as books, a lamp, framed photos, or a few curated decorative objects.
Seasonal art ideas:
- Spring: botanical prints or soft pastels
- Summer: landscapes or coastal photography
- Fall: warm tones and textured illustrations
- Winter: moody neutrals or elegant monochrome pieces
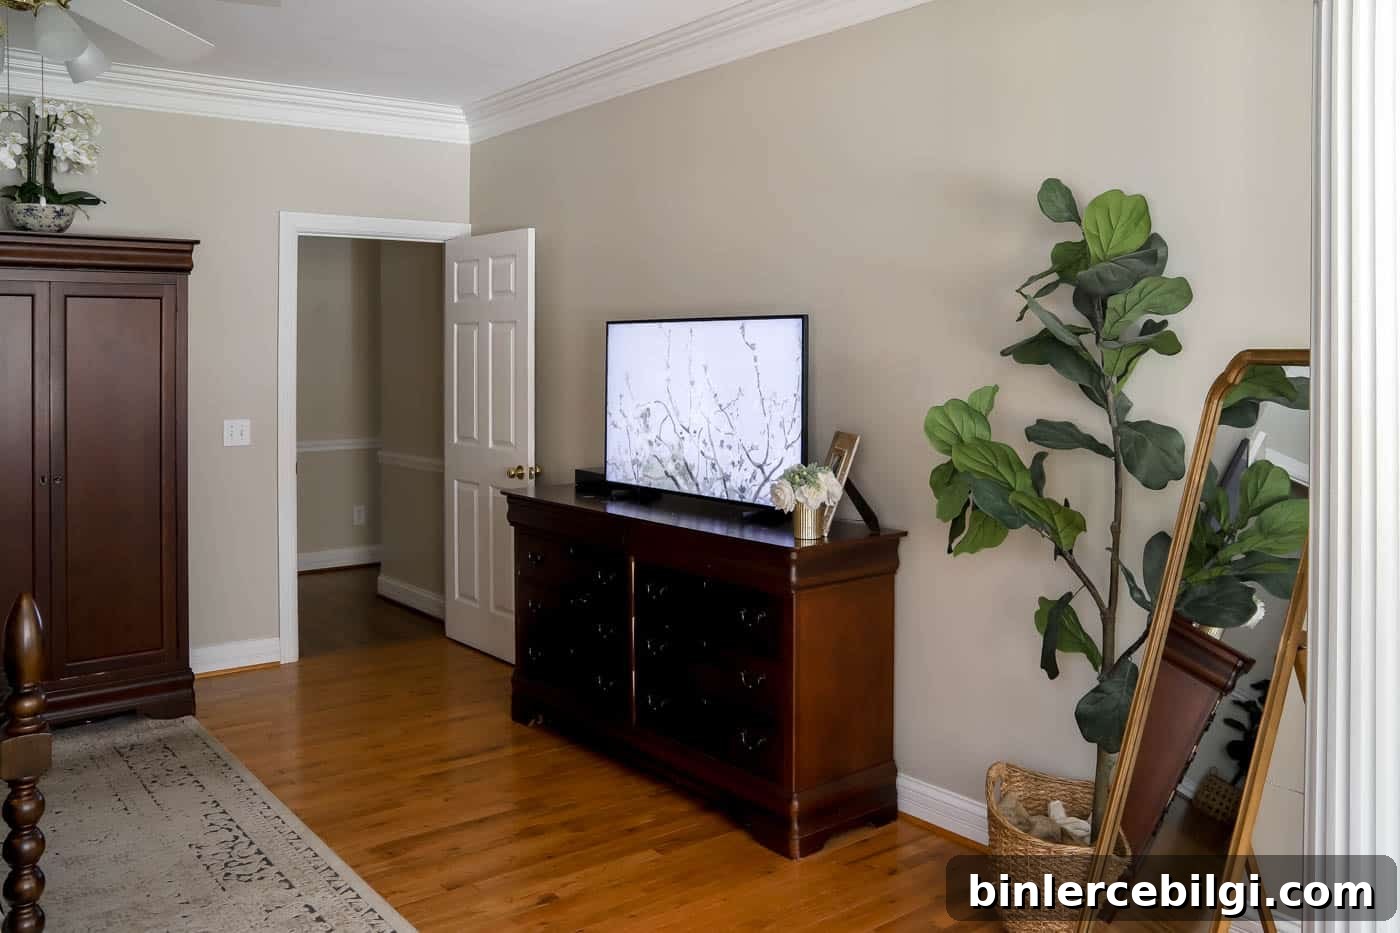
Before:
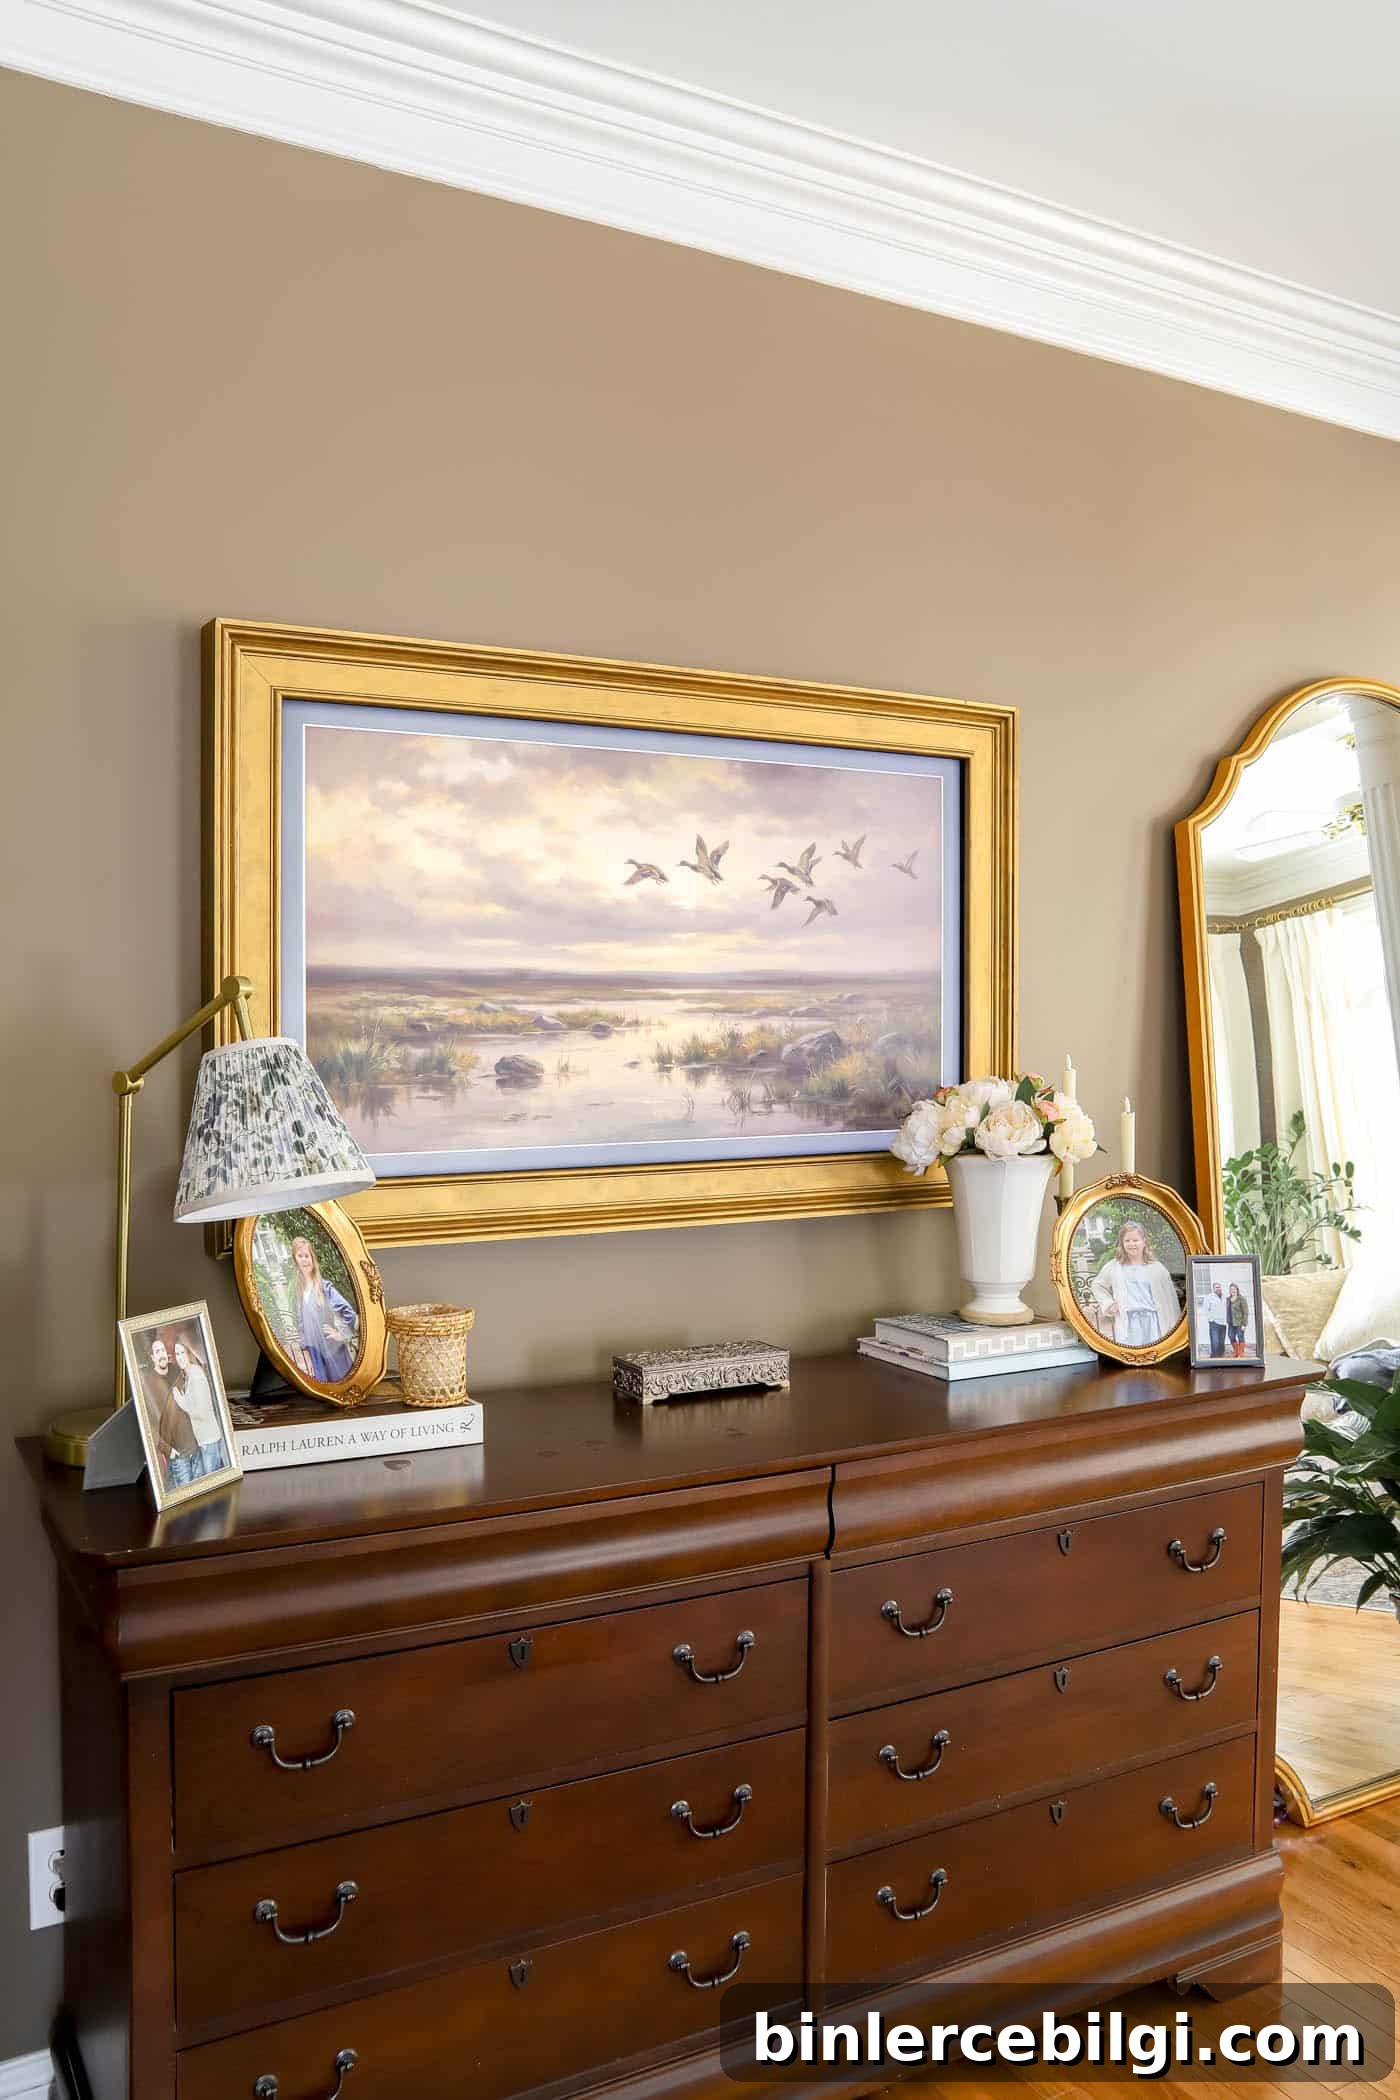
After:
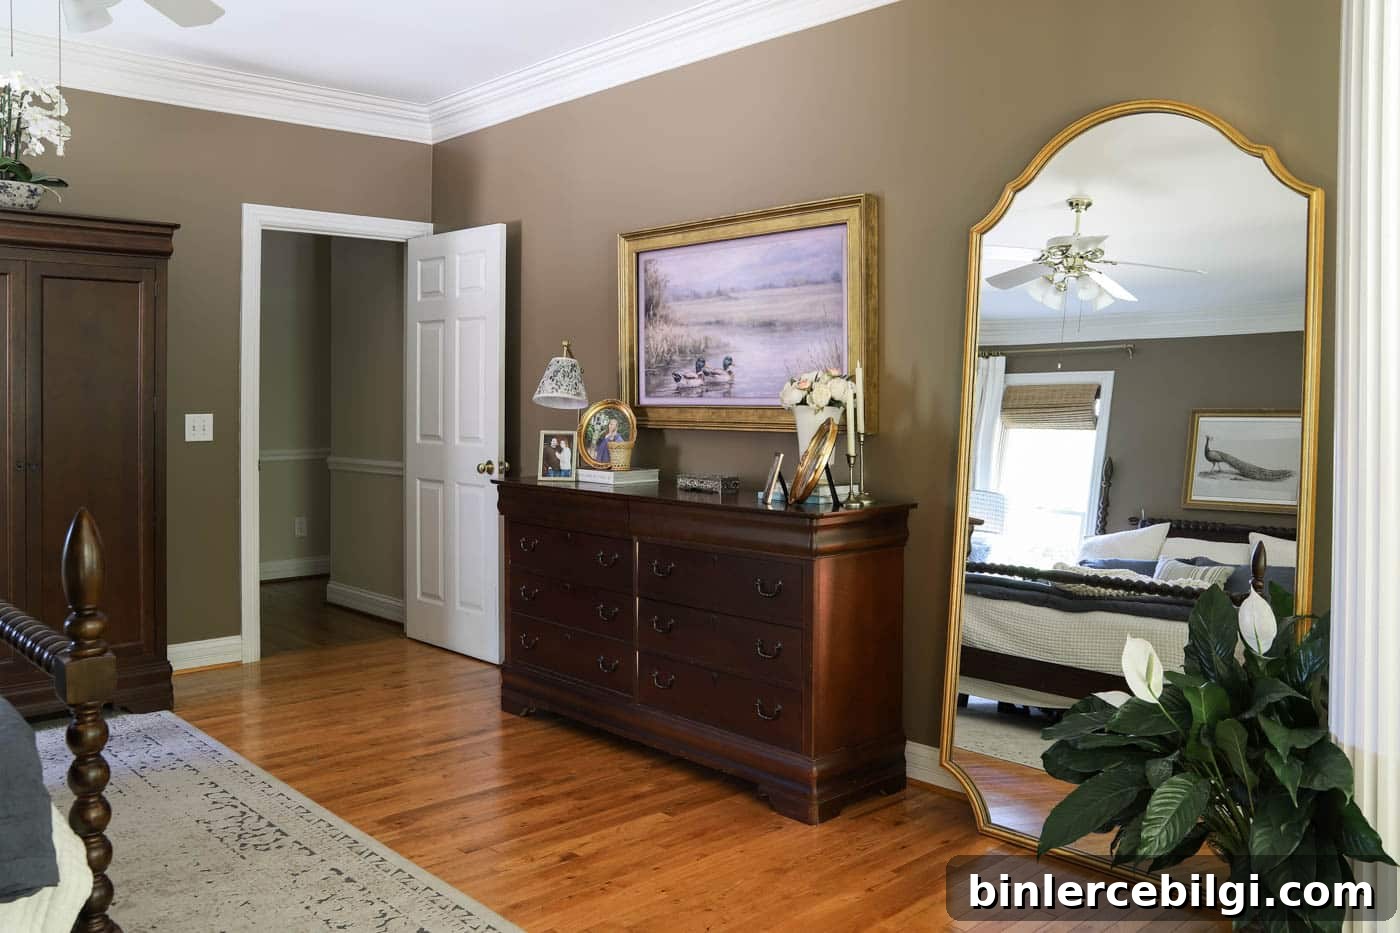
Framing the TV balanced the scale of the large wall and created room for styling on the dresser below. Large elements like an oversized mirror and a framed TV help anchor a tall, wide wall and make the space feel intentional.
Frequently Asked Questions
Yes—Samsung Frame TVs are ideal for DIY frames because they’re designed to display art and sit flush to the wall. You can build a custom frame to fit your specific model or use a pre-made decorative frame sized for your TV.
The decorative frame may partially cover the sensor if not accounted for. Mark the sensor location and cut a small notch in the inner frame so light can reach it. The TV remote and Art Mode should still function normally once the sensor area is clear.
Yes—if the frame rests snugly around the TV, it is easy to remove. Using adhesives or permanent fasteners will make removal more difficult. Design your attachment method based on how often you plan to change the frame or artwork.
A decorative casing about 3½” wide creates a substantial, gallery-style look without overwhelming the screen. Choose a profile and finish that match your decor—traditional, modern, or vintage-inspired.
Which Frame TV DIY Is Right for You?
I’ve built both a simple and a decorative DIY Frame TV frame. Choose based on your style and time:
Choose the Simple Frame If:
- You want a quick, budget-friendly option
- You’re newer to DIY
- You prefer a minimal, clean look
Choose the Custom Decorative Frame If:
- You want a layered, designer look
- You don’t mind a few extra building steps
- You want the TV to resemble framed artwork
Final Thoughts
Building this DIY Frame TV frame was about more than saving money—it was about creating a personalized, polished focal point that integrates with the room. With a few tools, standard materials and careful measuring, you can achieve a custom, high-end look that makes your Frame TV read as art.
I love seeing pieces in my home that I made; they add story and character. This frame changed the entire bedroom wall and proves that thoughtful DIY can deliver beautiful, professional results without a luxury price tag.