
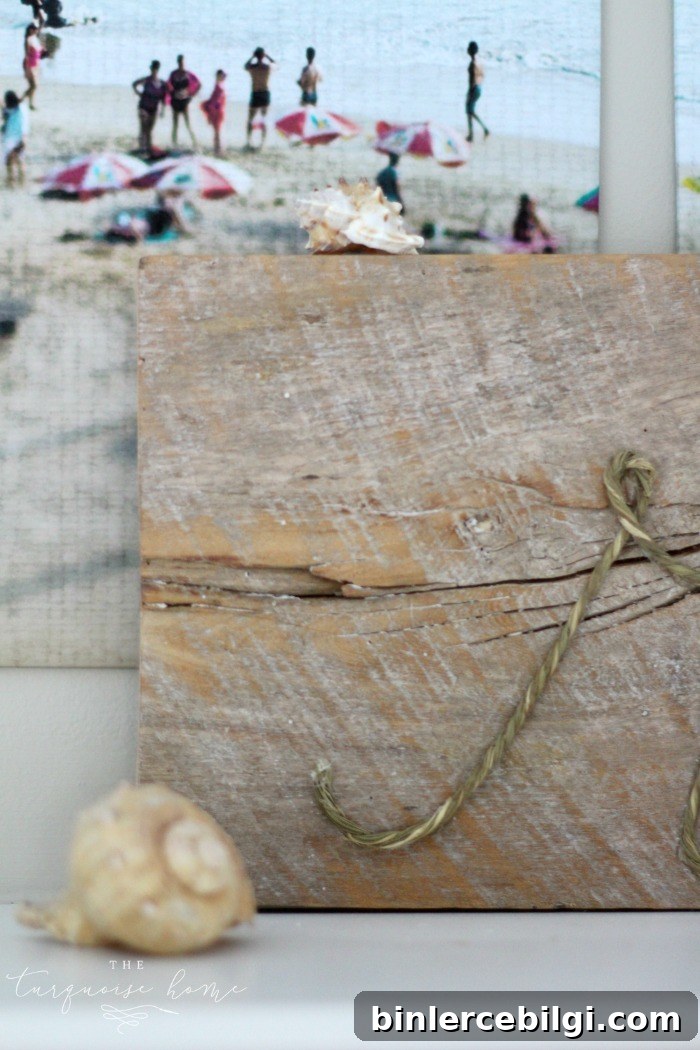
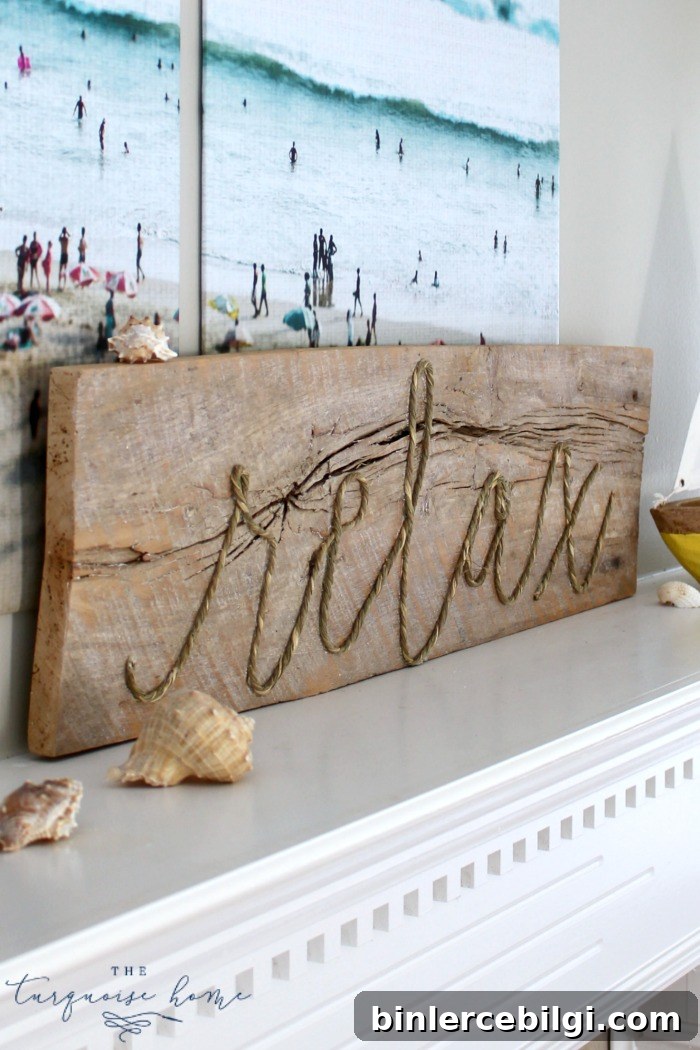
This DIY driftwood finish is an easy way to achieve a whitewashed, beachy look on any piece of wood. It’s an ideal backdrop for weathered signs, coastal décor, and summer mantel displays.
I recently wanted to recreate the rope-accented look I admired in a store piece, but at home and on a budget. Since I don’t live near the ocean and authentic driftwood is rare where I am, I transformed a scrap board into weathered driftwood with a simple, inexpensive technique.
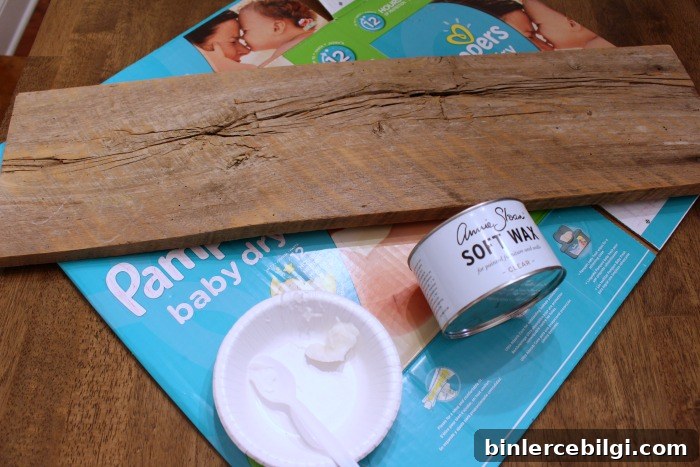
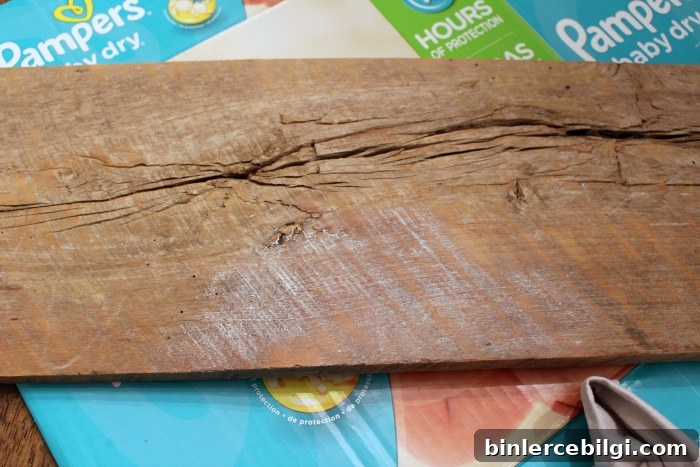
I pulled an old piece of barn wood from my scrap pile—perfect for this project because of its pronounced grain and worn texture. If you don’t have reclaimed wood, a new board will work just as well when prepped to simulate grain and aging.
My goal was a lighter, driftwood-style finish rather than the darker barnwood look. I used paint-mixed finishing wax to achieve a subtle, whitewashed tone that settles into the grooves of the wood for an authentic, weathered appearance.
Note: This post references some recommended products for convenience. Please see my disclosure for more information.
Tools You’ll Need to Create a Driftwood Finish
- Wood with visible grain (reclaimed barn wood or new lumber)
- White or very light paint (latex or acrylic)
- Finishing wax (neutral or clear base)
- Clean cloth or rag for wiping
- Wire brush (optional, to enhance grain)
- Stain (optional, for a base weathered tone)
- Sandpaper or sander (coarse and fine grits)
How to Create a Driftwood Finish
1. Prepare the wood: Start by removing dirt and loose debris from the board. Lightly sand to smooth the surface while keeping the natural grain pronounced. If using new wood and you want more texture, soak the surface lightly with water and use a wire brush to pull grain lines along the wood’s natural direction. Allow the wood to dry completely before moving on.
2. Optional base stain: If your wood is very warm or yellow-toned and you prefer a cooler driftwood shade, apply a thin coat of a gray-toned stain and let it dry. This step is optional—my reclaimed barn wood already had a color I liked, so I skipped staining.
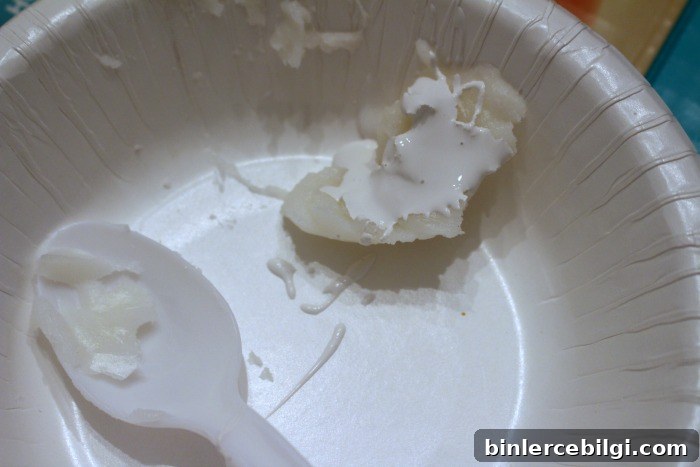
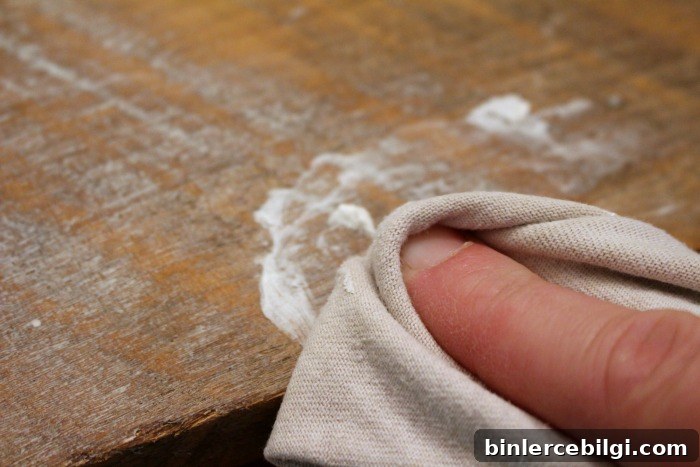
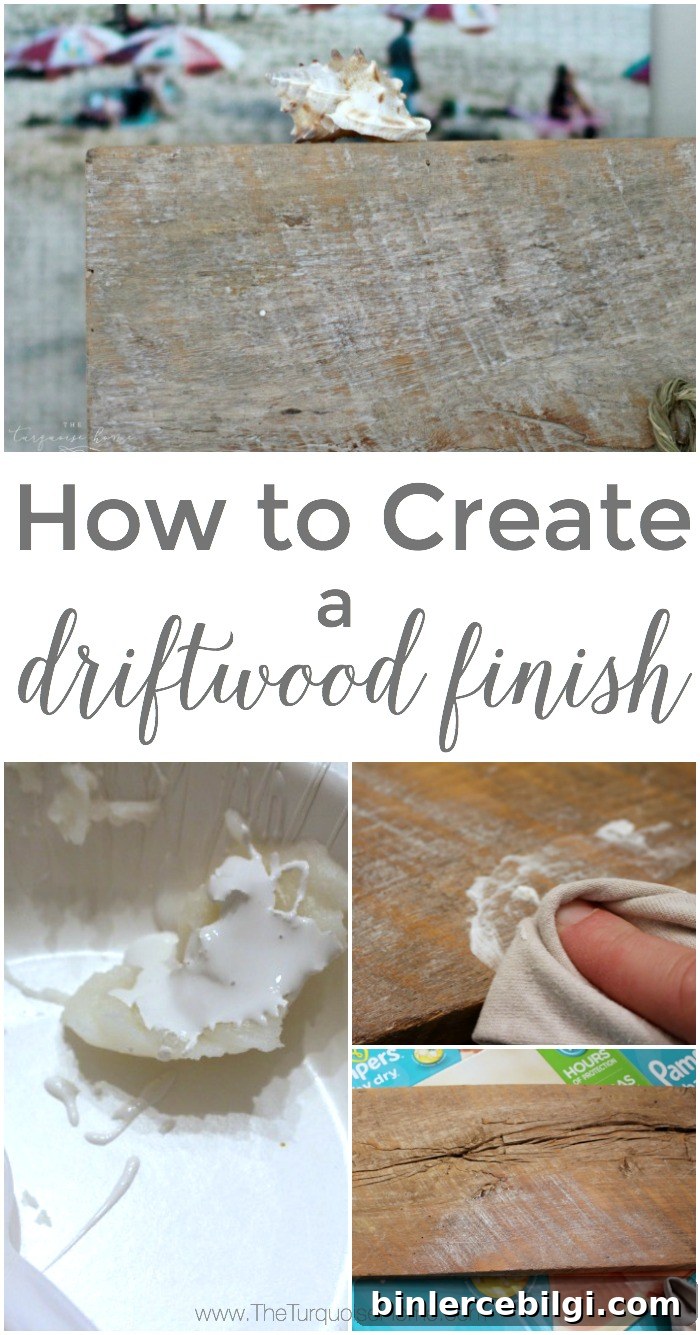
3. Make the white wax: Scoop a small amount of finishing wax into a container and mix in a little white or very light paint until you reach a soft, buttery consistency. The goal is a thin, spreadable white wax rather than a thick paint glaze. You can experiment with the paint-to-wax ratio for lighter or more opaque coverage.
4. Apply and work in: Rub the white wax into the wood using a cloth or your fingers, working the mixture into cracks and grooves. Wipe away excess with a clean rag, leaving only a hint of white in the recesses. This subtle application produces a realistic, sun-bleached driftwood look—avoid leaving heavy streaks or clumps of pigment on raised areas.
5. Final touches: Let the wax cure according to the product instructions. If desired, buff gently for a soft sheen or apply an additional thin coat of clear wax to protect the surface. For a more rustic or sun-faded finish, sand lightly along the grain in some areas to expose natural wood beneath.
A few tips for success:
- Work in small sections so the wax doesn’t dry before you can wipe it off.
- Test the paint-to-wax ratio on a scrap piece to control opacity and tone.
- Always rub with the grain; cross-grain rubbing can leave unnatural marks.
- If you over-apply, remove excess with mineral spirits or a clean cloth and rework the area.
I used a soft finishing wax with a light paint mix for this project. The wax acts as both color carrier and protective finish, so the result is a naturally weathered surface that still feels smooth to the touch.
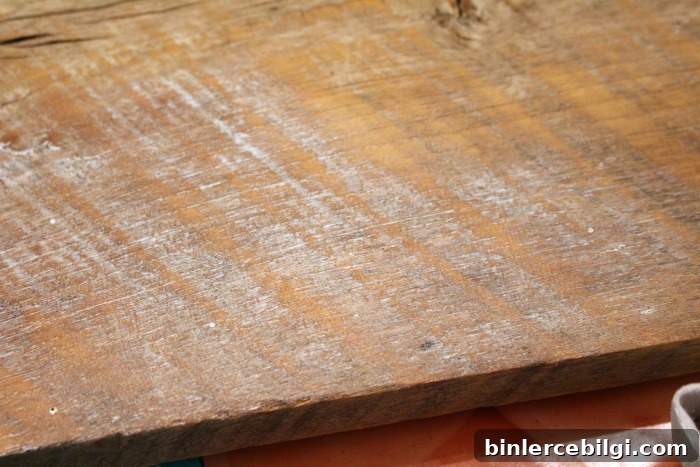
The transformed board mimics authentic driftwood: lightened, textured, and perfect as a backdrop for rope accents, stenciled words, or other coastal decor elements. It made the ideal base for my rope-and-wood sign and gives a relaxed, beachy vibe to my mantel.
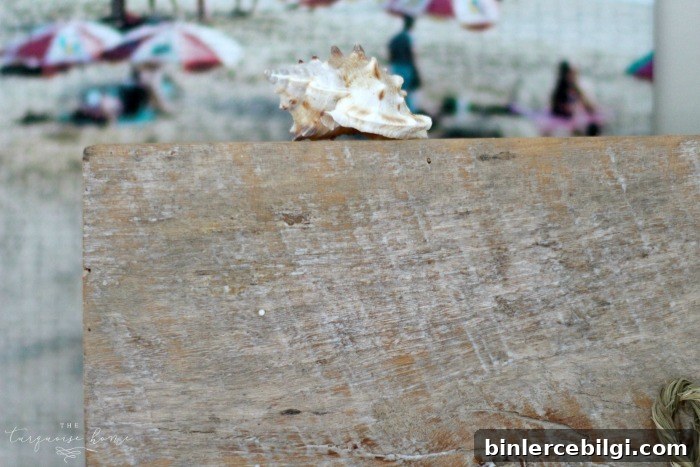
I love how the weathered white finish turned out. Tomorrow I’ll share how I created the rope “relax” feature for the sign—another simple, budget-friendly step that complements the driftwood look.
More posts you may enjoy:
- The Best Summer Decorating Ideas
- Beach-Inspired DIY Framed Canvas Art
- Color Engineer Prints: DIY Large Art on a Budget!