
This modern fall hoop wreath combines faux fruit with a framed shiplap backdrop for a fresh, contemporary take on seasonal decor. Grab your tools and follow this easy DIY tutorial to create your own statement piece.
Hello, friends! If you’re ready to start planning fall decor, this project is a great place to begin. Even if the weather is still warm where you are, now is the perfect time to craft for the season ahead.
I enjoy designing new wreaths each season, and this year I wanted to try a few new ideas: adding faux fruit, using a minimalist hoop wreath style, and mounting the wreath on a framed board treated to look like shiplap. The result is a modern, harvest-inspired wreath that’s both affordable and eye-catching.
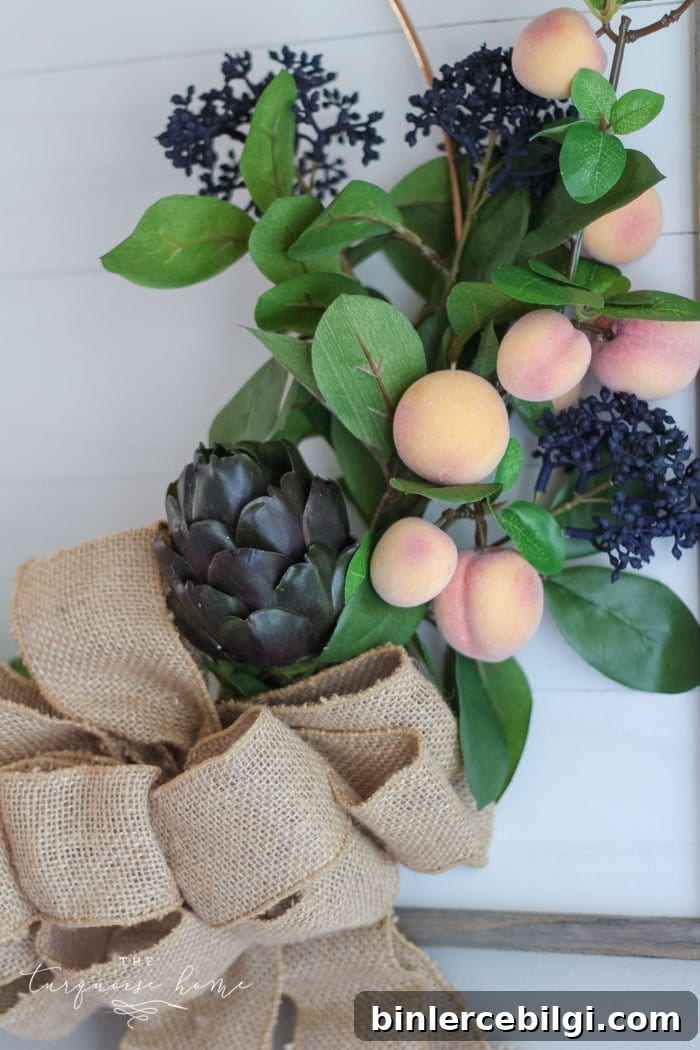
I started with faux peach stems as the spark for this design. While peaches aren’t a traditional fall symbol, their warm orange tones work beautifully with deeper fall colors. I paired them with deep purple stems and faux green pears and artichokes to create a rich, harvest palette.
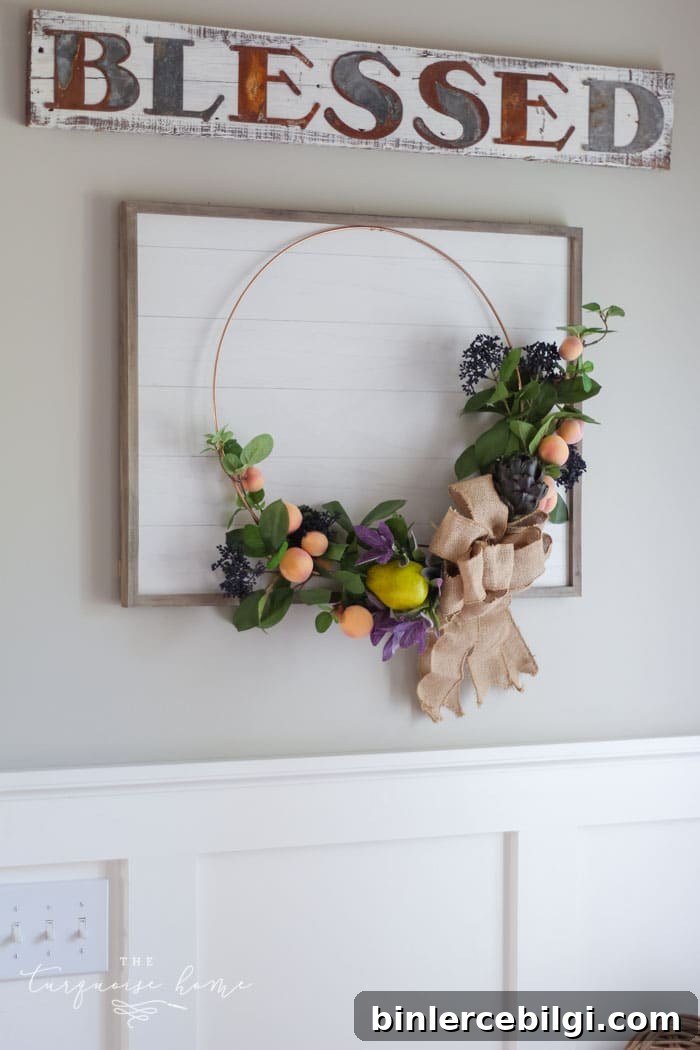
I also love the modern hoop wreath look. Using a thin metal ring or embroidery hoop allows you to place a compact cluster of florals and fruit to one side instead of covering the whole ring in greenery. That keeps the design light, economical, and stylish.
To give the wreath more presence, I mounted it on a simple framed board that I made to resemble shiplap. A few pencil lines across the board added texture and depth without much effort.
Supplies for a Framed “Shiplap” Fall Wreath with Faux Fruit
- Framed board for mounting the wreath
- 19″ hoop or metal ring for the wreath form
- Spray paint (optional) to change the color of the ring
- Faux floral stems in fall colors
- Faux fruit such as peaches, pears, or artichokes
- Burlap bow to conceal the center mechanics
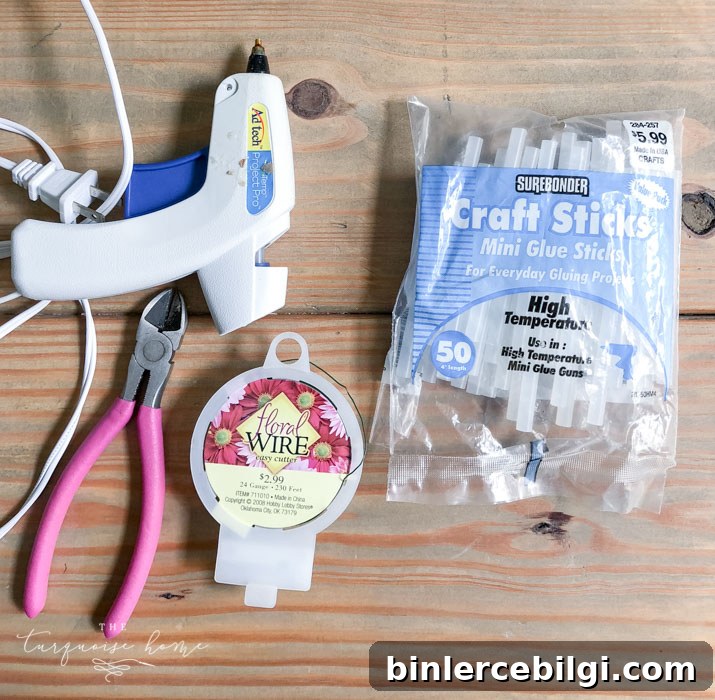
- Hot glue gun and hot glue
- Floral wire
- Wire cutters
- Small nails and hammer
How to Make a Fall Hoop Wreath
This project is straightforward and beginner-friendly. Below are the steps I followed to assemble the wreath and mount it on a framed shiplap board.
1. Gather your supplies.
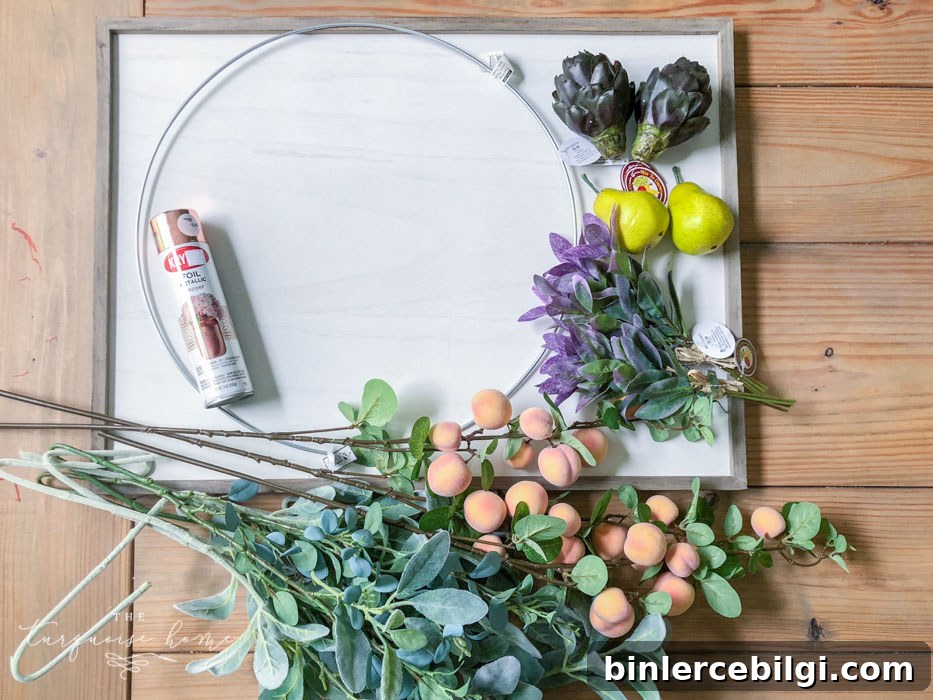
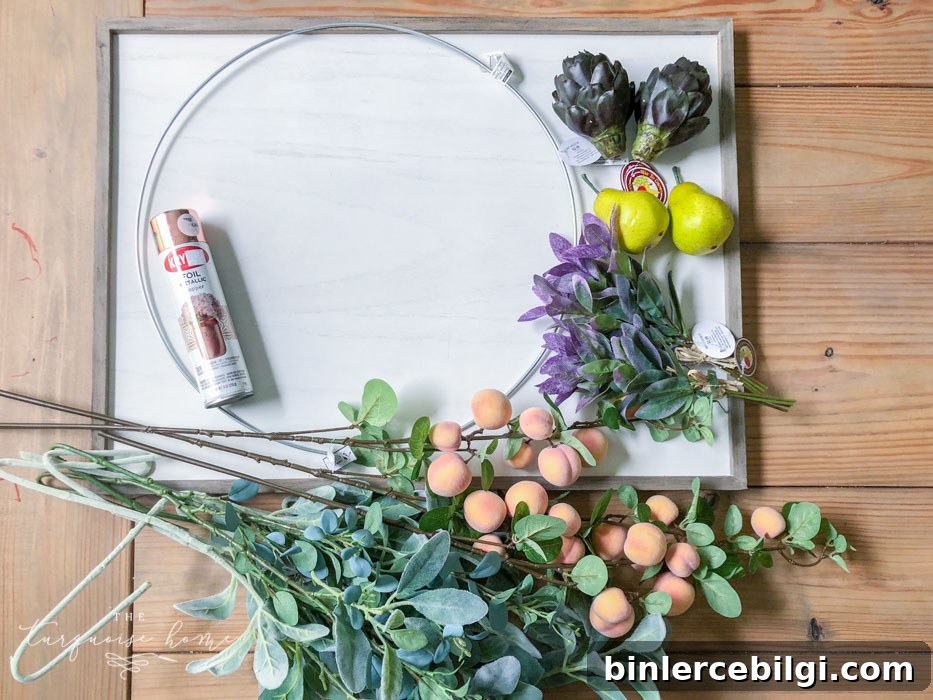
Collect your frame, hoop or metal ring, spray paint (if using), faux floral stems, faux fruit, and the basic tools listed above. Having everything ready will make assembly smooth and quick.
2. Spray paint the wreath form
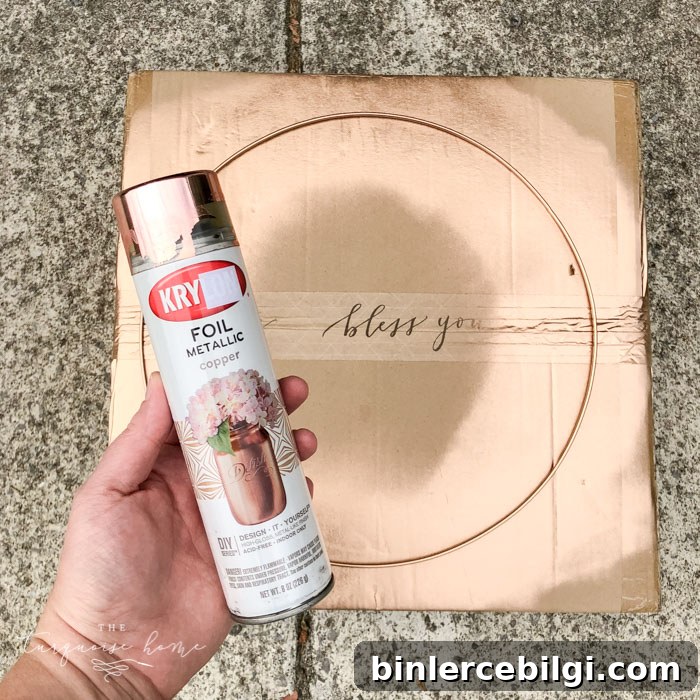
If you want a metallic or colored ring, spray paint the hoop before attaching stems. I chose a copper tone for a warm, seasonal finish. Allow the paint to dry fully before moving on.
3. Attach the stems to the wreath hoop with wire and hot glue
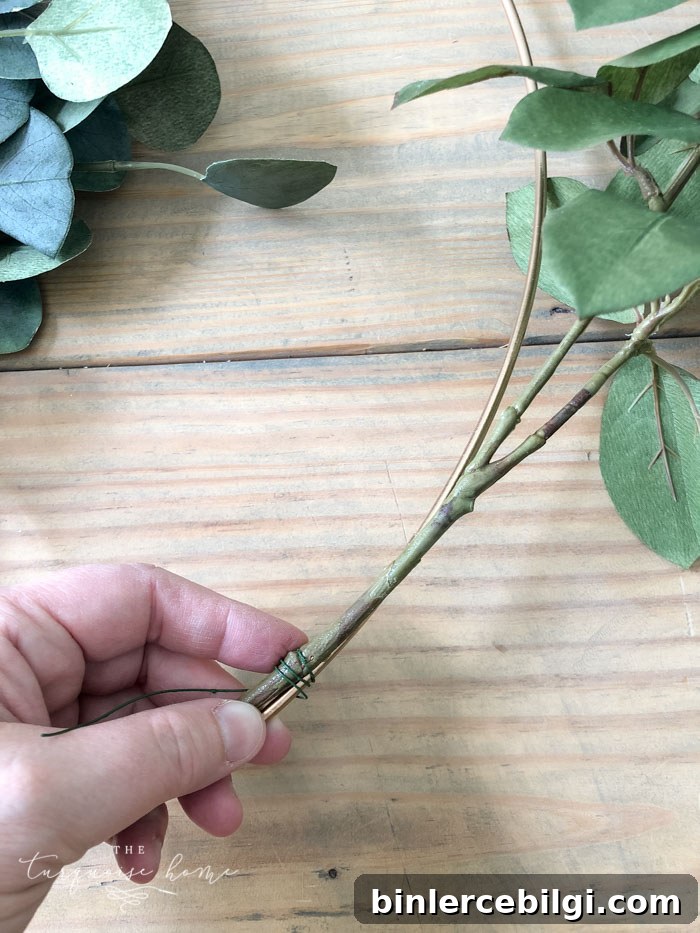
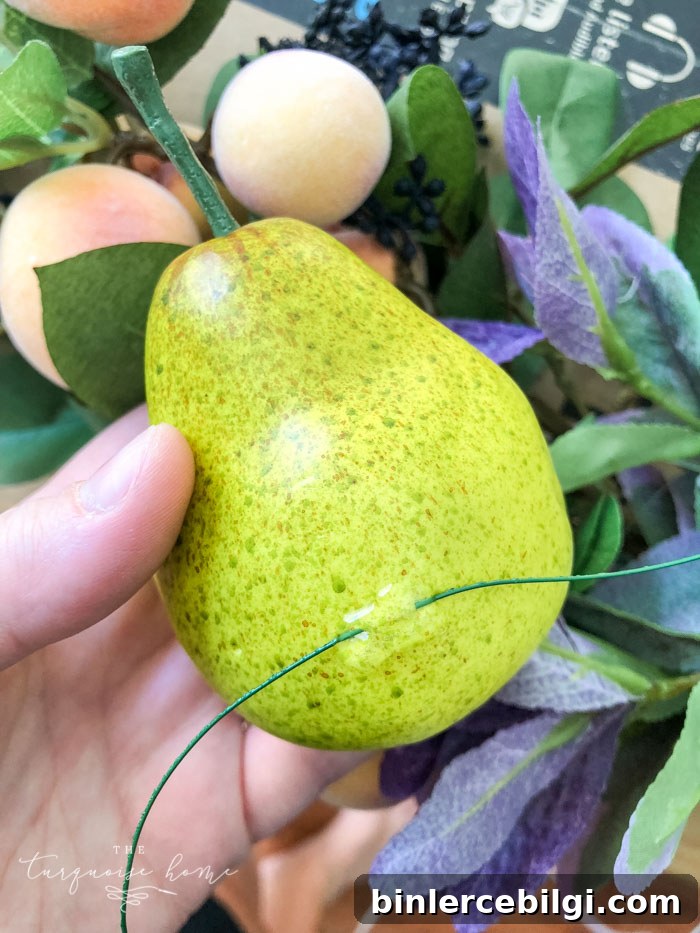
Position your floral and fruit stems on the hoop, starting with the pieces that will define the outer shape at the bottom and working inward. Use floral wire to secure each stem to the ring, wrapping tightly in several spots to hold it in place. Once wired, add a dab of hot glue where the wire meets the stem and ring to lock everything together so the arrangement won’t shift when you handle it.
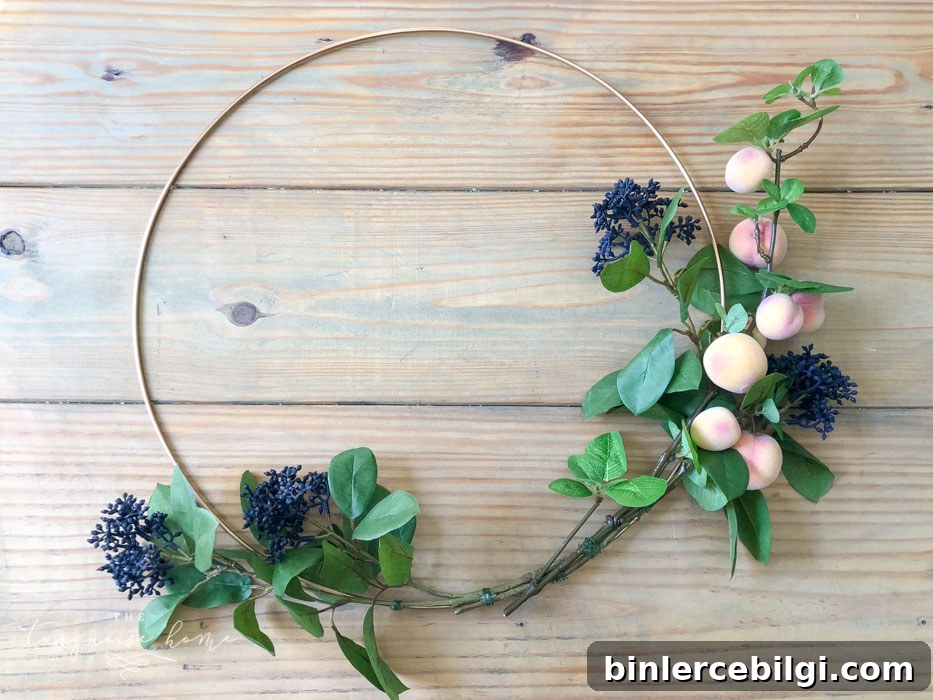
For larger faux fruit like pears or artichokes, thread floral wire through the base or back of the piece (many are made from styrofoam or similar material), then secure and glue the wire to the hoop so the fruit sits firmly in your composition.
4. Attach a burlap bow to conceal the center
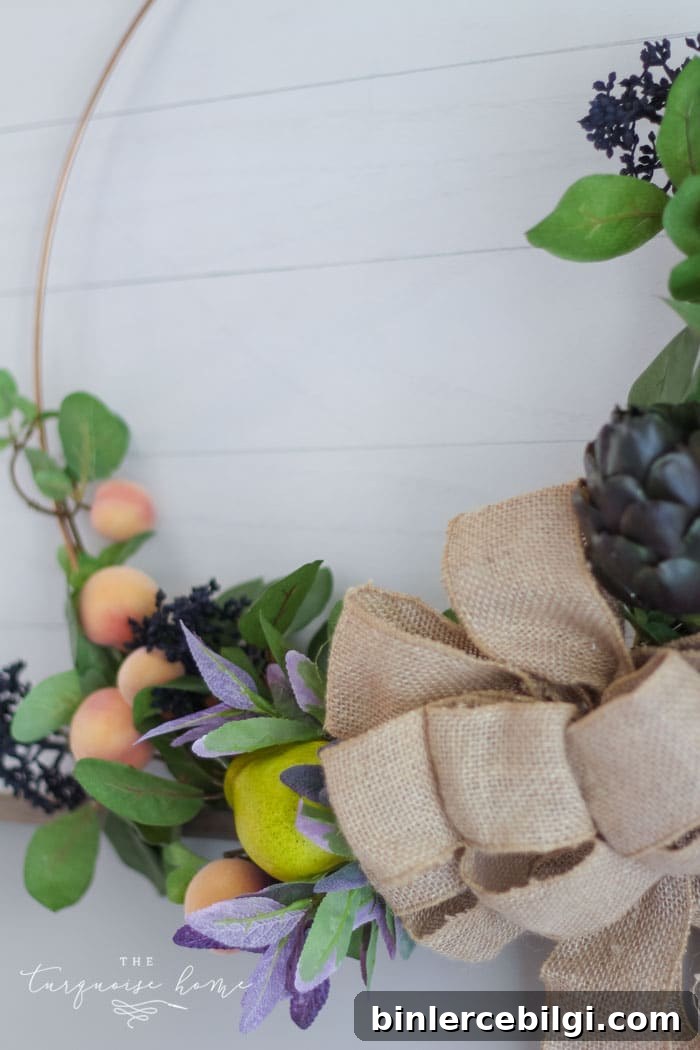
Once the cluster of stems and fruit is secure, glue a burlap bow over the center to hide the wires and create a polished focal point. The texture of burlap complements the fall palette and adds rustic charm.
5. Draw shiplap lines on the frame
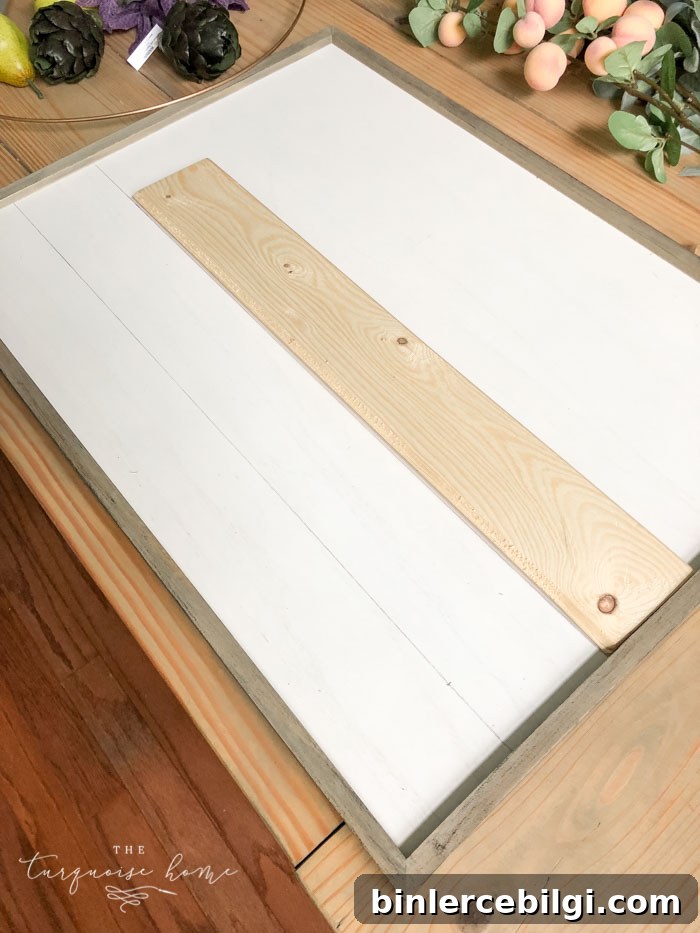
Give your framed board a shiplap look by marking evenly spaced pencil lines across the surface. You can use a scrap piece of wood as a guide to keep the lines straight—this simple detail adds a lot of visual interest with very little effort.
6. Hang the wreath on the framed board
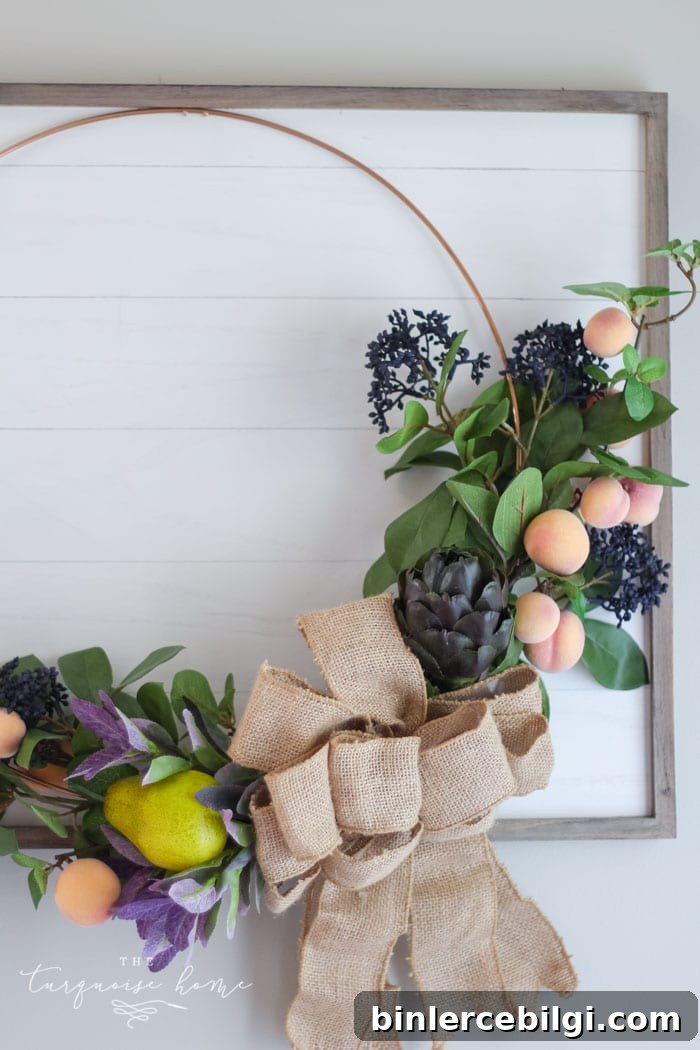
Nail a small nail just under the top frame and hang the hoop from it. If your wreath is heavier on one side, add a second small nail slightly to the side to keep the wreath level and prevent it from leaning.
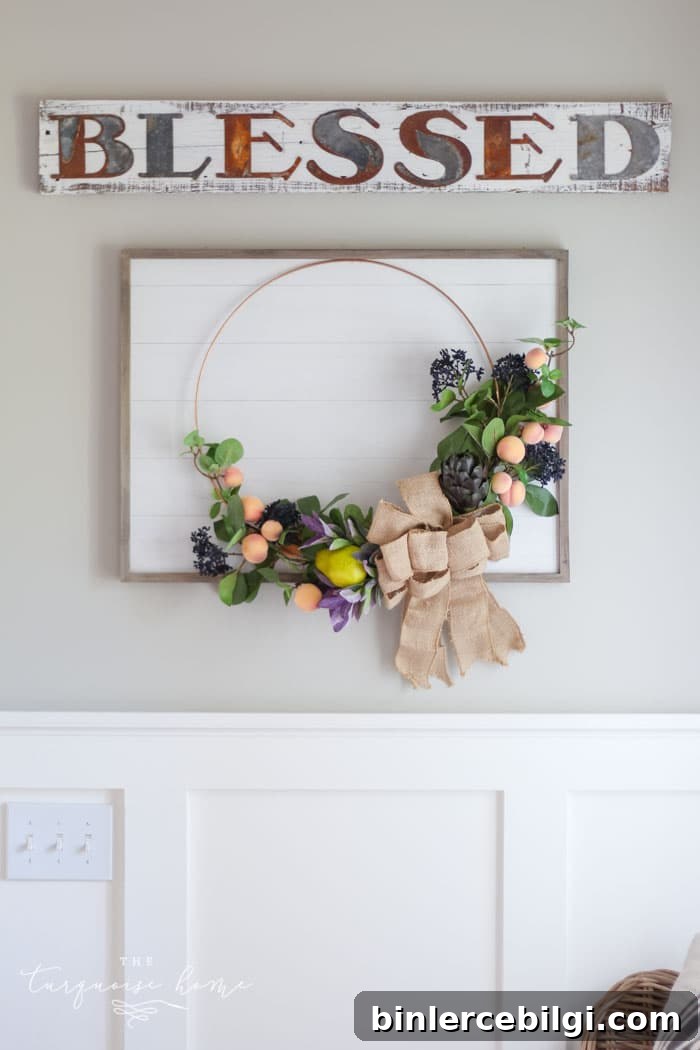
And that’s it—your framed shiplap fall wreath is complete! It makes a warm, modern addition to any entryway or interior wall during the autumn months.
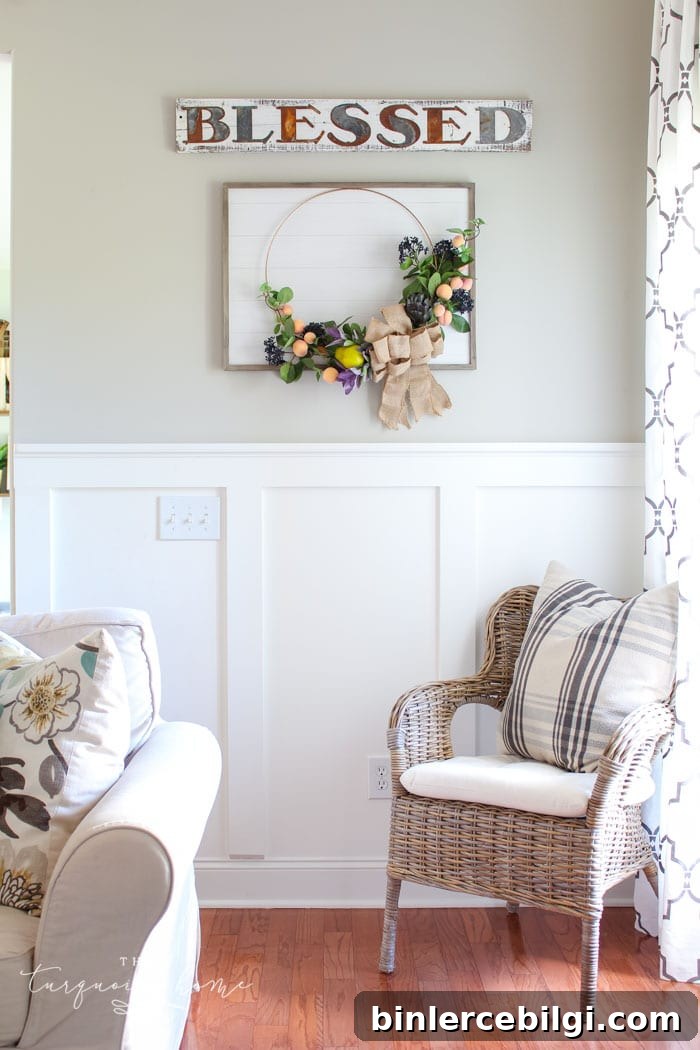
I’m thrilled with how this wreath turned out and I can’t wait to place it in my fall home tour. If you try this project, I’d love to hear about your color choices or see a photo of your finished wreath—leave a comment or share a picture on your social channels and tag your favorite maker community.
MORE POSTS YOU WILL LOVE:
- DIY Faux Hydrangea Fall Wreath
- Cotton Wreath Free Printable
- 25 Amazing DIY Fall Wreaths