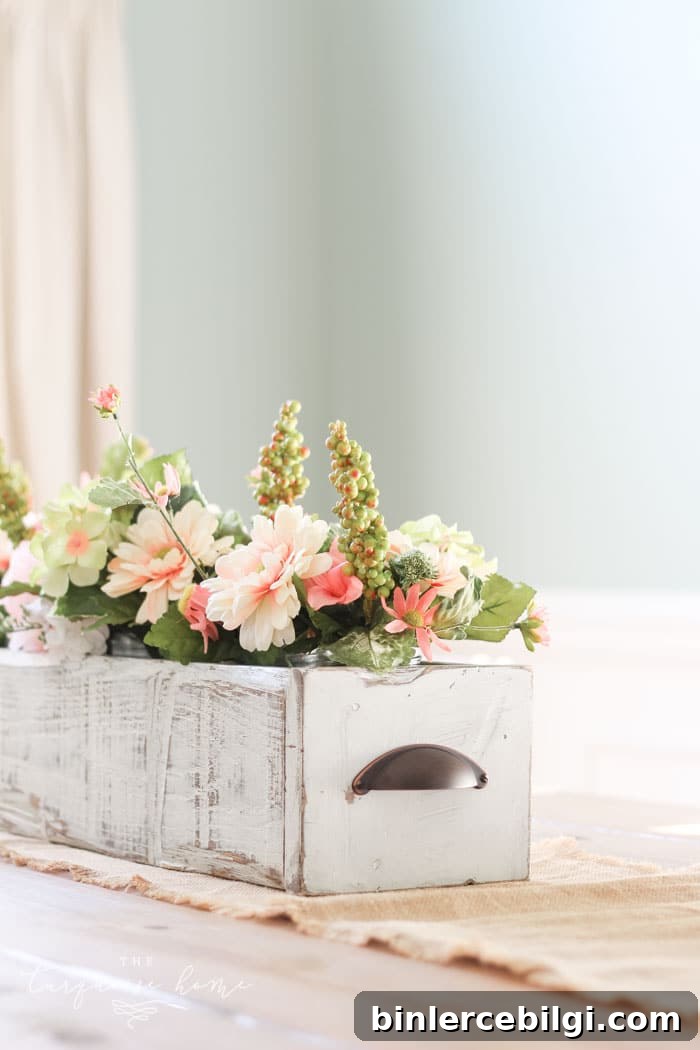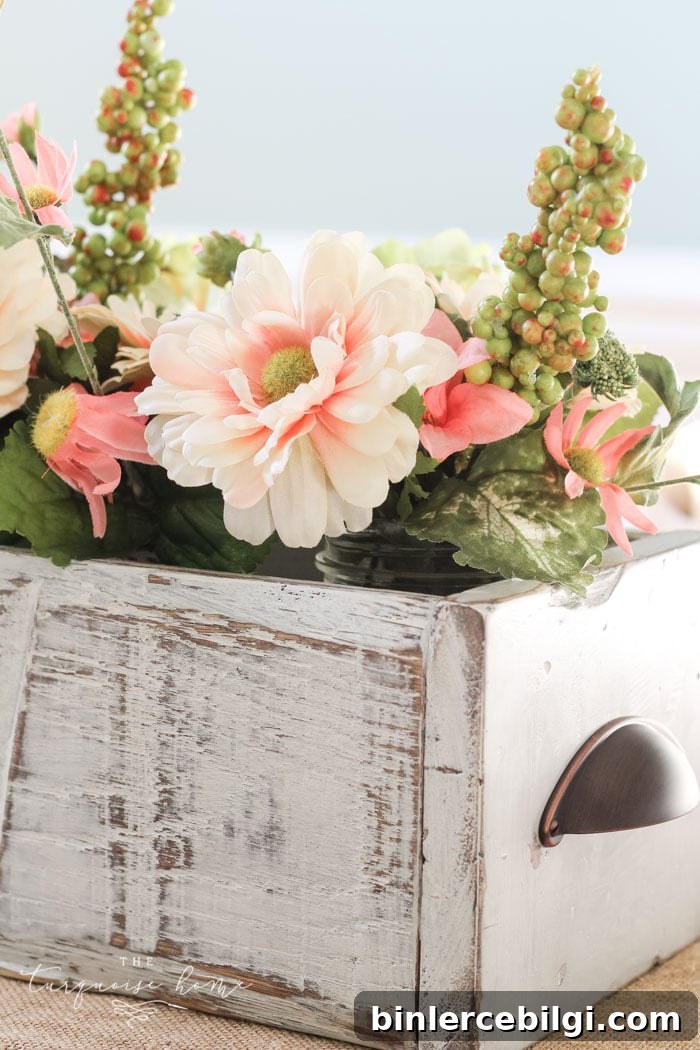
Build your own DIY wooden box with simple, step-by-step instructions. Perfect as a table centerpiece or for adding rustic charm to your home decor.
This is one of my favorite quick projects, and my Kreg Jig is the tool I reach for every time. The box below was made from scrap wood, a handful of screws, and a little paint and stain. It turned into a sweet farmhouse-style centerpiece for my dining table, but you can use it on a mantel, console, or wherever you need a simple decorative container.
Before you begin, decide where you’ll put your box and what you want to display inside it. If you plan to use mason jars, for example, make the interior large enough to fit them comfortably. Planning the size and function first will help you choose the best dimensions and materials.
My finished box measures: 27.5 inches long, 7 inches wide, and 5.5 inches tall. I used 1×6 boards; if you use different lumber, adjust the cut lengths to suit your chosen thickness and width.
I built mine from a few scrap 1×6 boards. Two of the long pieces had great rustic character, so I used them for the sides, and a plainer board became the bottom where it wouldn’t be seen. Embrace small imperfections — they give the box character.
Tools Needed to Make a DIY Farmhouse Wooden Box
- Wood — For the same size I made, use a 1x6x8 board and cut it into:
- 3 boards at 26 inches long (two long sides and the bottom)
- 2 boards at 7 inches long for the ends (measure and trim to fit after assembling the sides and bottom)
- Kreg Jig — a pocket hole jig that makes joining boards quick and secure.
- Kreg pocket hole screws — for 3/4″ (actual) boards, 1 1/4″ screws are commonly used; choose the correct screw length for your lumber thickness.
- Screwdriver or drill/driver
- Stain — I used a dark walnut stain to deepen the grain beneath the paint.
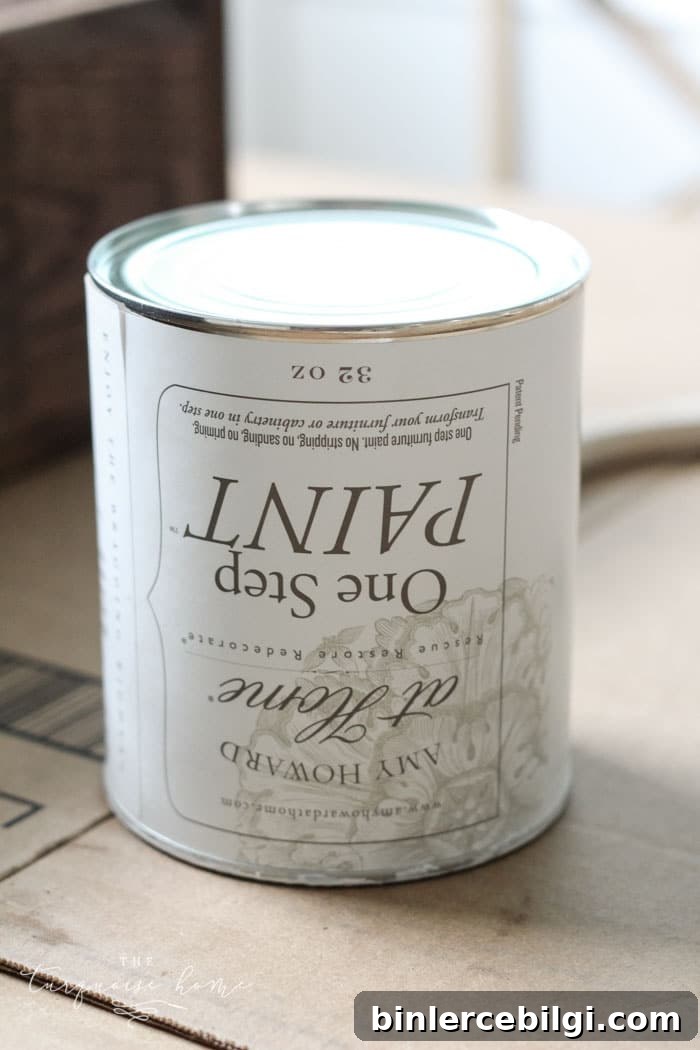
- Paint — I used a chalk-style paint for a soft, distressed finish.
- Clear finishing wax to seal the paint and protect the wood.
- Paint brush
- Wax brush or lint-free cloth
- Sander with 180-grit paper (optional, for distressing)
- Handles or pulls (optional) and a drill bit to fit the screw size
Steps to Make a DIY Wooden Box Centerpiece
1. Decide on the Box Size
Choose the final location and purpose for the box. I made a large box for my dining table, but you can scale it down to suit a coffee table, mantel, or shelf. Think about items you’ll place inside so the dimensions accommodate them.
2. Cut the Wood Pieces
Measure the actual dimensions of your boards before cutting. A board labeled 1×6 is typically 3/4″ thick and about 5.5″ wide in real measurements, so adjust your cuts accordingly. Cut the long side pieces and bottom first, then size the end pieces after assembling the main frame so they fit precisely.
3. Drill Pocket Holes in the Bottom Pieces
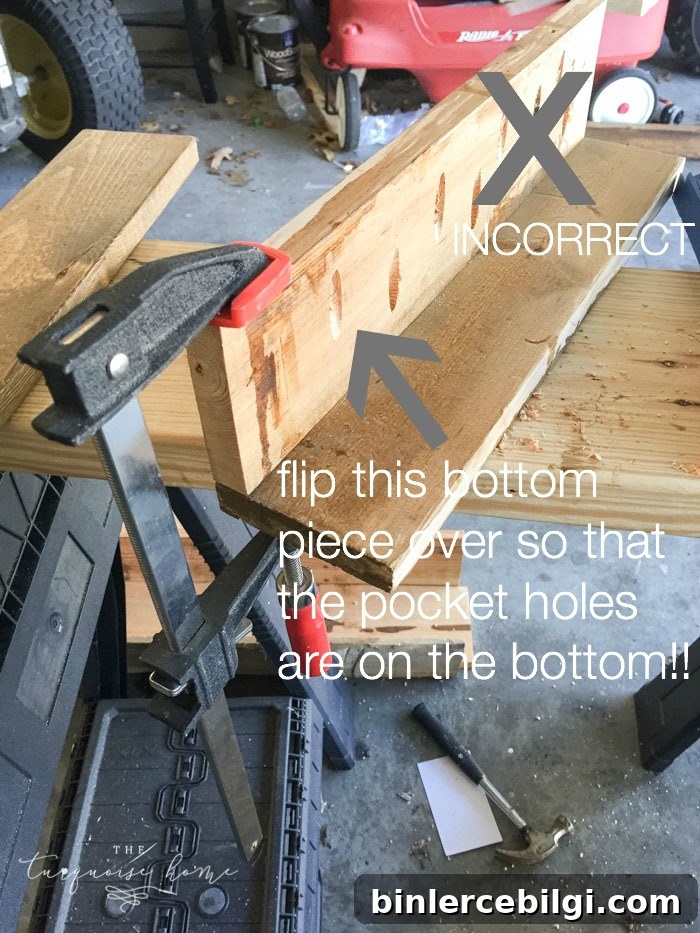
Use the Kreg Jig to drill pocket holes along the underside of the bottom board where it will attach to the sides. I used three pocket holes along each long side and two on each short end. Do this before assembly so the jig and drill have room to work.
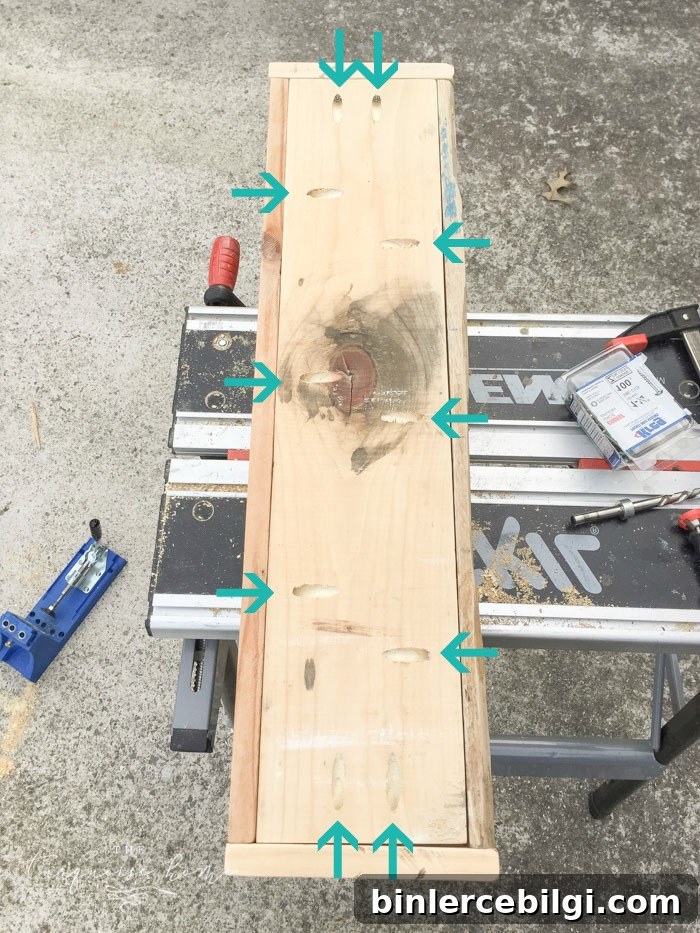
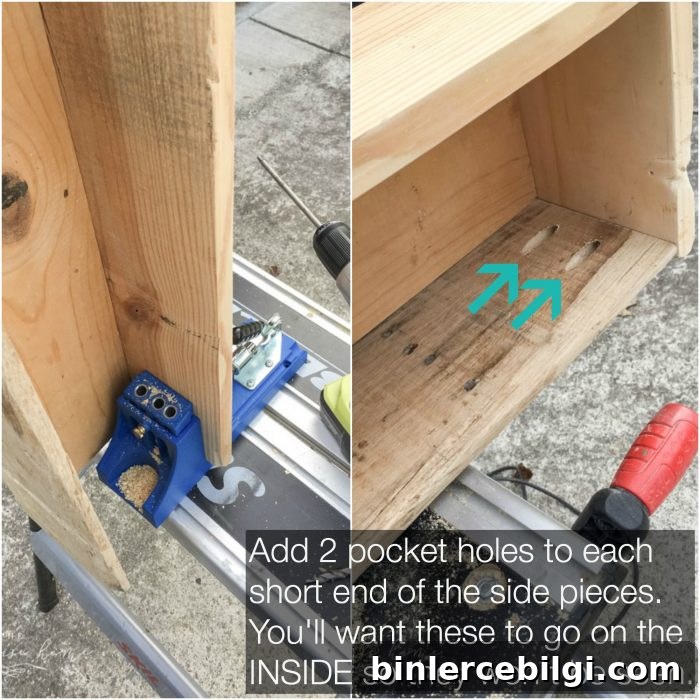
4. Drill Pocket Holes on the Inside Ends of the Side Pieces
Drill two pocket holes into the short inside ends of each side board so the end pieces can attach securely. Do this step before assembly when the jig has full access, rather than trying to reach into an assembled corner.
5. Attach the Bottom to the Side Pieces
Clamp one side board to the bottom piece, aligning edges squarely, then drive the pocket hole screws from the bottom into the side board. Repeat with the other long side. Keep everything aligned as you work to ensure straight edges and square corners.
6. Install the End Pieces
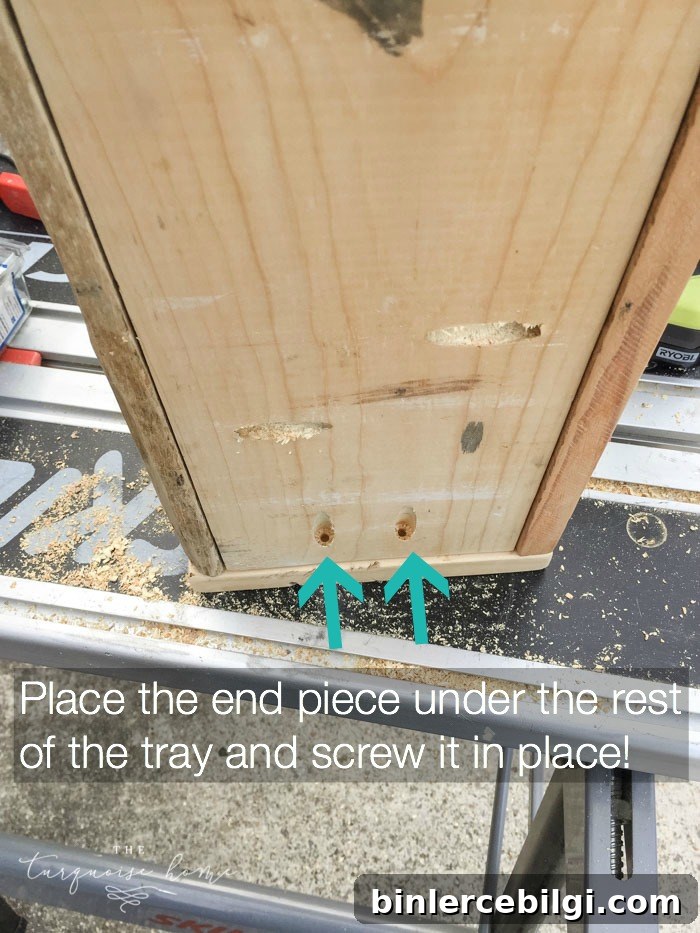
Measure the inside width at each end and cut the end boards to fit. With the pocket holes on the inside faces aligned, drive the screws through the side pocket holes into the ends and through the bottom pocket holes into the ends. Once both ends are secured, your box is structurally complete.
7. Finish with Stain, Paint, or Both
For a distressed farmhouse look, stain the wood first to deepen the grain, then paint a chalky or milk paint over the stain. After painting, use a sander (180 grit is a good choice) to gently remove paint from raised grain and edges for a naturally worn look. Wipe away all dust before applying finishing wax.
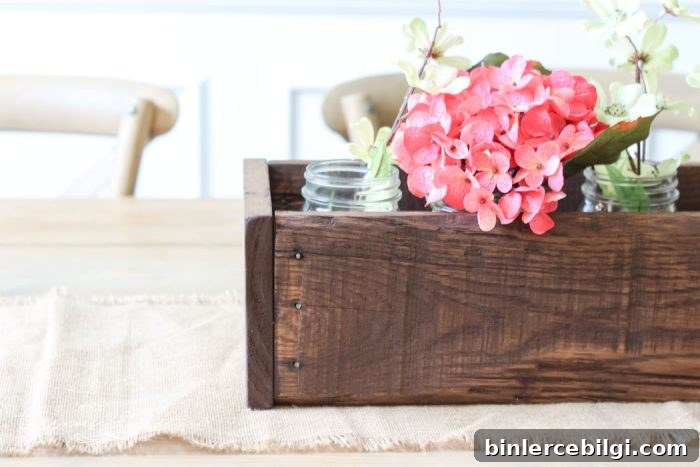
I used a clear finishing wax to seal the paint and stain, which leaves a smooth, slightly satin surface that still feels handcrafted.
8. Add Handles or Pulls (Optional)
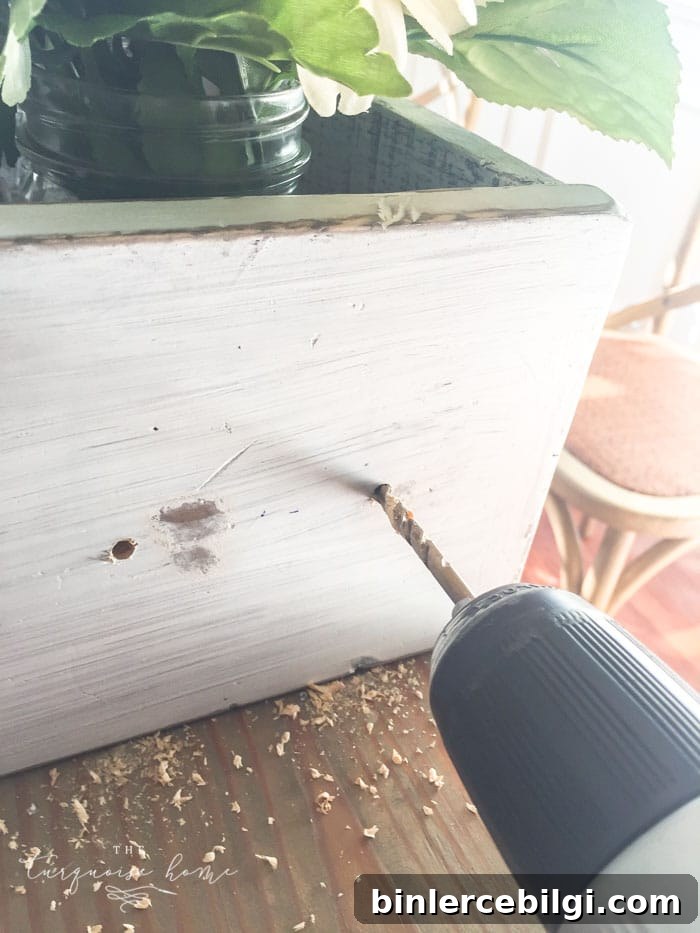
Handles make the box easier to move and add a finished look. Find the center of each end, drill pilot holes sized slightly larger than the screws, and attach the pulls. Cup pulls or simple metal handles work beautifully with a farmhouse style.
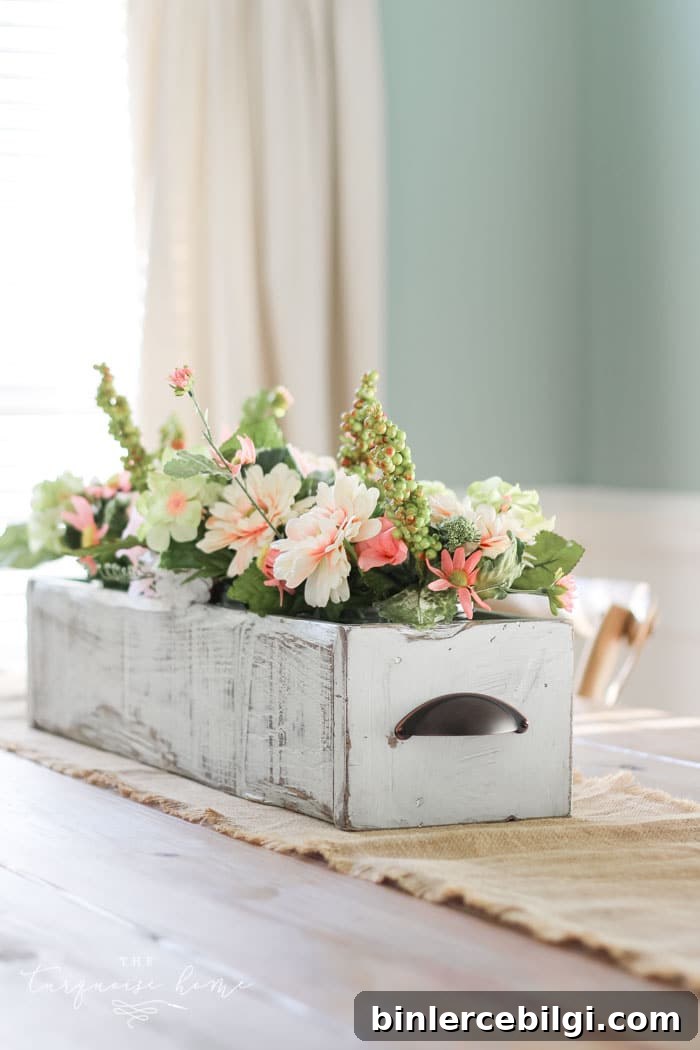
Once finished, fill the box with mason jars, candles, succulents, or seasonal floral arrangements. It makes a simple, warm centerpiece and can be rearranged for holidays and every season.
This project is beginner-friendly and uses basic tools: a pocket hole jig, a drill/driver, and a sander if you plan to distress the finish. It’s a satisfying way to turn scrap wood into a charming, functional piece of decor.
Other small projects you might enjoy:
- DIY wood ornaments
- Simple faux fireplace ideas
- DIY headboard projects
- Custom wooden monograms
- Wall calendar and organizational projects
Give it a try—you can absolutely make something like this with a few tools and a little patience. The rustic simplicity is timeless and easy to adapt to your style.