
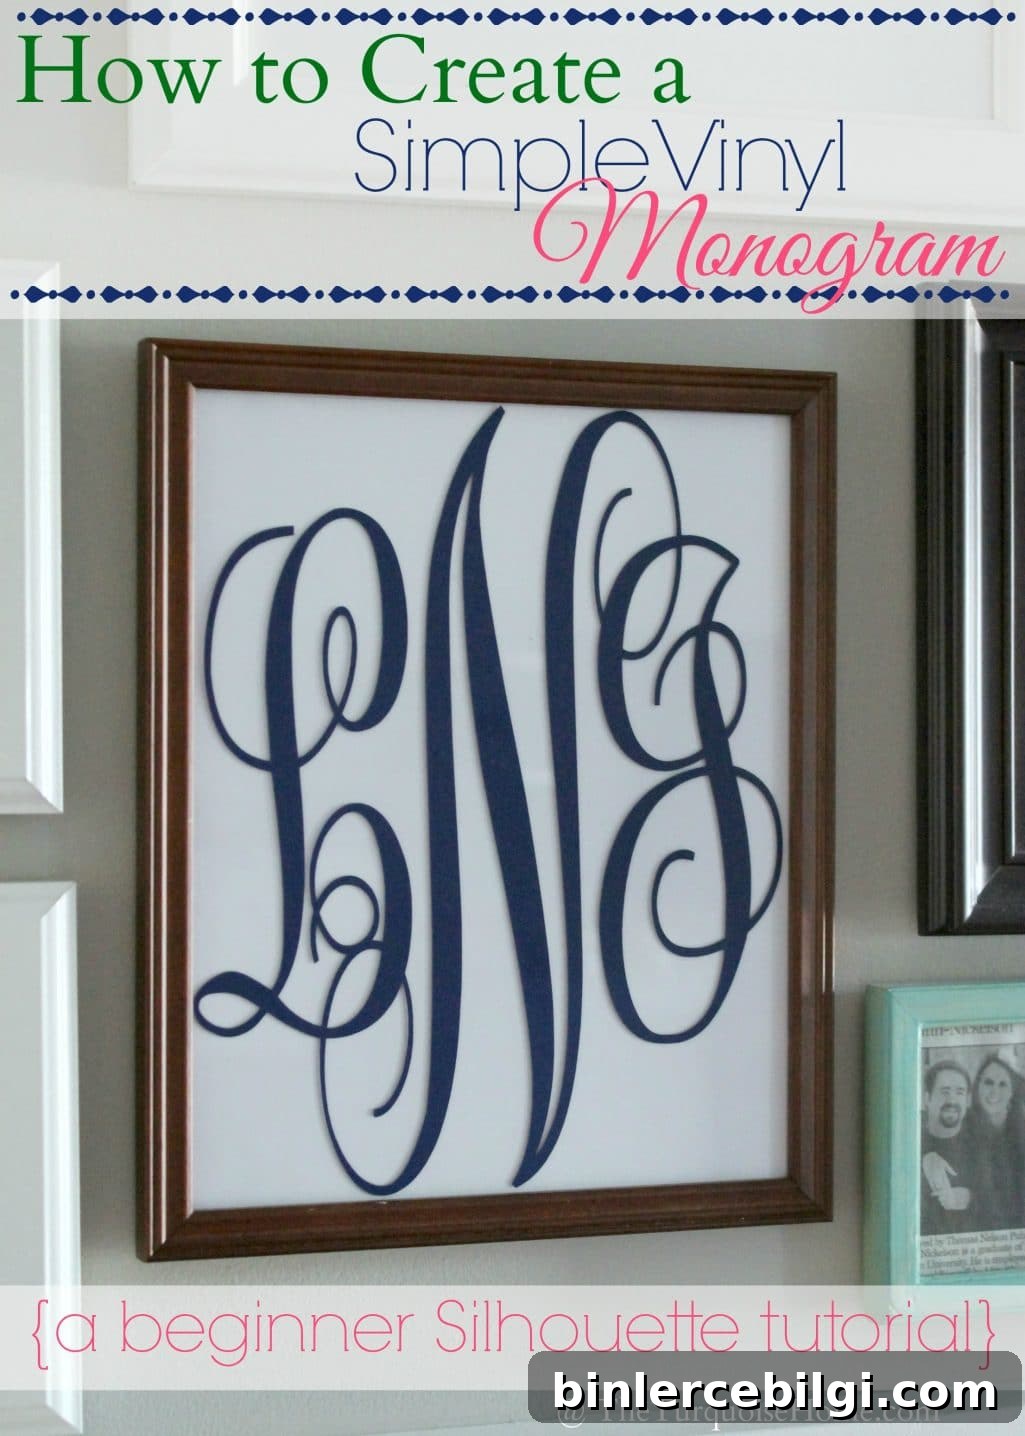
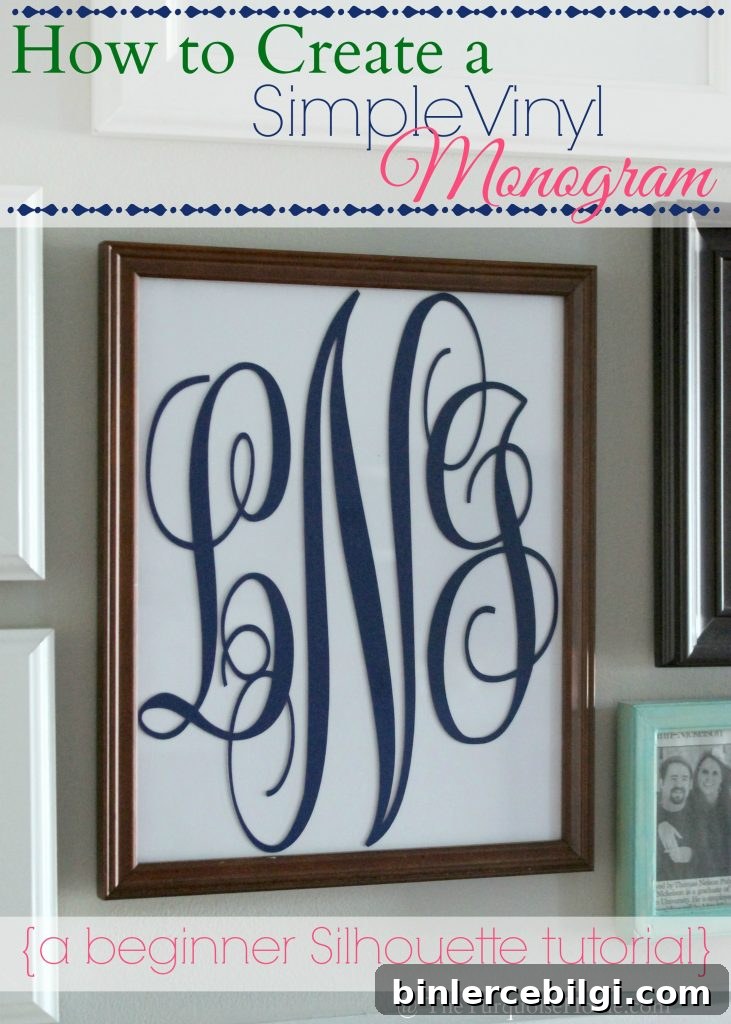
I love monograms, and this simple vinyl monogram project is perfect for beginners. This step-by-step tutorial walks you through everything you need to know to create your first vinyl monogram with a Silhouette cutting machine.
I’ve used the same basics from this tutorial to create matching projects like a printable monogram and a monogrammed wreath. The process is straightforward and adaptable for many surfaces and styles.
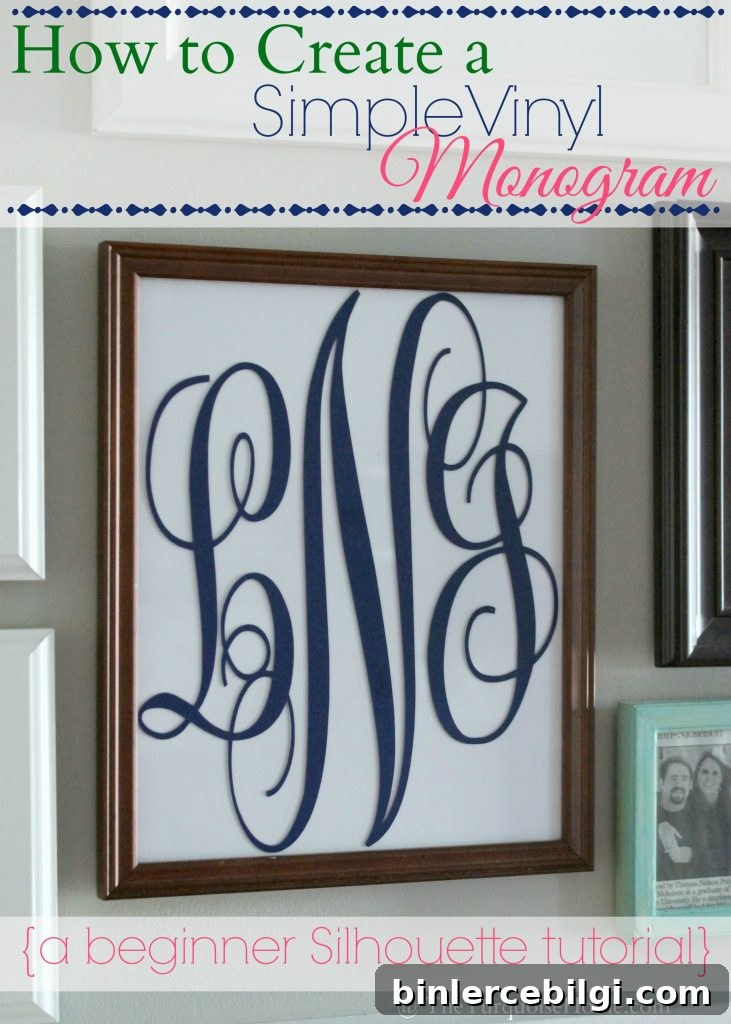
After buying a Silhouette Cameo last year, I was eager to try cutting vinyl. When I finally picked up a vinyl starter kit and a few colors during a sale, I decided to make a framed vinyl monogram. This was my first vinyl-cutting project — it wasn’t flawless, but the result was worth the effort. If you’re a beginner like me, follow these clear steps and tips for a smooth outcome.
Part 1. How to Create a Monogram
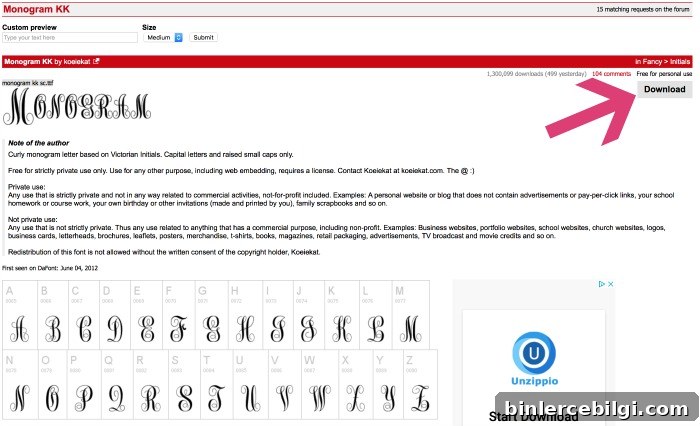
Step 1. Download the Monogram KK font.
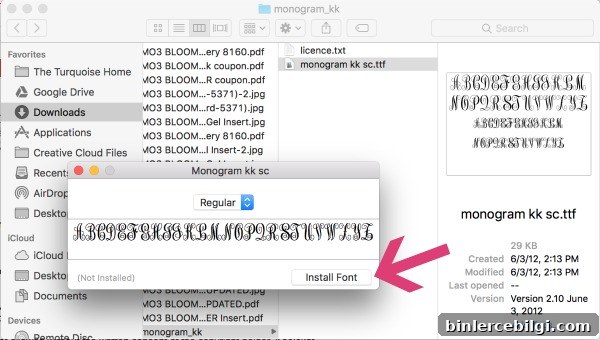
Step 2. Install the Monogram KK font on your computer.
On my Mac, I opened the Downloads folder, selected the Monogram KK font folder, and chose “Install Font.” The font then became available to all applications, including Silhouette Studio. If the font doesn’t show up in Silhouette Studio right away, close the program and relaunch it so the font library refreshes.
If you’re on a PC and need help installing fonts, search for instructions specific to your operating system — the process is similar: download, unzip if necessary, and install the font so it appears in your font list.
Step 3. Design your monogram in Silhouette Studio.
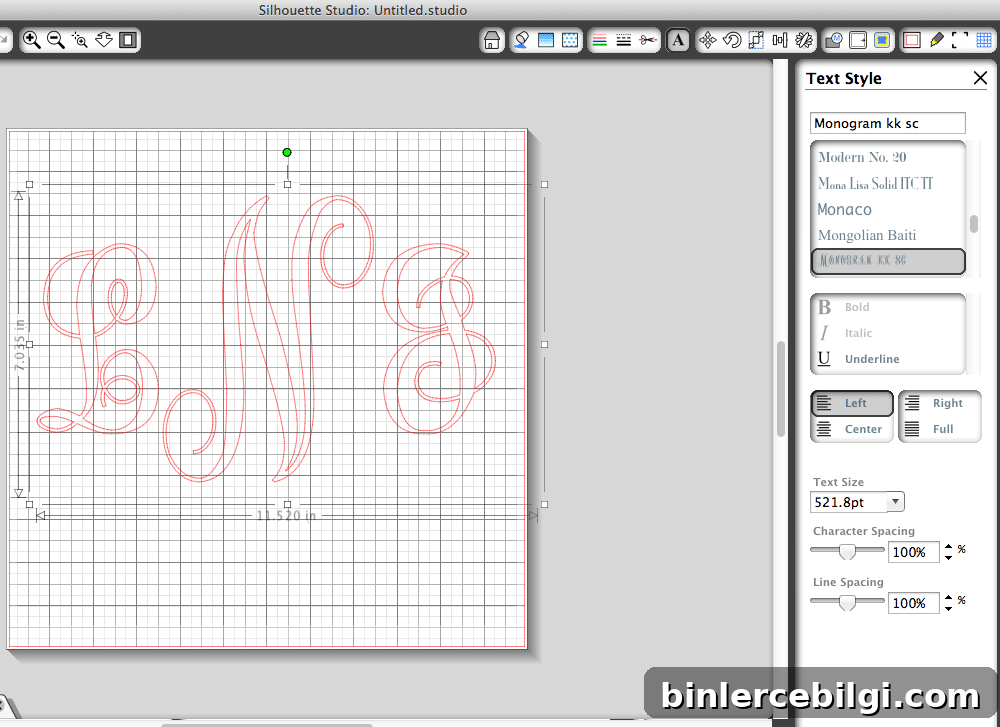
A quick note about married couple monograms: type the initials in this order — wife’s first initial, last name initial (center, larger), then husband’s first initial. For example, L N J. Monogram KK is built to size the center initial larger when you type the outer initials in lowercase and the middle initial in uppercase. That prevents accidental overlaps when you begin arranging the letters.
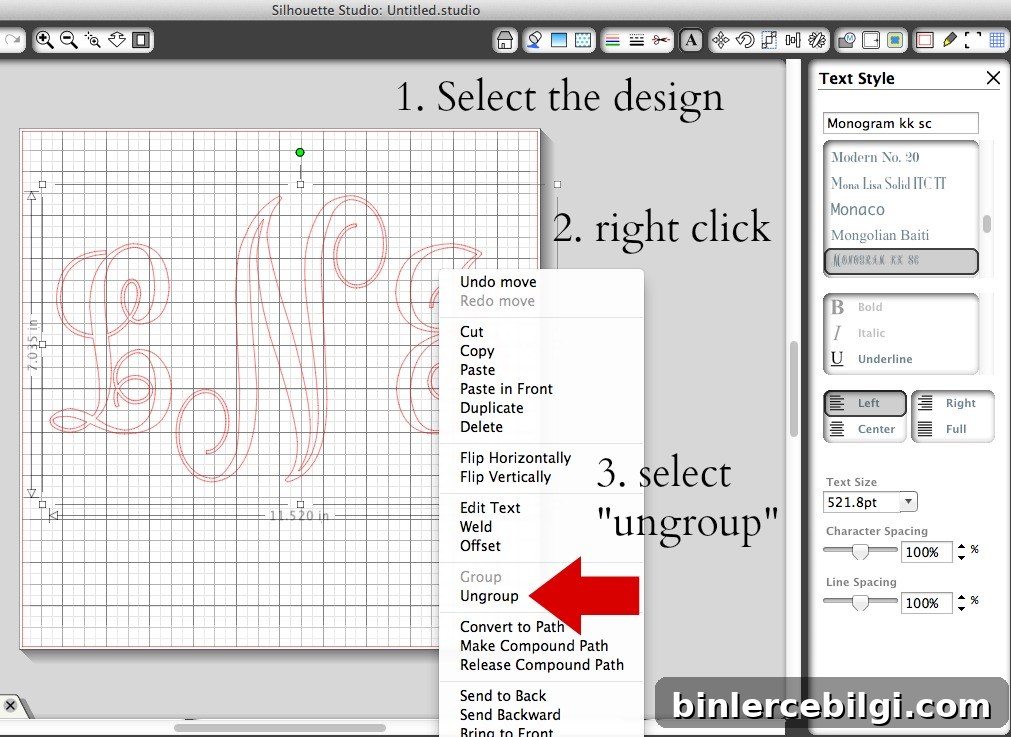
Ungroup the letters and move them until they overlap exactly the way you want. The side initials may not be perfectly symmetrical — balance what looks best visually rather than forcing exact spacing.
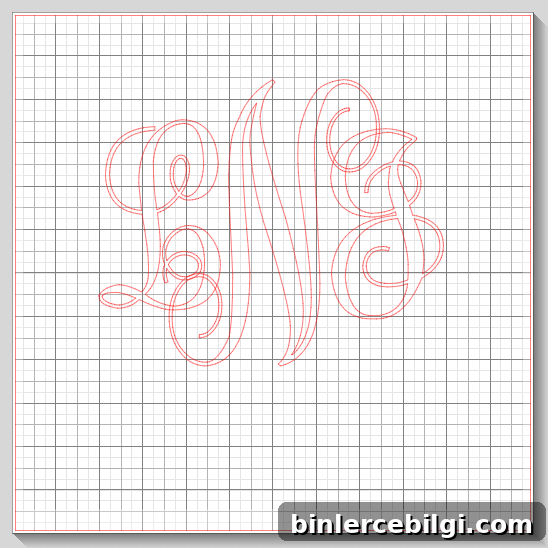
Step 4. Weld the letters into a single design.
Once the spacing and overlap are correct, use the “Weld” function in Silhouette Studio to join the letters. Welding creates a single, continuous shape that the cutter can follow, avoiding separate cut paths for overlapping elements.
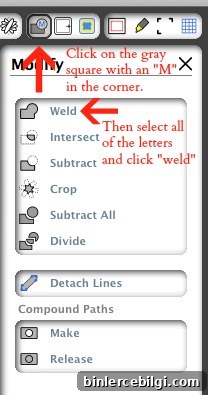
Seeing the welded design felt like a milestone — the monogram looked clean and ready to cut.
Step 5. Resize your monogram to fit your project.
Measure the exact area where the vinyl will be applied. For a framed design, measure the inside edge of the frame, because the visible space is often smaller than the frame size. I sized my monogram to about 7.5 x 9.5 inches to fill the visible area of an 8×10 frame. Scaling in Silhouette Studio may change the letter proportions slightly, so check spacing after resizing.
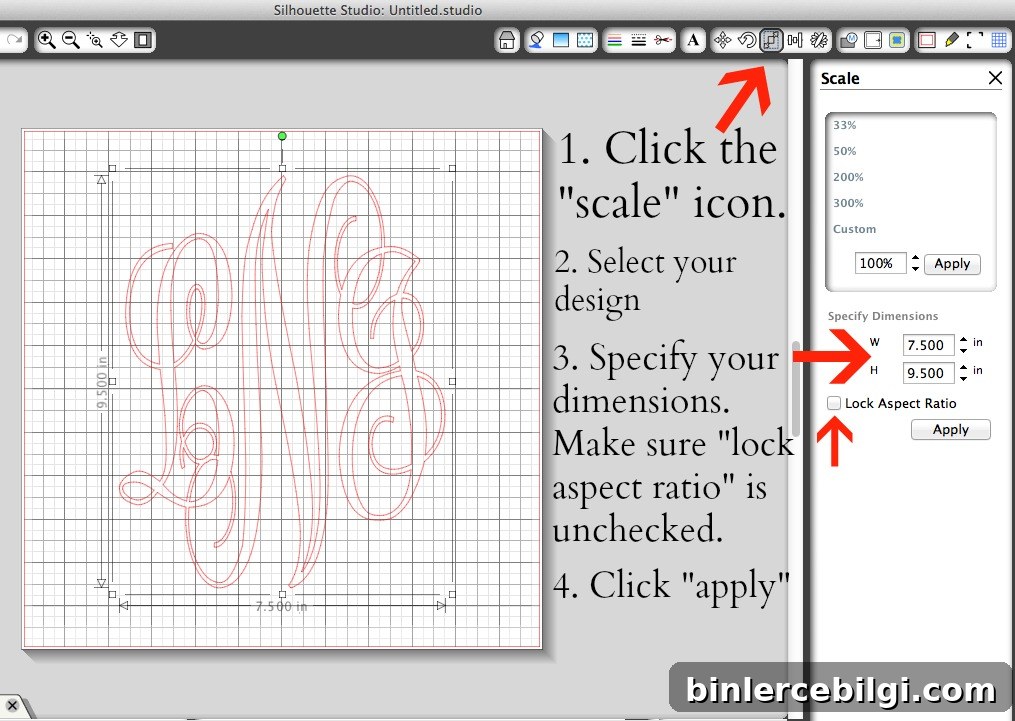
Adjust until the monogram fills the space pleasingly without crowding the edges.
Part 2. How to Cut Vinyl to Create a Monogram
Step 6. Cut the vinyl with your Silhouette machine.
Cutting is straightforward. I used a fresh cutting mat for better grip, since older mats can lose stickiness and let the vinyl shift. Cut a piece of vinyl slightly larger than your design and stick it onto the cutting mat. Load the mat into the Silhouette (choose “Load Cutting Mat,” not “Load Media”), select the vinyl cut settings, and press “Cut.”
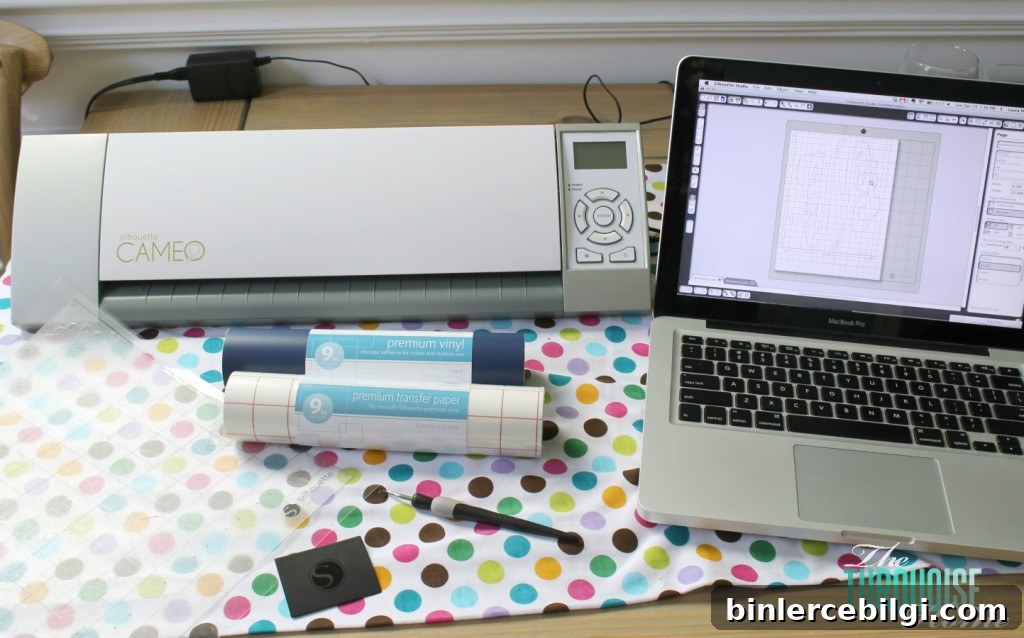
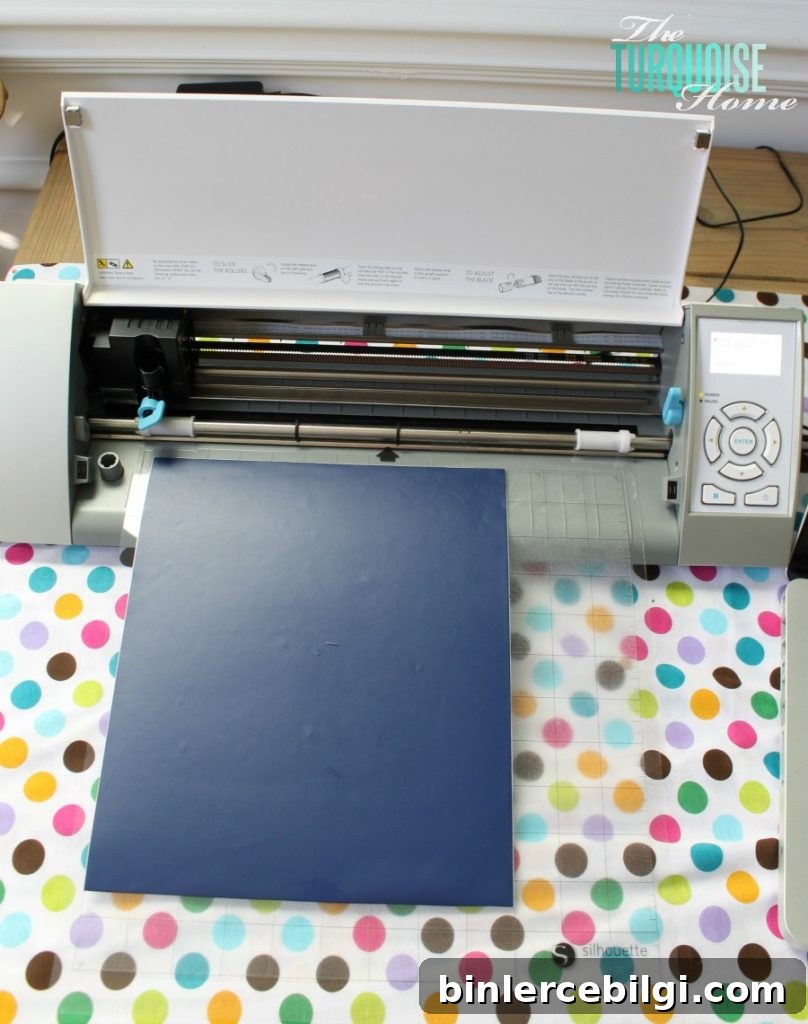
Step 7. Weed away the excess vinyl.
After cutting, remove the vinyl that is not part of the design. A hooked weeding tool helps remove small interior pieces cleanly. Take your time; careful weeding ensures a crisp final decal.
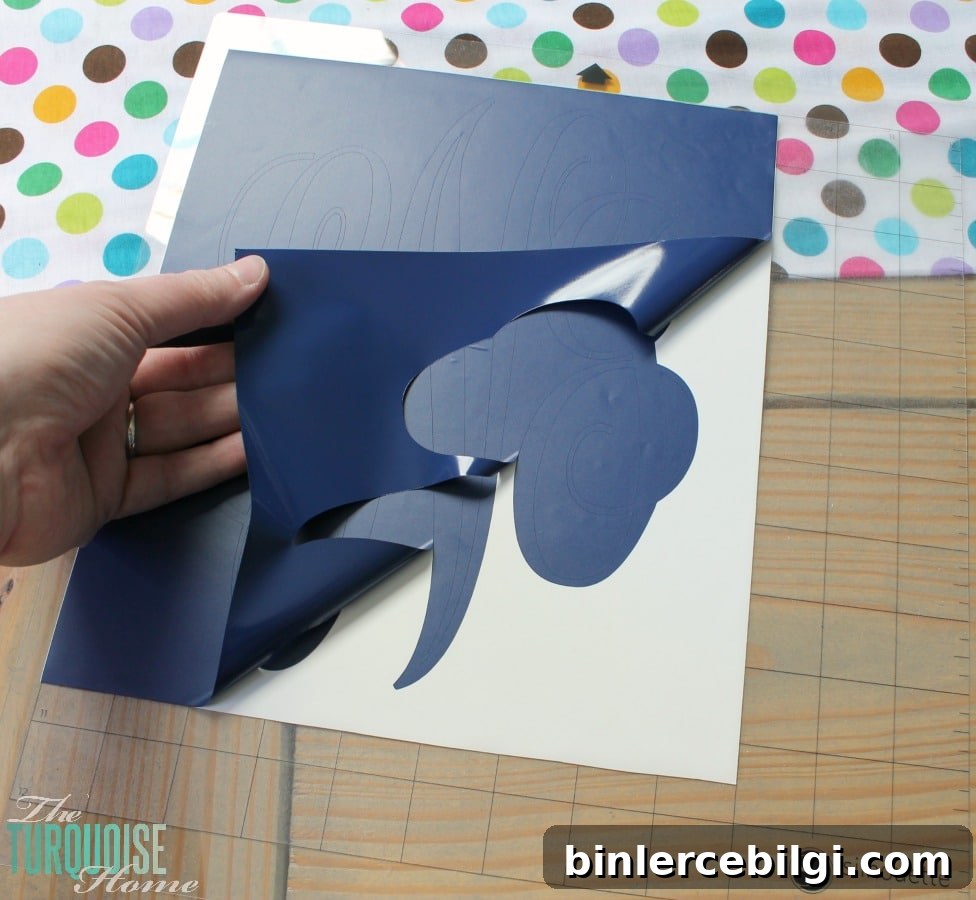
Once weeded, the design is ready for transfer — the most delicate step.
Step 8. Transfer the vinyl with transfer paper.
Cut transfer paper to the size of your design and peel away its backing. Place the sticky side of the transfer paper onto the vinyl and firmly rub with a scraper tool so the decal adheres. Smooth out wrinkles as best as possible. Slowly peel the vinyl away from its backing — the design will lift onto the transfer sheet, reversed and ready to apply.
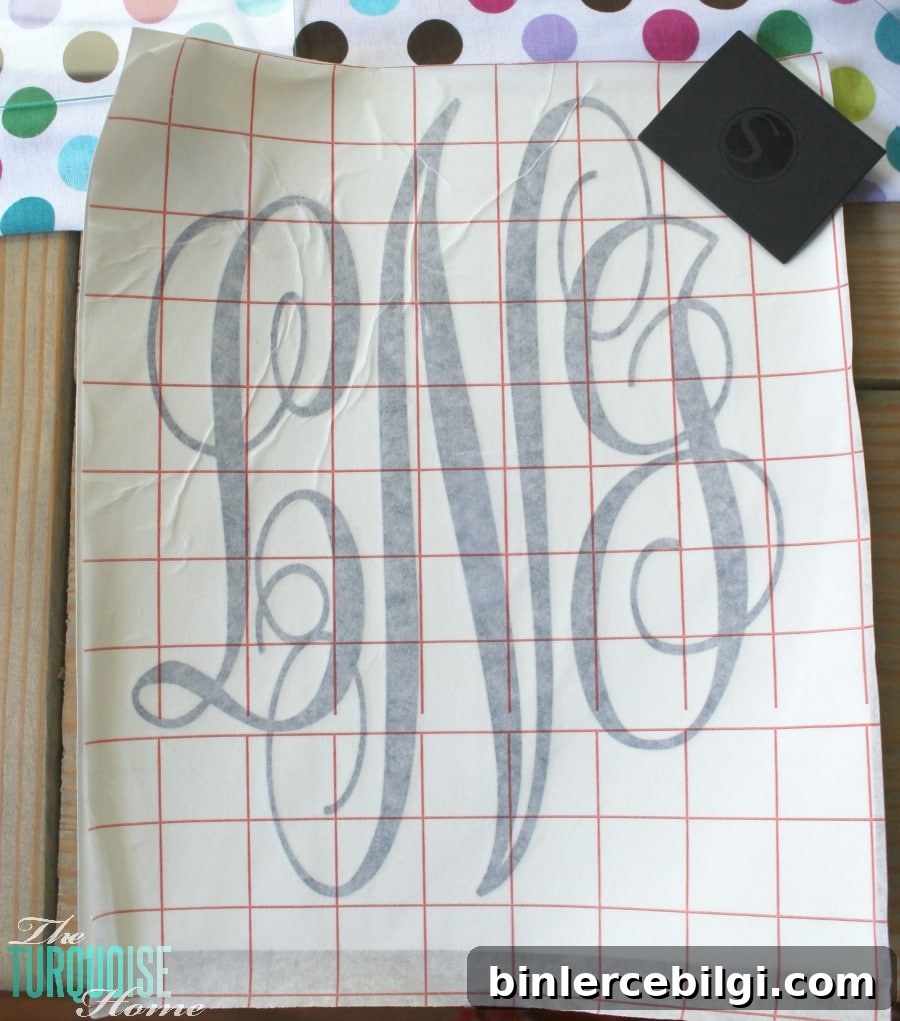
If applying to glass, place the glass face-down onto the design so you can align it easily. Press the transfer paper down with the scraper, starting from the center and working outward to remove bubbles. Peel the transfer paper away slowly to reveal your monogram adhered to the surface.
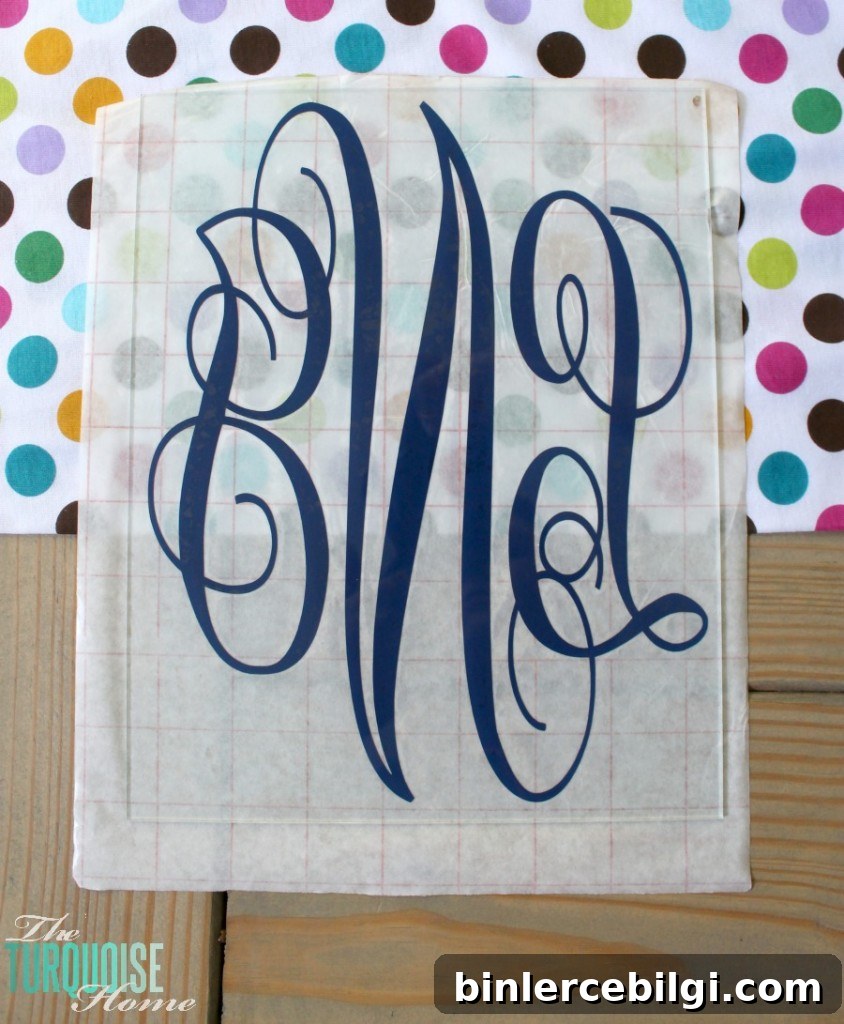
I finished my framed monogram by placing white cardstock behind the glass for a clean background, but the design also looks great on an empty frame (showing the wall color), burlap, or patterned fabric.
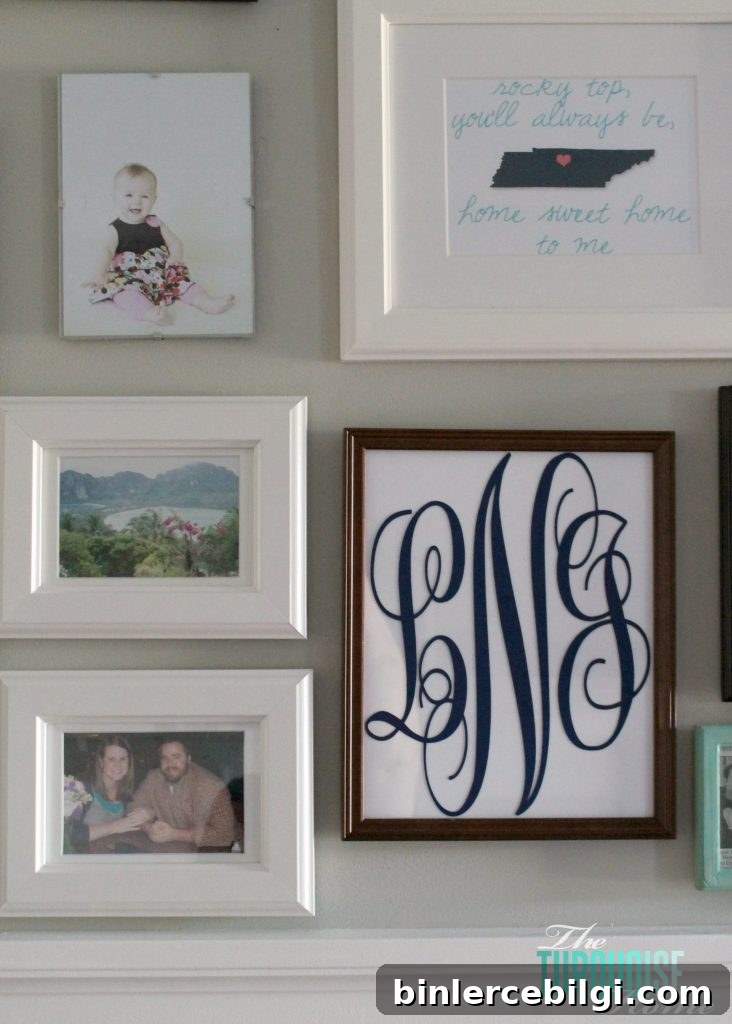
This project was a great introduction to working with vinyl and a Silhouette Cameo. If you try it, I’d love to hear how it goes or what tips you’ve discovered. Even small tricks—like mat maintenance, blade settings, or transfer techniques—can make a big difference as you tackle more vinyl projects.
Tell me in the comments what you plan to monogram first—mugs, frames, pillows, or something else?
More Posts You Will Love:
- DIY Monograms for Every Room in Your House
- Cotton Wreath Free Printable {with your monogram!}
- Framed Burlap Monogram