
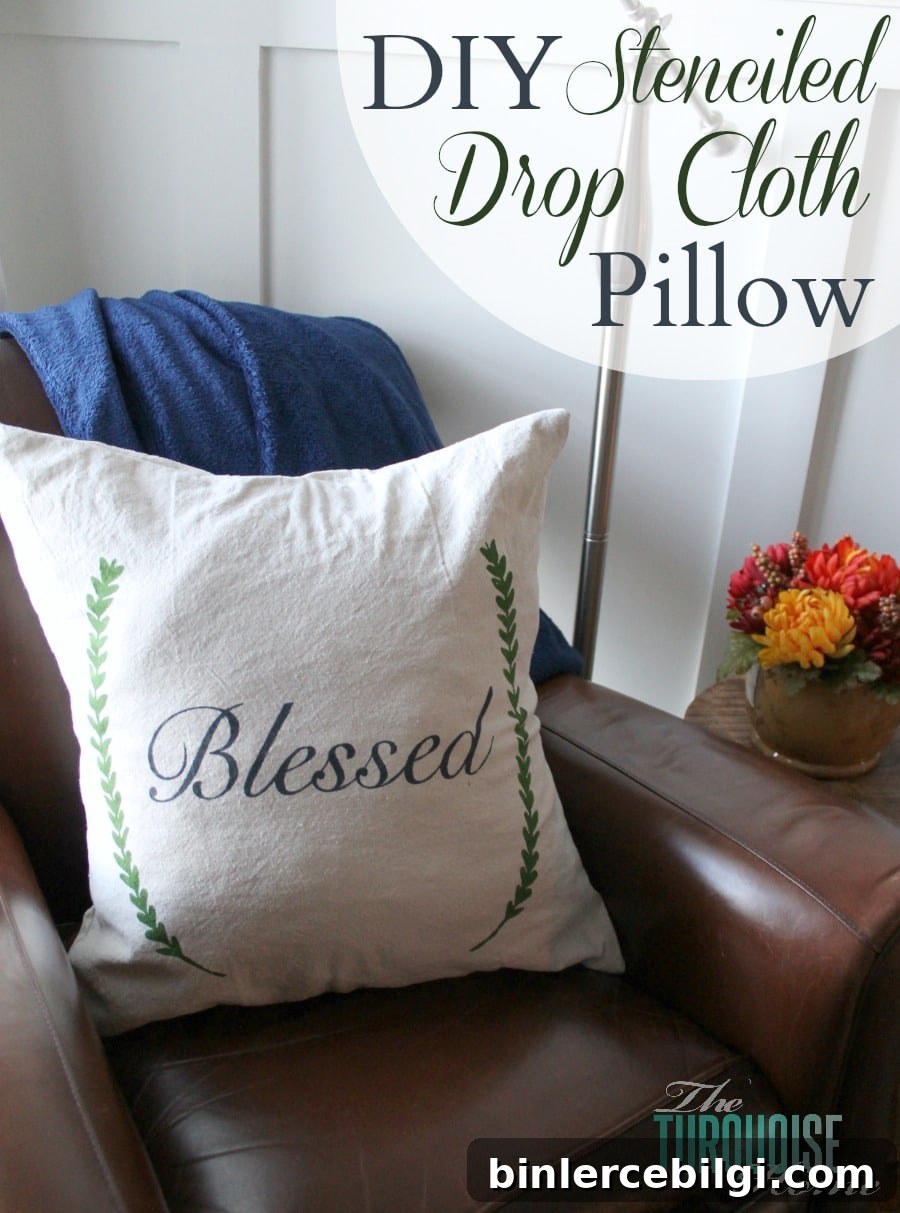
This DIY stenciled pillow cover is an easy, budget-friendly way to make a custom throw pillow using leftover fabric. The simple design is perfect for Thanksgiving or year‑round decor and serves as a gentle reminder of the many blessings in our lives.
If you follow this blog, you’ll know I love simple, practical projects that use tools I already have on hand. This project brings together three of my favorite things: a cutting machine, contact paper stencils, and drop cloth fabric.
The inspiration came from a single word: “Blessed.” When I reflected on what I’m grateful for—my husband, daughter, family, friends, home, and faith—that word kept returning. I decided to turn that feeling into a decorative pillow.
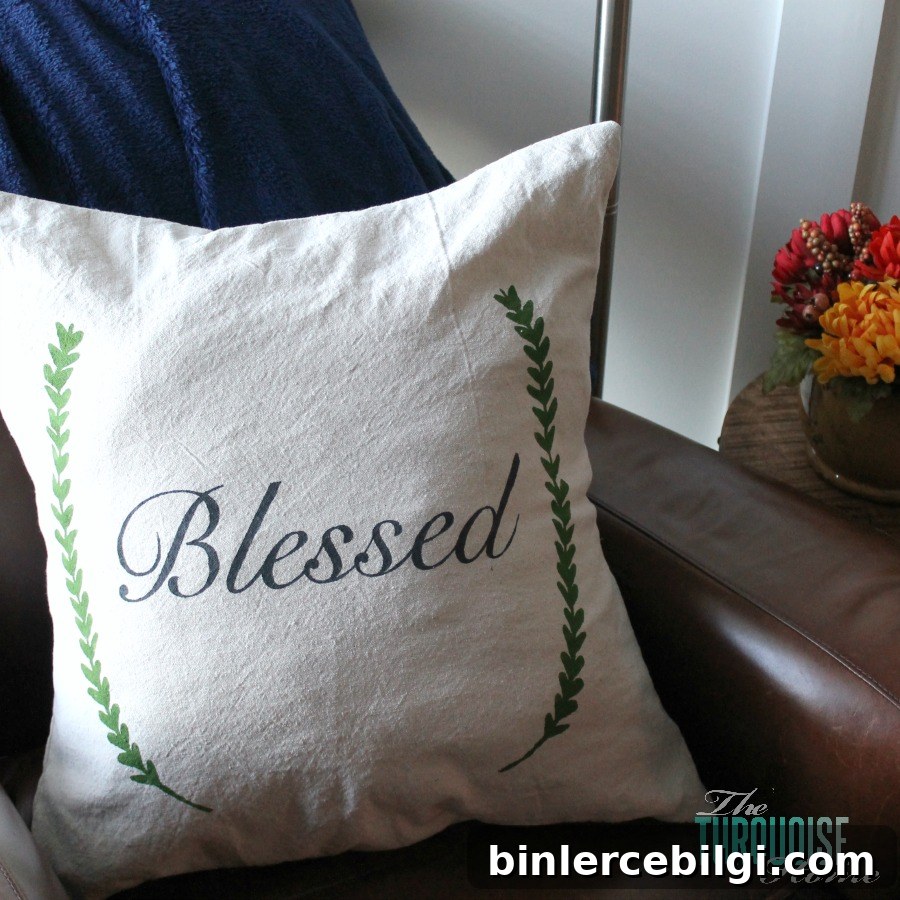
I didn’t set out to buy anything new for this project. I had leftover drop cloth fabric from a curtain project and a few pillow inserts waiting for covers. Using what I already had made this craft practically free and very satisfying.
I used my cutting machine to create a contact paper stencil with a script font and a simple laurel accent. Cutting the word as a single, welded piece produced clean, connected lettering that stenciled beautifully on fabric.
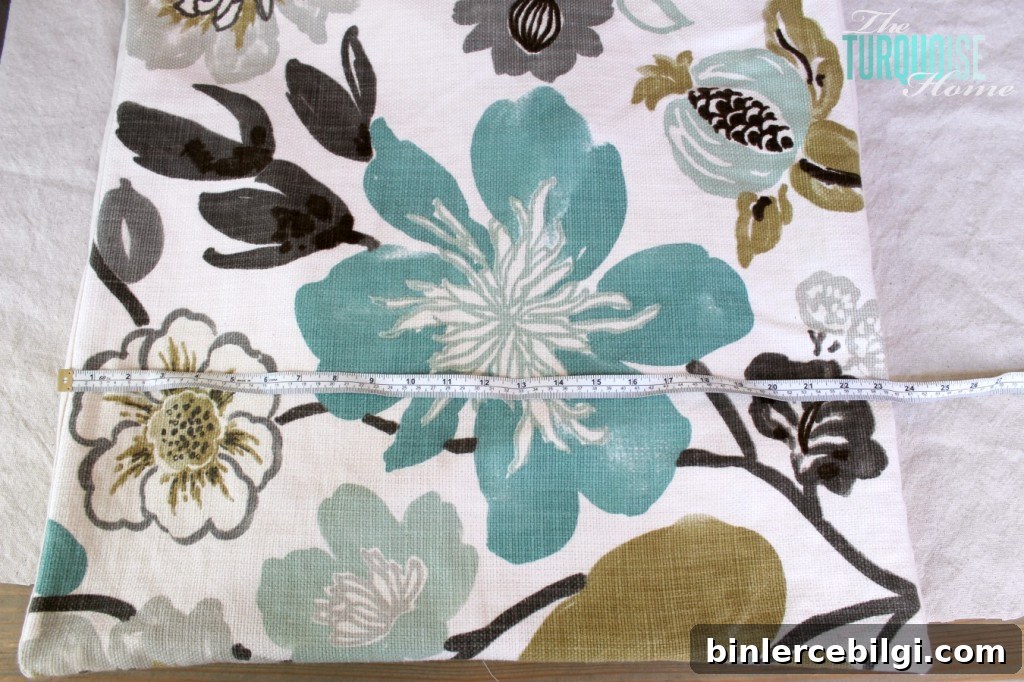
Supplies for DIY Stenciled Drop Cloth Pillow Cover
- Drop cloth fabric and a finished pillow cover in the size you prefer (mine is 20″ x 20″).
- Cutting machine (Silhouette Cameo or similar).
- Contact paper to cut a stencil.
- Design created in the machine’s design software (weld script fonts for a single-piece word).
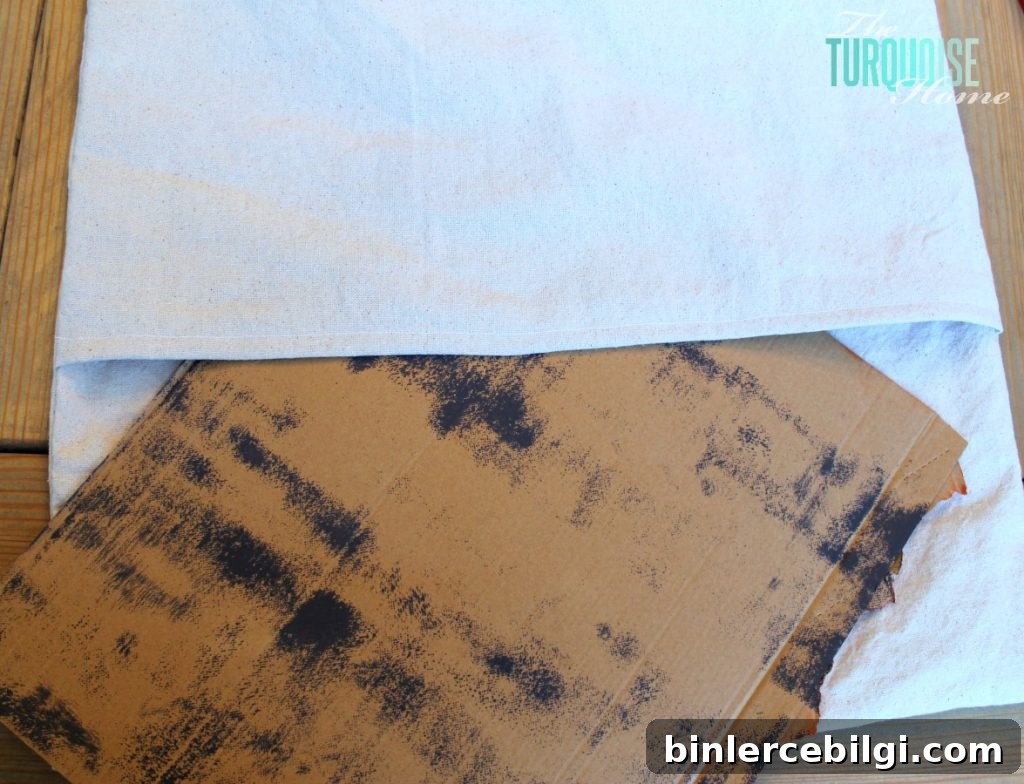
- A scrap piece of cardboard to slide into the pillow while painting.
- A foam craft brush or small stencil brush for dabbing paint.
To begin, I made the pillow cover from the drop cloth fabric. I measured against other covers I own and settled on a 20″ square size because I had limited material. A slightly smaller cover filled with a full pillow insert still looks generous and plush.
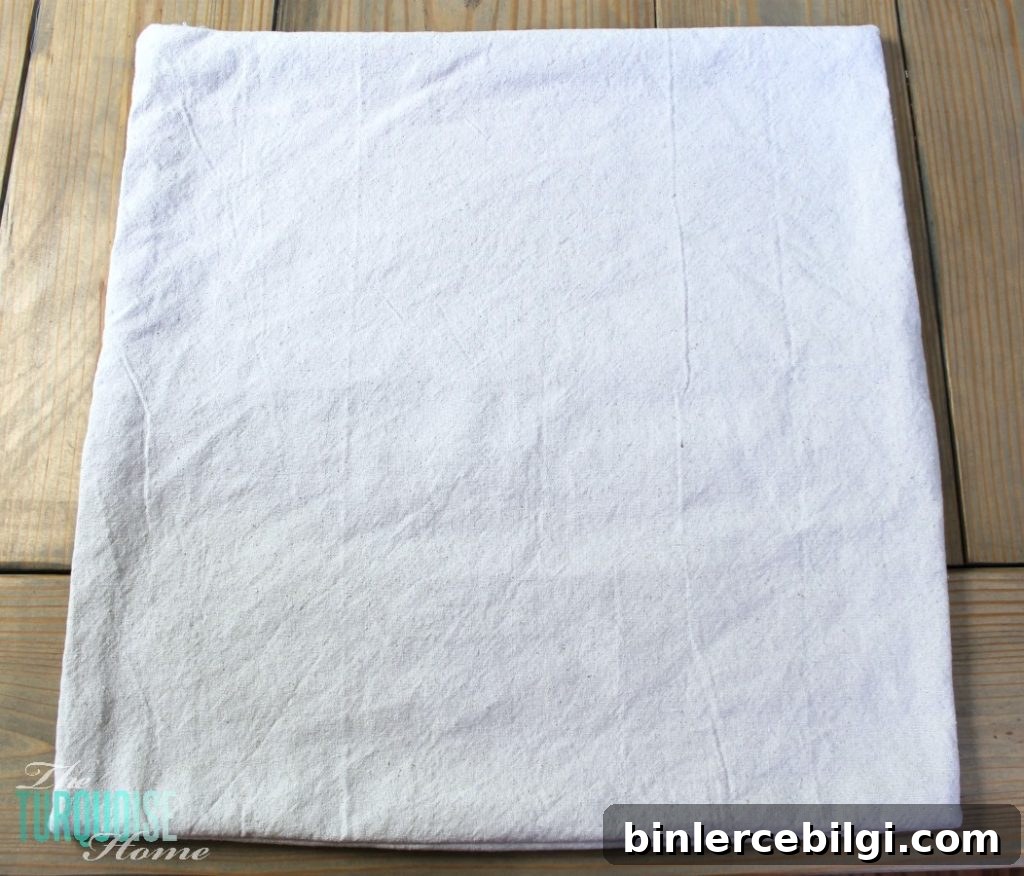
If you need a quick guide for a basic envelope-style pillow cover, there are many easy tutorials available that walk through cutting and sewing the fabric into a simple cover.
Next, I created the stencil with contact paper and my cutting machine. Using a script font and welding the letters into one connected shape gives a polished, hand-lettered look. For a bit of decorative flair I added a small laurel graphic on either side of the word.
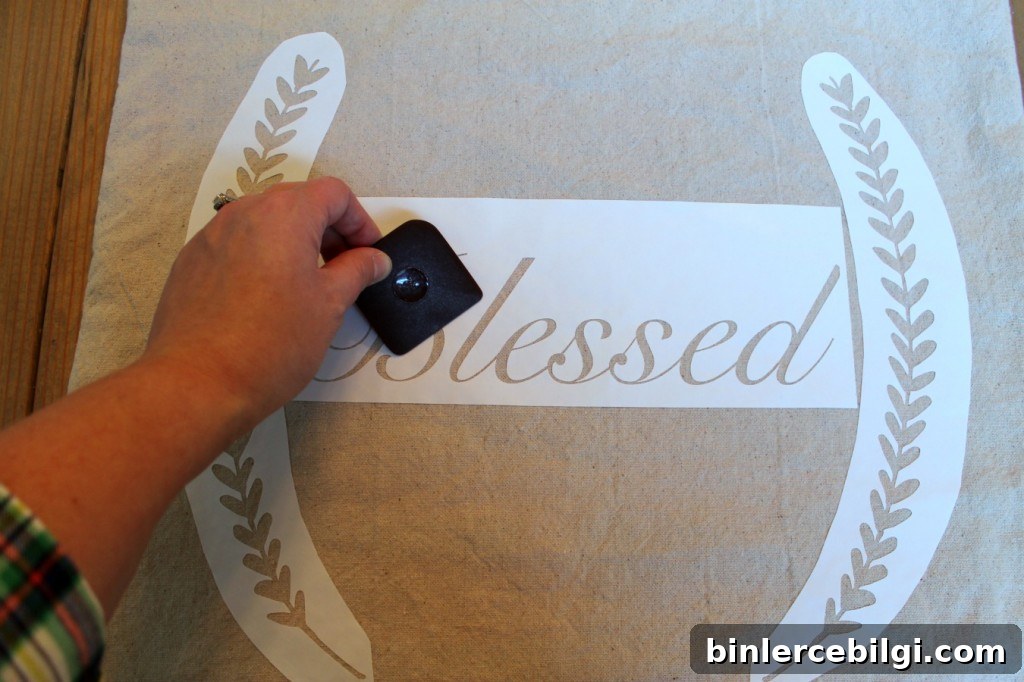
Before painting, slide a piece of cardboard inside the cover to prevent paint from soaking through to the back. Carefully apply and smooth the contact paper stencil, pressing firmly to seal the edges so paint won’t bleed underneath.
For best results, use a small foam stencil brush and apply paint with a gentle up‑and‑down dabbing motion rather than brushing. Use just enough paint to cover the fabric—too much paint can seep under the stencil and blur the edges. A food scraper or similar flat tool helps press the contact paper down and ensure a tight seal.
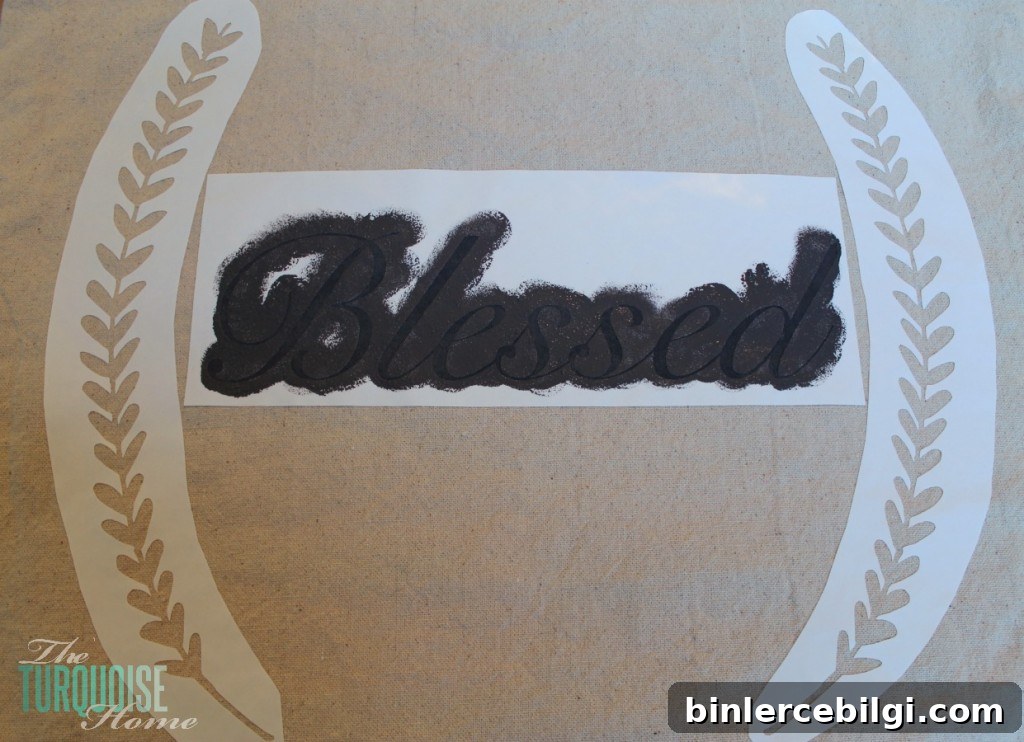
After the paint dried to the touch, carefully lift the stencil to reveal crisp lettering and clean lines. The combination of the textured drop cloth and the smooth script creates a charming rustic look that works well on sofas, entry benches, or seasonal displays.
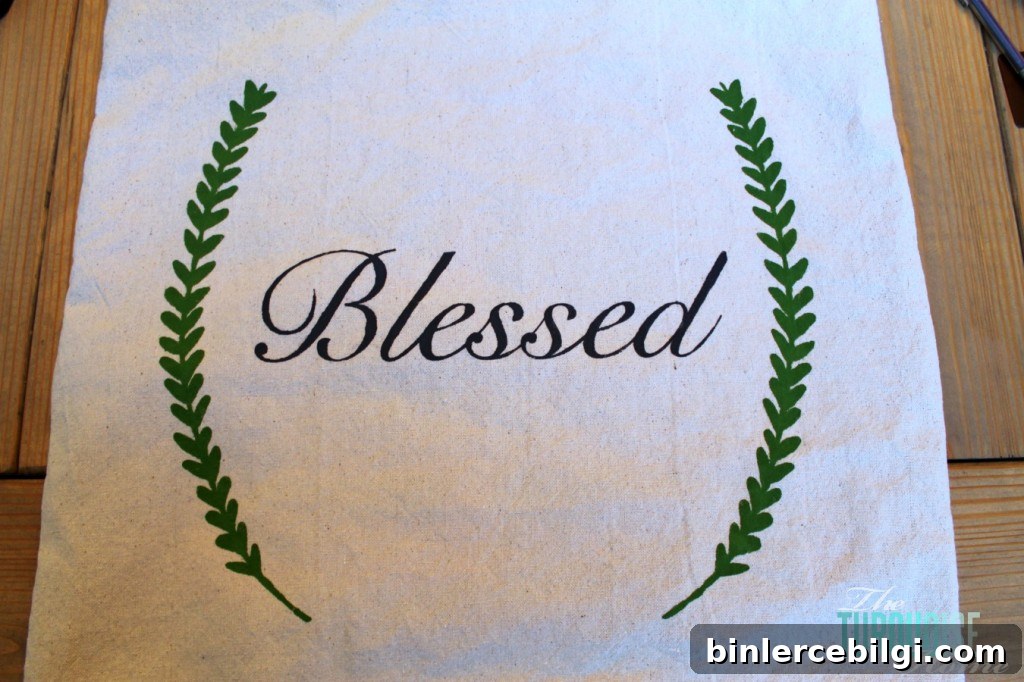
This project was simple, used mostly materials I already had, and produced a meaningful accent for my home. Whether you make one pillow or a whole set, stenciling on drop cloth fabric is a versatile, economical way to customize throw pillows for holidays or everyday living.
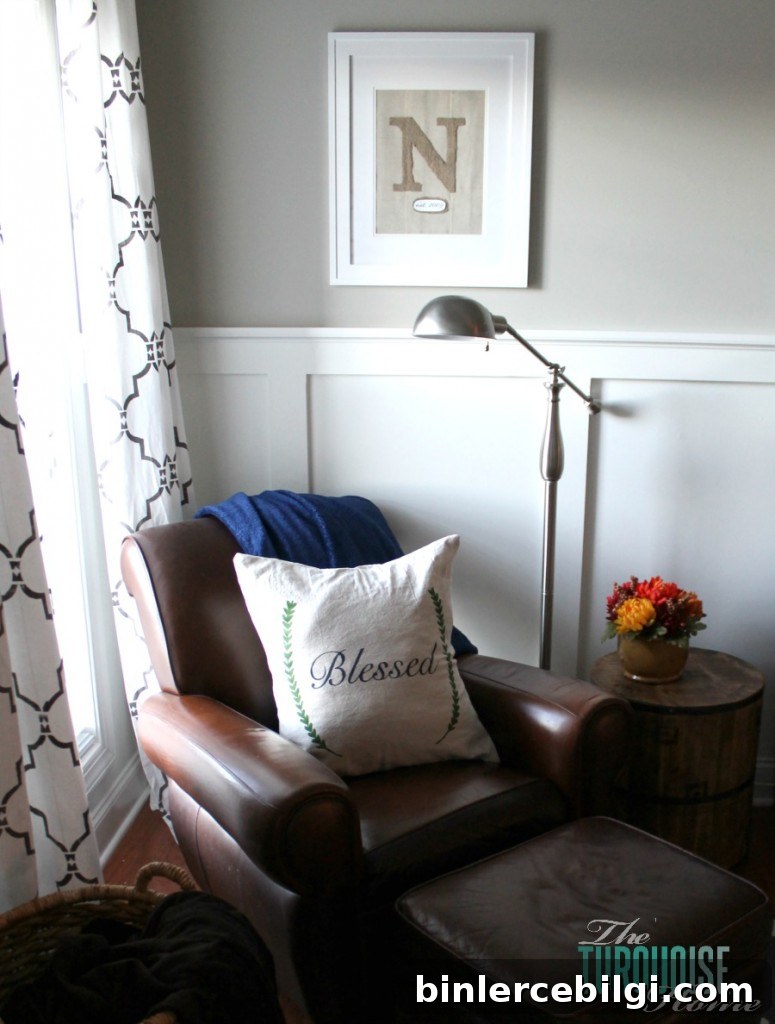
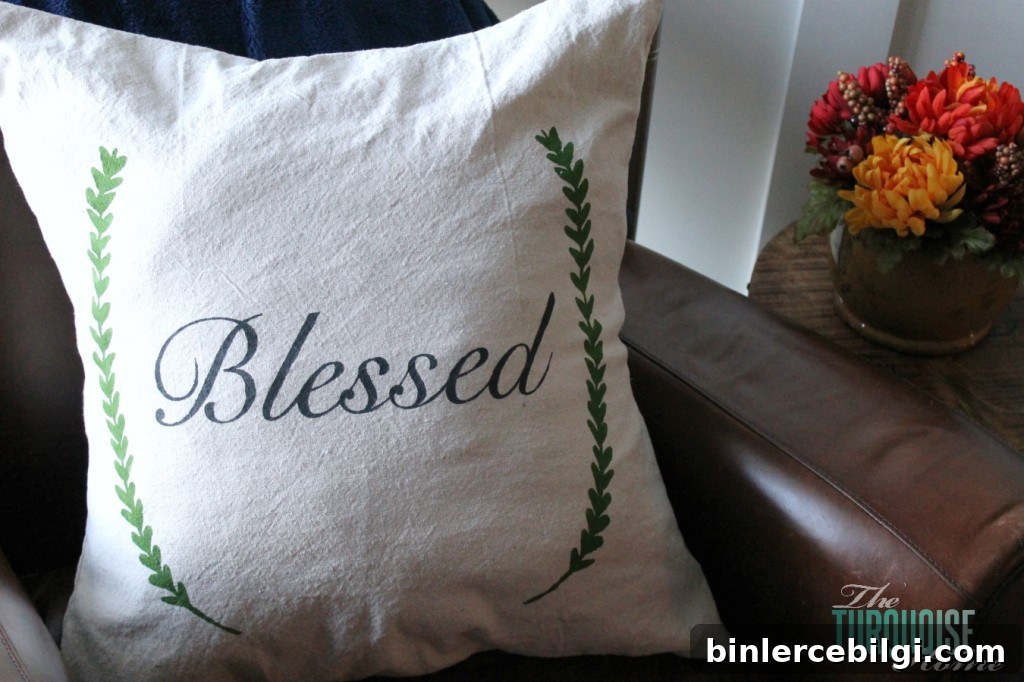
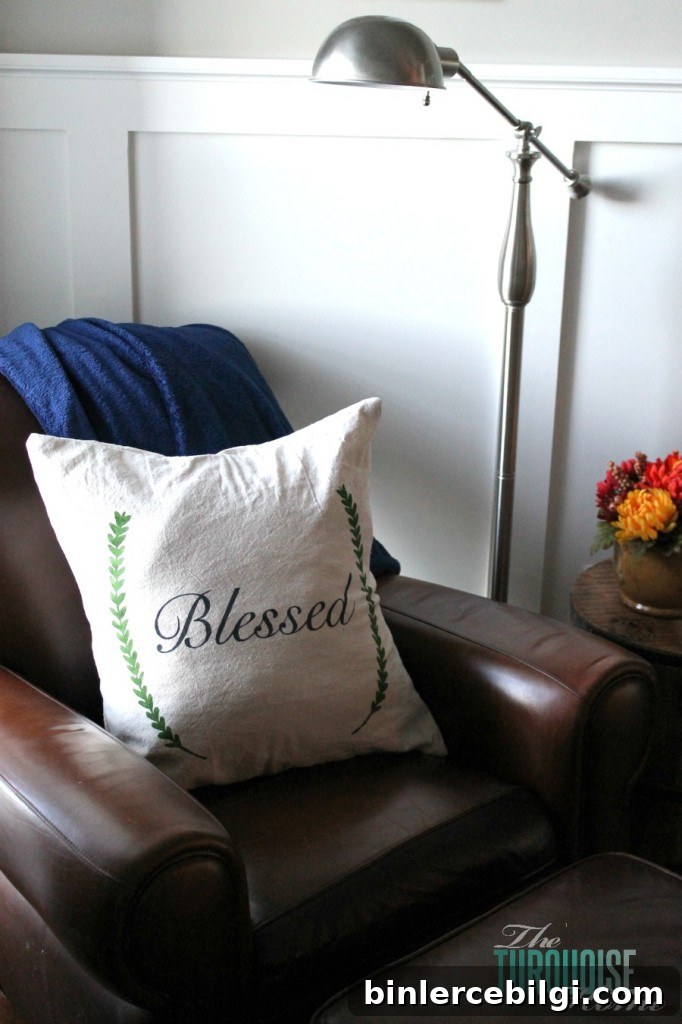
Give it a try: choose a word or short phrase that matters to you, create a stencil, and personalize a pillow that reflects your home and heart.