
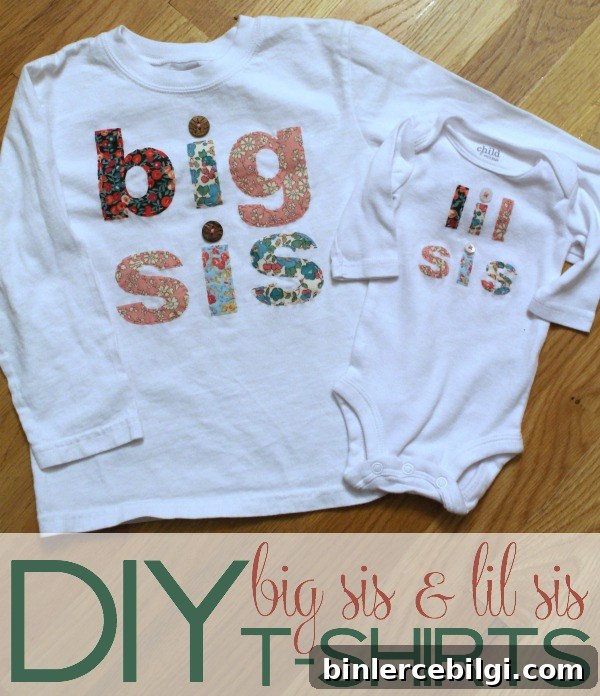
This sweet big sister and “lil sis” matching t-shirt set makes a perfect gift for any little girl welcoming a new baby sister.
If you’ve followed me for a while, you know I adore my Silhouette CAMEO for DIY projects. It speeds up repetitive tasks, helps me cut precise shapes, and makes simple ideas look polished and professional. I especially love that it lets me turn a few supplies into meaningful, wearable pieces for my girls.
I wanted matching “big sis” and “lil sis” shirts for my daughters to wear when they meet each other in a few weeks. I considered buying them online, but I knew I could make something custom that would be more personal and less expensive using my Silhouette and a few sewing basics.
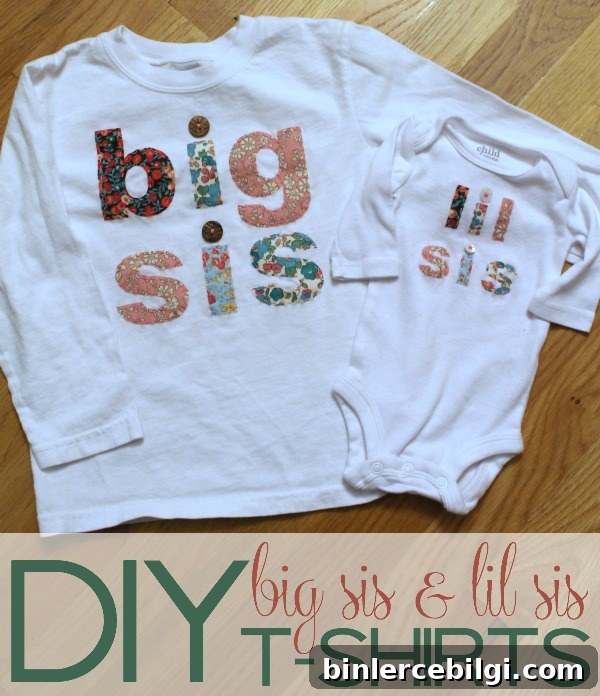
DIY Big Sis and Lil Sis T-shirts Tutorial
This tutorial walks you through making coordinating shirts with fabric appliqué letters. It’s a straightforward project that works well for beginners: measure, design, cut, adhere, and add a little hand stitching for a charming finish. Below are the steps and helpful tips to get consistently good results.
Step 1: Wash and iron your fabrics
Prewash all fabrics, shirts, and onesies before you begin to avoid shrinkage or color transfer later. Ironing each piece before cutting and applying will give you cleaner cuts and smoother adhesion, so don’t skip this step.
Step 2: Prep fabrics with interfacing
Cut squares of each fabric large enough to fit the letters you’ll cut. Use sewable fusible interfacing on the back of each fabric square so the material feeds cleanly through your cutter, resists fraying, and temporarily adheres to the shirt while you sew.
Step 3: Create your design in Silhouette Studio
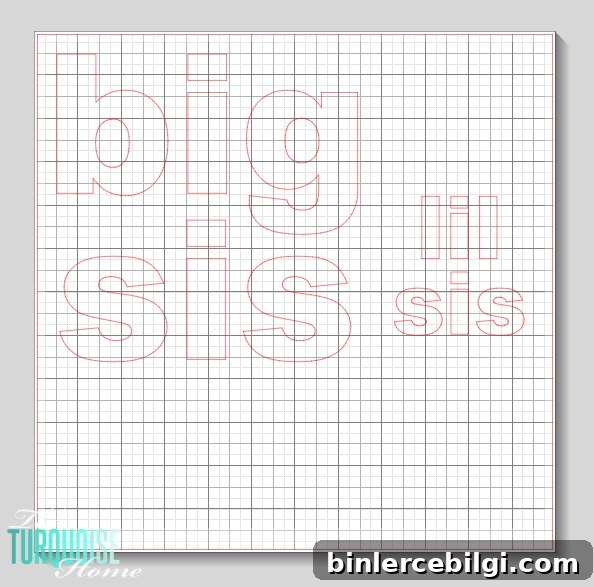
Measure the area on each shirt where you want the wording so you can size the letters appropriately. I chose bold block letters and used Arial Black for a simple, readable look. Lay out the text in your software, resize, and arrange the letters to match your vision for the finished shirt.
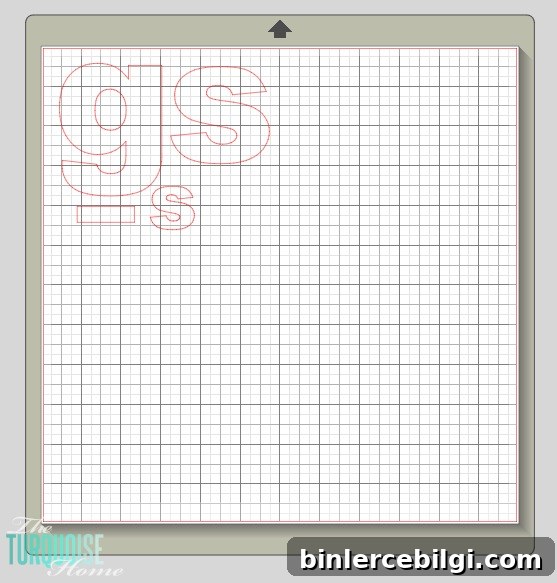
Step 4: Group letters by fabric and cut
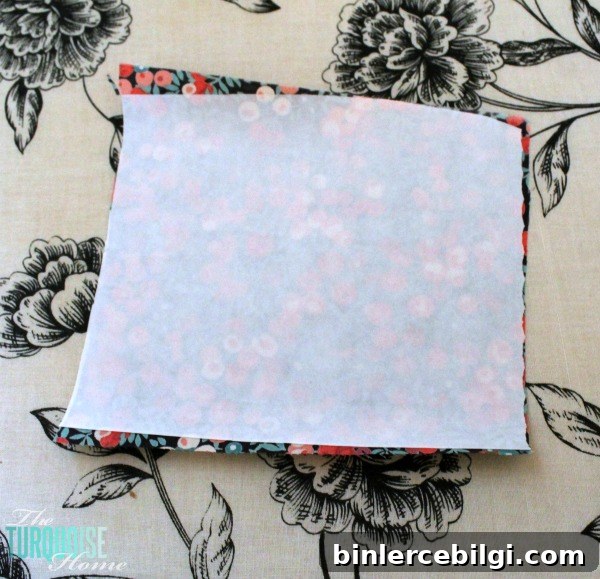
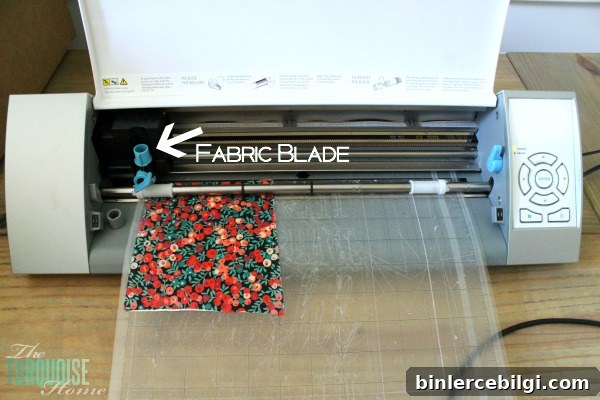
Decide which letters will be in the same fabric and group them before cutting. Use a fabric blade in your cutter dedicated to fabric so the blade stays sharp and produces clean edges. Cut each grouped layout from the prepared fabric squares with interfacing fused to the back.
Step 5: Cut out the fabric
Cut each letter or shape carefully, keeping the pieces on the cutter mat until you’re ready to arrange them on the shirt. The interfacing will stabilize thin or fraying fabrics and makes handling much easier.
Step 6: Arrange letters on the shirts
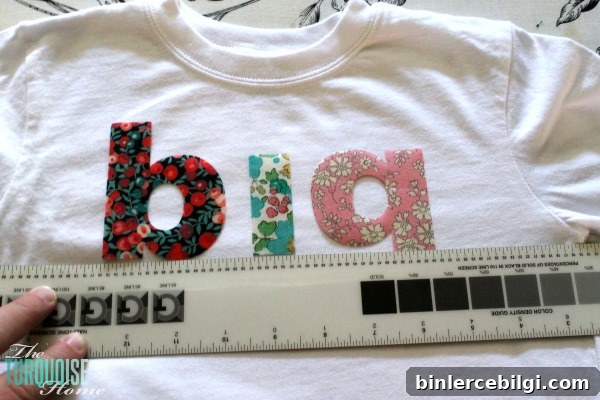
Lay out the letters on each shirt to check spacing and alignment. Use a ruler to keep letters centered and straight. Take a photo or lightly mark with chalk to ensure consistent placement before you fuse them down.
Step 7: Iron and stitch the letters
Follow the interfacing manufacturer’s directions to fuse each letter to the shirt. The interfacing will hold everything in place, but a little stitching around the edges secures the appliqué and adds a homemade touch. I used simple hand embroidery stitches around each letter and sewed small buttons over the “i”s for added texture and charm.
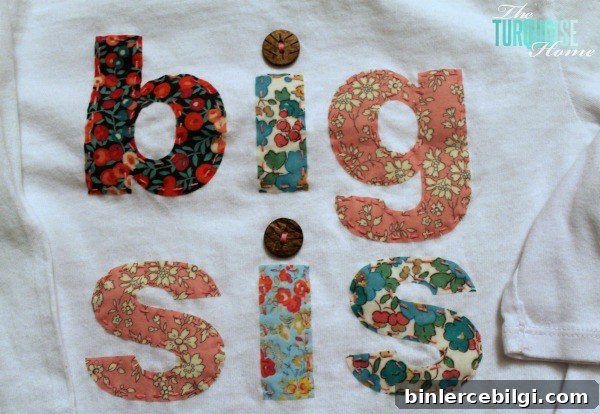
Once finished, dress your children in the shirts and enjoy the moment. I’m especially fond of using fabrics I bought on a trip to New York a couple years ago; repurposing them for these shirts adds a little family history and meaning to the garments. I pulled buttons from my stash, but coordinating heart or pink buttons would also be adorable.
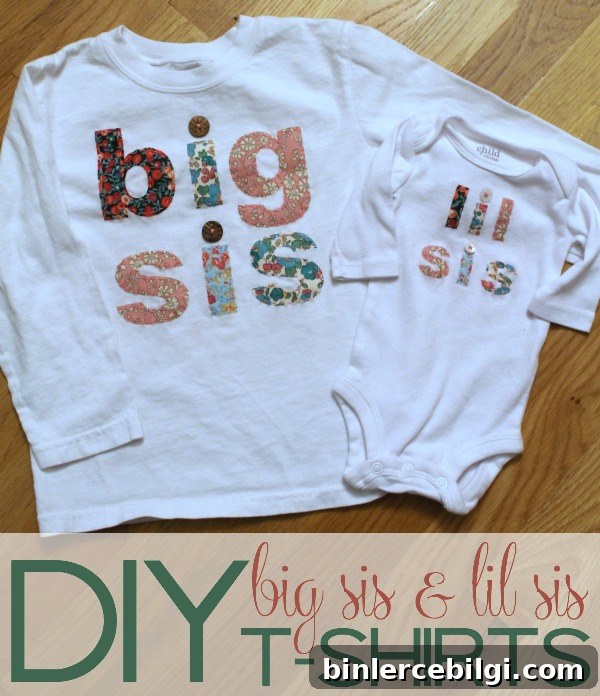
I’m so glad I made these instead of buying premade shirts. They were affordable, personal, and fun to create. One more project checked off my list—and I can’t wait to see my two girls wearing them when they finally meet.
More Silhouette Project Ideas
If you enjoy using a Silhouette cutter, try exploring more fabric appliqué, paper crafts, and custom gift ideas. This tool is versatile for home decor, personalized clothing, and handmade gifts—perfect for creative crafters looking to make memorable projects.