
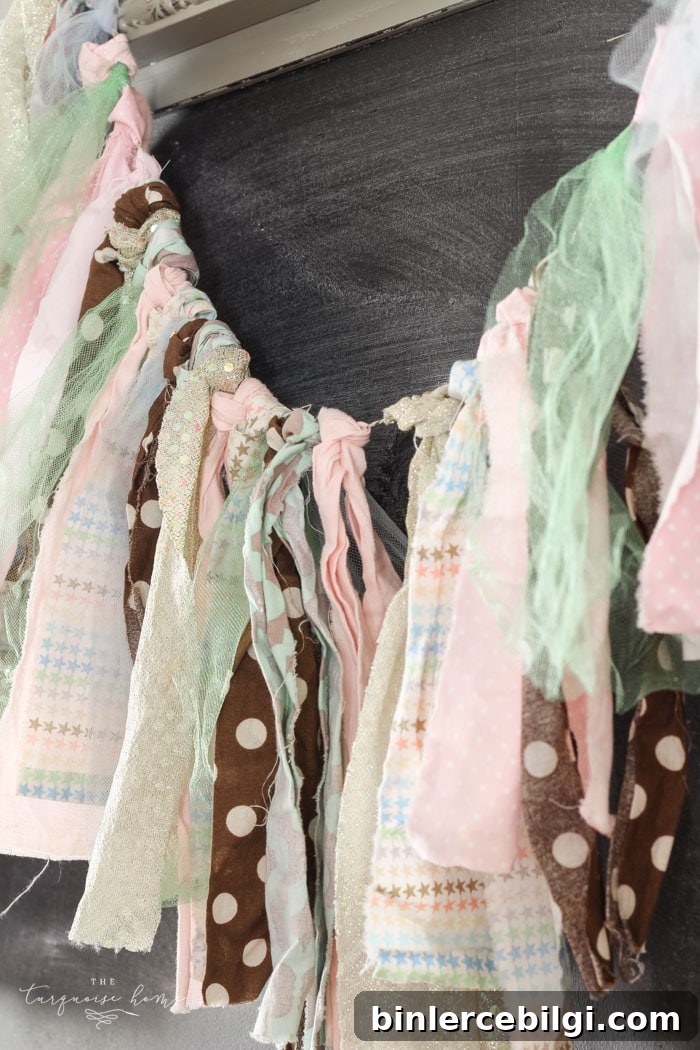
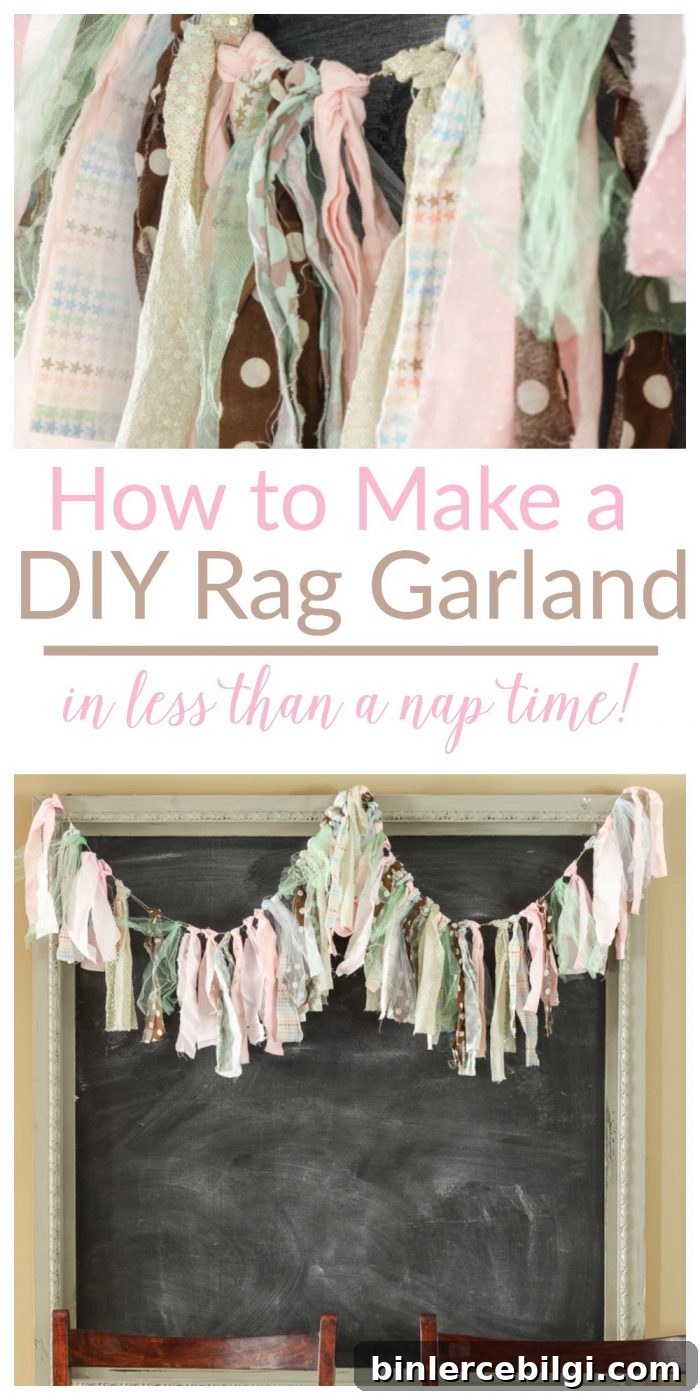
Create a charming DIY rag garland from leftover fabric scraps — a quick, budget-friendly project that makes delightful decor for any season.
I first used fabric scraps to make heart appliqué pillows, and this rag garland is the perfect follow-up: simple, fast, and a great way to use bits of fabric you already have. This project takes under an hour and requires minimal tools, so it’s ideal for nap-time crafting or a relaxed afternoon project.
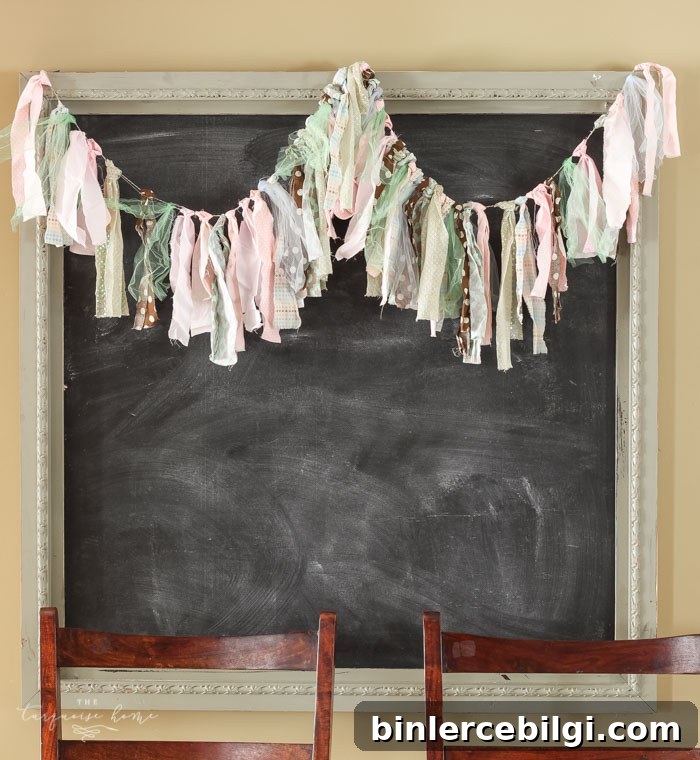
What You’ll Need to Make a DIY Rag Garland
- Fabric scraps, each about 20 inches long (adjust length based on desired fullness)
- Sharp scissors
- Twine, jute, cotton string, or decorative cord
- Optional: ribbon, lace, felt pieces, or punched shapes for added interest

How to Make a DIY Rag Garland
1. Gather your fabric
Use any fabric scraps you have: old shirts, dress leftovers, tulle from a tutu, quilting cotton, or even thrifted fabric remnants. Mix textures and weights for visual interest — lightweight cottons pair well with ribbons or lace, while burlap or denim add a rustic touch. If you like a more polished look, cut your pieces into uniform widths. For a whimsical, cottage-style garland, leave the strips uneven.
2. Cut your string or twine to the length you will need
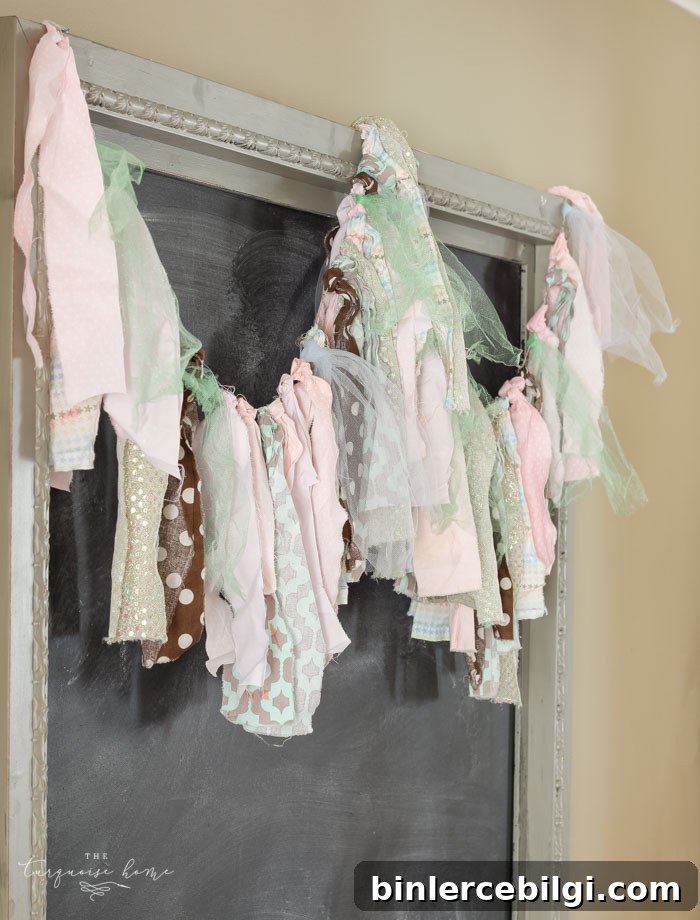
Decide where you’ll hang the garland and measure the space, adding a little extra length at each end for tying. If you want gentle drapes or loops, add more length. For a straight, taut garland, measure precisely. A 6–8 foot length is a good starter size for a mantel or small wall.
3. Tie your fabric, ribbon, or extras to the twine
Fold each fabric strip in half around the twine and pull the loose ends through the loop to create a simple knot. This knot is quick and secure, and it lets you slide pieces along the twine until you like the arrangement. Alternate colors, patterns, and textures in a loose, non-repetitive pattern to keep the garland visually engaging. Leave small gaps between pieces or pack them closely for a fuller look.
4. Step back and trim as needed
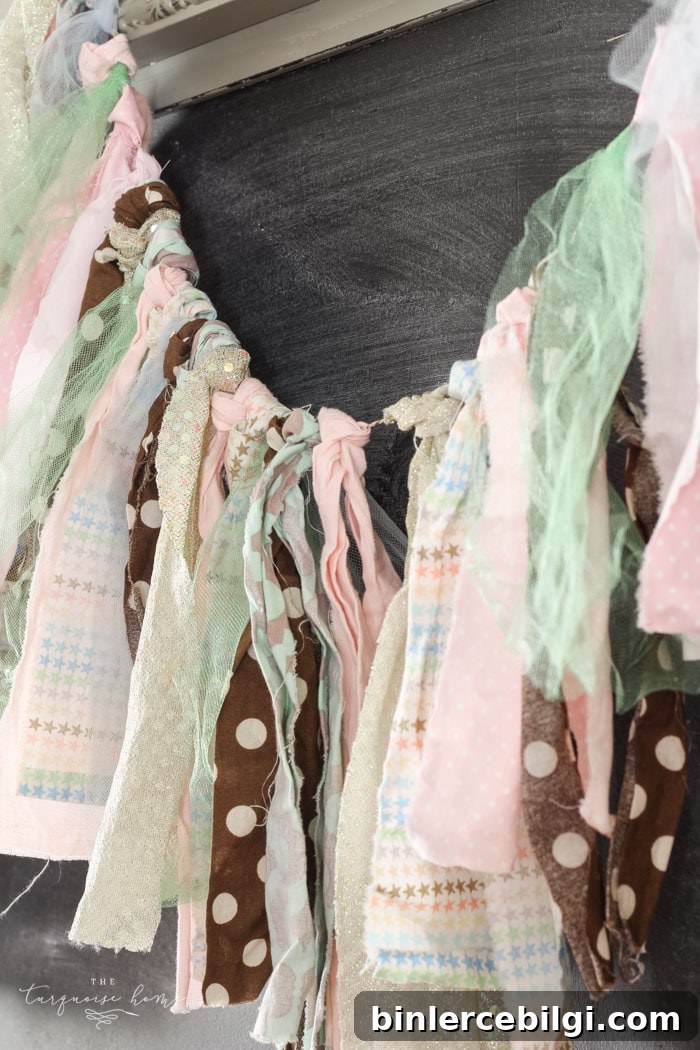
Stand back and assess the overall shape and balance. Trim any excessively long pieces, and vary the lengths slightly so the garland feels natural and textured. If some knots slip, add a small dab of fabric glue or a tiny stitch to secure them. Finish both ends of the twine with a loop or knot for easy hanging.
That’s it — you’re done! This quick DIY rag garland adds a handmade, cozy touch to a mantel, doorway, shelf, or window. It’s perfect for seasonal decorating: swap in pastels and florals for spring, bright solids for summer, warm plaids for fall, and cozy knits or metallics for winter holidays. Because it’s fabric, you can fold and store the garland between seasons without damage.
Tips and Variations
- Use color families (pastels, jewel tones, neutrals) to create a cohesive look.
- Add small paper or felt shapes, wooden beads, or LED fairy lights for extra flair.
- For outdoor use, choose weather-resistant fabrics and secure knots with a stitch or glue to prevent wind slippage.
- If you prefer no-fray edges, fold strips over or use thin bias tape; frayed edges give a rustic, textured appearance.
- Make a shorter, layered garland by tying groups of strips at intervals along a shorter cord for a clustered effect.
Enjoy making this easy DIY rag garland — it’s fast, flexible, and a great way to upcycle fabric scraps into pretty home decor. Now you have a lovely, handmade accent for your space and time to relax with a cup of tea, a good book, or a well-deserved nap.
More Posts You Will Love:
- Spring is Coming (Chalkboard Art)
- The Best Spring Decorating Ideas
- How to Make a Felt Garland + Valentine’s Day Chalkboard
- Easy DIY Heart Pillow Cover
- Spring Table Decorations