
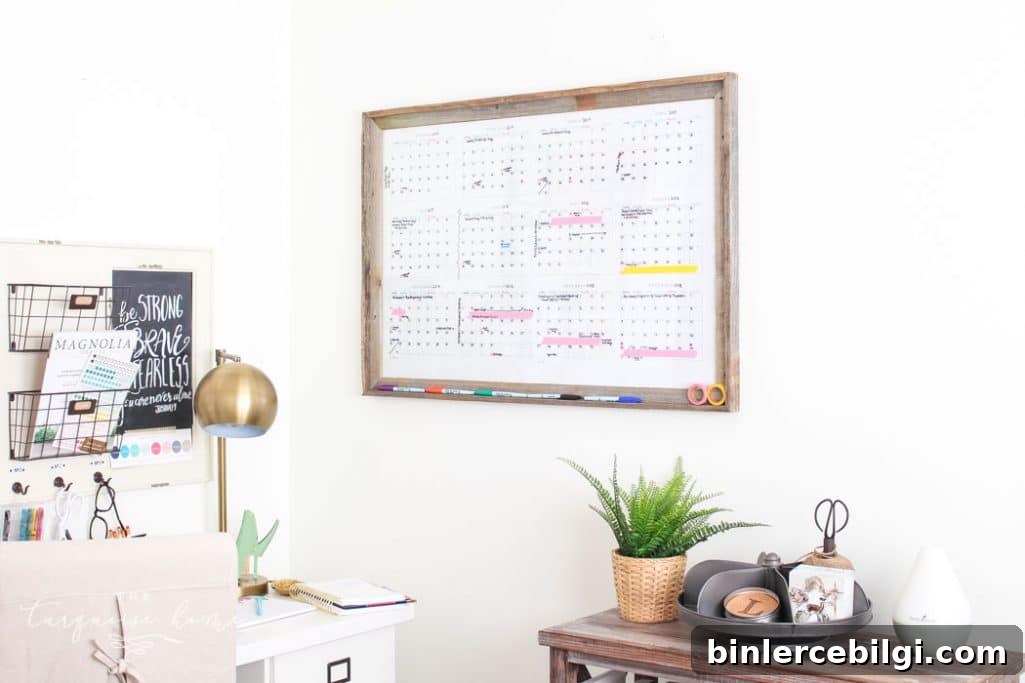
Make your own DIY dry erase calendar using a glass picture frame and a free yearly calendar printable with this simple step‑by‑step tutorial. It’s an inexpensive way to stay organized with a project that’s quick to assemble.
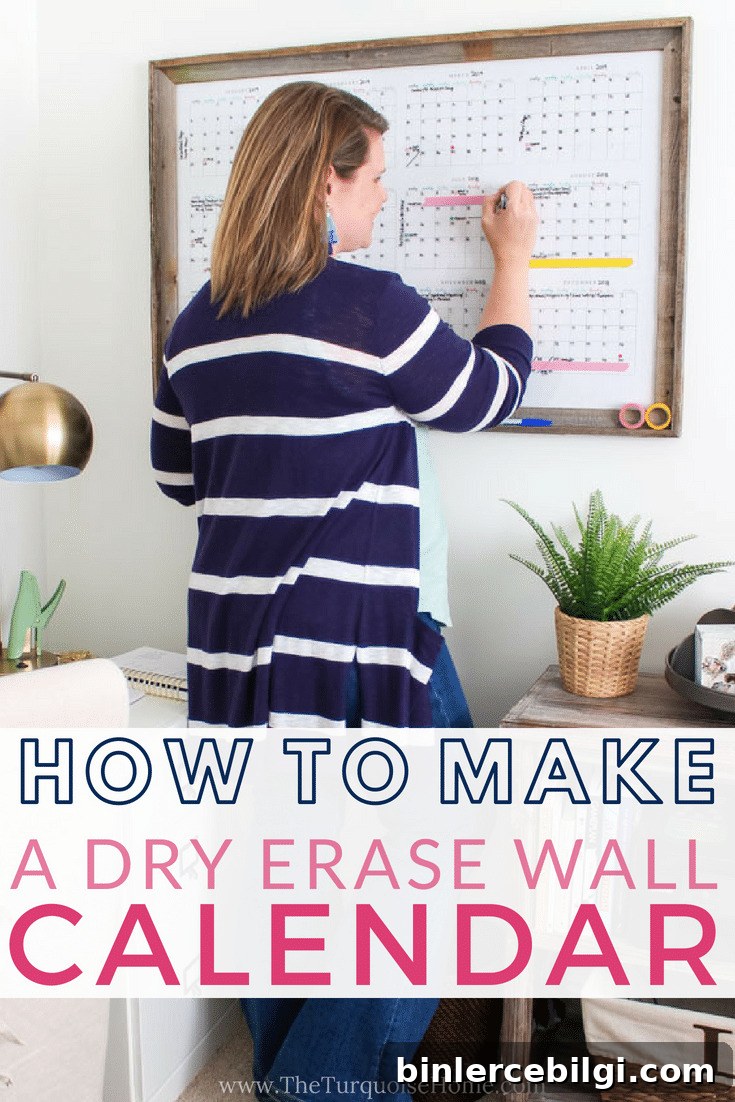
I’m a planner and calendar enthusiast—I rely on a main planner for daily tasks and longer‑term plans, a shared digital family calendar for events, and a photo calendar in the kitchen for quick monthly overviews. Even with those systems, I wanted a single wall calendar dedicated to work ideas, blog posts, and events so everything related to my projects was visible at a glance.
Early in the year I printed monthly calendars and taped them to the wall, but they kept falling down when the ceiling fan blew. I wanted something large, erasable, and durable—an annual dry erase calendar that would let me plan twelve months at a time and easily update dates without printing new pages each January.
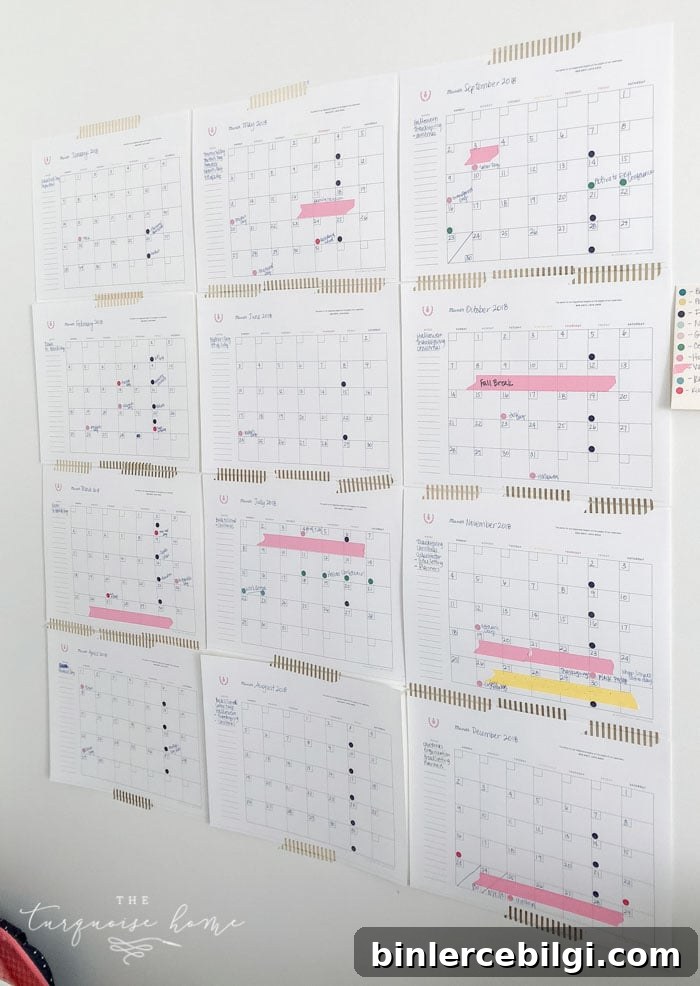
My paper yearly calendar solution — which fell off the wall when I turned on the ceiling fan.
Large store‑bought dry erase yearly calendars are great, but many cost a couple hundred dollars. When I read a product description that revealed these expensive options were often just a framed printable behind plexiglass, I realized I could make the same thing at a fraction of the cost.
The trick is to order a large, inexpensive print called an engineer print (also called blueprint prints) at most office supply stores. These prints are typically available as 24″ x 36″ and cost only a few dollars. The paper is thin and the image is a little grainy, but it’s perfect for a framed dry erase calendar that will sit behind glass.

Items You’ll Need for a DIY Dry Erase Wall Calendar
- 24 × 36 printable yearly calendar (use the free printable included below or your own design; order as an engineer print at a copy/print center)
- 24 × 36 picture frame (a frame with a narrow lip works well for holding markers)
- Plexiglass or the frame’s glass (optional — plexiglass makes it lighter but may bow; glass stays flat)
- Dry erase markers with a fine tip for writing clearly in small date boxes
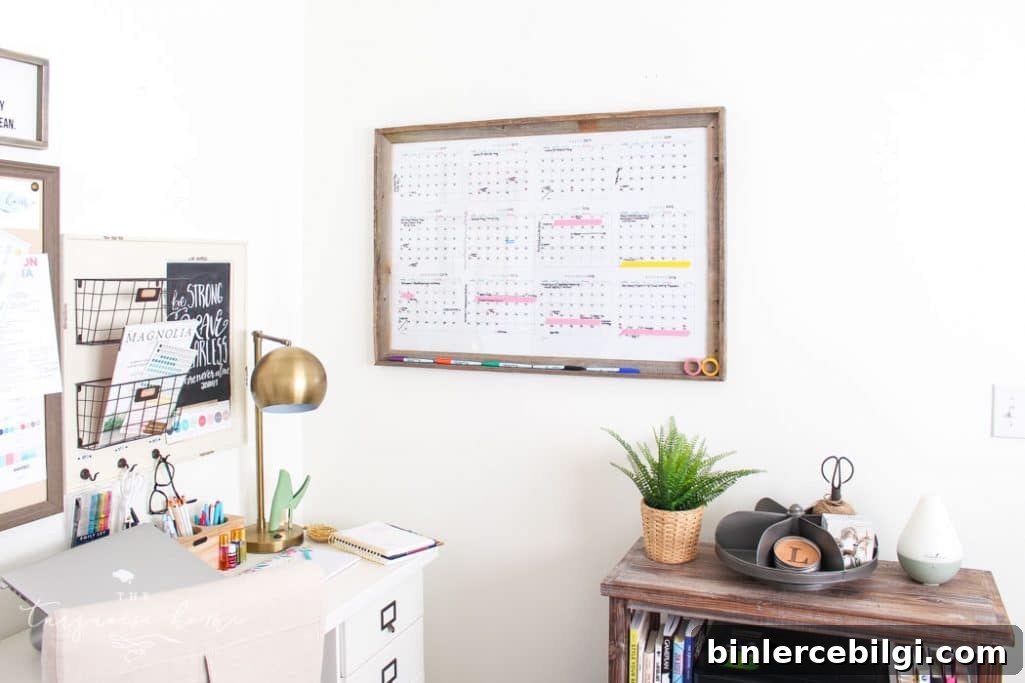
How to Make a DIY Dry Erase Wall Calendar
Step 1 — Prepare and print your calendar. Use the free printable included below or a digital calendar you prefer. Order a 24″ × 36″ engineer print at a local print shop or office supply store. Engineer prints are inexpensive and sized for large format printing; if the shop offers a “fit to size” option you may not need to resize the file yourself. The print quality is slightly grainy, but perfectly acceptable for this project.
Step 2 — Frame your print. Choose a 24″ × 36″ frame that fits your aesthetic and practical needs. Slide the engineer print into the frame and use either the frame’s glass or a separate sheet of plexiglass over it. I tested plexiglass to make the piece lighter, but it bowed slightly, so I returned to the glass that originally came with the frame. A frame with a lip or ledge is handy for holding markers and tape.
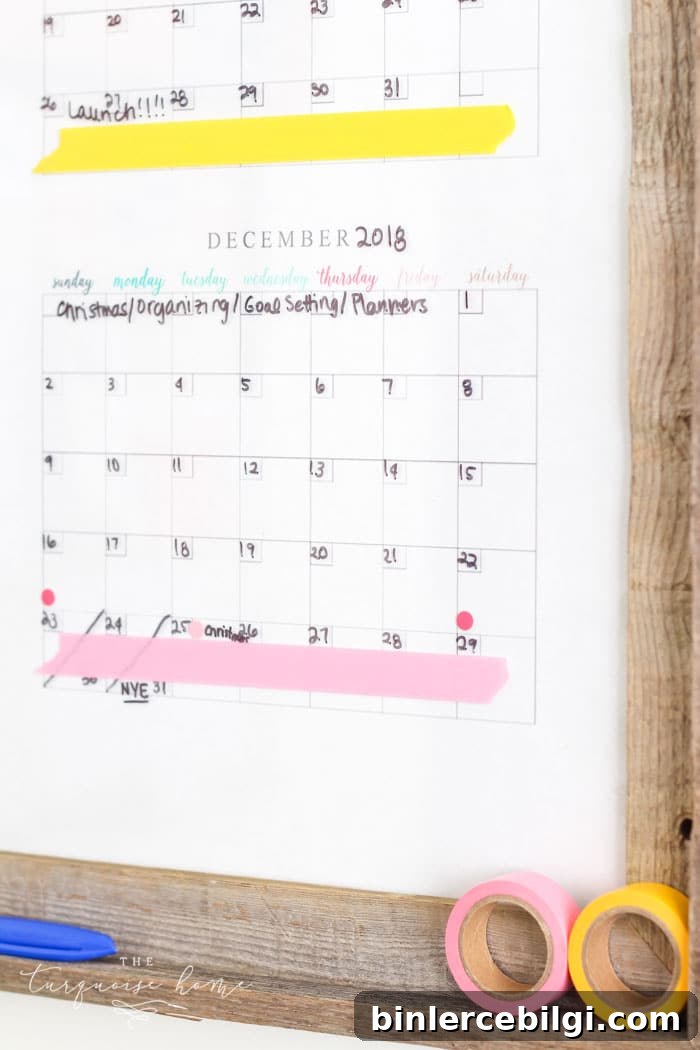
That’s all there is to it. Hang the framed calendar on the wall and start filling in events, deadlines, blog posts, vacations, and other key dates. Because the calendar is behind glass, you can write with dry erase markers and quickly change plans as needed. Fine‑tip dry erase markers are ideal because the boxes for each day are relatively small—choose markers that dry quickly and require a damp cloth to remove for the cleanest erasing.
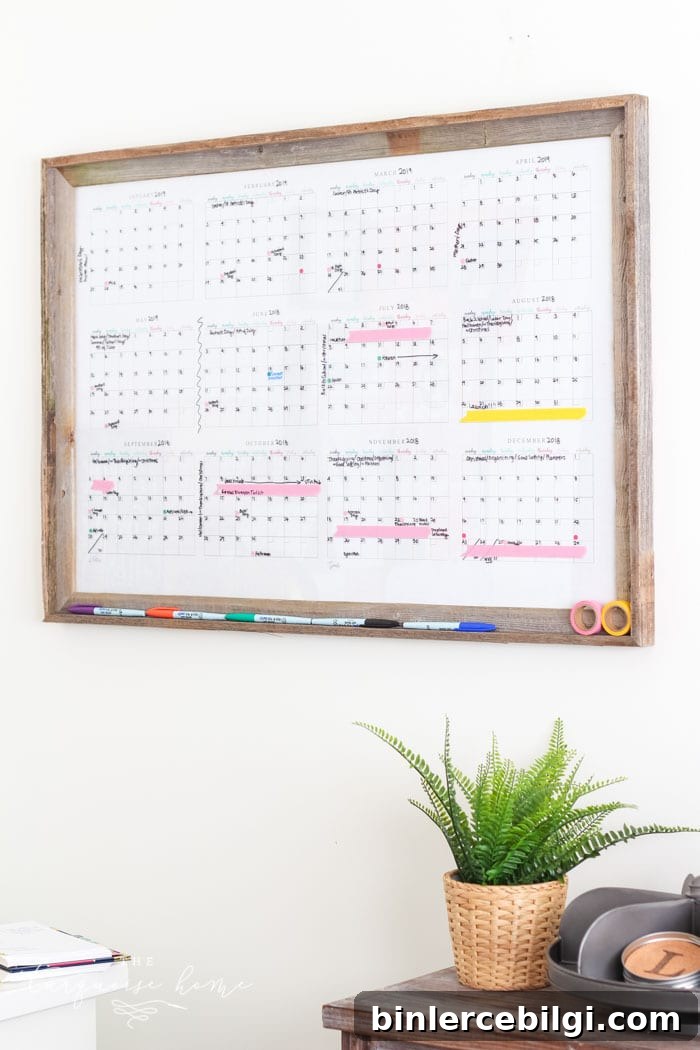
Use the calendar as your project hub: track blog posts, appointments, travel, holidays, and any other commitments that affect your schedule. Because it displays an entire year, you can plan months in advance and reuse the layout year after year by erasing and updating dates.
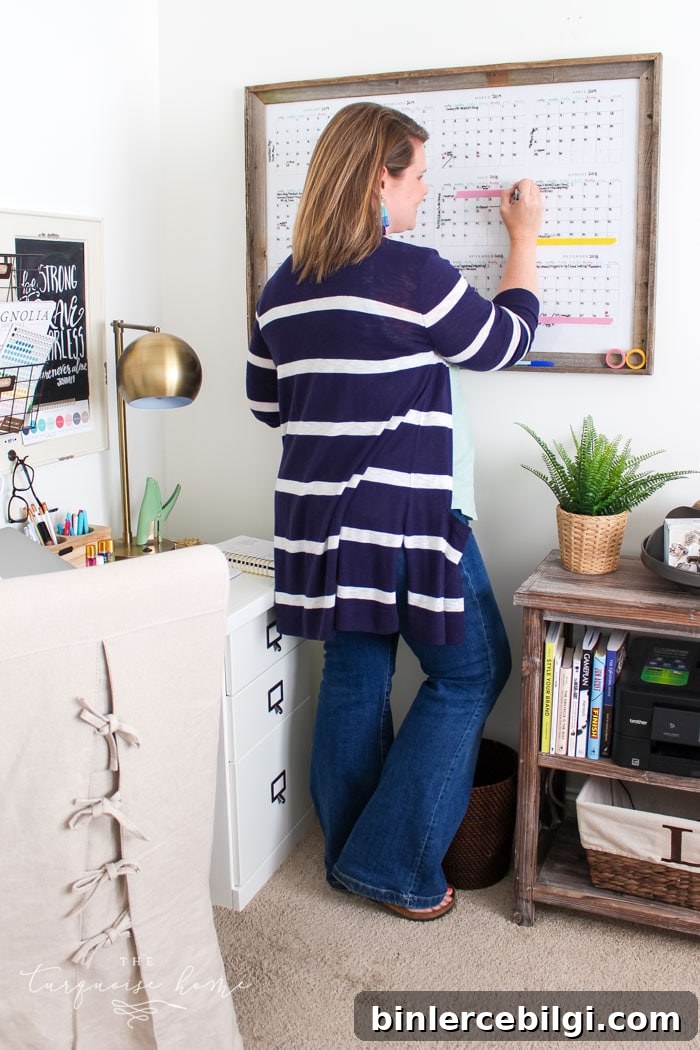
Free Printable Calendar Download
A free printable yearly calendar has been created for personal use so you can make your own DIY dry erase wall calendar. Download the printable from the author’s printable page and order it as a 24″ × 36″ engineer print at your local copy center.
Tips and best practices:
- Order an engineer print for the most economical large format option. If you prefer higher quality, consider poster prints instead, which cost more but have better resolution.
- If you choose plexiglass to reduce weight, check for bowing before sealing the frame—glass stays flatter and provides a more rigid surface for writing.
- Store markers on the frame’s ledge or in a small tray nearby so they’re always handy.
- Clean the glass regularly with a damp cloth to maintain a clear, smudge‑free surface.
Enjoy your new DIY dry erase yearly calendar—an affordable, reusable planning tool that keeps your entire year visible at a glance and helps you stay organized.